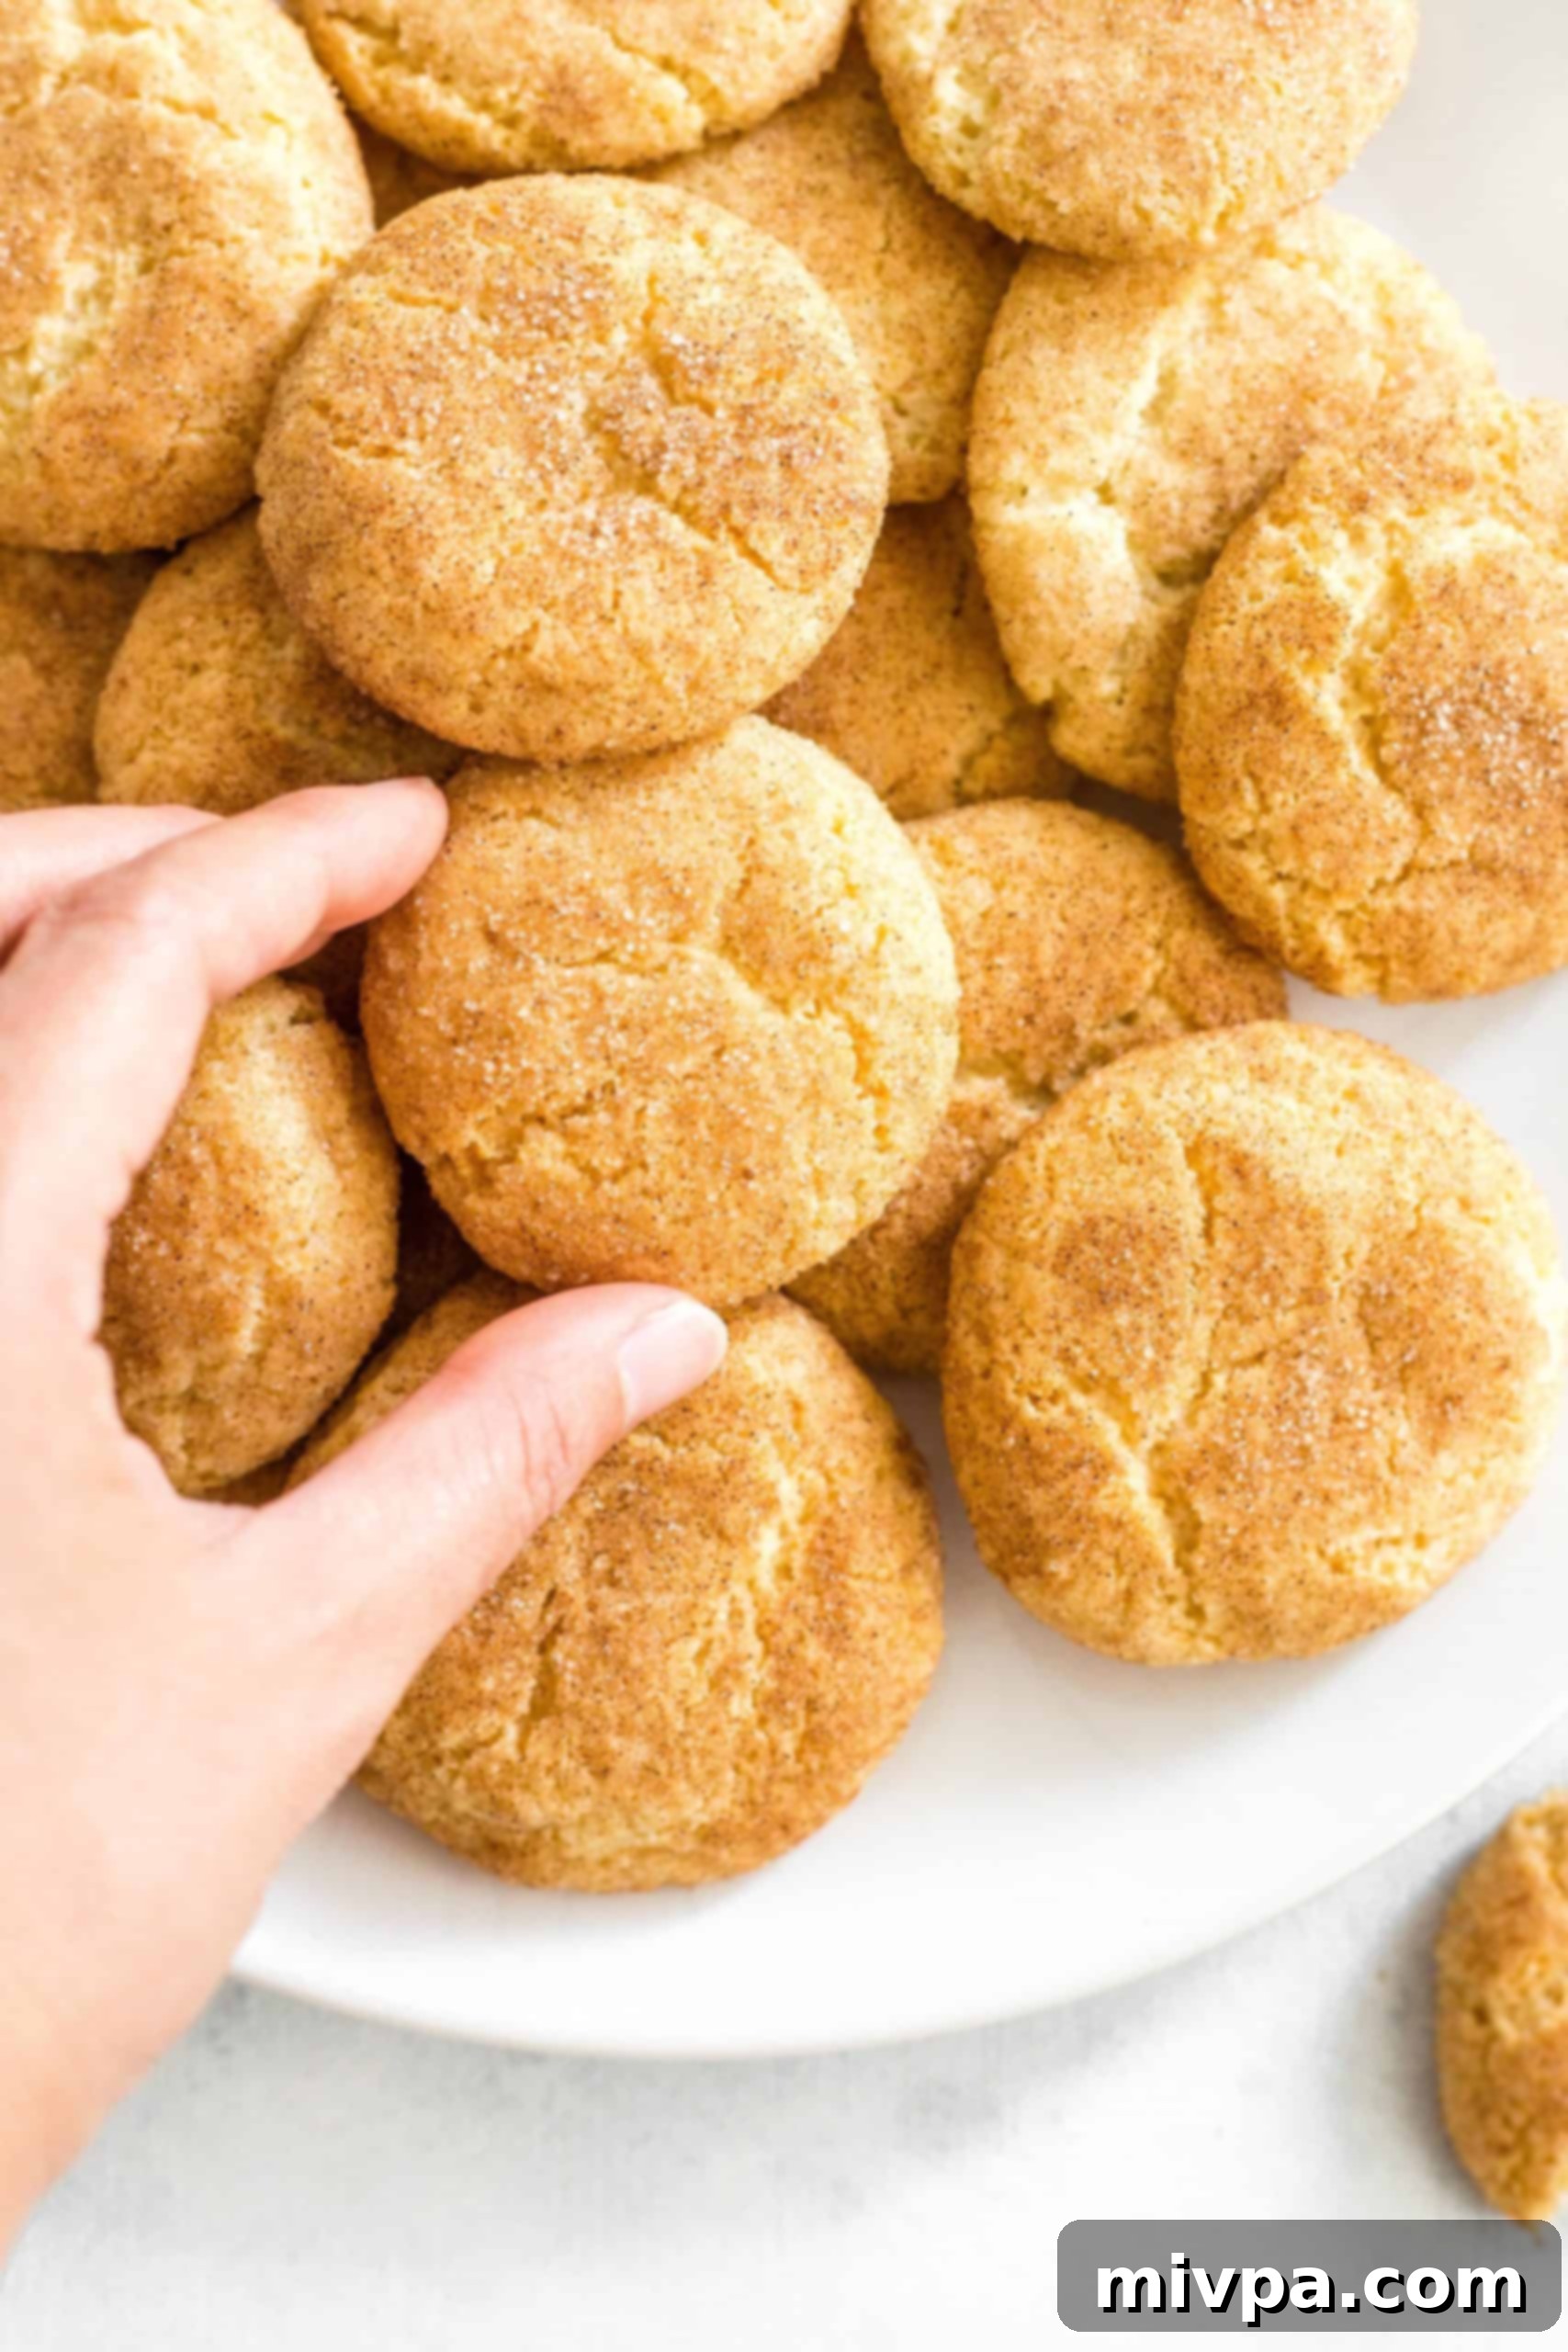
The Best Gluten-Free Dairy-Free Snickerdoodles: Crispy Edges, Chewy Centers & Perfect for Holidays
These gluten-free snickerdoodles are a true delight, offering that perfect balance of a **crispy exterior and a wonderfully soft, chewy interior**. They are an absolute must-have for **Christmas celebrations** and the entire holiday season. This simple snickerdoodle recipe comes together quickly, making it ideal for whipping up a batch of delicious sweet cookies for homemade gifts, holiday cookie exchanges, or simply to satisfy your own cravings. What’s more, this recipe is entirely dairy-free, ensuring everyone can enjoy this classic treat!
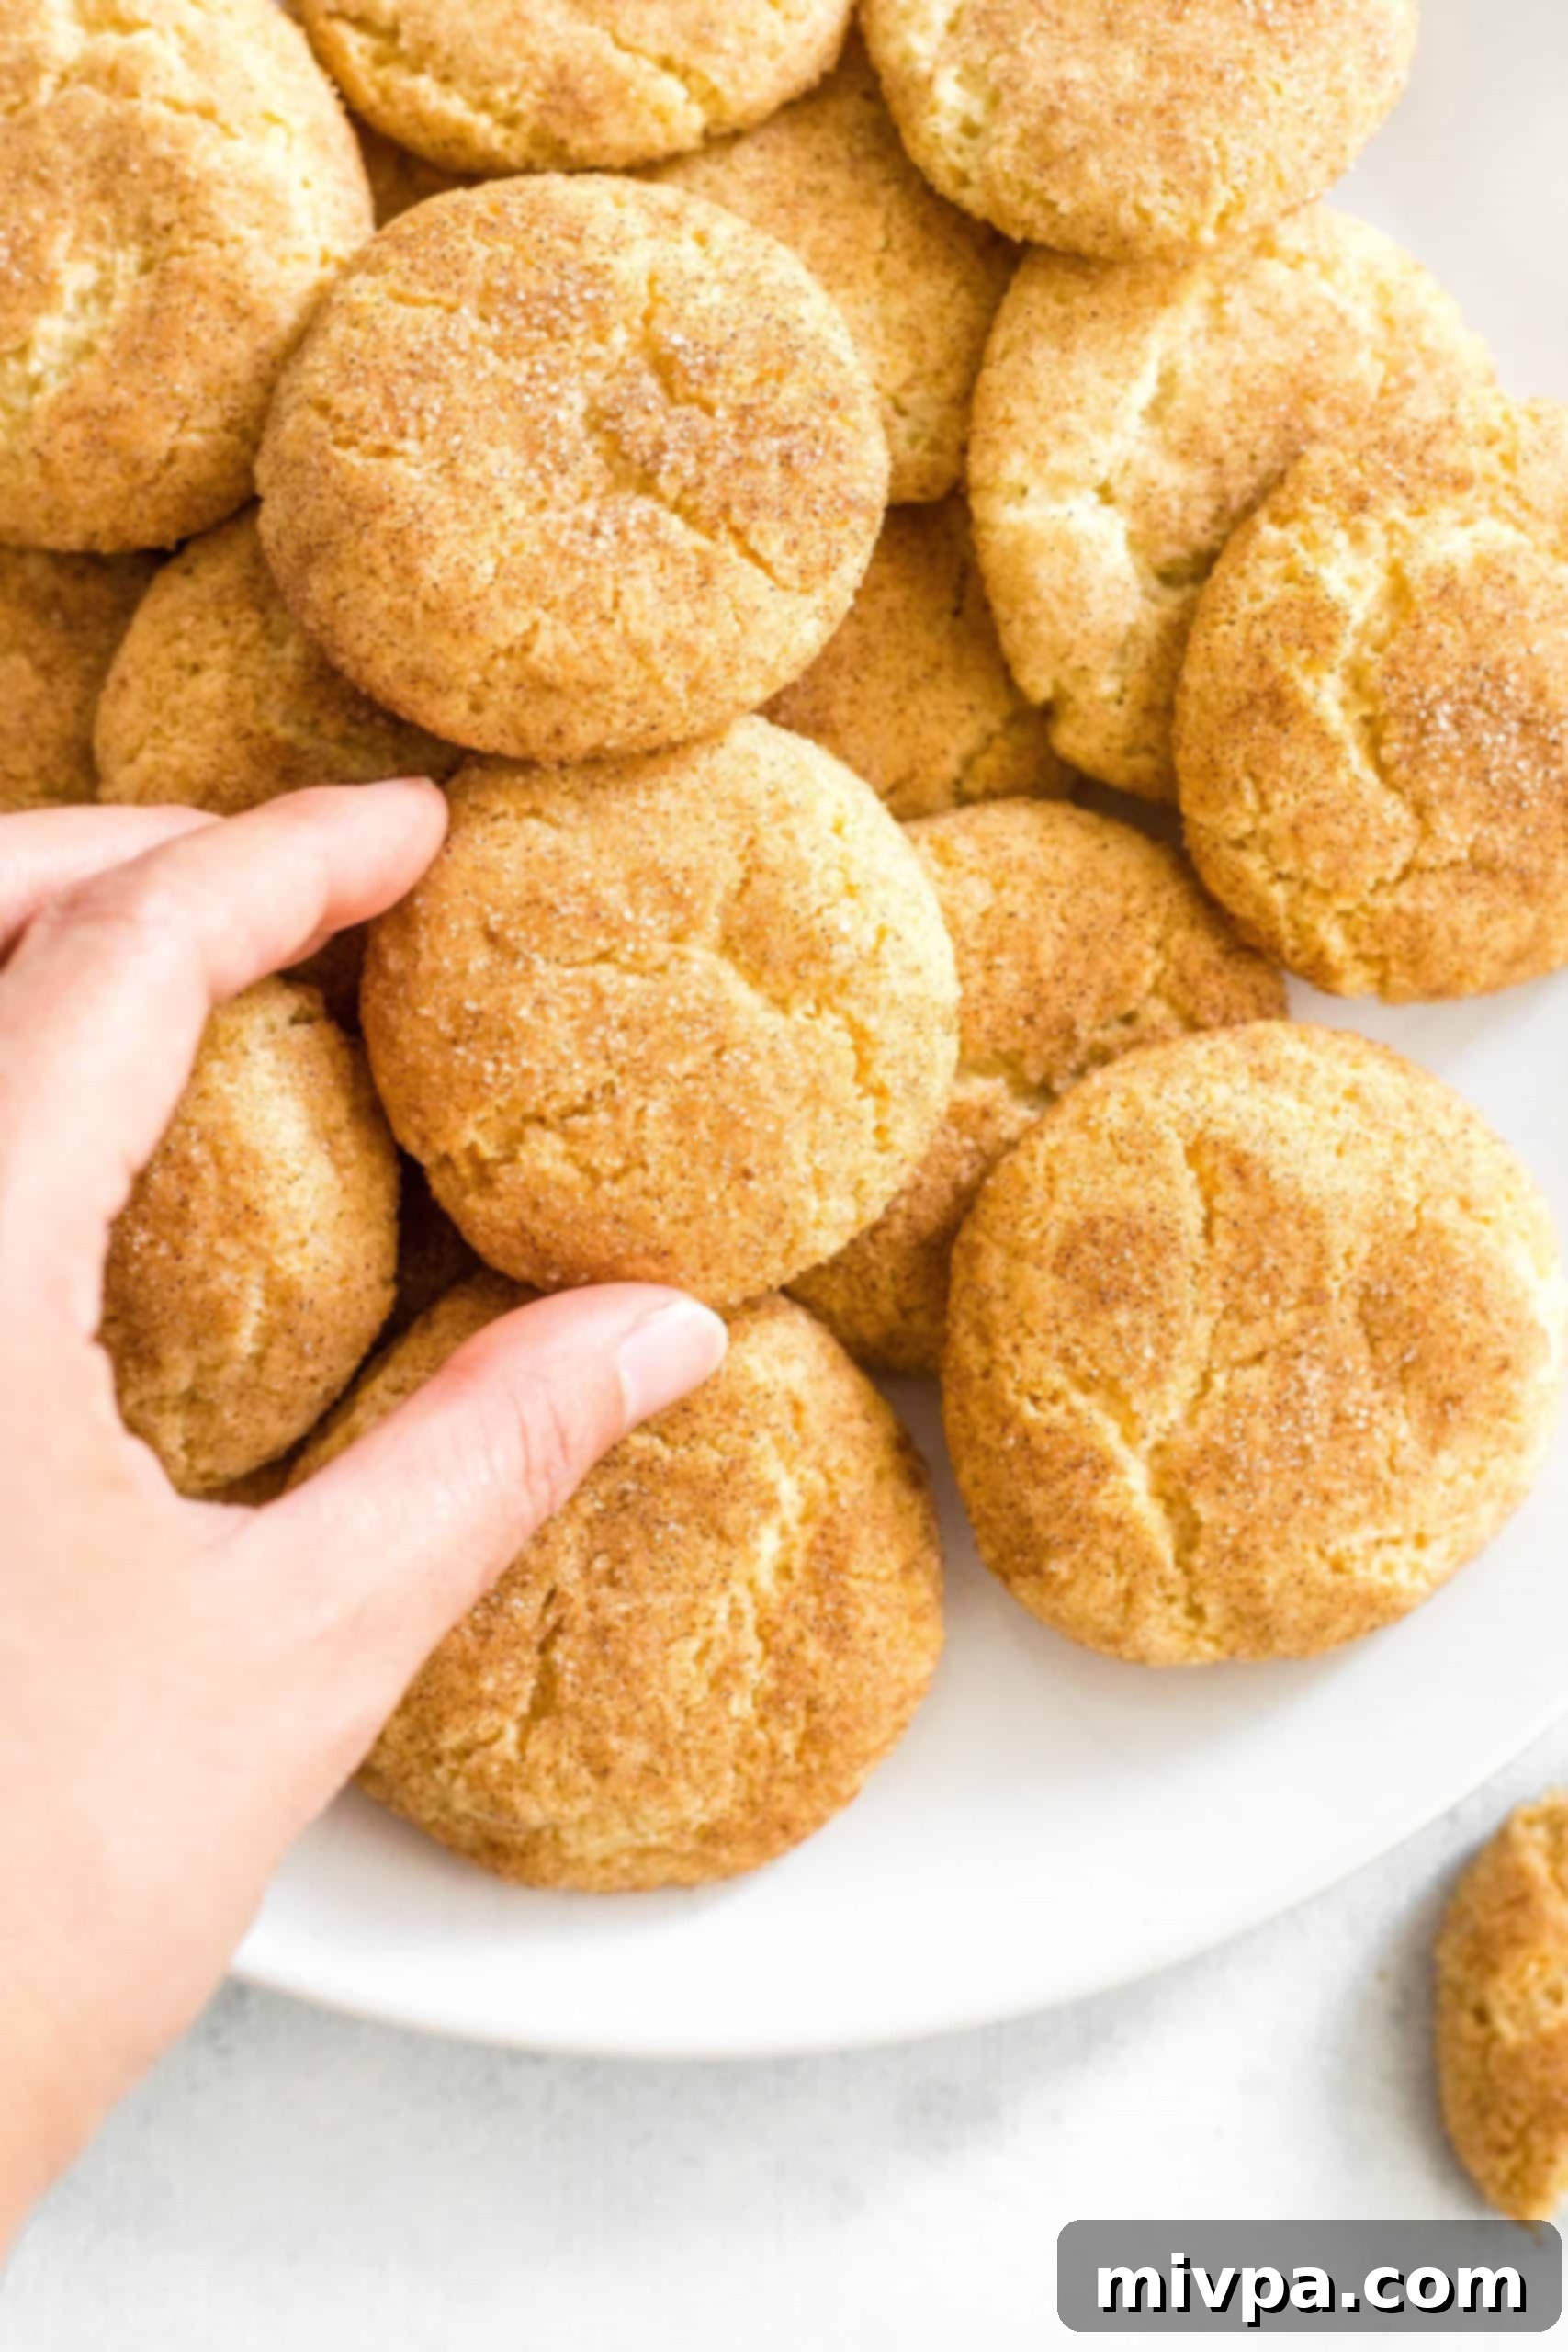
Embrace the Joy of Holiday Baking!
With December in full swing and Christmas just around the corner, there’s no better time to fill your kitchen with the comforting aromas of freshly baked goods. For many, the holiday season signals the official start of a wonderful tradition: baking!
In our home, the oven becomes the heart of the house, working overtime to produce a continuous stream of festive treats. We love diving into our favorite Christmas cookie recipes, including spicy gingerbread cookies, crunchy almond biscotti, wonderfully chewy molasses cookies, and incredibly soft pumpkin cookies.
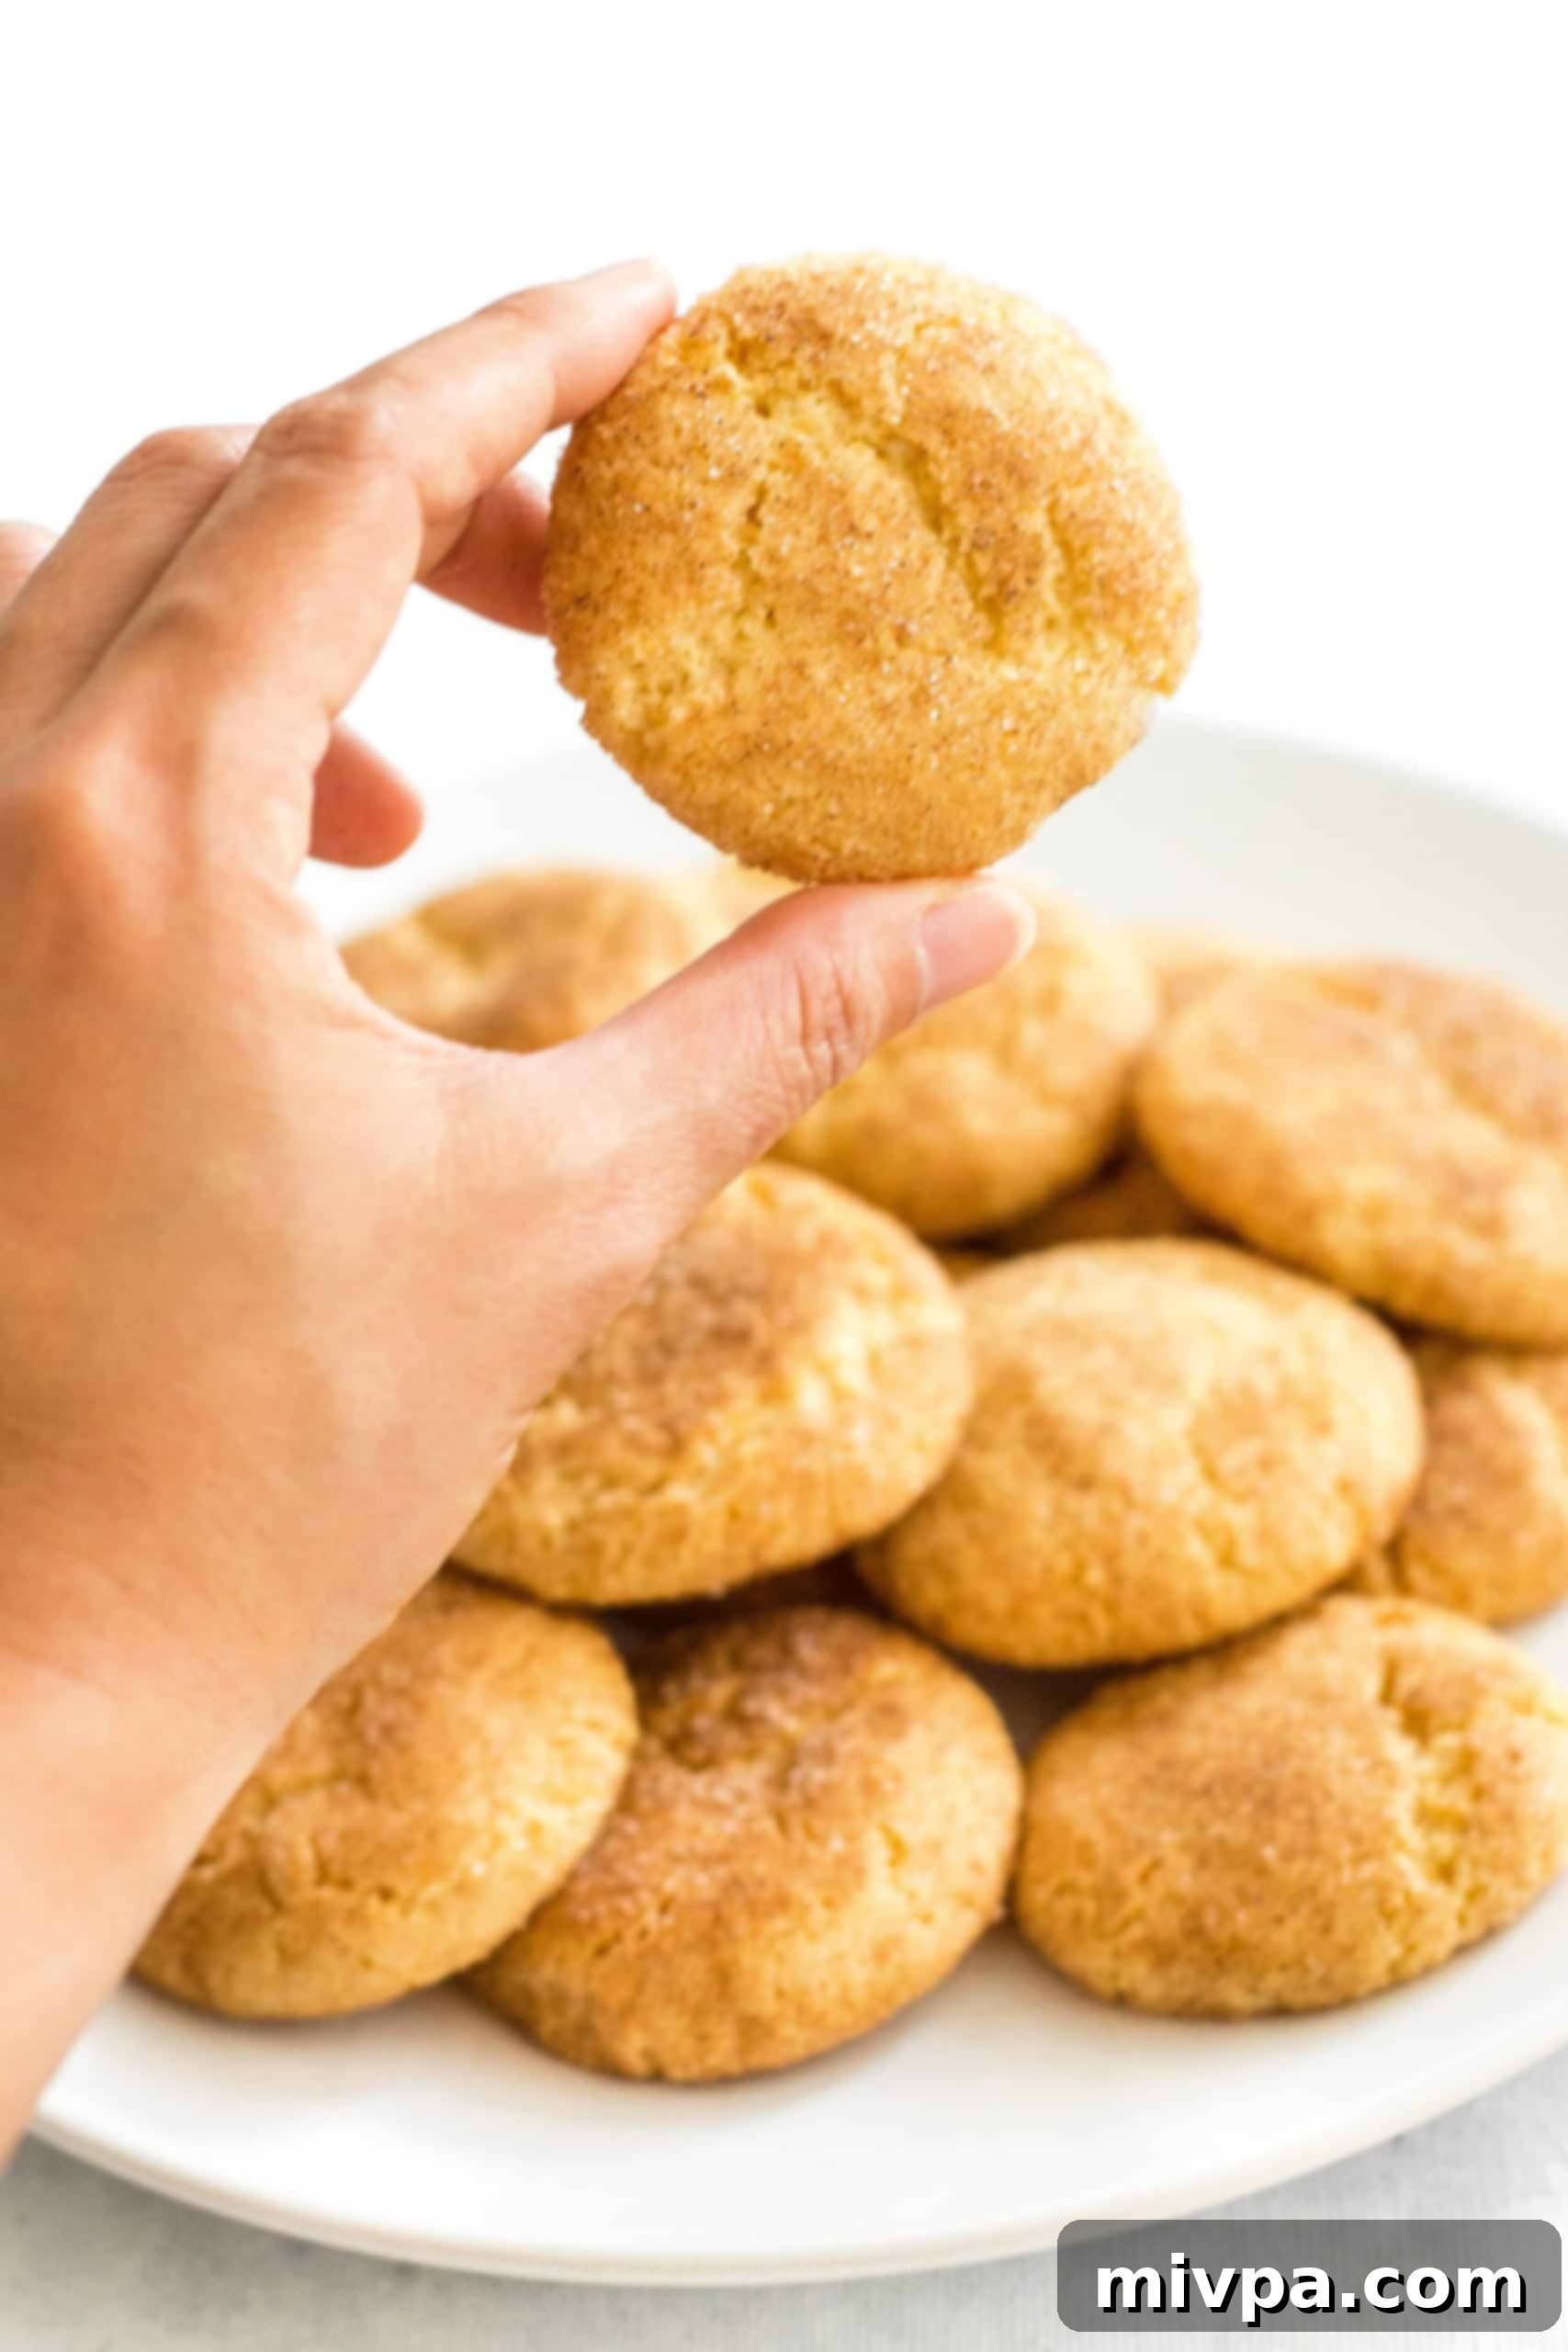
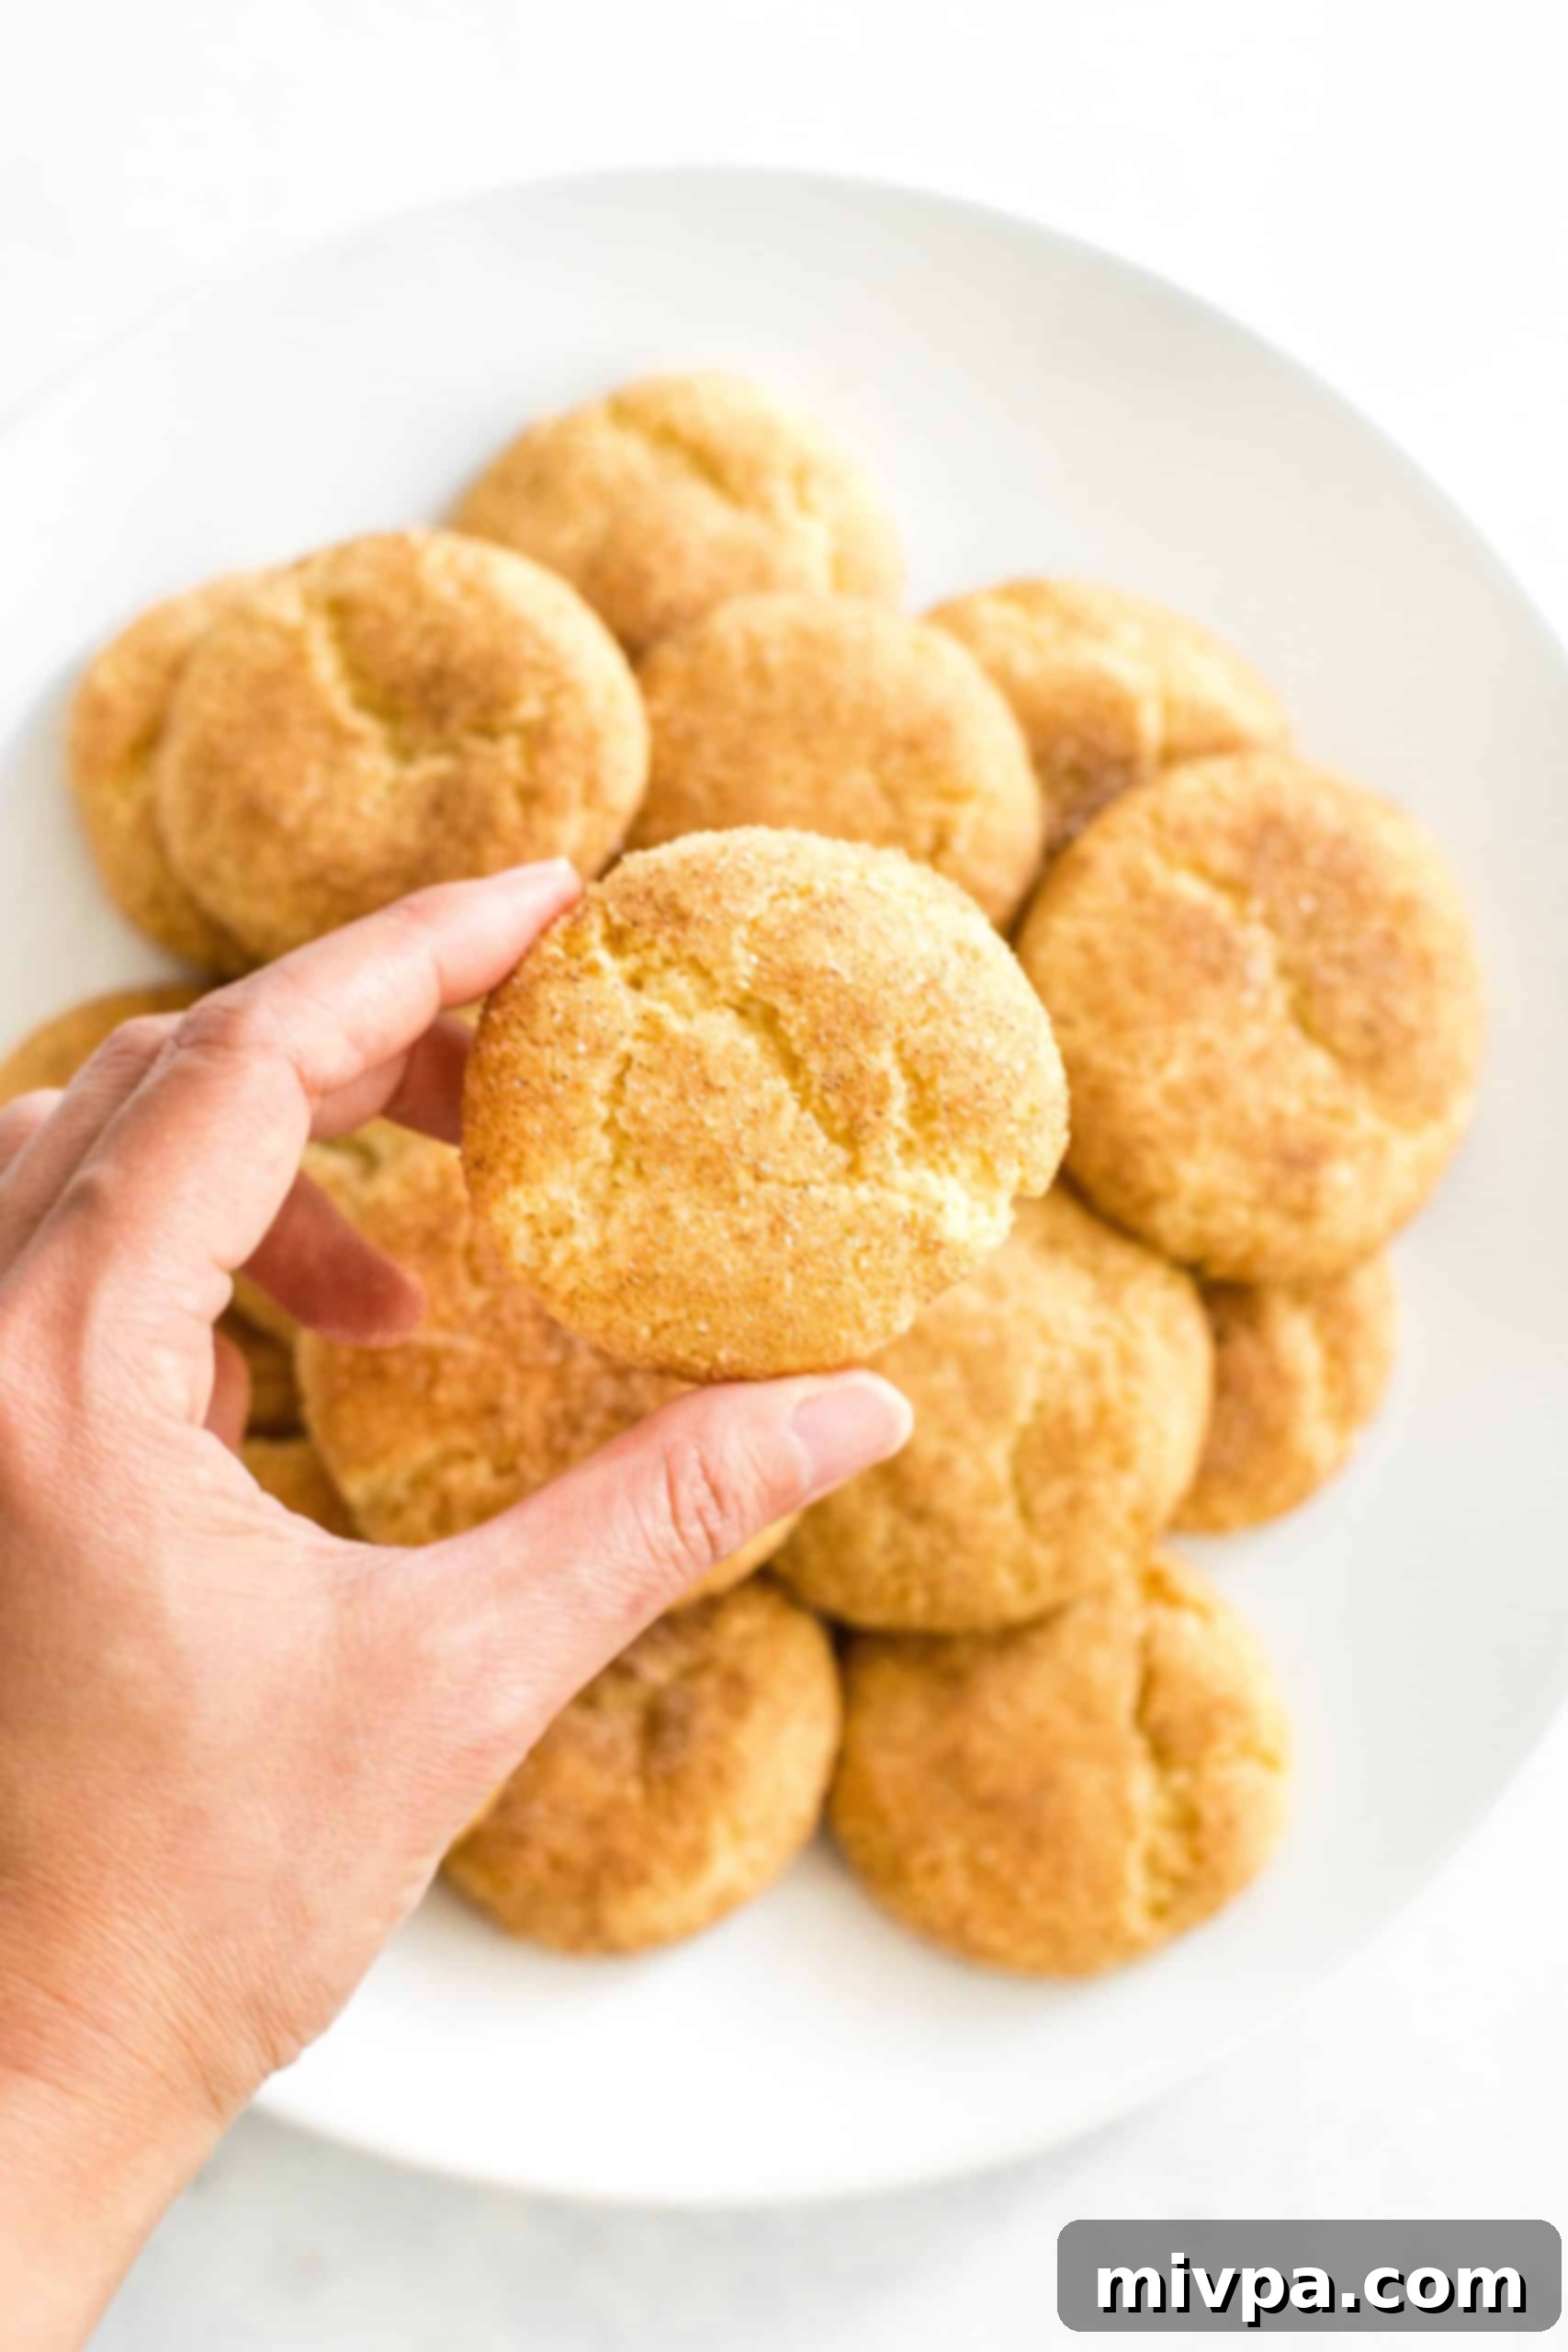
And of course, no holiday cookie plate is complete without these **perfectly crafted gluten-free snickerdoodle cookies**. Everyone who tries them simply *can’t get enough*, and they disappear almost as quickly as they’re baked!
What Exactly are Snickerdoodles?
If the name “snickerdoodle” is new to you, or if you’ve never had the pleasure of tasting one, prepare yourself for a truly delightful experience! These highly popular American cookies are a beloved classic for a reason.
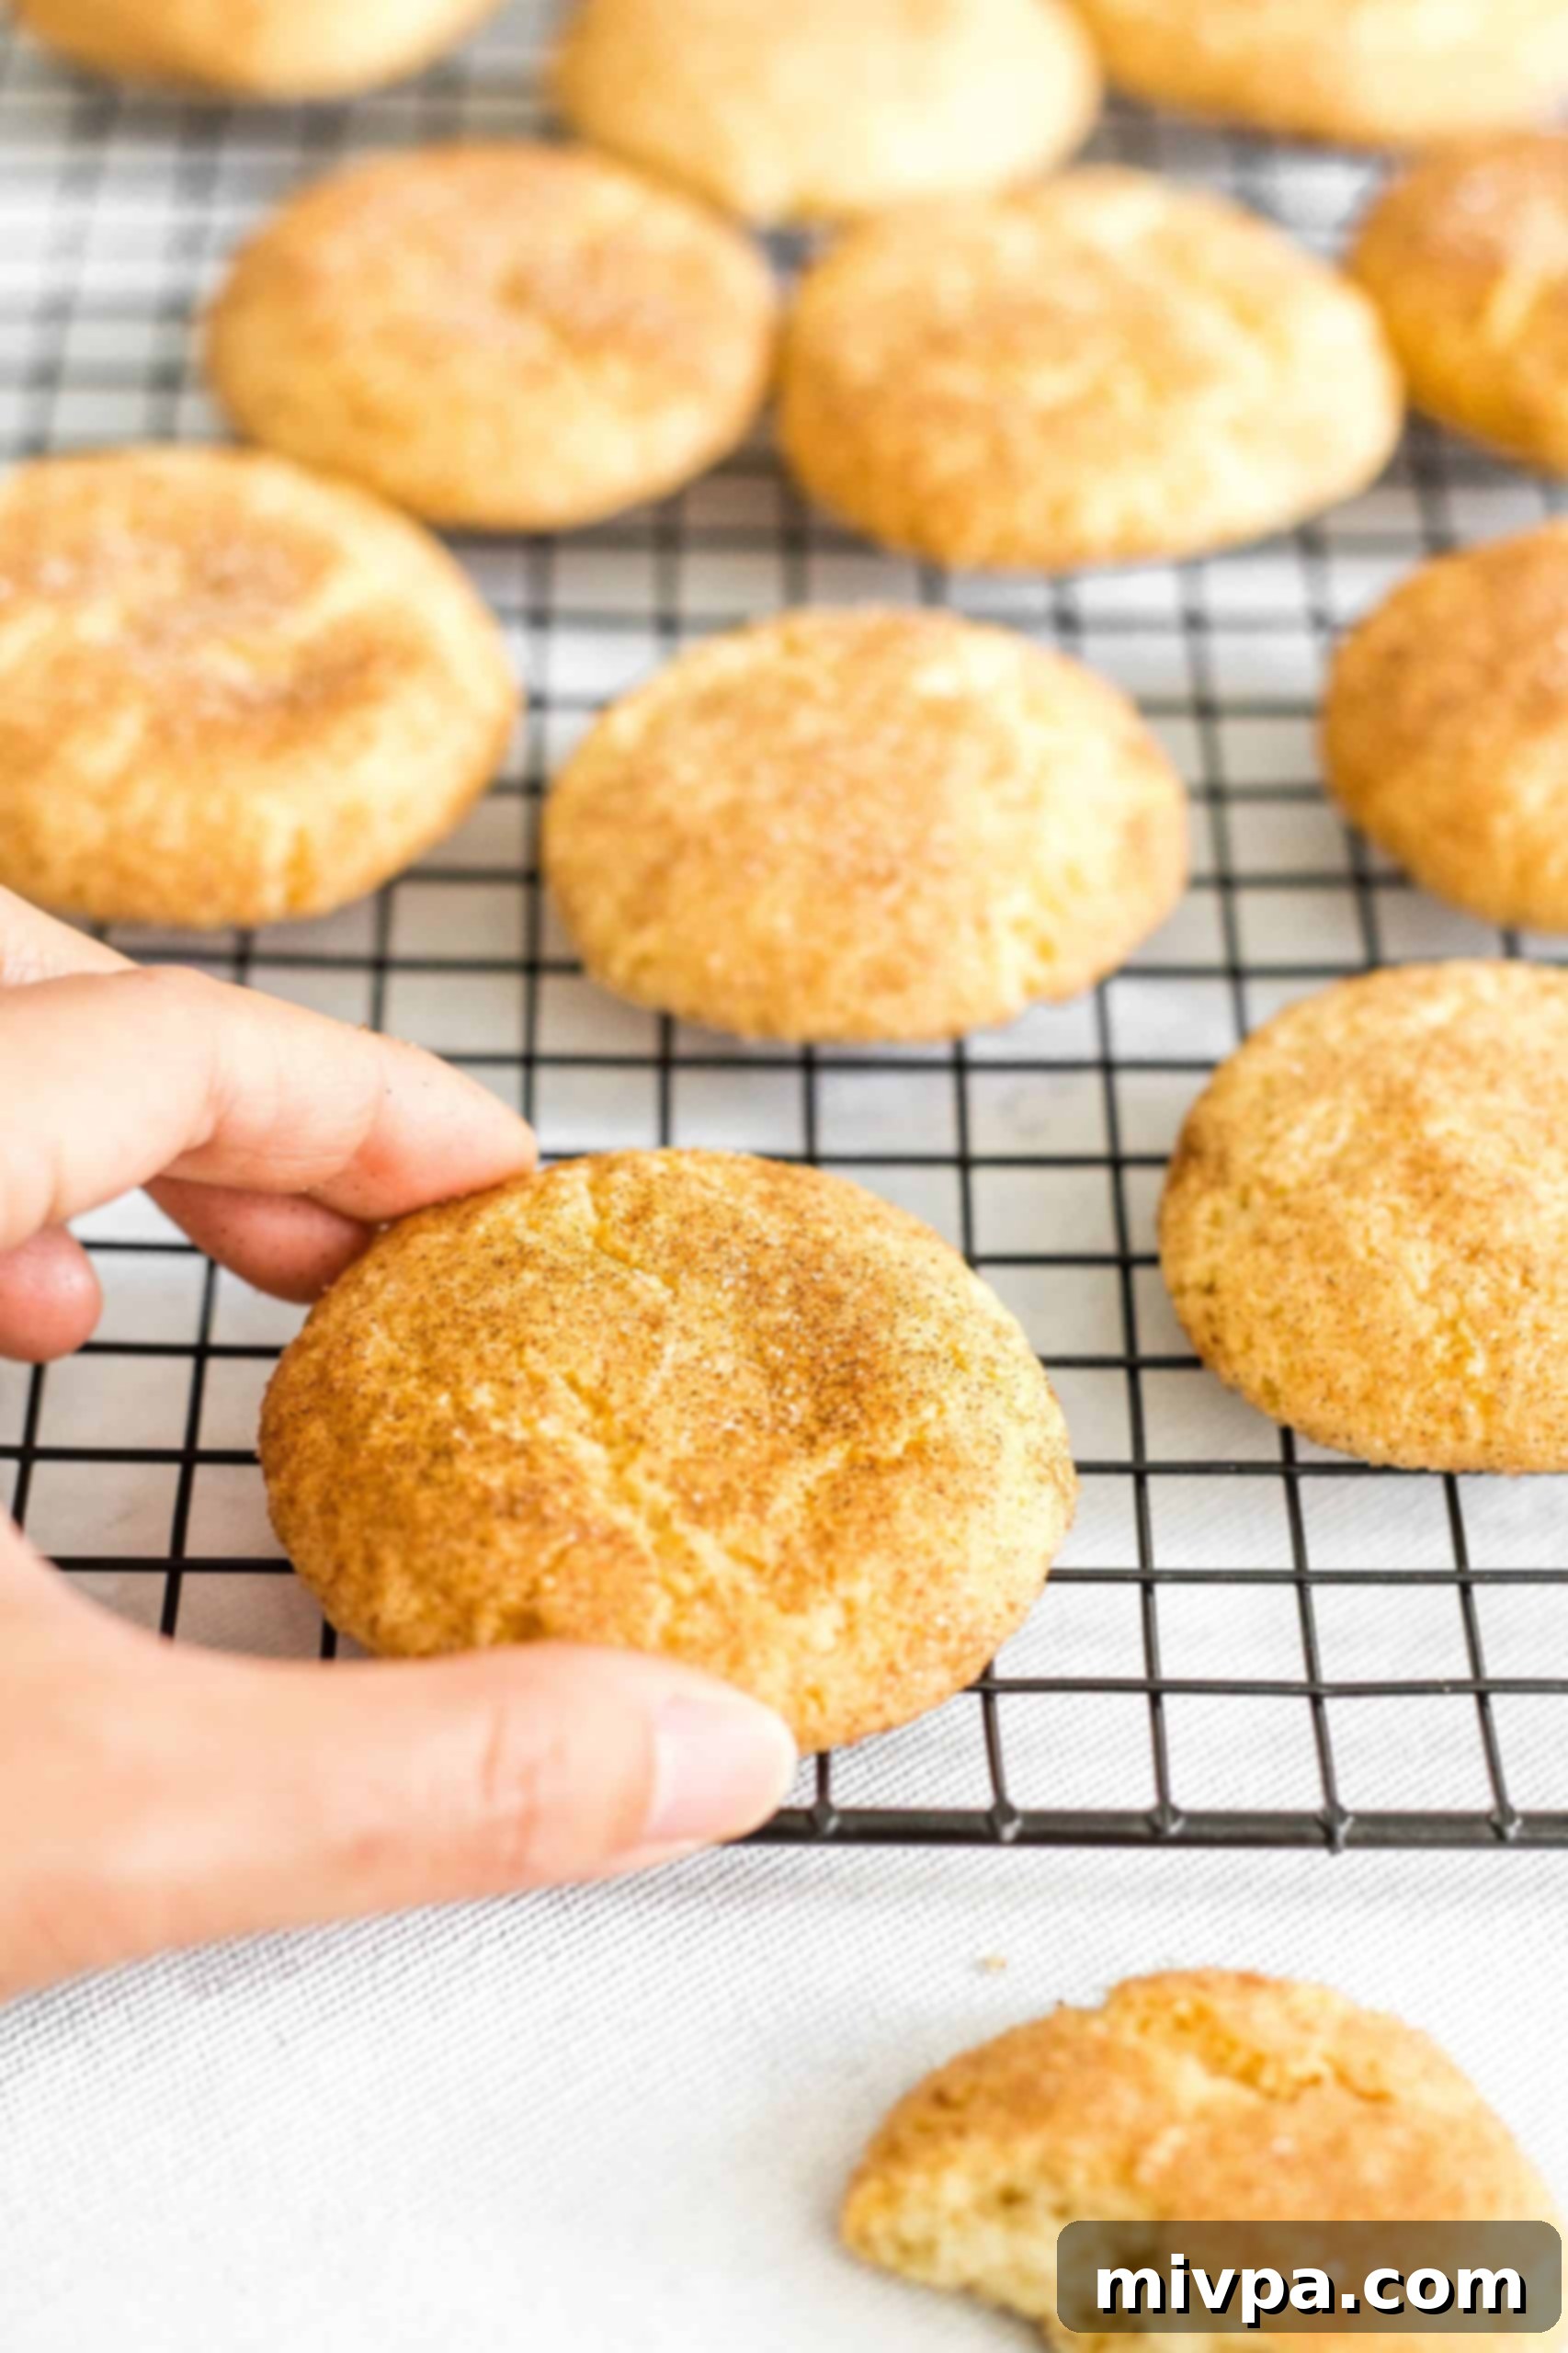
At their core, snickerdoodle cookies are a type of soft, buttery cookie dough, traditionally made with sugar, butter or oil, and flour. Their most defining characteristic, however, is the generous coating of cinnamon sugar they receive before being baked. If you’re a fan of cinnamon-spiced treats, like our amazing cinnamon coffee cake, you’ll instantly fall in love with snickerdoodles.
What truly sets snickerdoodles apart is their leavening agents: typically a combination of cream of tartar and baking soda. This unique pairing contributes to their distinct tangy flavor and gives them their characteristic slightly cracked surface, a tell-tale sign of an authentic snickerdoodle. The texture is usually soft, fluffy, and wonderfully chewy, making them incredibly satisfying.
Snickerdoodles vs. Sugar Cookies: Key Differences
While snickerdoodles are often mistakenly categorized as a type of sugar cookie, there are a few important distinctions that set them apart, both in flavor and texture. Understanding these differences can help you appreciate the unique qualities of each!
Firstly, the most obvious difference lies in their coating. A classic sugar cookie is simply rolled in granulated sugar before baking, giving it a sweet, crystalline crust. Snickerdoodles, on the other hand, are coated in a delightful mixture of sugar and ground cinnamon, which infuses them with their signature spiced aroma and flavor.
In terms of taste, snickerdoodle cookies possess a unique, *slightly tangy flavor*. This characteristic tang comes from the inclusion of cream of tartar (the powdered form of tartaric acid) which is used as a leavening agent in conjunction with baking soda, rather than just baking powder. This acidic ingredient reacts with the baking soda to create a distinct chemical reaction that not only aids in leavening but also imparts that unmistakable zesty note.
Regarding texture, snickerdoodles also tend to be noticeably *chewier* than their sugar cookie counterparts. The cream of tartar plays a role here too, preventing the sugar from crystallizing too quickly and contributing to a softer, more pliable dough that results in a wonderfully chewy bite. So, while both are sweet and delicious, snickerdoodles offer a more complex flavor profile and a distinct texture that many find irresistible.
Creating an Inclusive Gluten-Free and Dairy-Free Snickerdoodle
Traditional snickerdoodles, as delicious as they are, typically rely on wheat flour and butter. This means they often contain both gluten and dairy, making them inaccessible for those with dietary restrictions, such as Celiac disease or lactose intolerance.
For months, developing a reliable and delicious gluten-free and dairy-free snickerdoodle recipe has been a top priority on my baking list. I am absolutely thrilled to finally share this recipe, which has surpassed all expectations! Crafting an allergy-friendly version that maintains the classic flavor and texture took some careful testing, but the results are truly worth it.
These snickerdoodle cookies have been a HUGE hit in our household – my partner, Juan, absolutely **adores** them! The timing couldn’t be more perfect, just in time for the much-anticipated holiday season. After all, the holidays and Christmas are synonymous with indulging in plenty of cookies, and everyone deserves to partake in the joy. Make sure to keep this healthy, allergy-friendly snickerdoodle recipe handy, because these cookies are not just good, they’re truly crazy good!
Why You’ll Love This Gluten-Free Snickerdoodle Recipe:
- Simple, Accessible Ingredients: You don’t need to hunt for exotic or special ingredients to make these incredibly chewy gluten-free and dairy-free snickerdoodles. All the components are readily available at most grocery stores, and you likely have many of them already stocked in your kitchen pantry. This recipe focuses on straightforward, high-quality basics to achieve exceptional flavor and texture.
- Effortless and Quick Preparation: The snickerdoodle cookie dough comes together in a breeze. With minimal hands-on time and just a short 5-minute chilling period (which is crucial for handling!), you can easily roll the dough into perfect balls, coat them generously in cinnamon-sugar, and get them ready for baking. The best part? An entire batch of these mouthwatering cookies can be baked and ready to enjoy in approximately 45 minutes, making them perfect for last-minute treats or busy schedules.
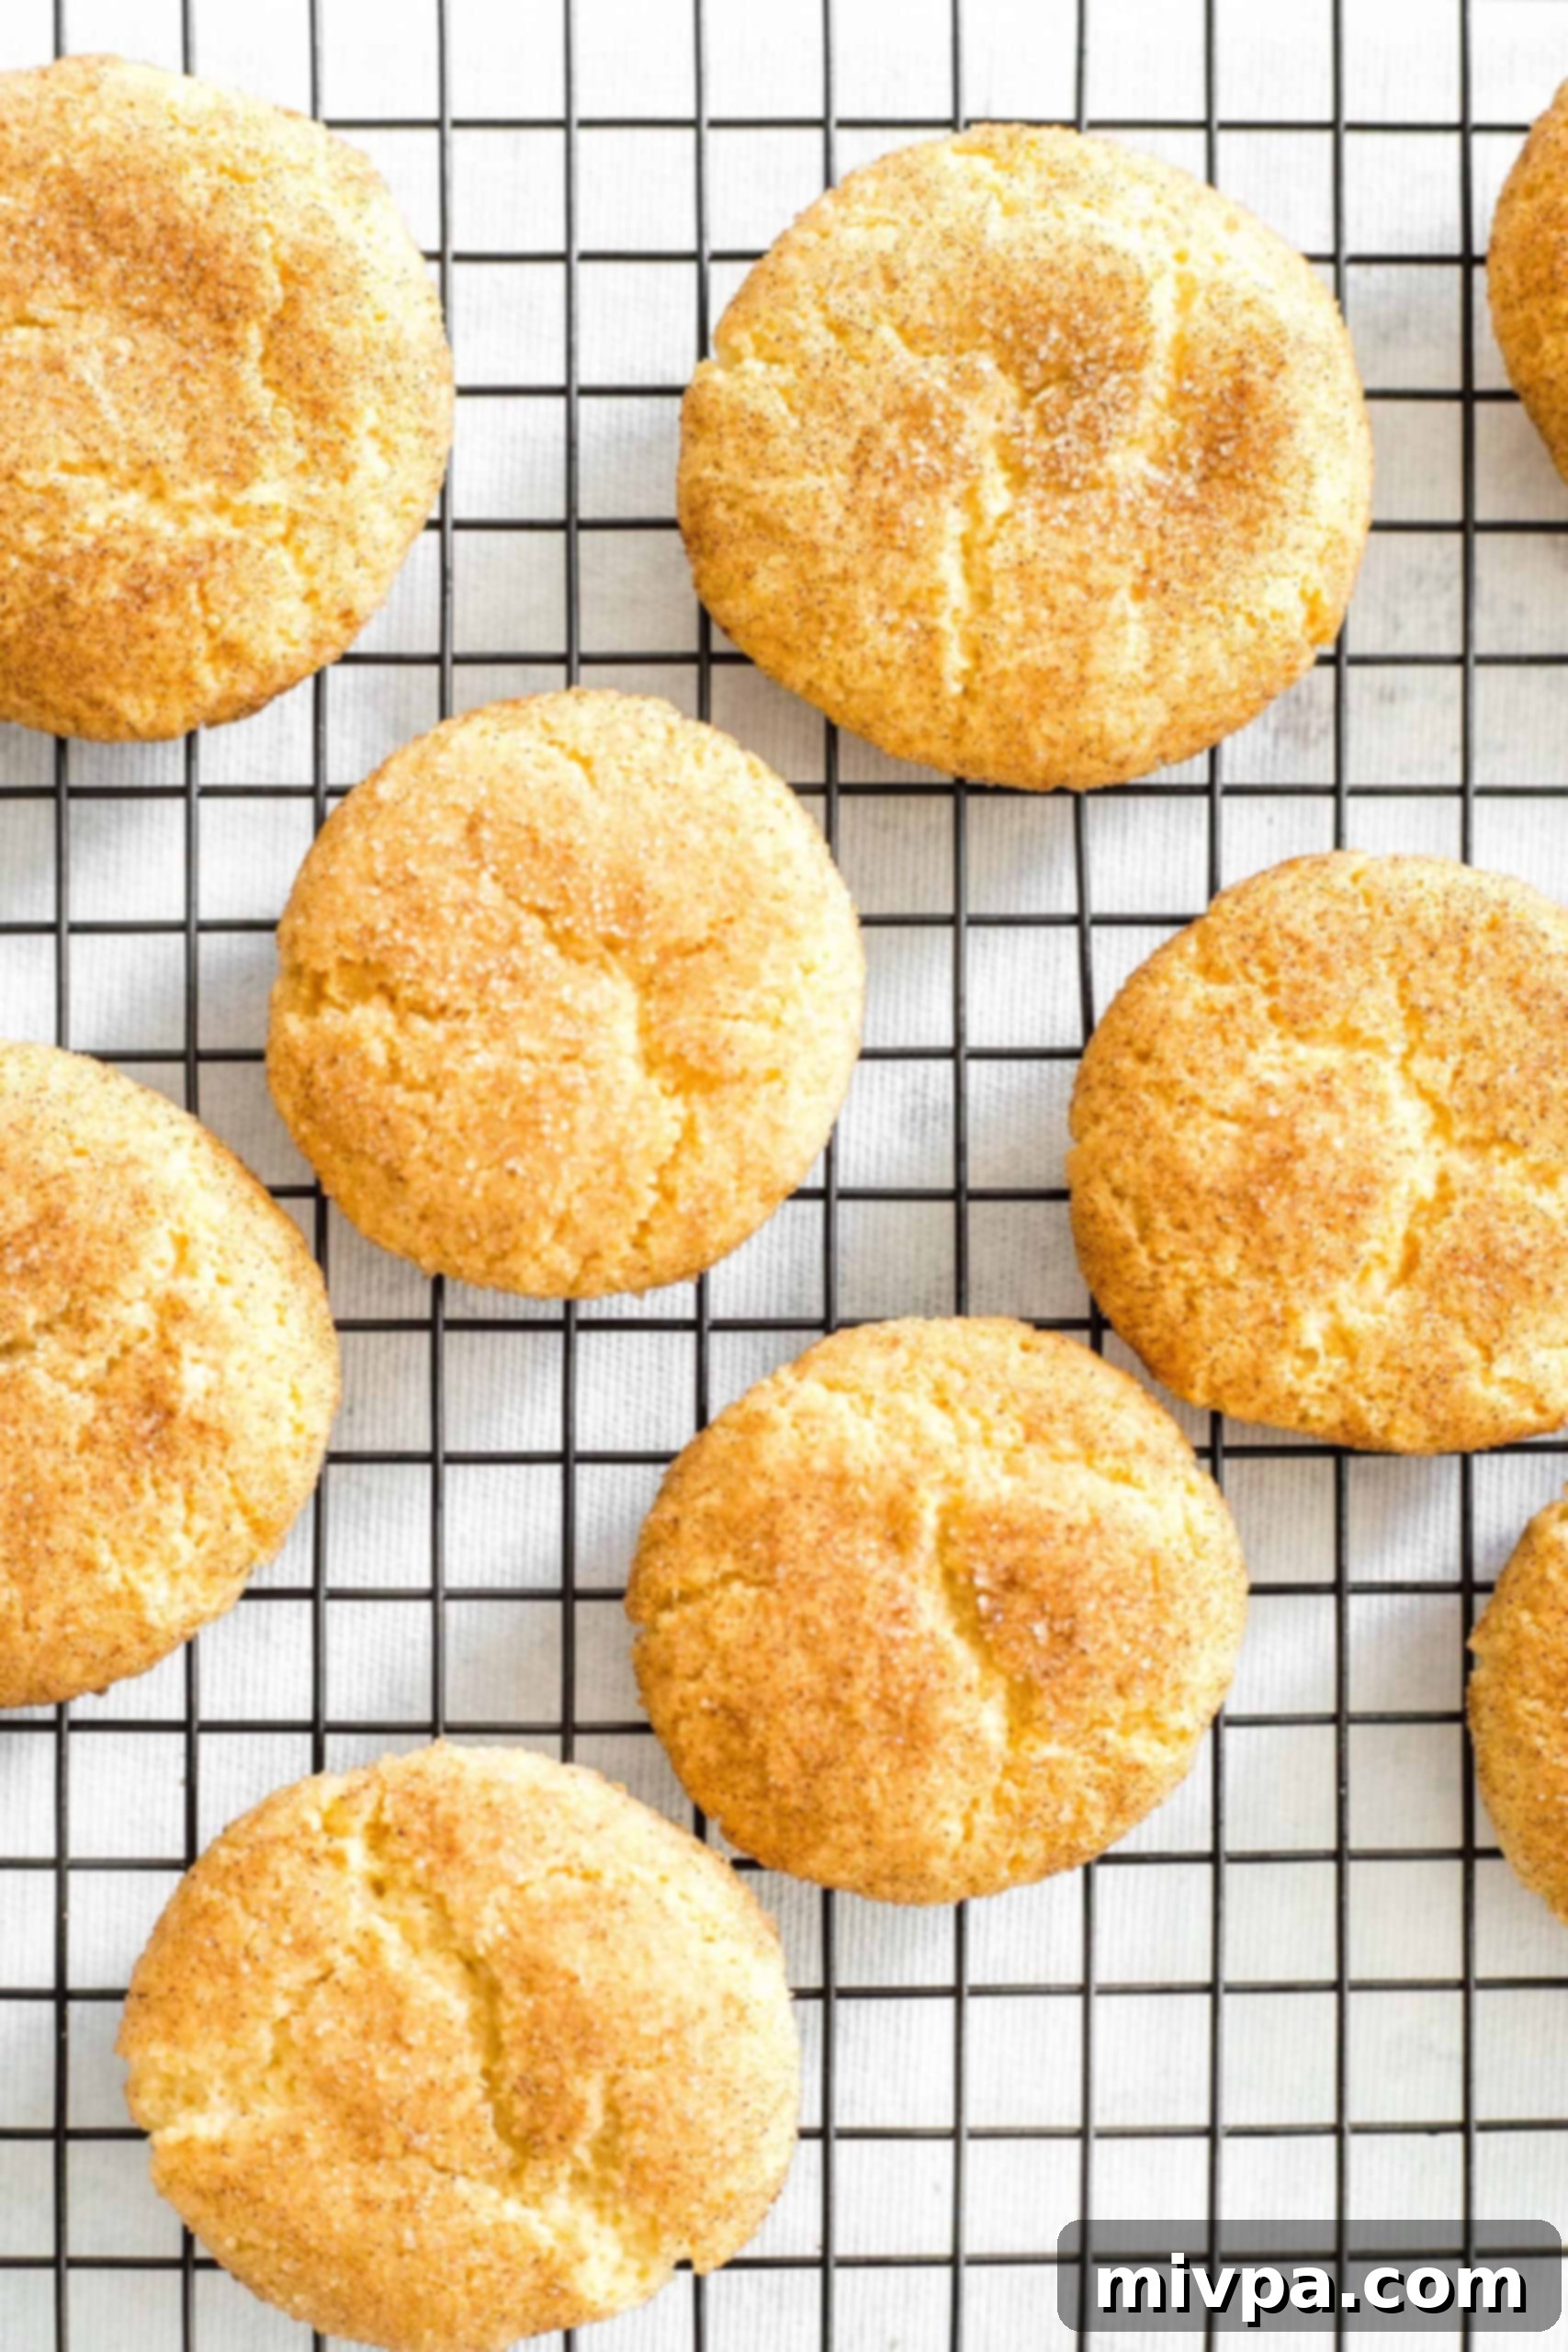
- Irresistible Crispy Outside, Chewy Inside Texture: Prepare for a truly addictive textural experience! These gluten and dairy-free snickerdoodles boast beautifully crispy edges that give way to a soft, incredibly chewy center. This delightful contrast in textures is what makes them so satisfying and will undoubtedly have you reaching for not just seconds, but thirds and even fourths. Trust me, these perfectly balanced cookies might just become your absolute *favorite holiday cookie* during the festive season, delighting everyone who tries them.
- Ideal for Holiday Cookie Exchanges & Gifting: Planning a holiday cookie exchange or looking for a thoughtful homemade gift? These chewy snickerdoodles are your answer! They maintain their freshness and delicious texture remarkably well when stored in an airtight container at room temperature, making them excellent candidates for sharing. Your friends, family, and loved ones will be absolutely delighted to receive a batch of these delectable, allergy-friendly treats, perfectly packaged with love.
- Completely Gluten-Free & Dairy-Free: The biggest advantage of this recipe is its complete adherence to both gluten-free and dairy-free dietary needs. We’ve thoughtfully substituted traditional butter with coconut oil to ensure they are dairy-free, and as always, we use a reliable gluten-free all-purpose flour blend. This careful formulation means that individuals with Celiac disease, gluten sensitivity, or lactose intolerance can confidently *indulge* in these festive Christmas cookies, without missing out on any of the holiday cheer.
Gather Your Ingredients: What You’ll Need
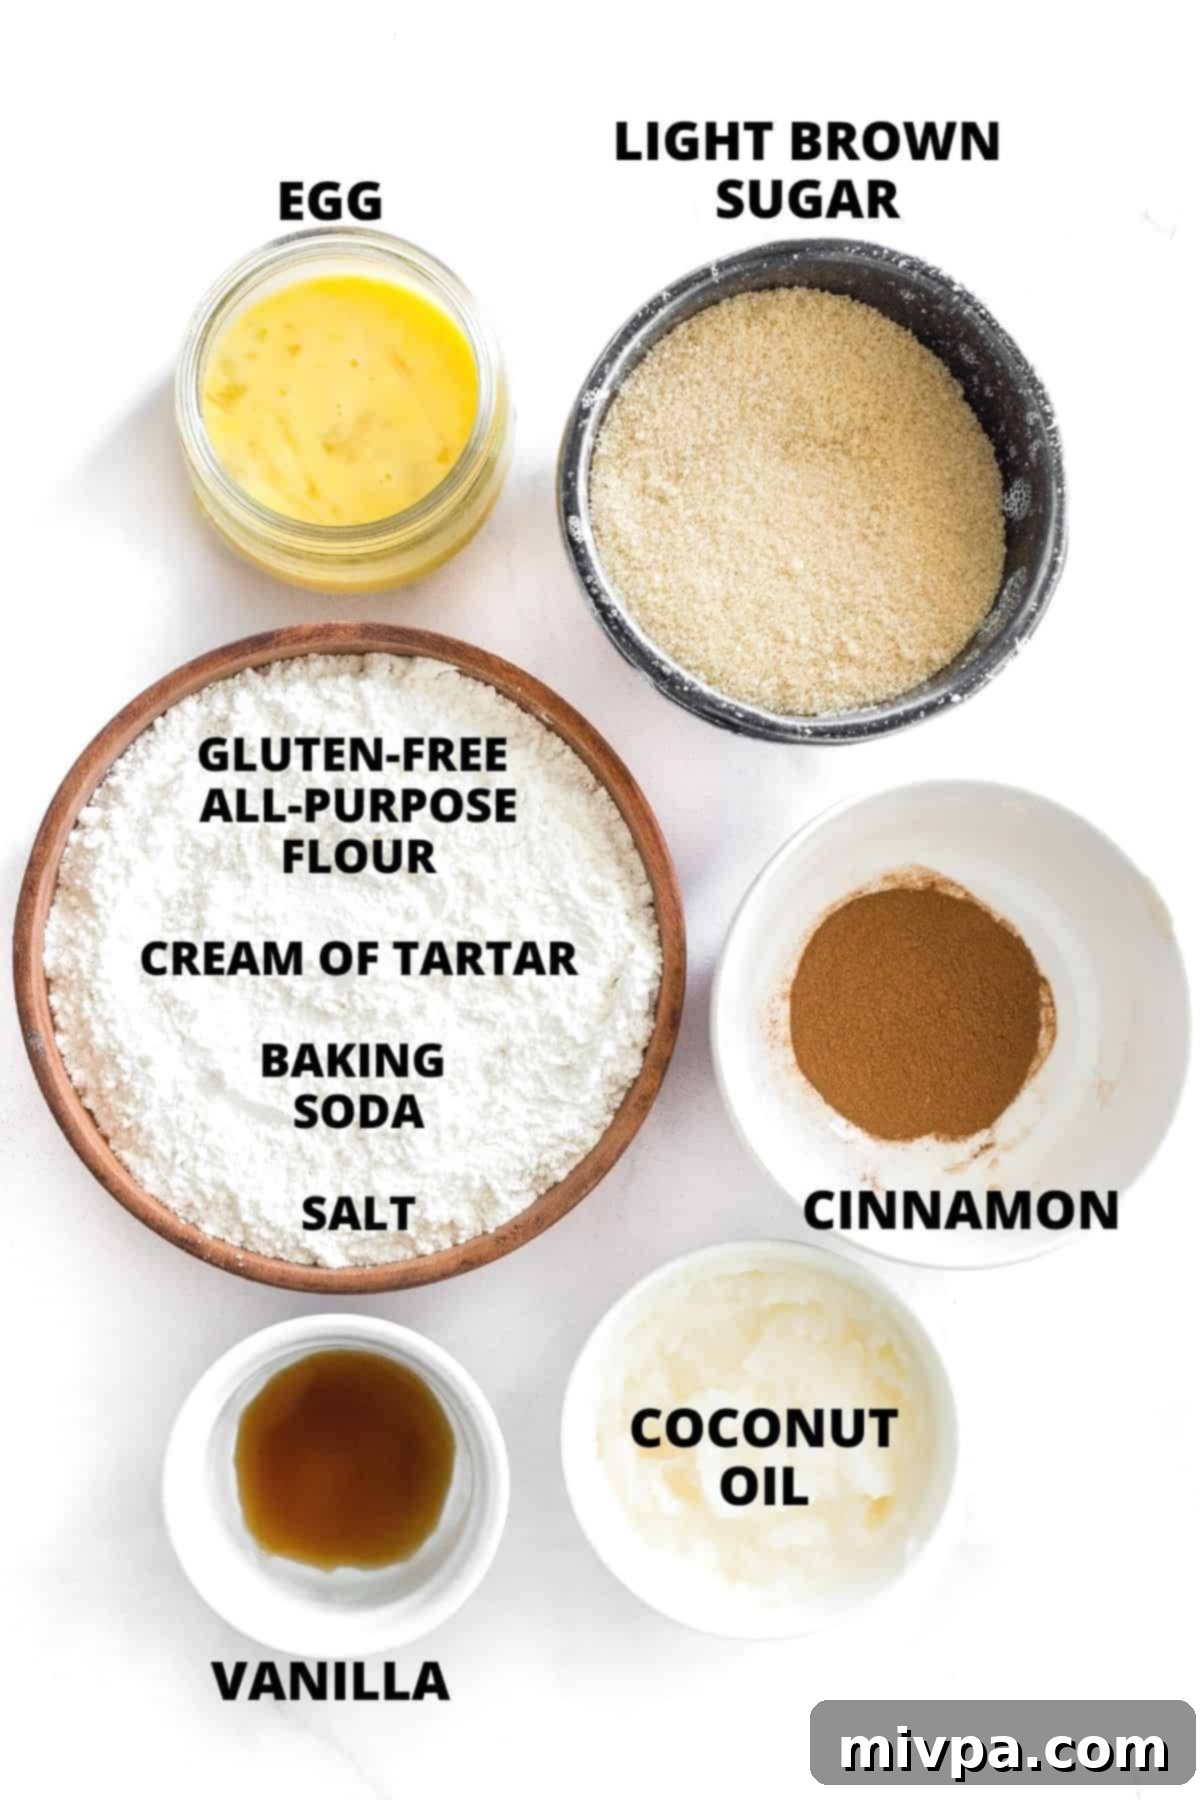
To make this fantastic gluten-free snickerdoodle recipe, you’ll need a few common pantry staples. Here’s a visual overview of the key ingredients to help you get started:
(For precise measurements and detailed instructions, please make sure to scroll down to the comprehensive printable recipe card located at the very bottom of this post.)
Ingredient Notes & Helpful Substitutions:
- Gluten-Free All-Purpose Flour: The type of gluten-free flour blend you use can significantly impact the final texture of your cookies. I strongly advise opting for a high-quality gluten-free all-purpose flour blend that primarily consists of lighter flours and starches, such as rice flour, tapioca starch, corn starch, or potato starch. These blends typically result in a much lighter, more delicate crumb. Avoid flour blends that prominently feature heavier flours like bean flours (garbanzo, fava, etc.), as these can lead to a denser, sometimes gritty, texture in your baked goods.
- Xanthan Gum: In gluten-free baking, xanthan gum plays a crucial role by mimicking the elasticity and binding properties of gluten, which is absent in gluten-free flours. It helps to give the cookies structure and prevents them from crumbling. If your chosen gluten-free flour blend already lists xanthan gum as an ingredient, you can (and should) omit the additional xanthan gum specified in this recipe to avoid a gummy texture.
- Cream of Tartar/Baking Soda: This dynamic duo is a signature of snickerdoodle cookies. Despite its name, cream of tartar (which is powdered tartaric acid) contains absolutely no dairy. It’s indispensable in snickerdoodles for several reasons: it prevents sugar from crystallizing, contributing to a lighter, fluffier, and chewier texture, and most importantly, it imparts that characteristic tangy flavor that distinguishes snickerdoodles from ordinary sugar cookies. If you find yourself without cream of tartar, a simple alternative is to replace both the cream of tartar and the baking soda with 2 teaspoons of baking powder. While this will still leaven the cookies, the unique tangy flavor will be less pronounced.
- Sugar: For this recipe, I’ve opted for light brown sugar, which adds a lovely moistness and subtle caramel notes. However, you have flexibility here! Feel free to substitute it with equal amounts of regular white granulated sugar, cane sugar, dark brown sugar for a deeper flavor, or even coconut sugar if you prefer a less refined option. For those managing blood sugar levels, such as individuals with diabetes or insulin resistance, I highly recommend using granulated monkfruit sweetener. It’s a fantastic 1:1 sugar substitute that has a zero glycemic index and won’t cause spikes in your blood sugar.
- Coconut Oil: To ensure these snickerdoodles are dairy-free, we use coconut oil. I personally prefer refined coconut oil for baking because it has a neutral flavor and aroma, which won’t interfere with the cookie’s taste. In contrast, extra virgin coconut oil retains a distinct coconut taste and smell, which you might or might not prefer. If coconut oil isn’t available, or if you prefer an alternative, you can use palm shortening or a high-quality dairy-free butter (vegan butter) in equal quantities. Of course, if you don’t have lactose intolerance and aren’t avoiding dairy, traditional butter can be used instead.
- Egg: The egg in this recipe acts as a binder and helps with the cookie’s structure and texture. While I haven’t personally tested this recipe without an egg, it’s generally possible to substitute it with alternatives like aquafaba (the liquid from a can of chickpeas) or a commercial egg-replacer. If you attempt an egg-free version, please note that the texture might vary slightly.
- Vanilla Extract: A touch of vanilla extract is added for an extra layer of warm, aromatic flavor, enhancing the overall deliciousness of the cookies. While it adds a lovely depth, if you don’t have it on hand or prefer to omit it, the cookies will still be wonderful.
- Cinnamon: This is arguably the most essential ingredient that truly defines a snickerdoodle! The generous coating of ground cinnamon mixed with sugar is what gives snickerdoodles their distinctive spice and aroma, setting them distinctly apart from plain sugar cookies. I strongly advise against omitting this ingredient, as it’s key to the snickerdoodle experience.
How to Bake Perfect Gluten-Free Snickerdoodles (Step by Step Guide):
1. Preheat Oven and Prepare Baking Sheets
Begin by preheating your oven to 350°F (180°C). This ensures the oven is at the correct temperature when your cookies are ready to bake. Next, line two large baking sheets with either silpat baking mats or parchment paper. This crucial step prevents the cookie dough from sticking and ensures even baking.
2. Combine Dry Ingredients
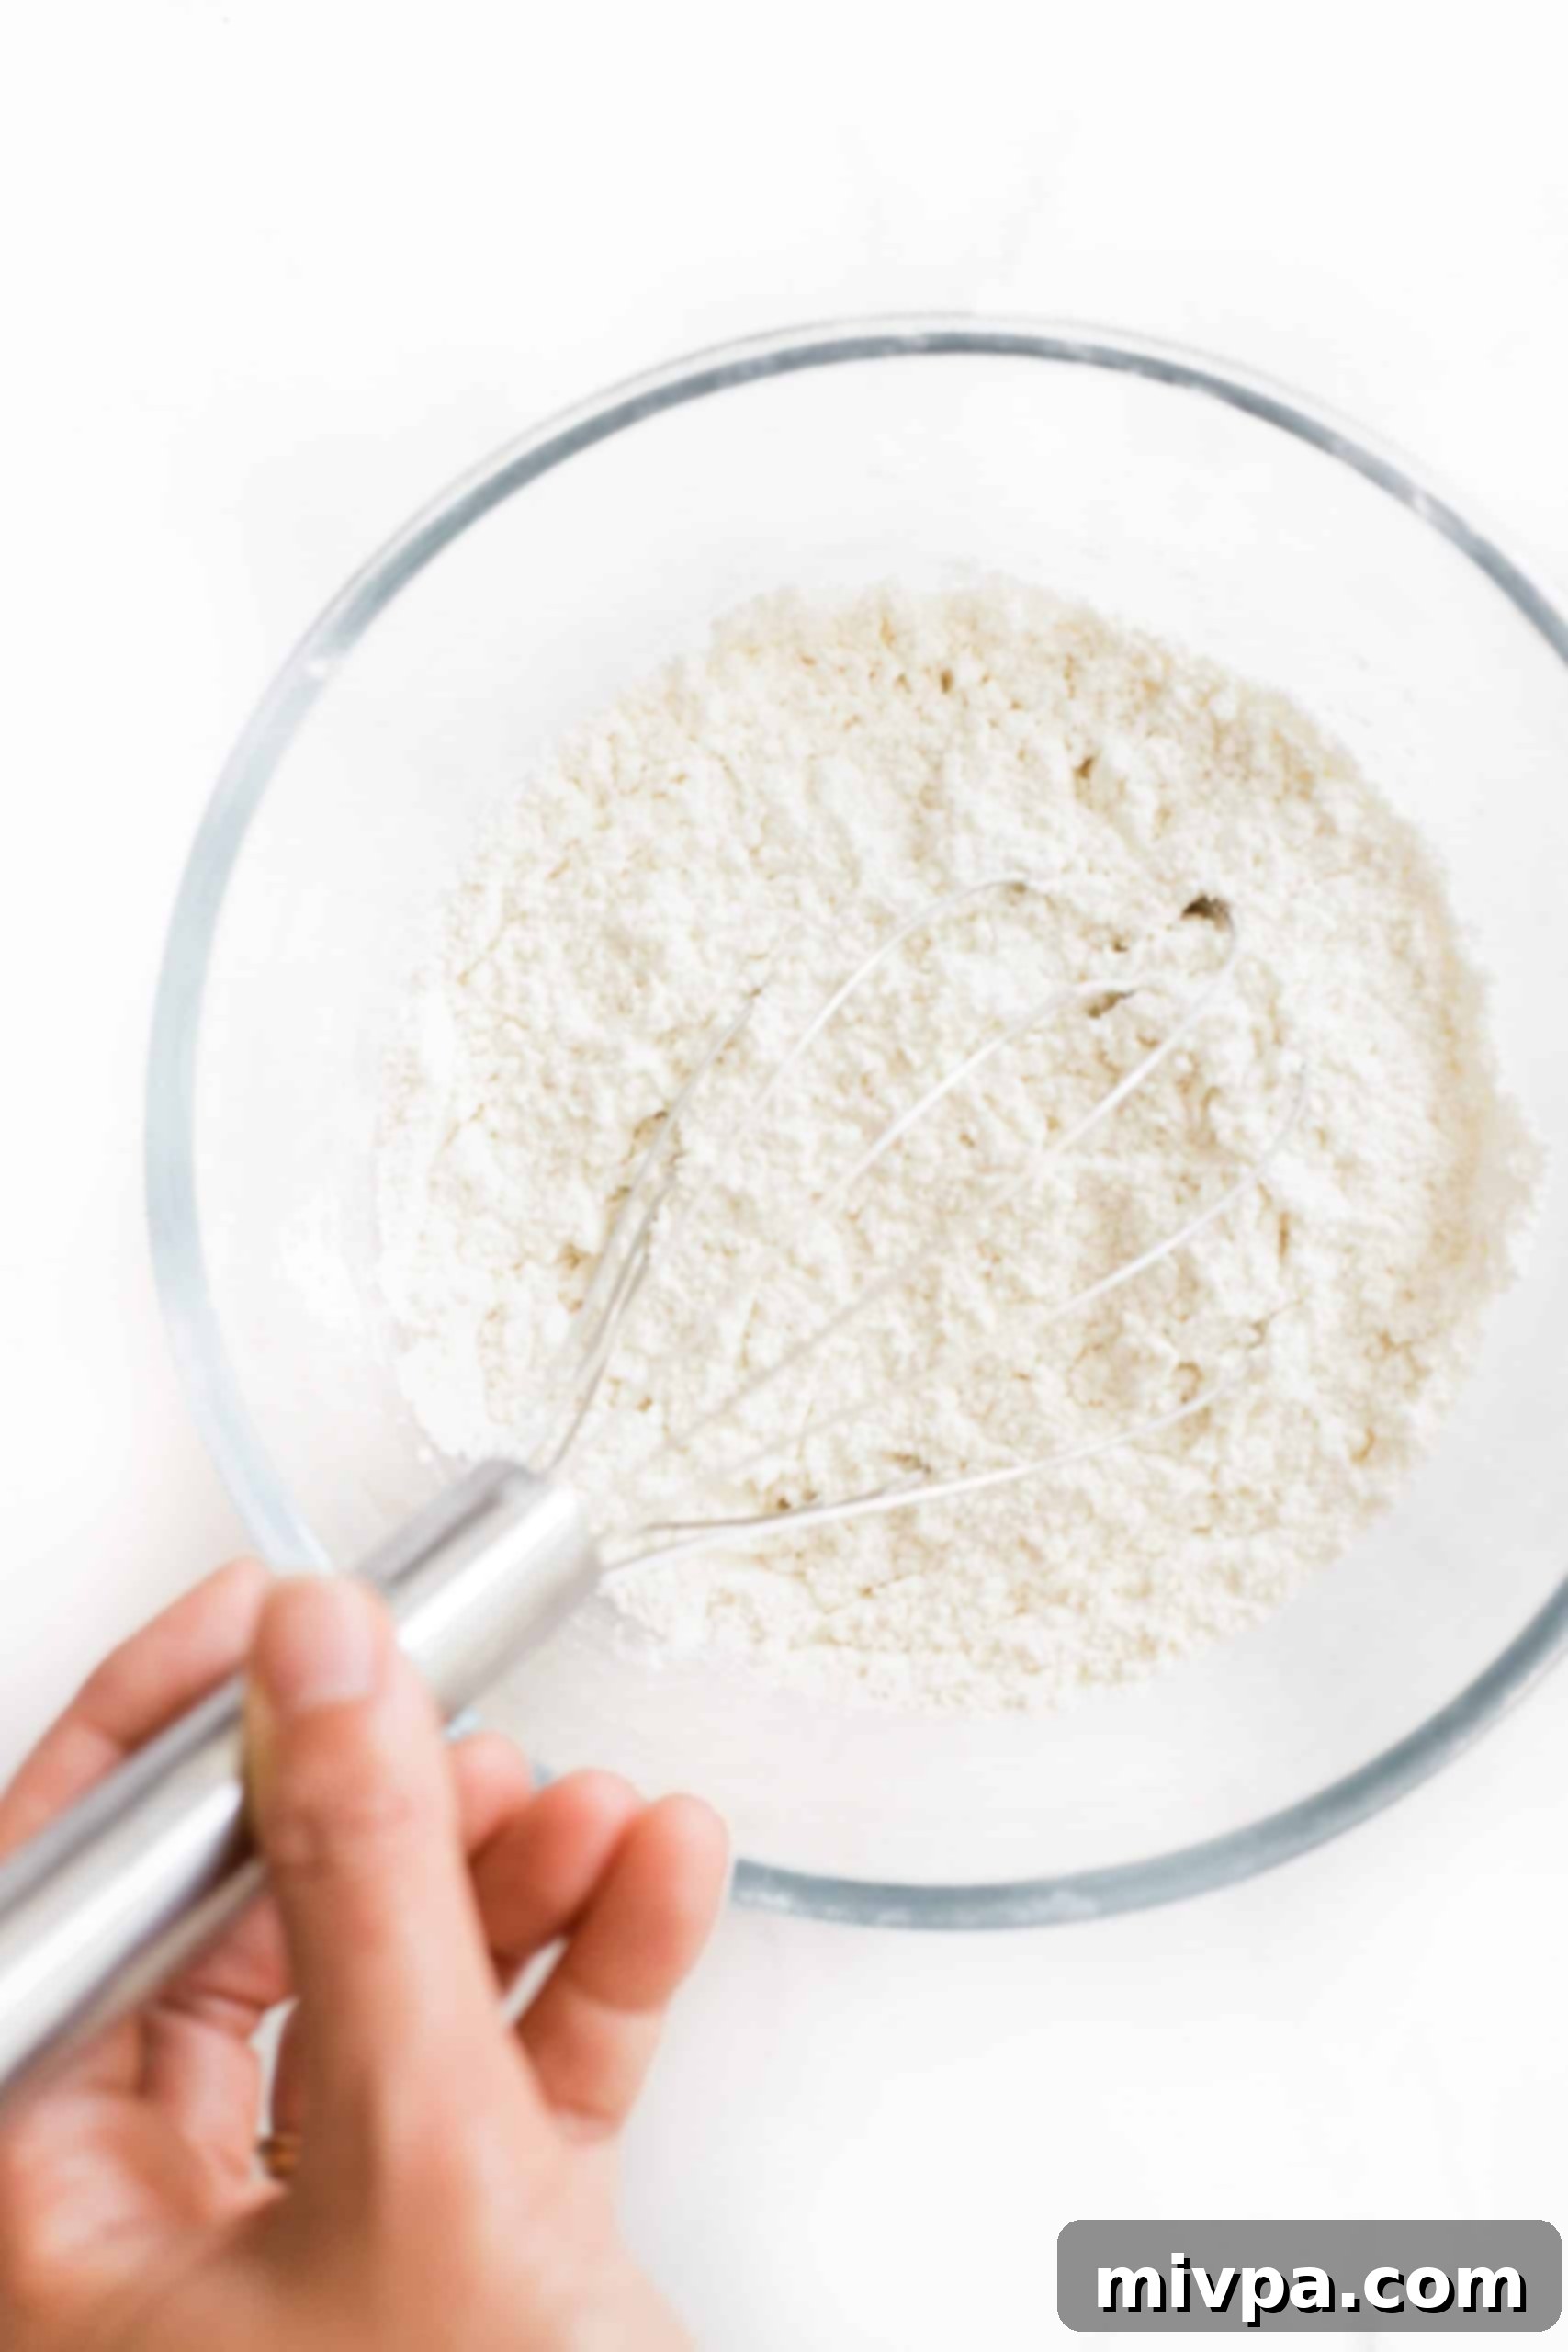
In a medium-sized mixing bowl, combine all your dry ingredients: the gluten-free all-purpose flour, cream of tartar, baking soda, and salt. Use a whisk to thoroughly combine them, ensuring that the leavening agents and salt are evenly distributed throughout the flour mixture. This step is vital for consistent texture and flavor in every cookie.
3. Cream Together Sugar and Coconut Oil
In a separate, large mixing bowl, combine the light brown sugar and the room-temperature coconut oil. Use a whisk or an electric mixer to beat them together until the mixture becomes light, fluffy, and creamy. This creaming process incorporates air, which contributes to the cookies’ light texture.
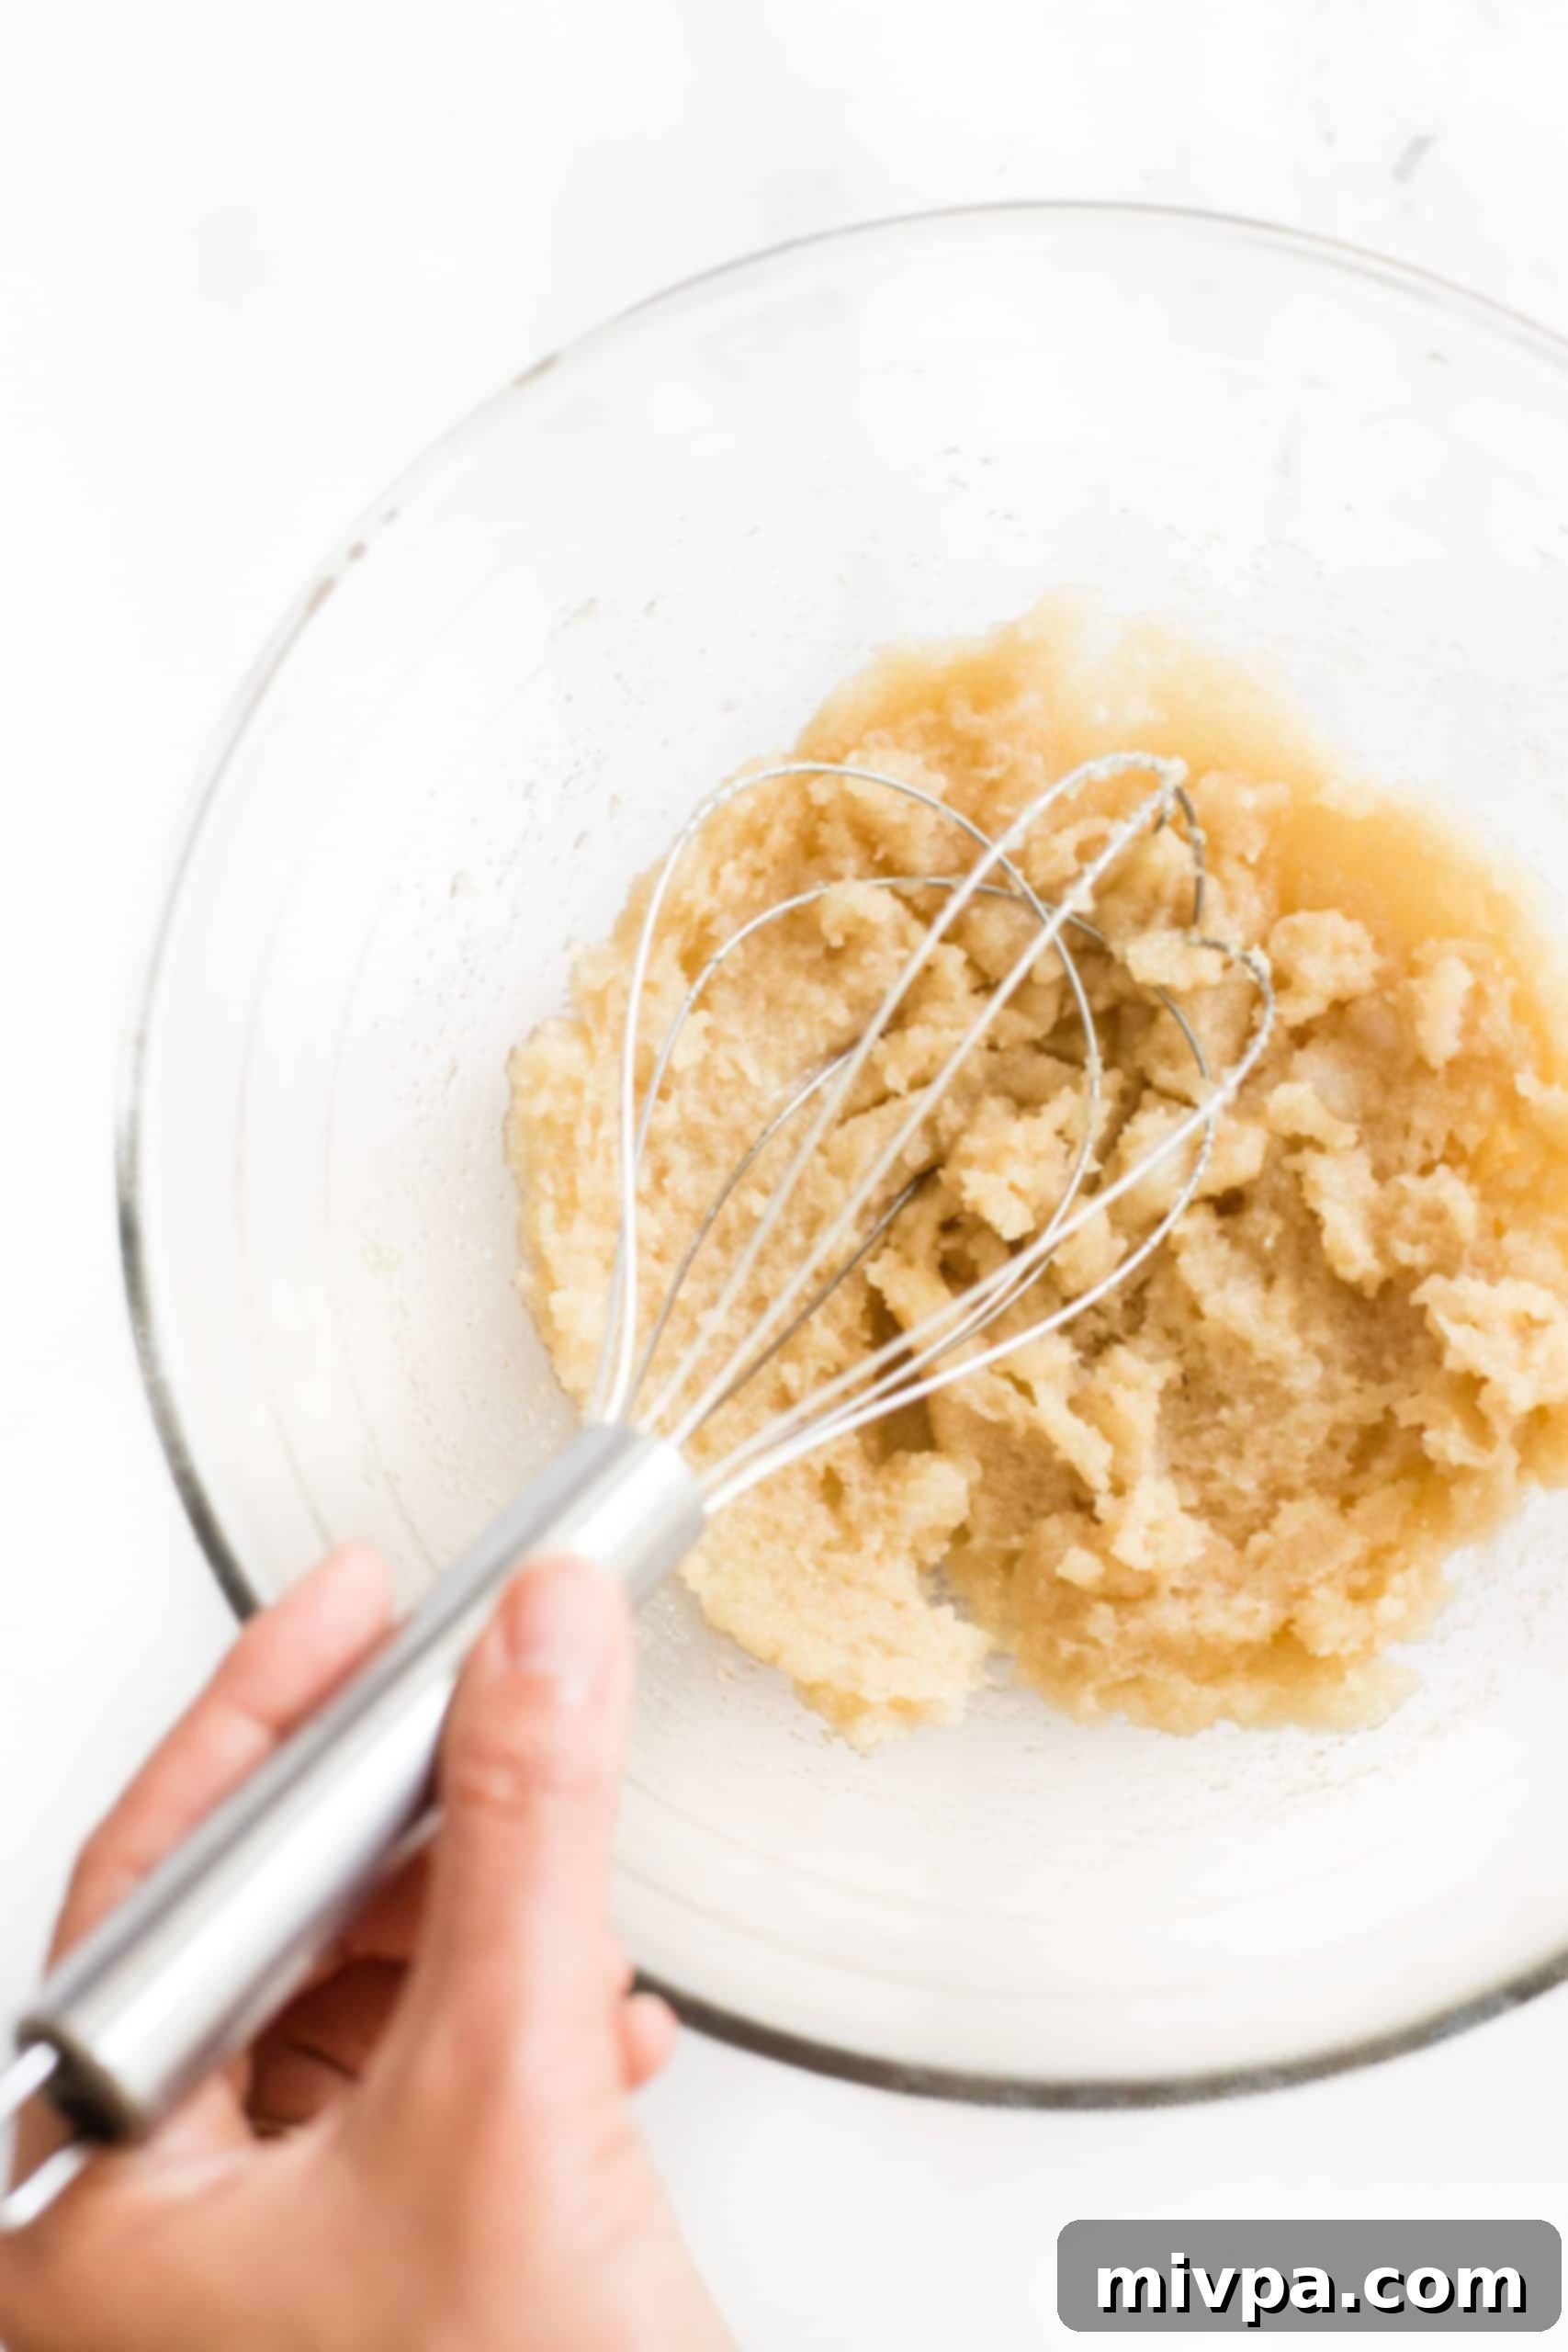
4. Incorporate Egg and Vanilla Extract
Once your sugar and coconut oil mixture is creamy, add the beaten egg and the vanilla extract. Continue whisking until these wet ingredients are fully combined and you have a smooth, homogeneous liquid mixture. Ensure there are no streaks of egg visible, as this creates a uniform base for your cookie dough.
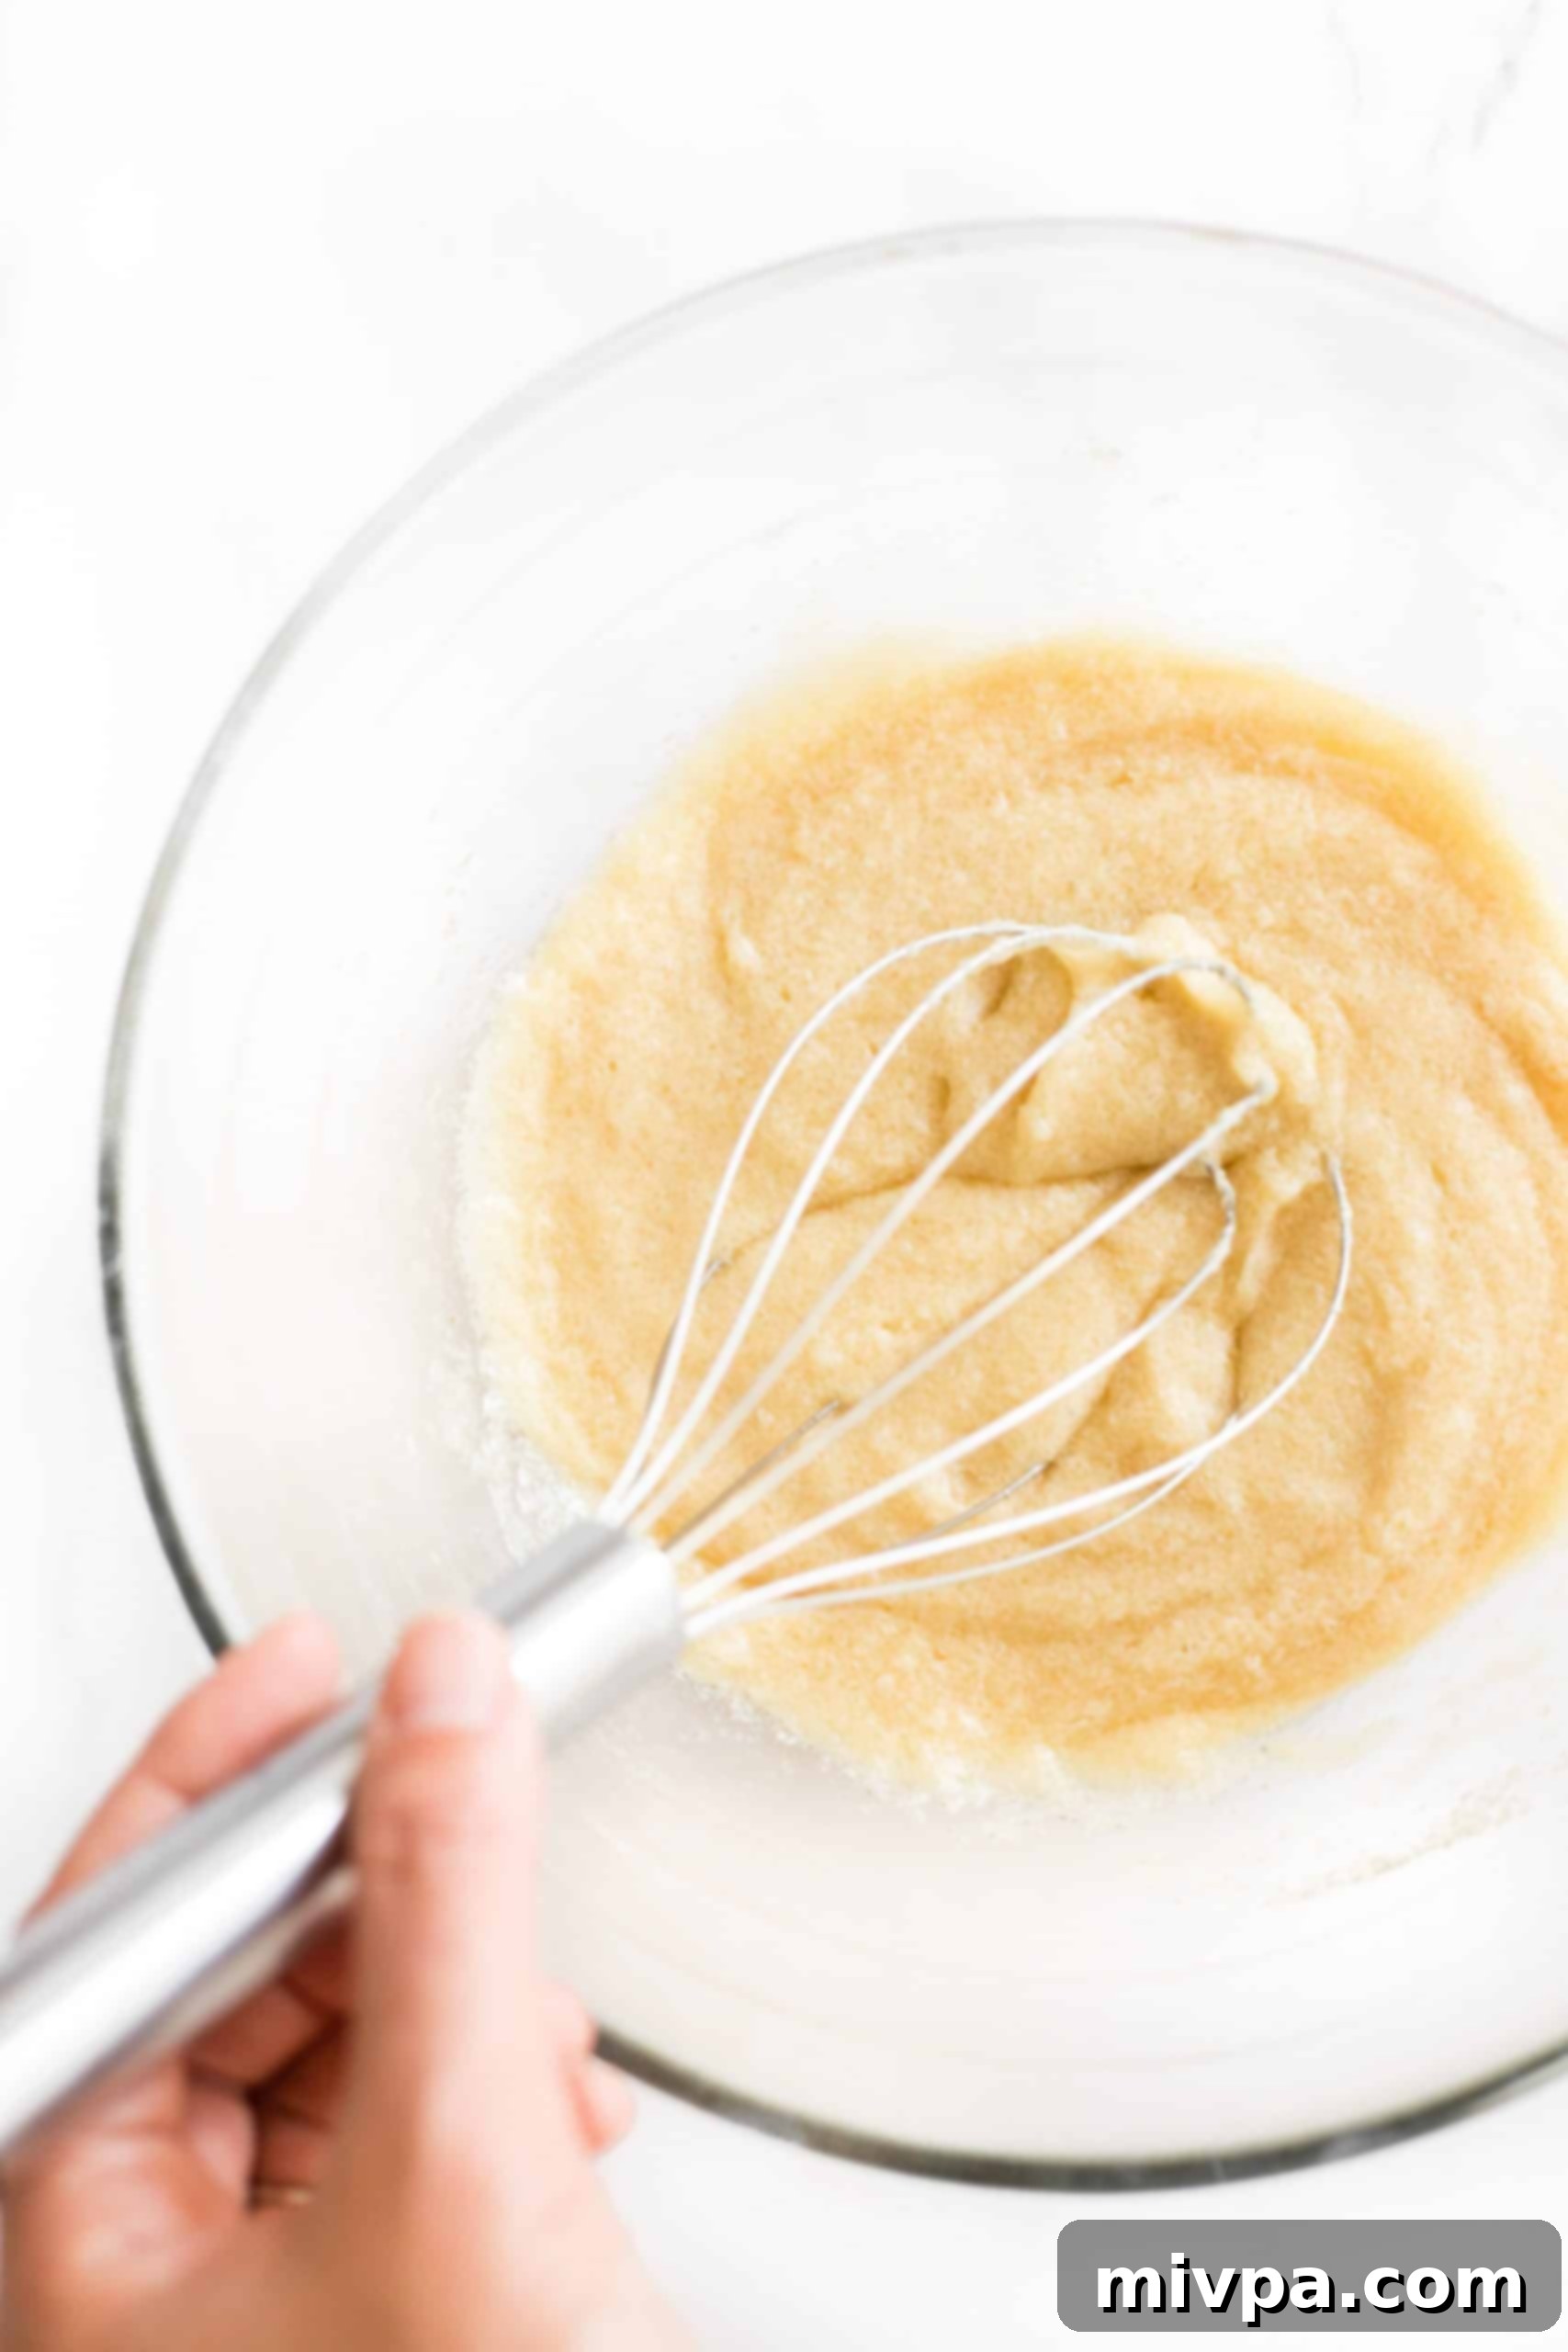
5. Form the Cookie Dough and Chill
Gradually add the whisked flour mixture (dry ingredients) to the wet ingredients in the large bowl. Mix well, either with a whisk or a sturdy spatula, until a soft, cohesive dough forms. Be careful not to overmix, which can make cookies tough. Once combined, cover the bowl and let the dough chill in the freezer for just 5 minutes. This quick chill makes the dough much easier to handle and prevents excessive spreading during baking.
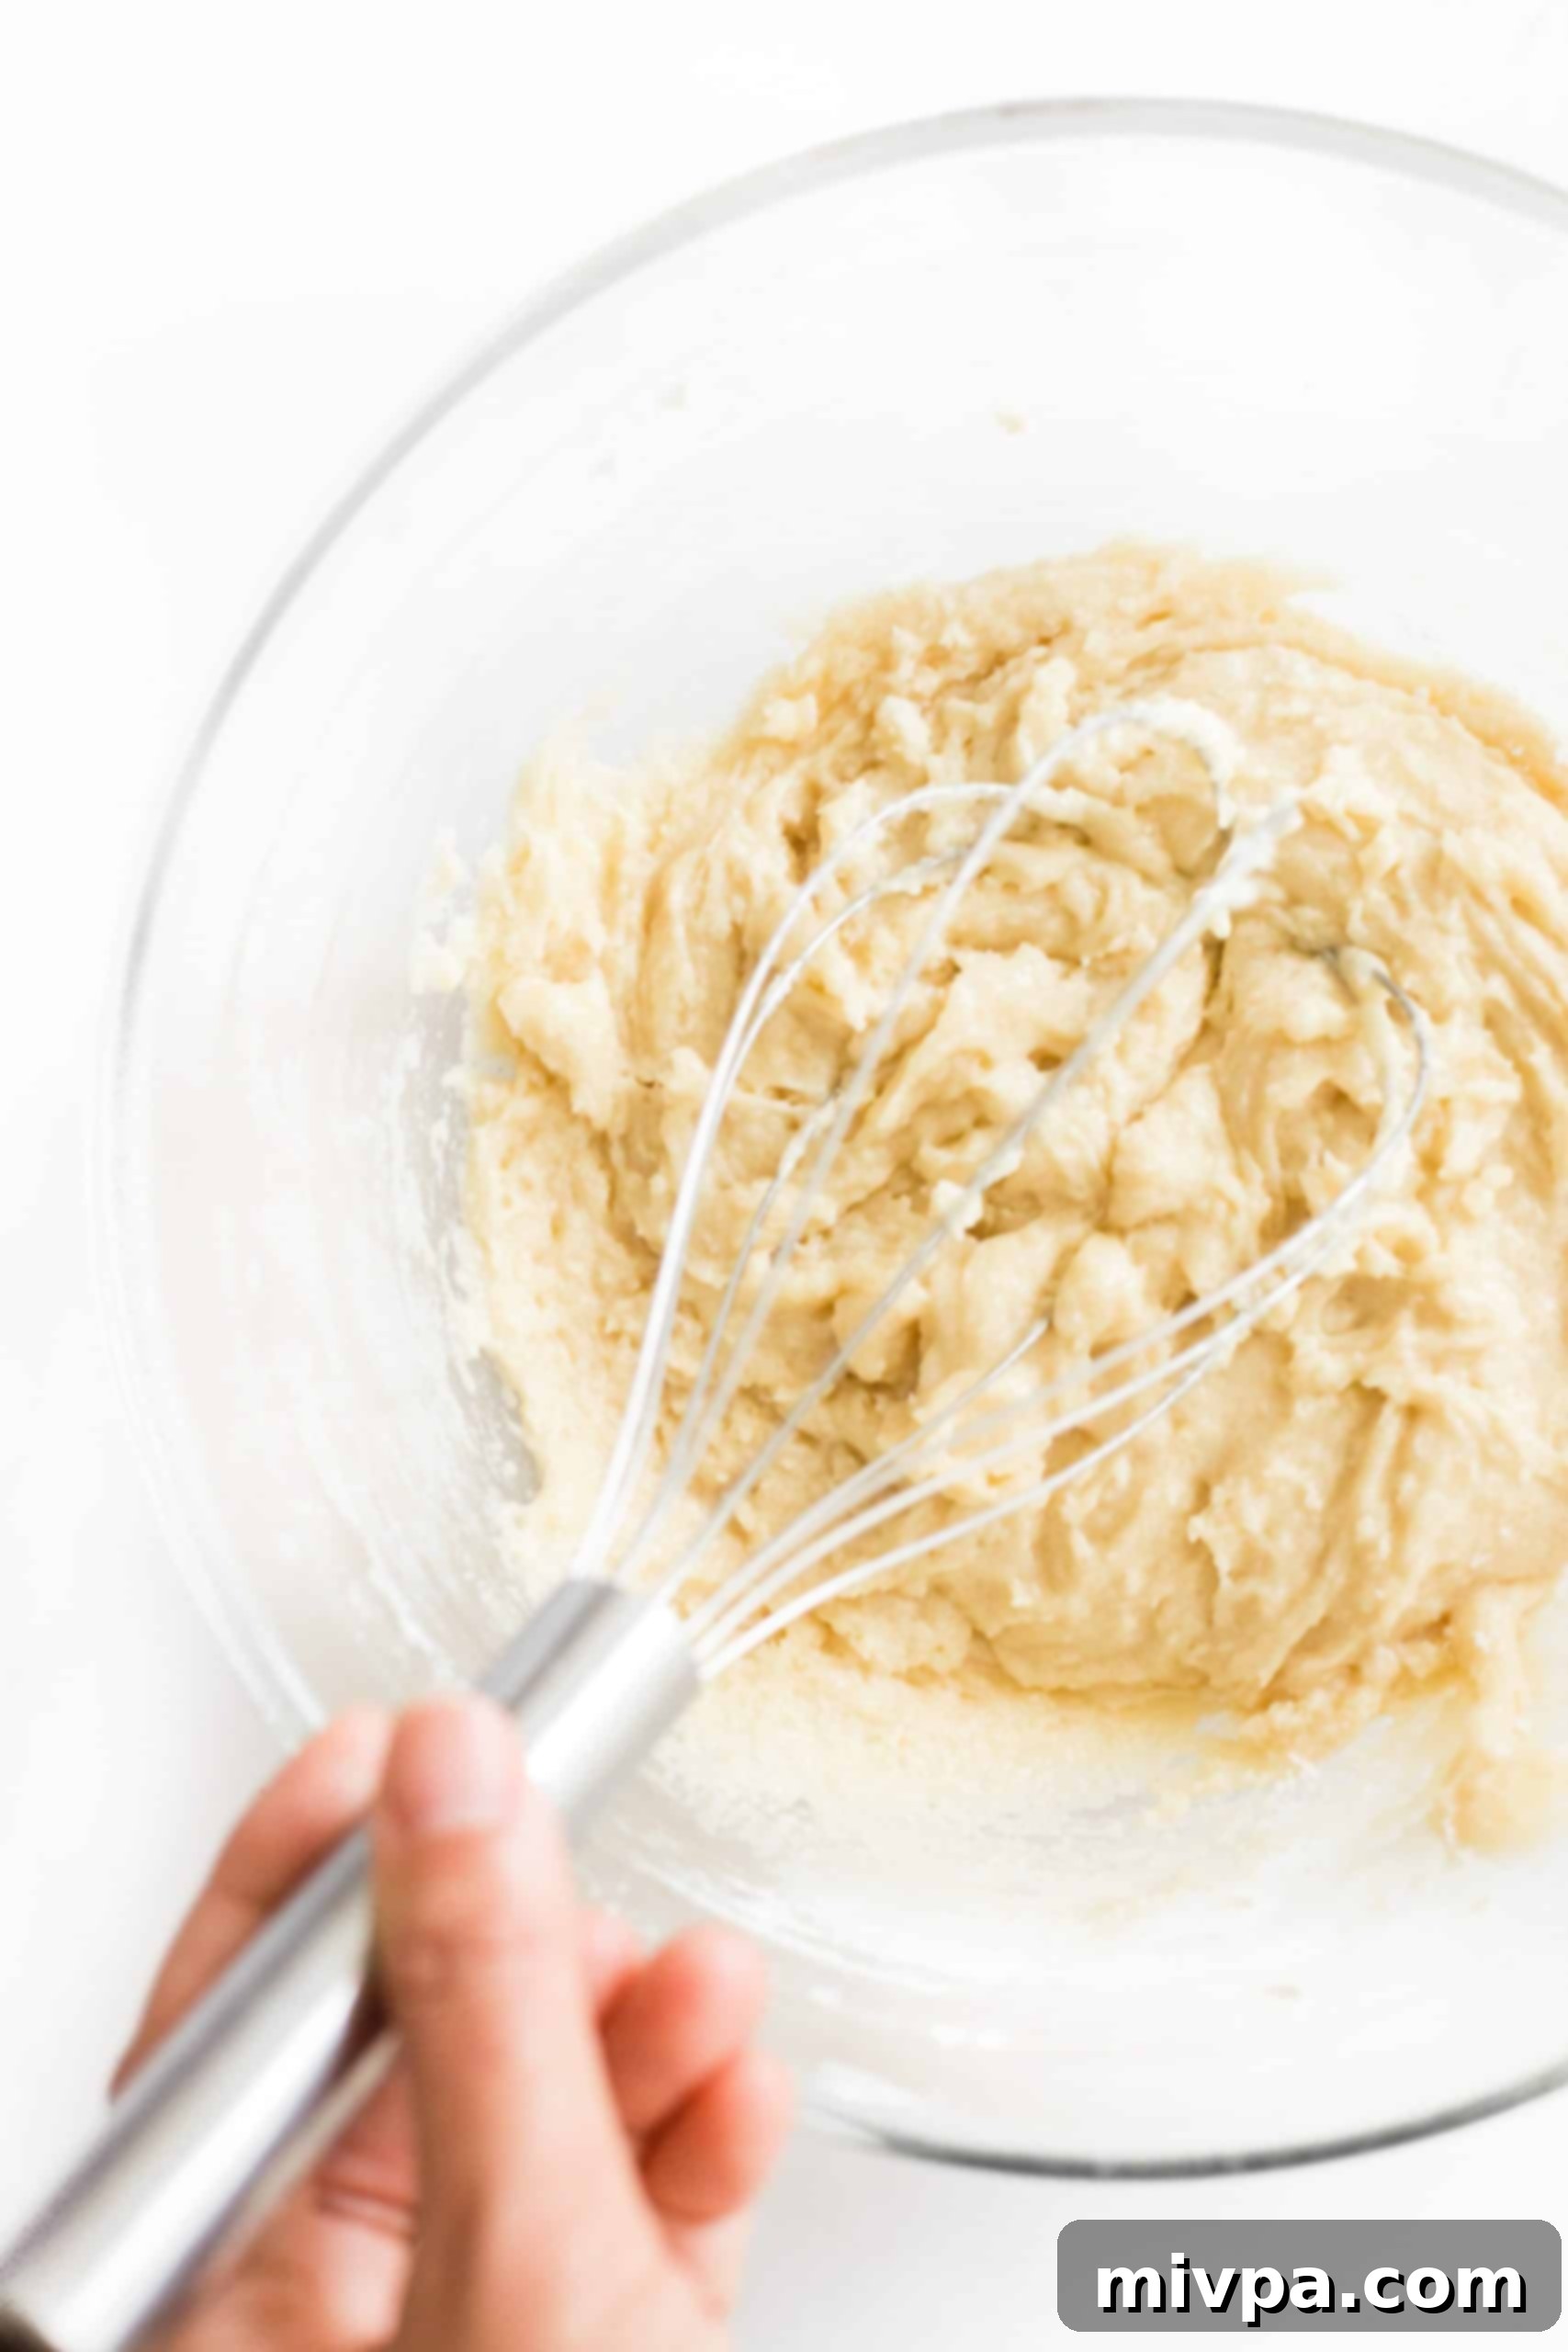
6. Roll into Uniform Cookie Balls
Once the dough has chilled briefly, use a small cookie scoop (approximately 1 teaspoon size) to portion out the dough. Roll each portion between your palms to form small, smooth balls, about 1 1/2 inches in diameter. Arrange these dough balls on a clean plate. You should yield approximately 18 to 20 cookie dough balls from this recipe. After forming, place the plate with the cookie dough balls back into the freezer for another 5 minutes to ensure they are firm and cold before coating.
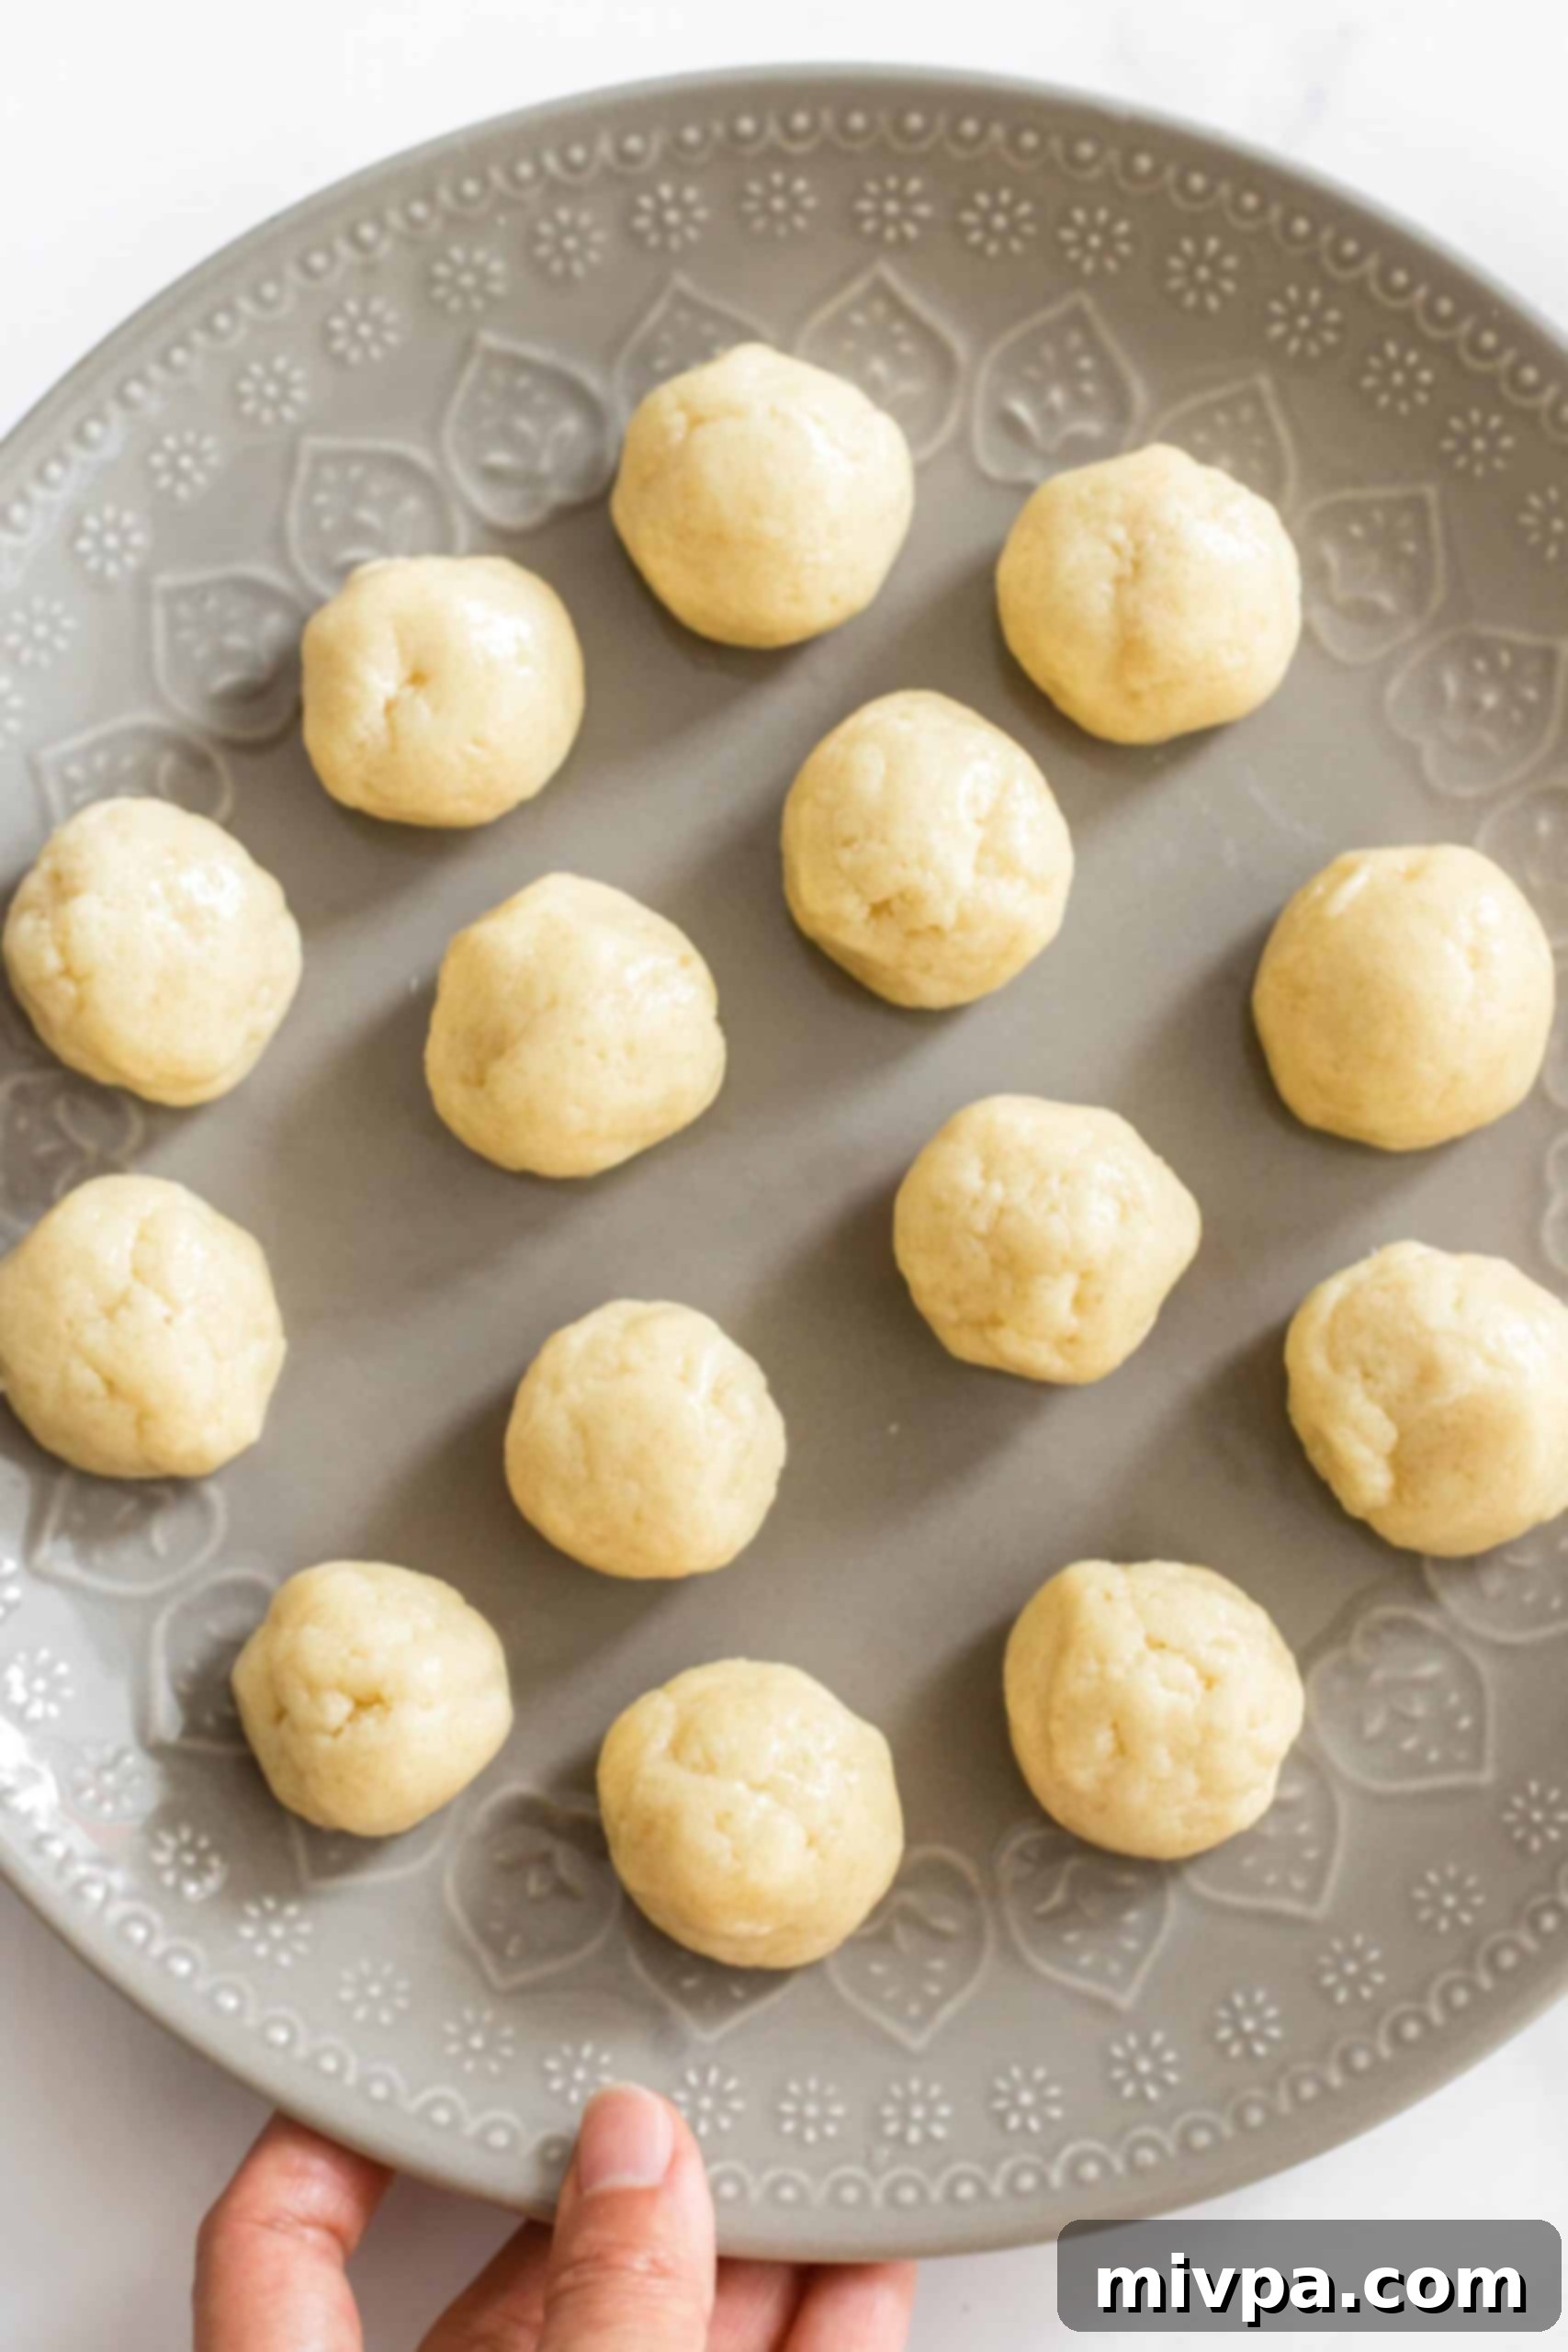
7. Prepare the Signature Cinnamon Sugar Coating
While your cookie dough balls are chilling, prepare the essential cinnamon-sugar coating. In a shallow bowl, combine the light brown sugar and the ground cinnamon. Use a fork or a small whisk to mix them thoroughly until you have a perfectly homogeneous, aromatic mixture. This coating is what gives snickerdoodles their iconic flavor and beautiful cracked appearance.
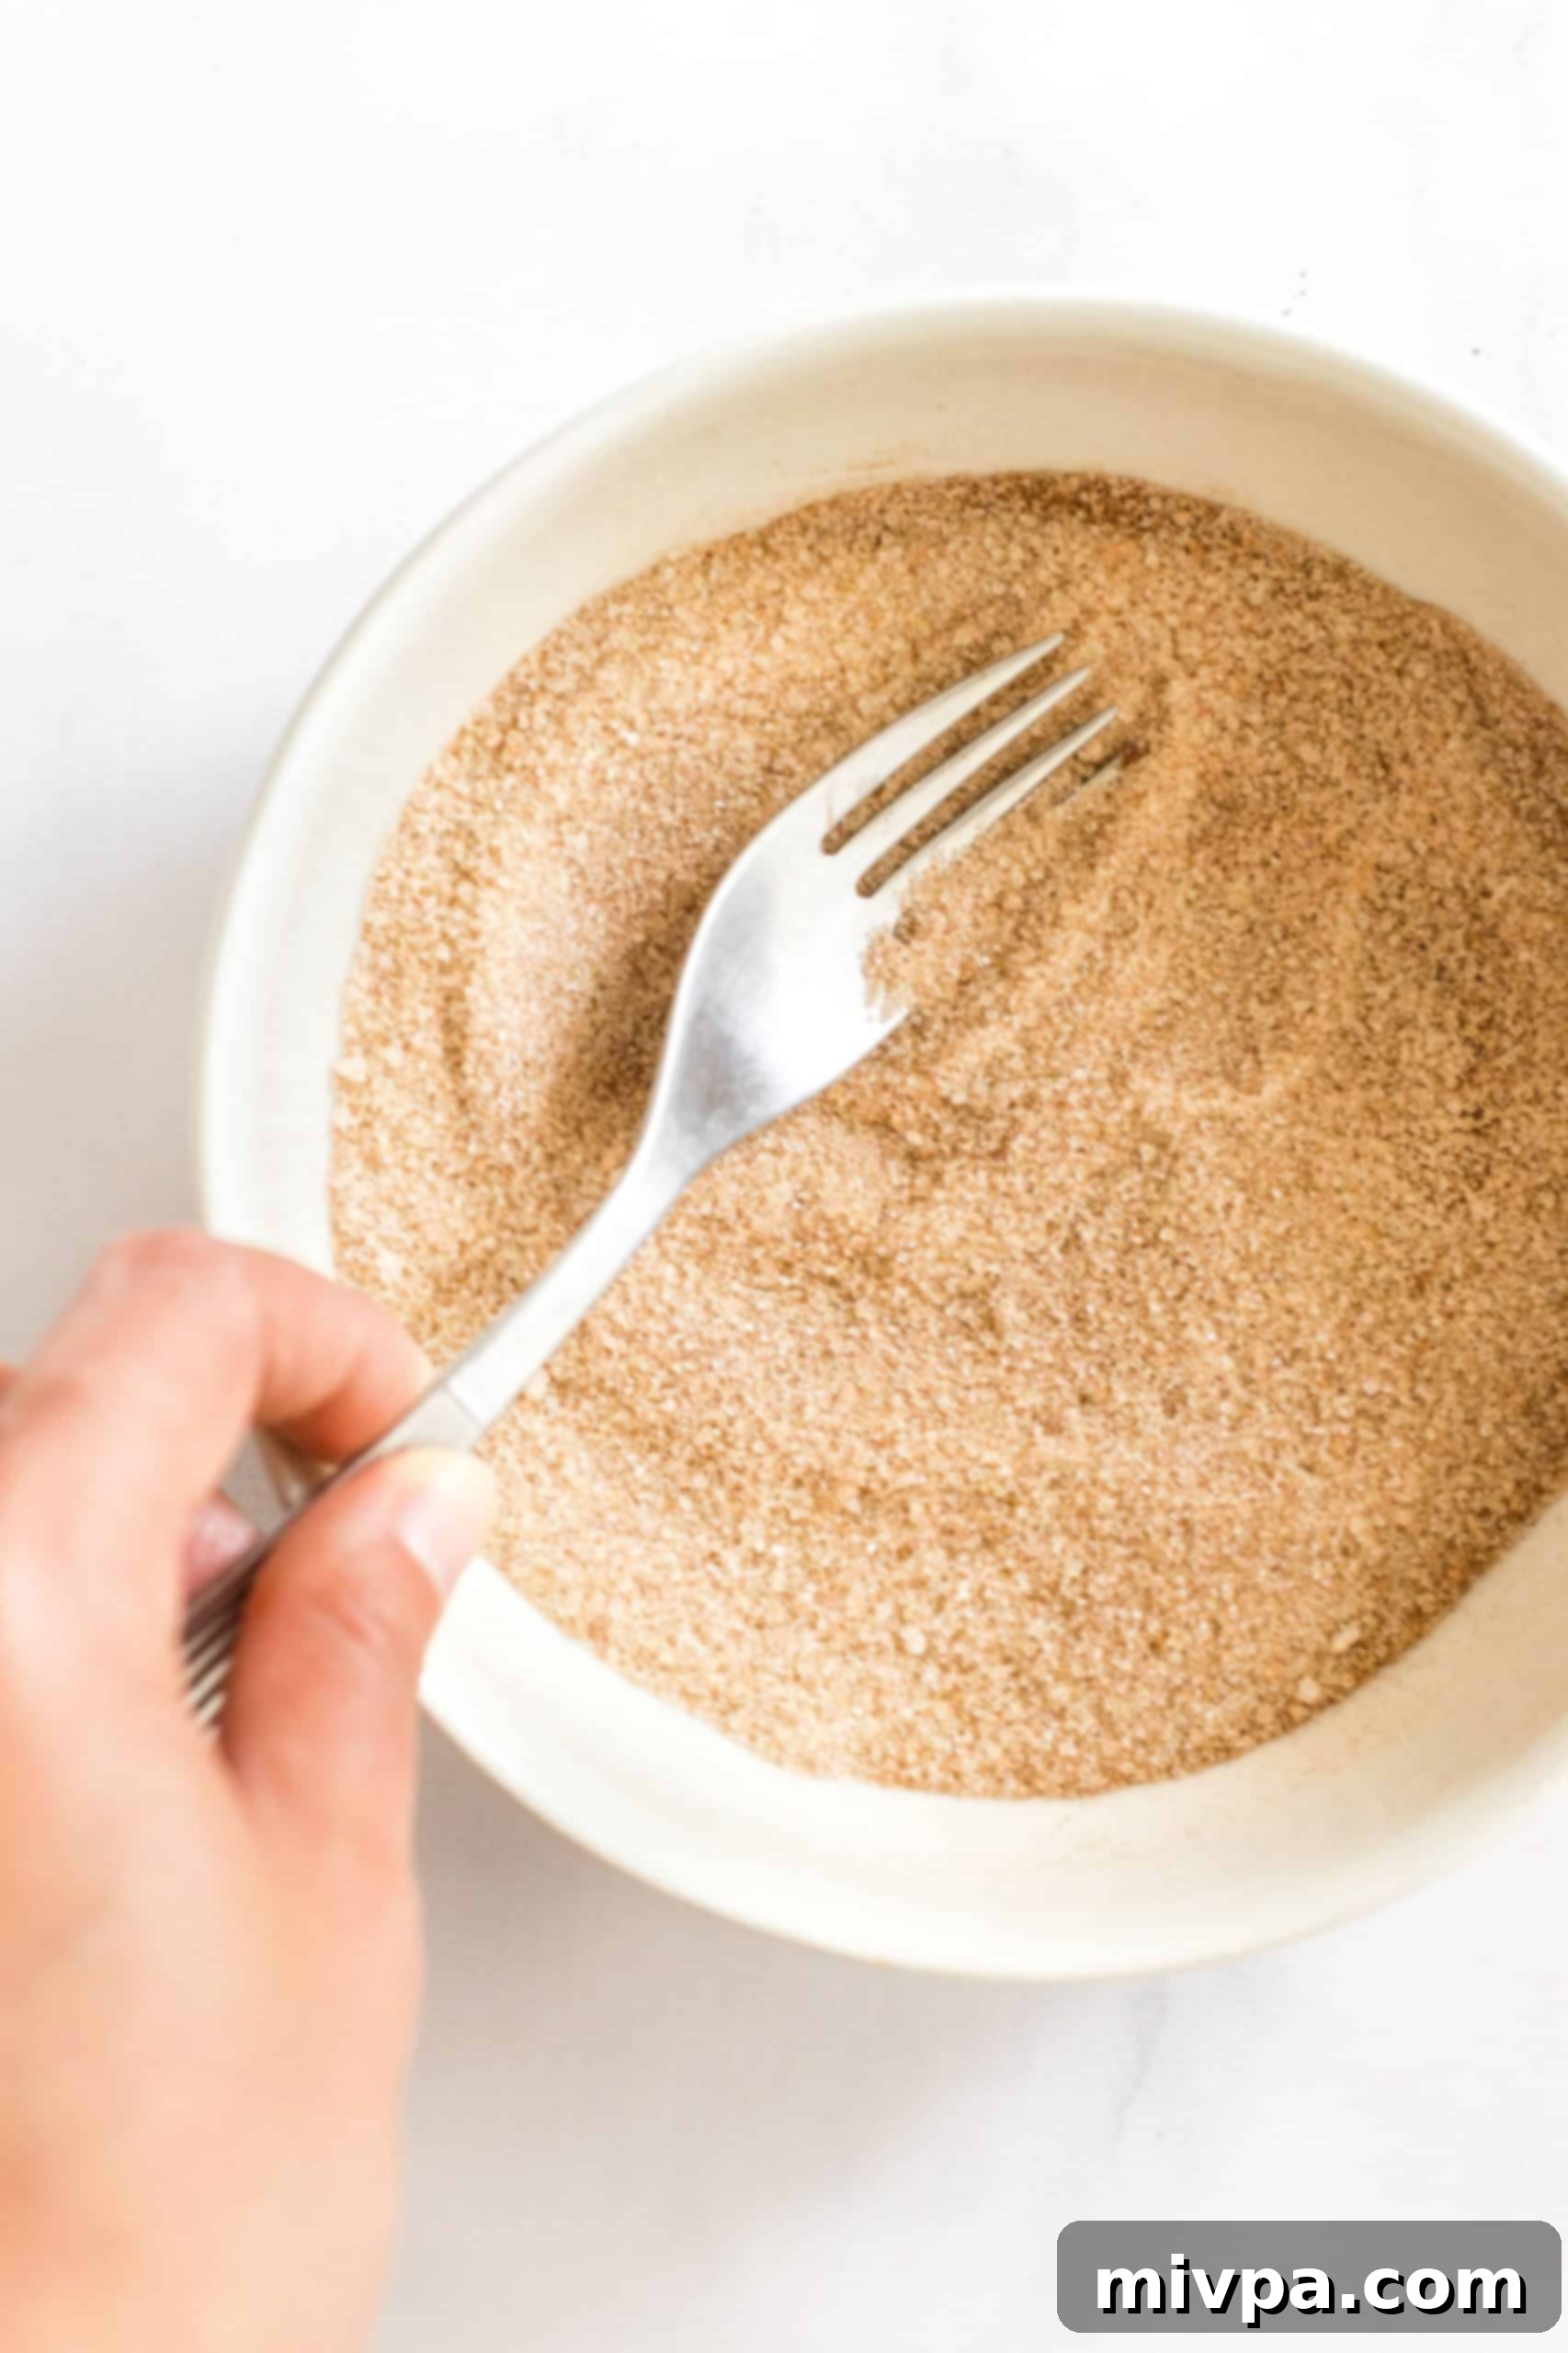
8. Coat the Dough Balls in Cinnamon Sugar
Once the dough balls are firm from chilling, take them out of the freezer. One by one, roll each snickerdoodle dough ball generously in the prepared cinnamon-sugar mixture. Ensure they are completely coated on all sides. The coating should adhere well to the slightly chilled dough. Place the coated balls back on a clean plate and return them to the fridge for another 5 minutes to set the coating and keep the dough cold before baking.
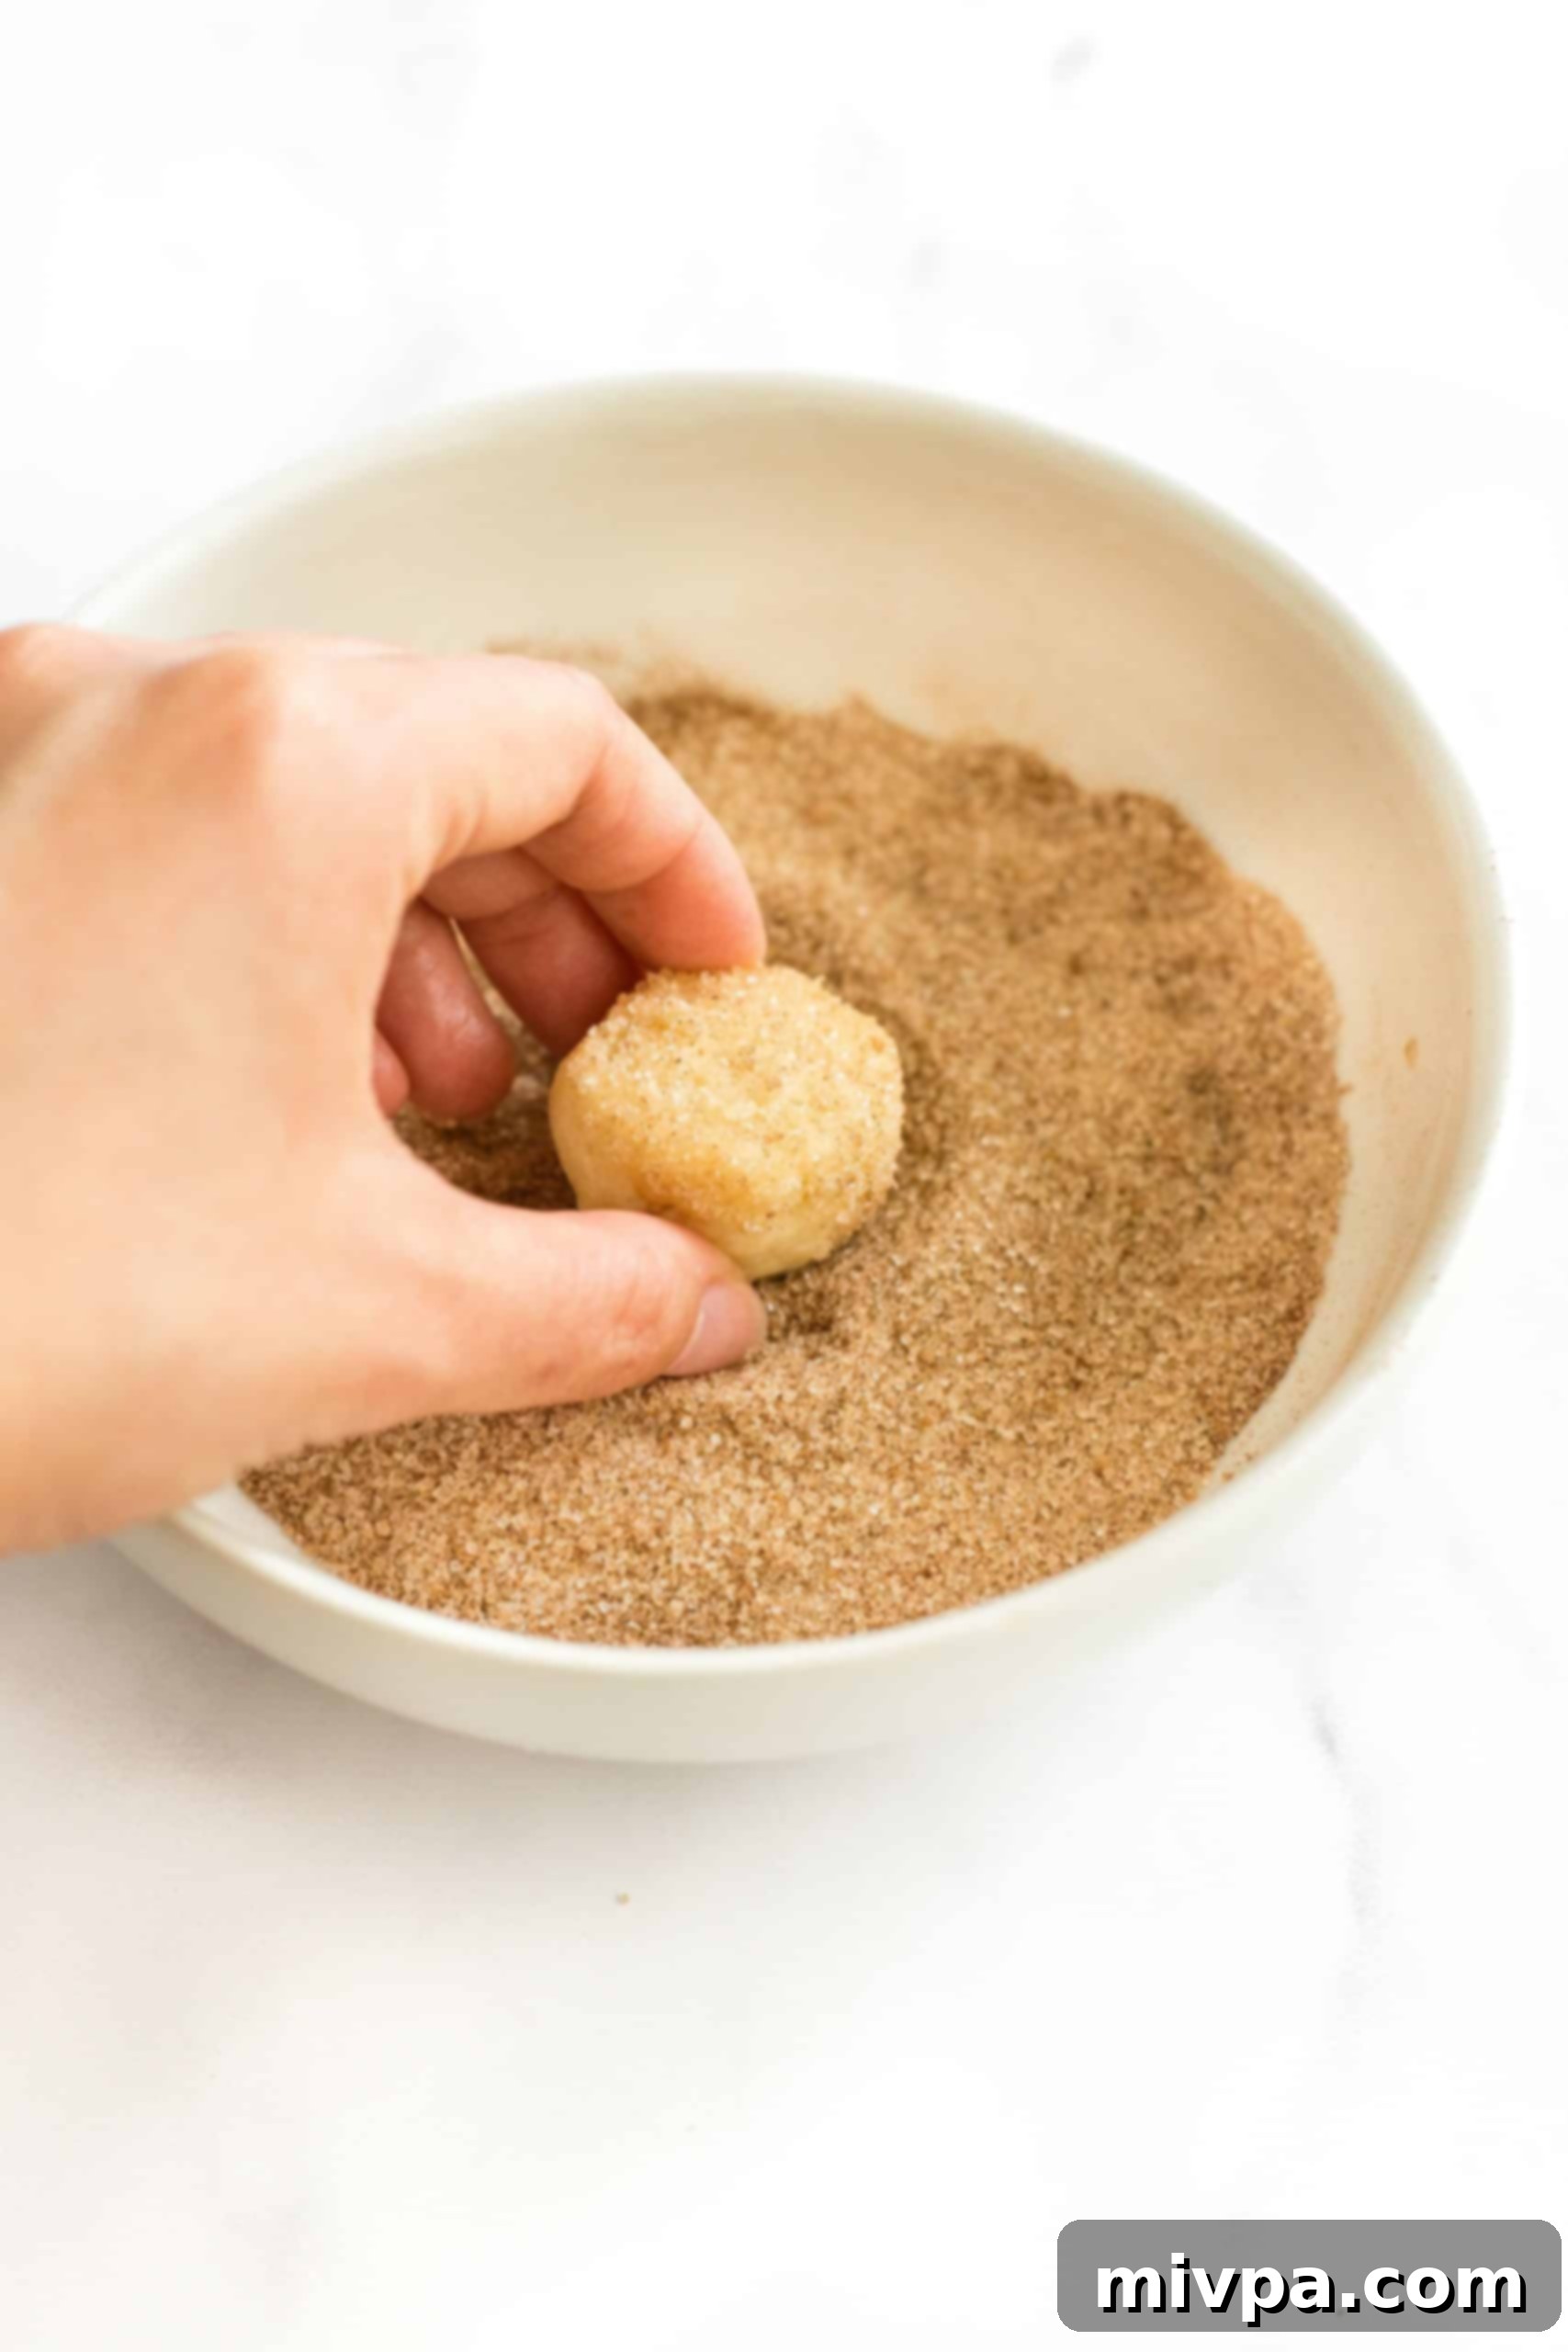
9. Bake Until Golden Perfection
Carefully arrange the cinnamon-sugar coated cookie dough balls on your prepared baking sheets, making sure to space them at least 3 inches apart. This allows ample room for them to spread without merging. Each sheet should hold roughly 9 cookies. Bake for 12 to 15 minutes, or until the edges of the cookies are golden brown and the centers are just set. For even baking, remember to rotate the baking sheets halfway through the baking time.
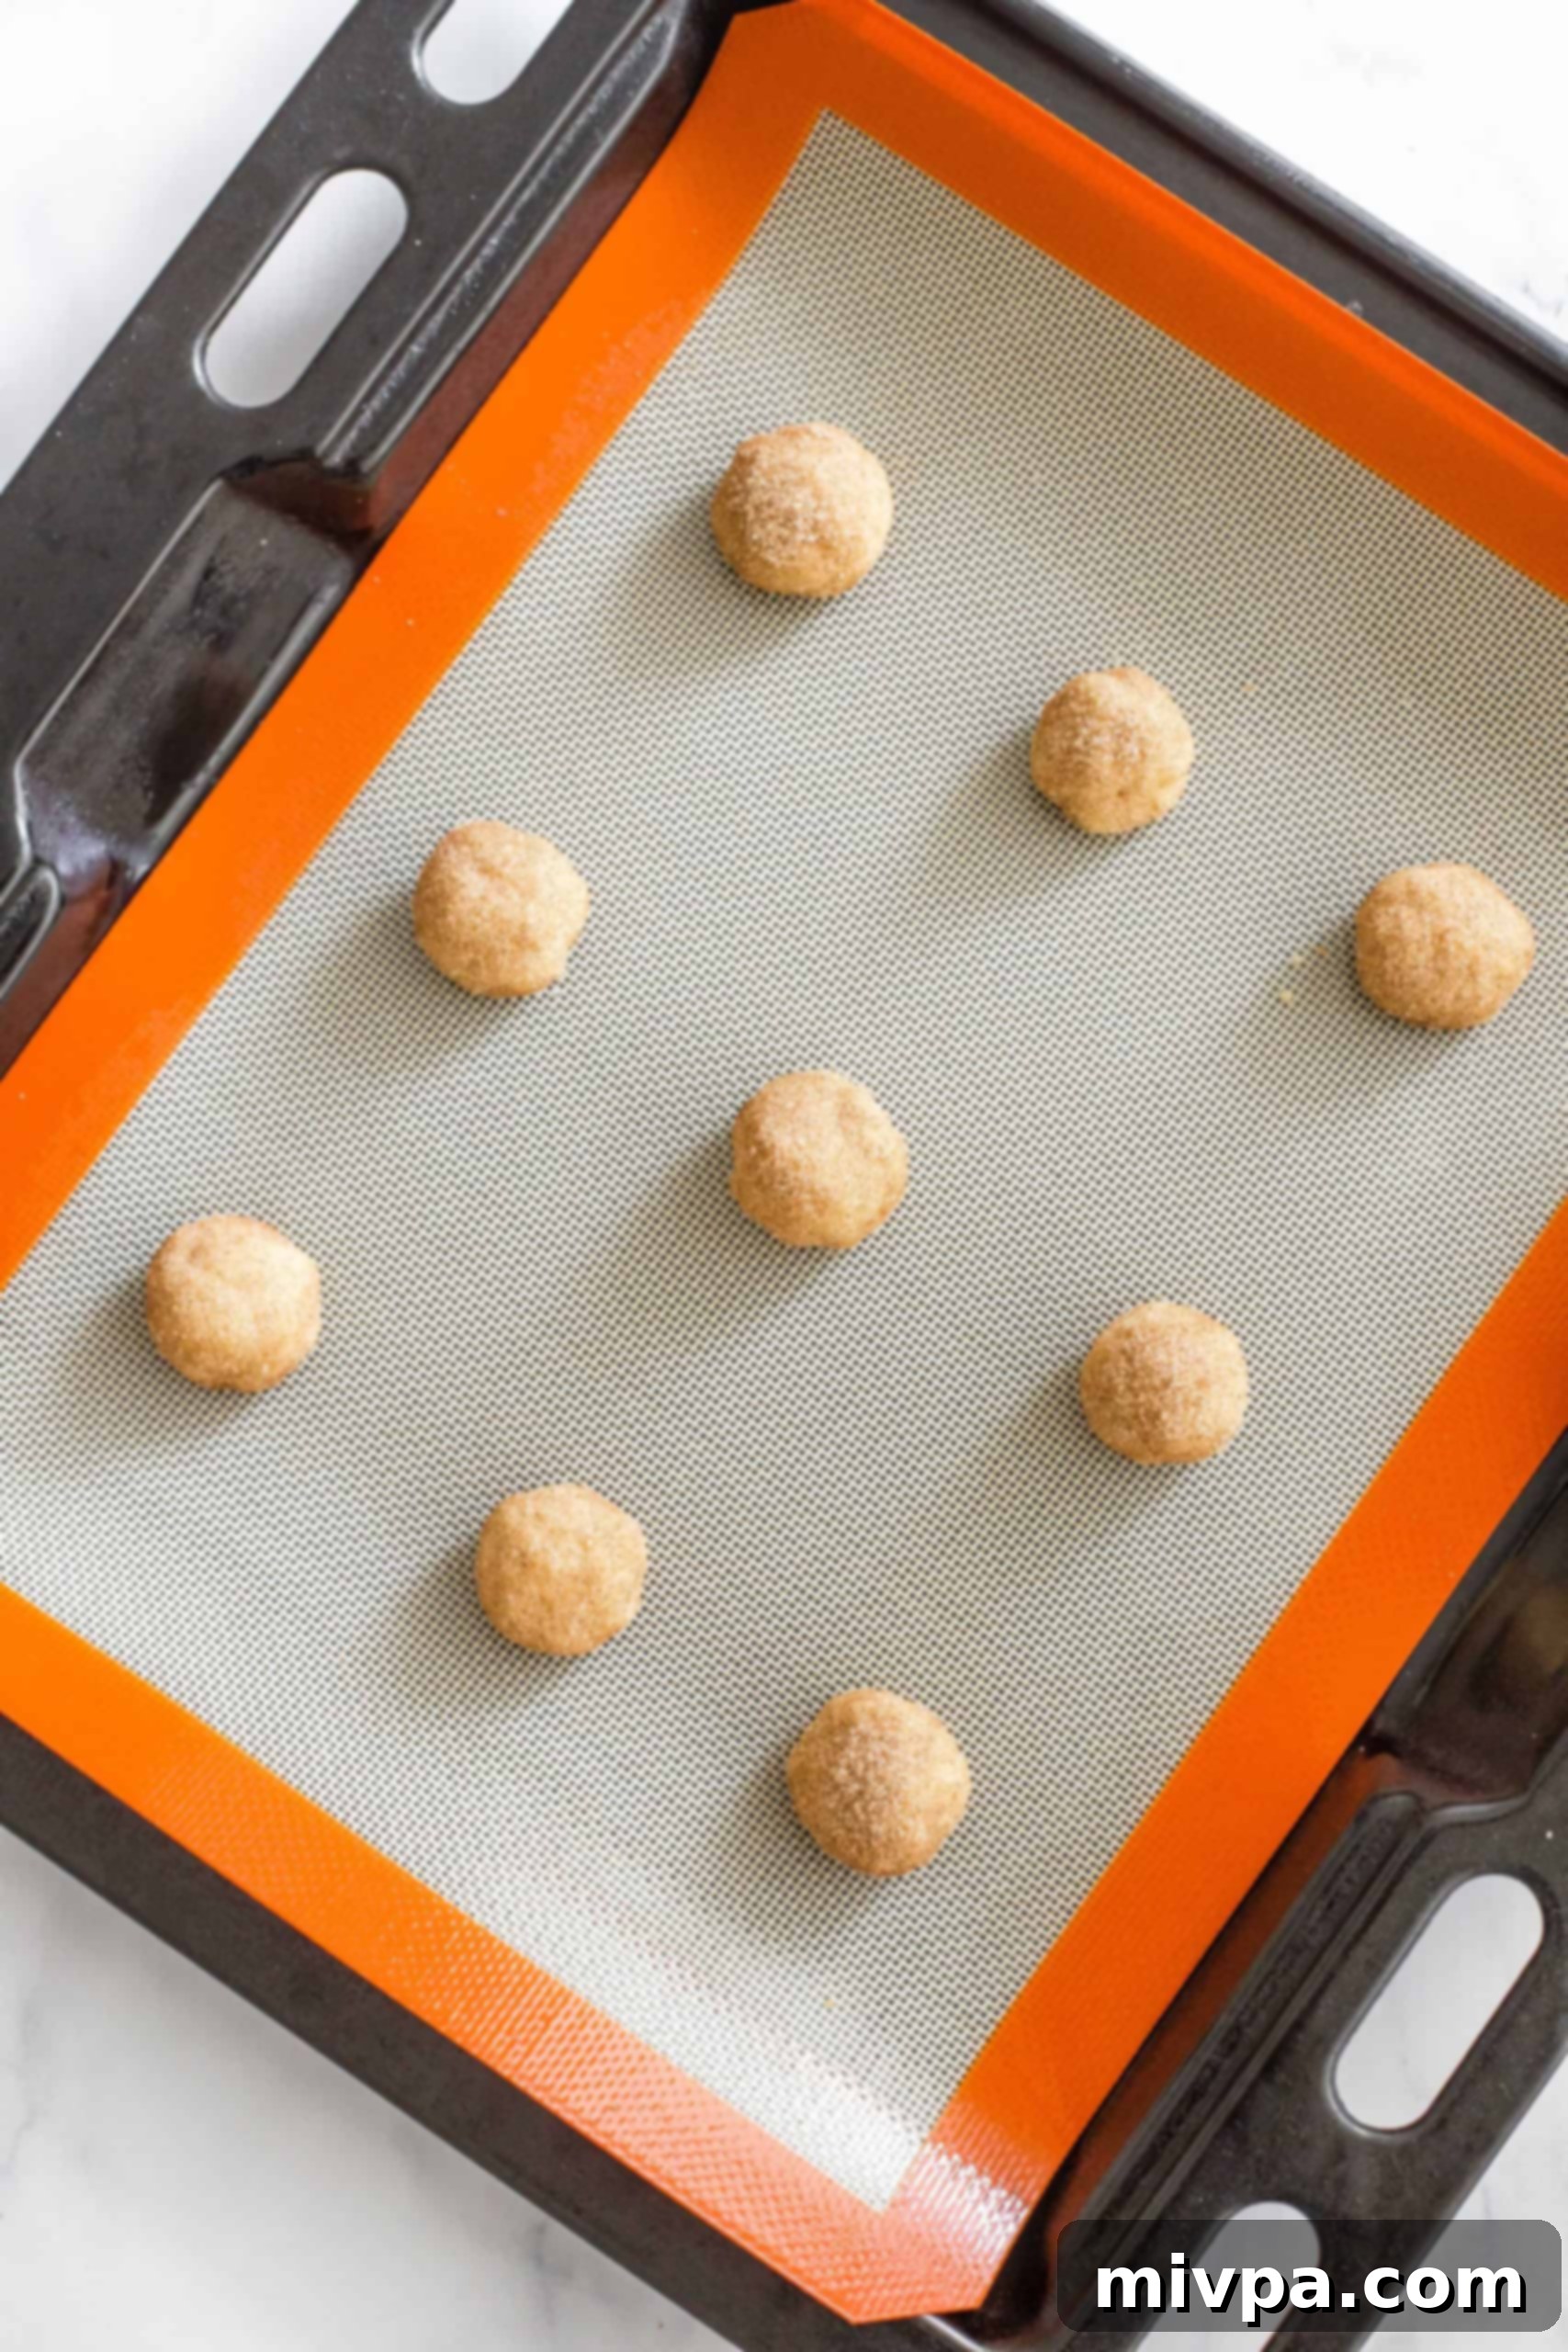
10. Allow Cookies to Cool Completely
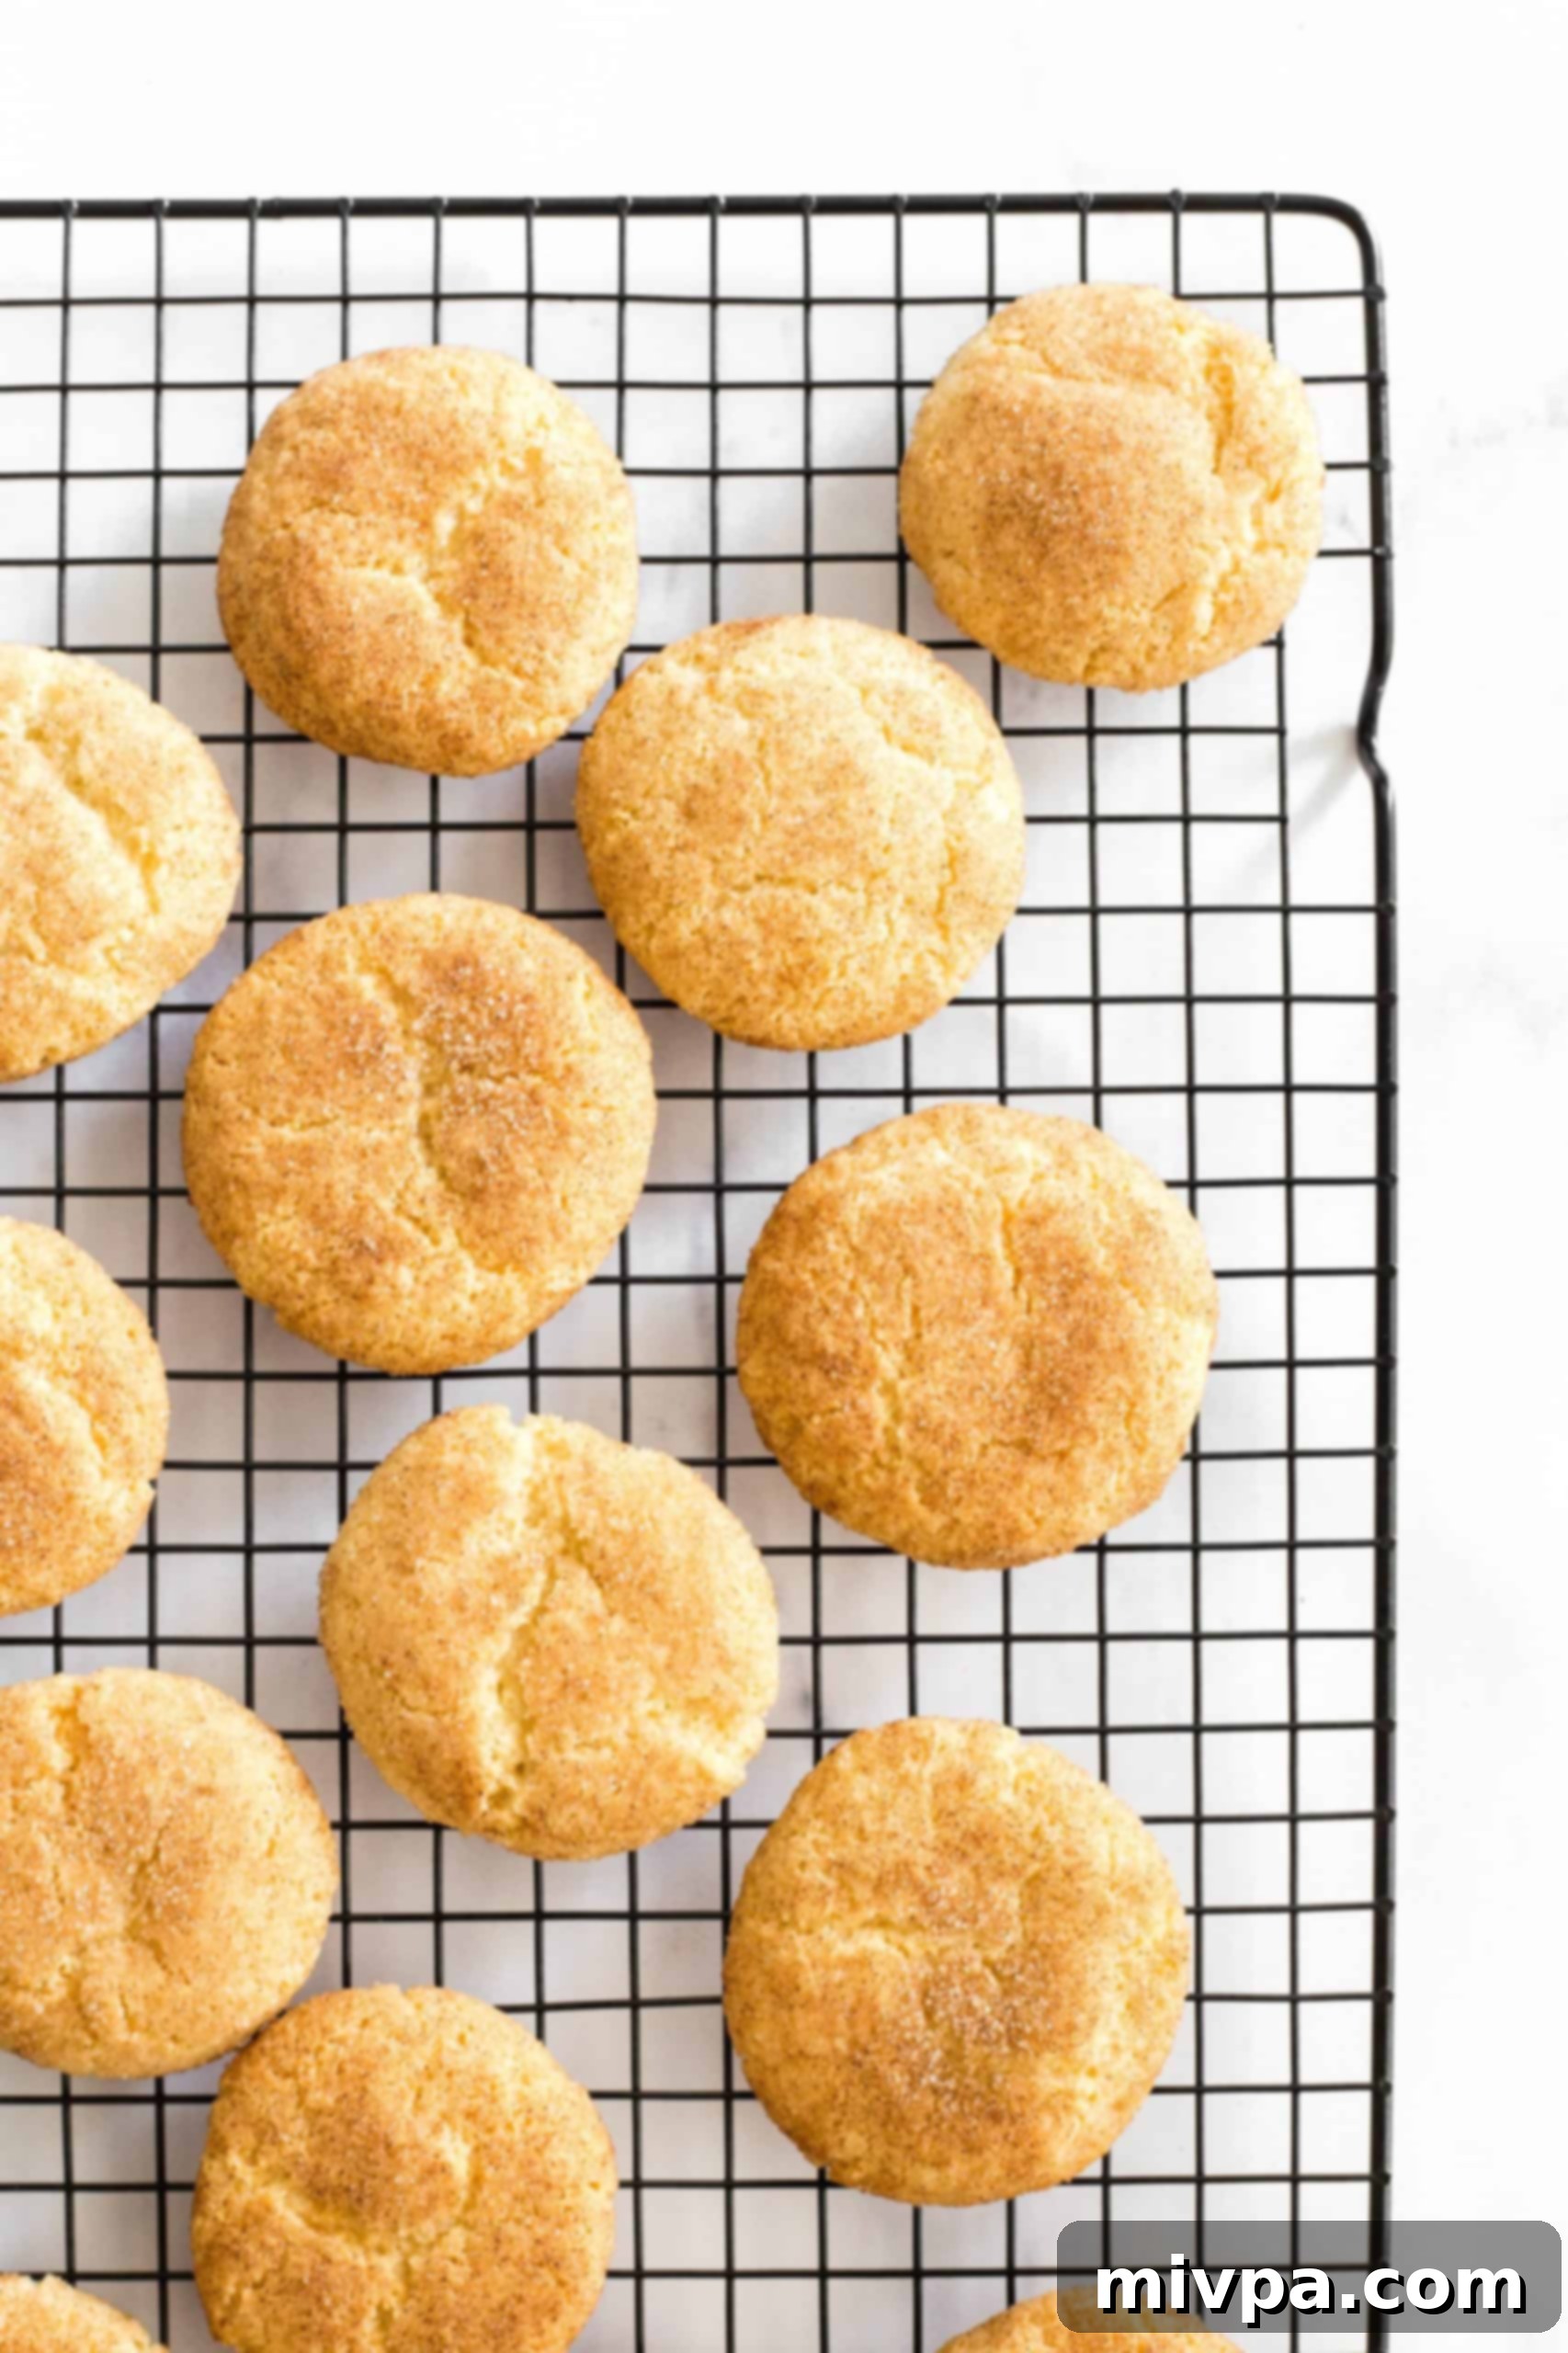
Once baked, resist the urge to move them immediately! Let the warm gluten-free dairy-free snickerdoodles cool for at least 2 minutes directly on the hot baking sheets. This crucial resting period allows them to firm up. After 2 minutes, carefully transfer the cookies to a wire rack to cool completely. They will continue to firm up and develop their ideal chewy texture as they cool.
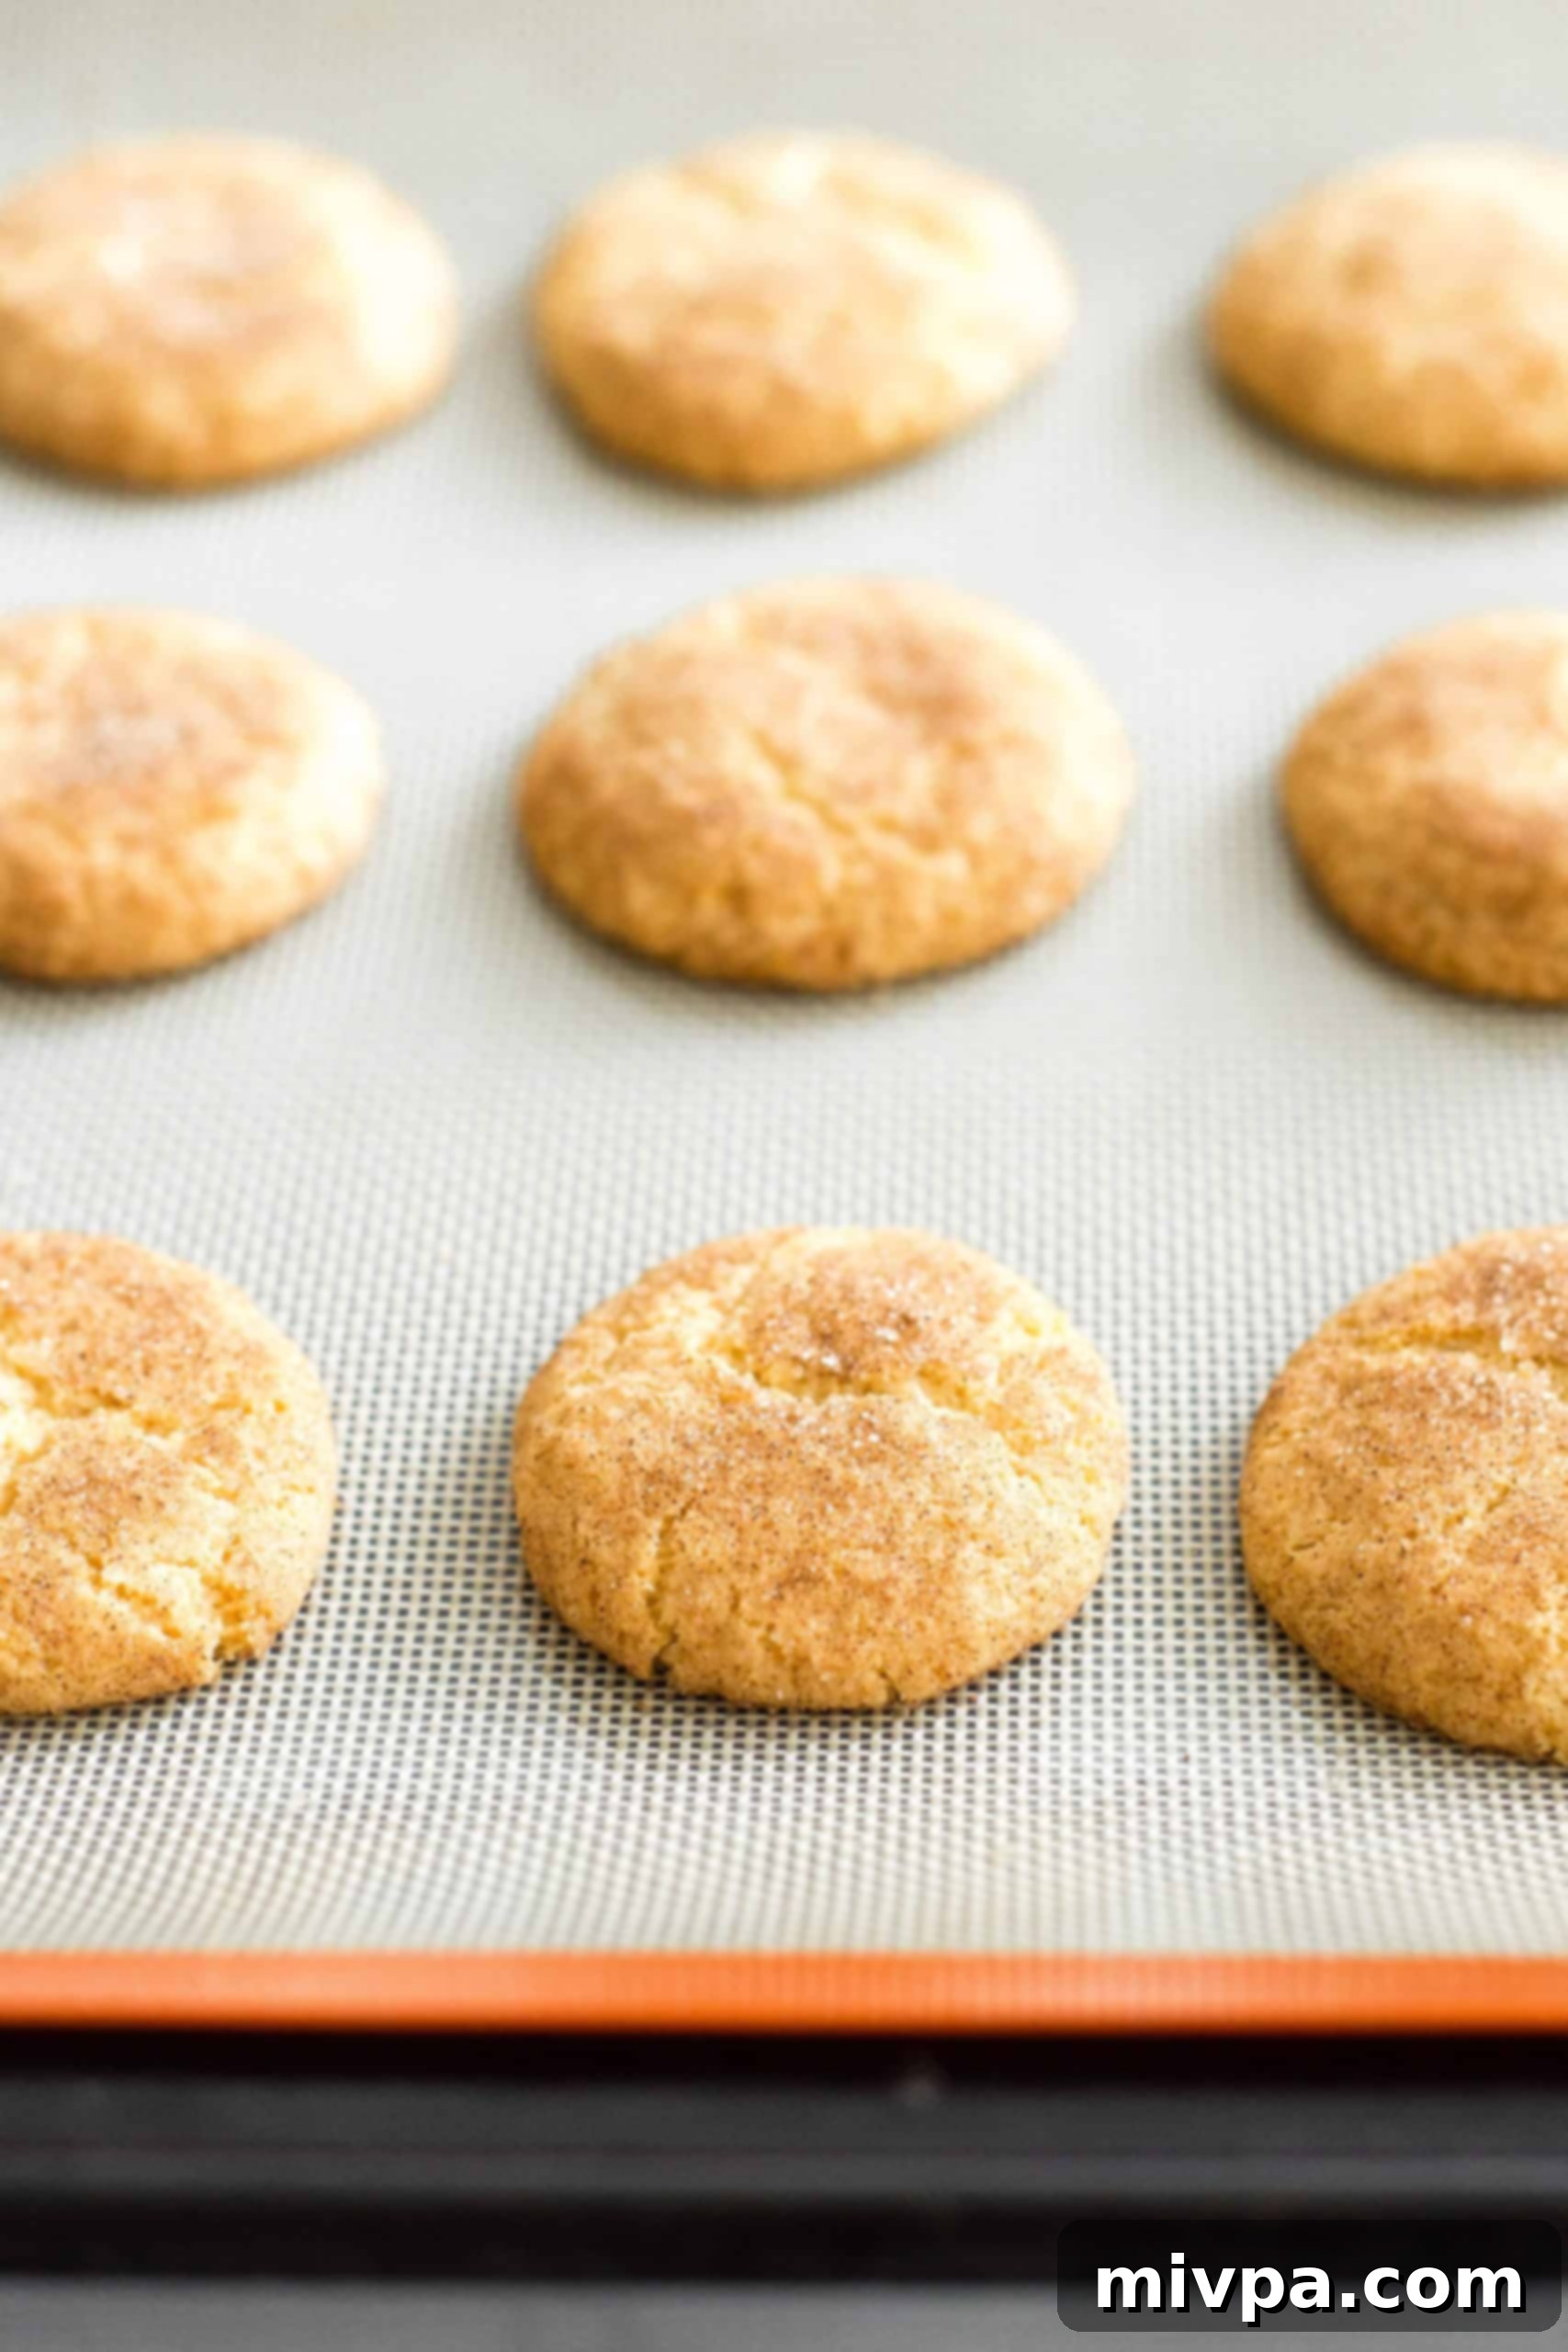
Expert Tips & Tricks for the Best Gluten-Free Snickerdoodles:
- The Importance of Chilling the Dough: Don’t skip the chilling steps! During recipe testing, I discovered that chilling the dough, even for a mere 5 minutes before rolling it into balls, significantly improves its manageability. It makes the dough less sticky and much easier to work with. More importantly, chilling the formed dough balls before they go into the oven is key to preventing them from spreading too quickly or flattening out excessively during baking, ensuring they maintain their desirable chewy texture and cracked appearance.
- Always Use a Silpat or Parchment Paper: Lining your baking sheets with either a silpat baking mat or parchment paper is absolutely essential. This barrier prevents the cookie dough from sticking to the baking sheets, making removal effortless and cleanup a breeze. While parchment paper works perfectly fine, I highly recommend investing in a silpat. They are reusable, environmentally friendly, and provide a consistently non-stick surface, guaranteeing your baked cookies never get stuck.
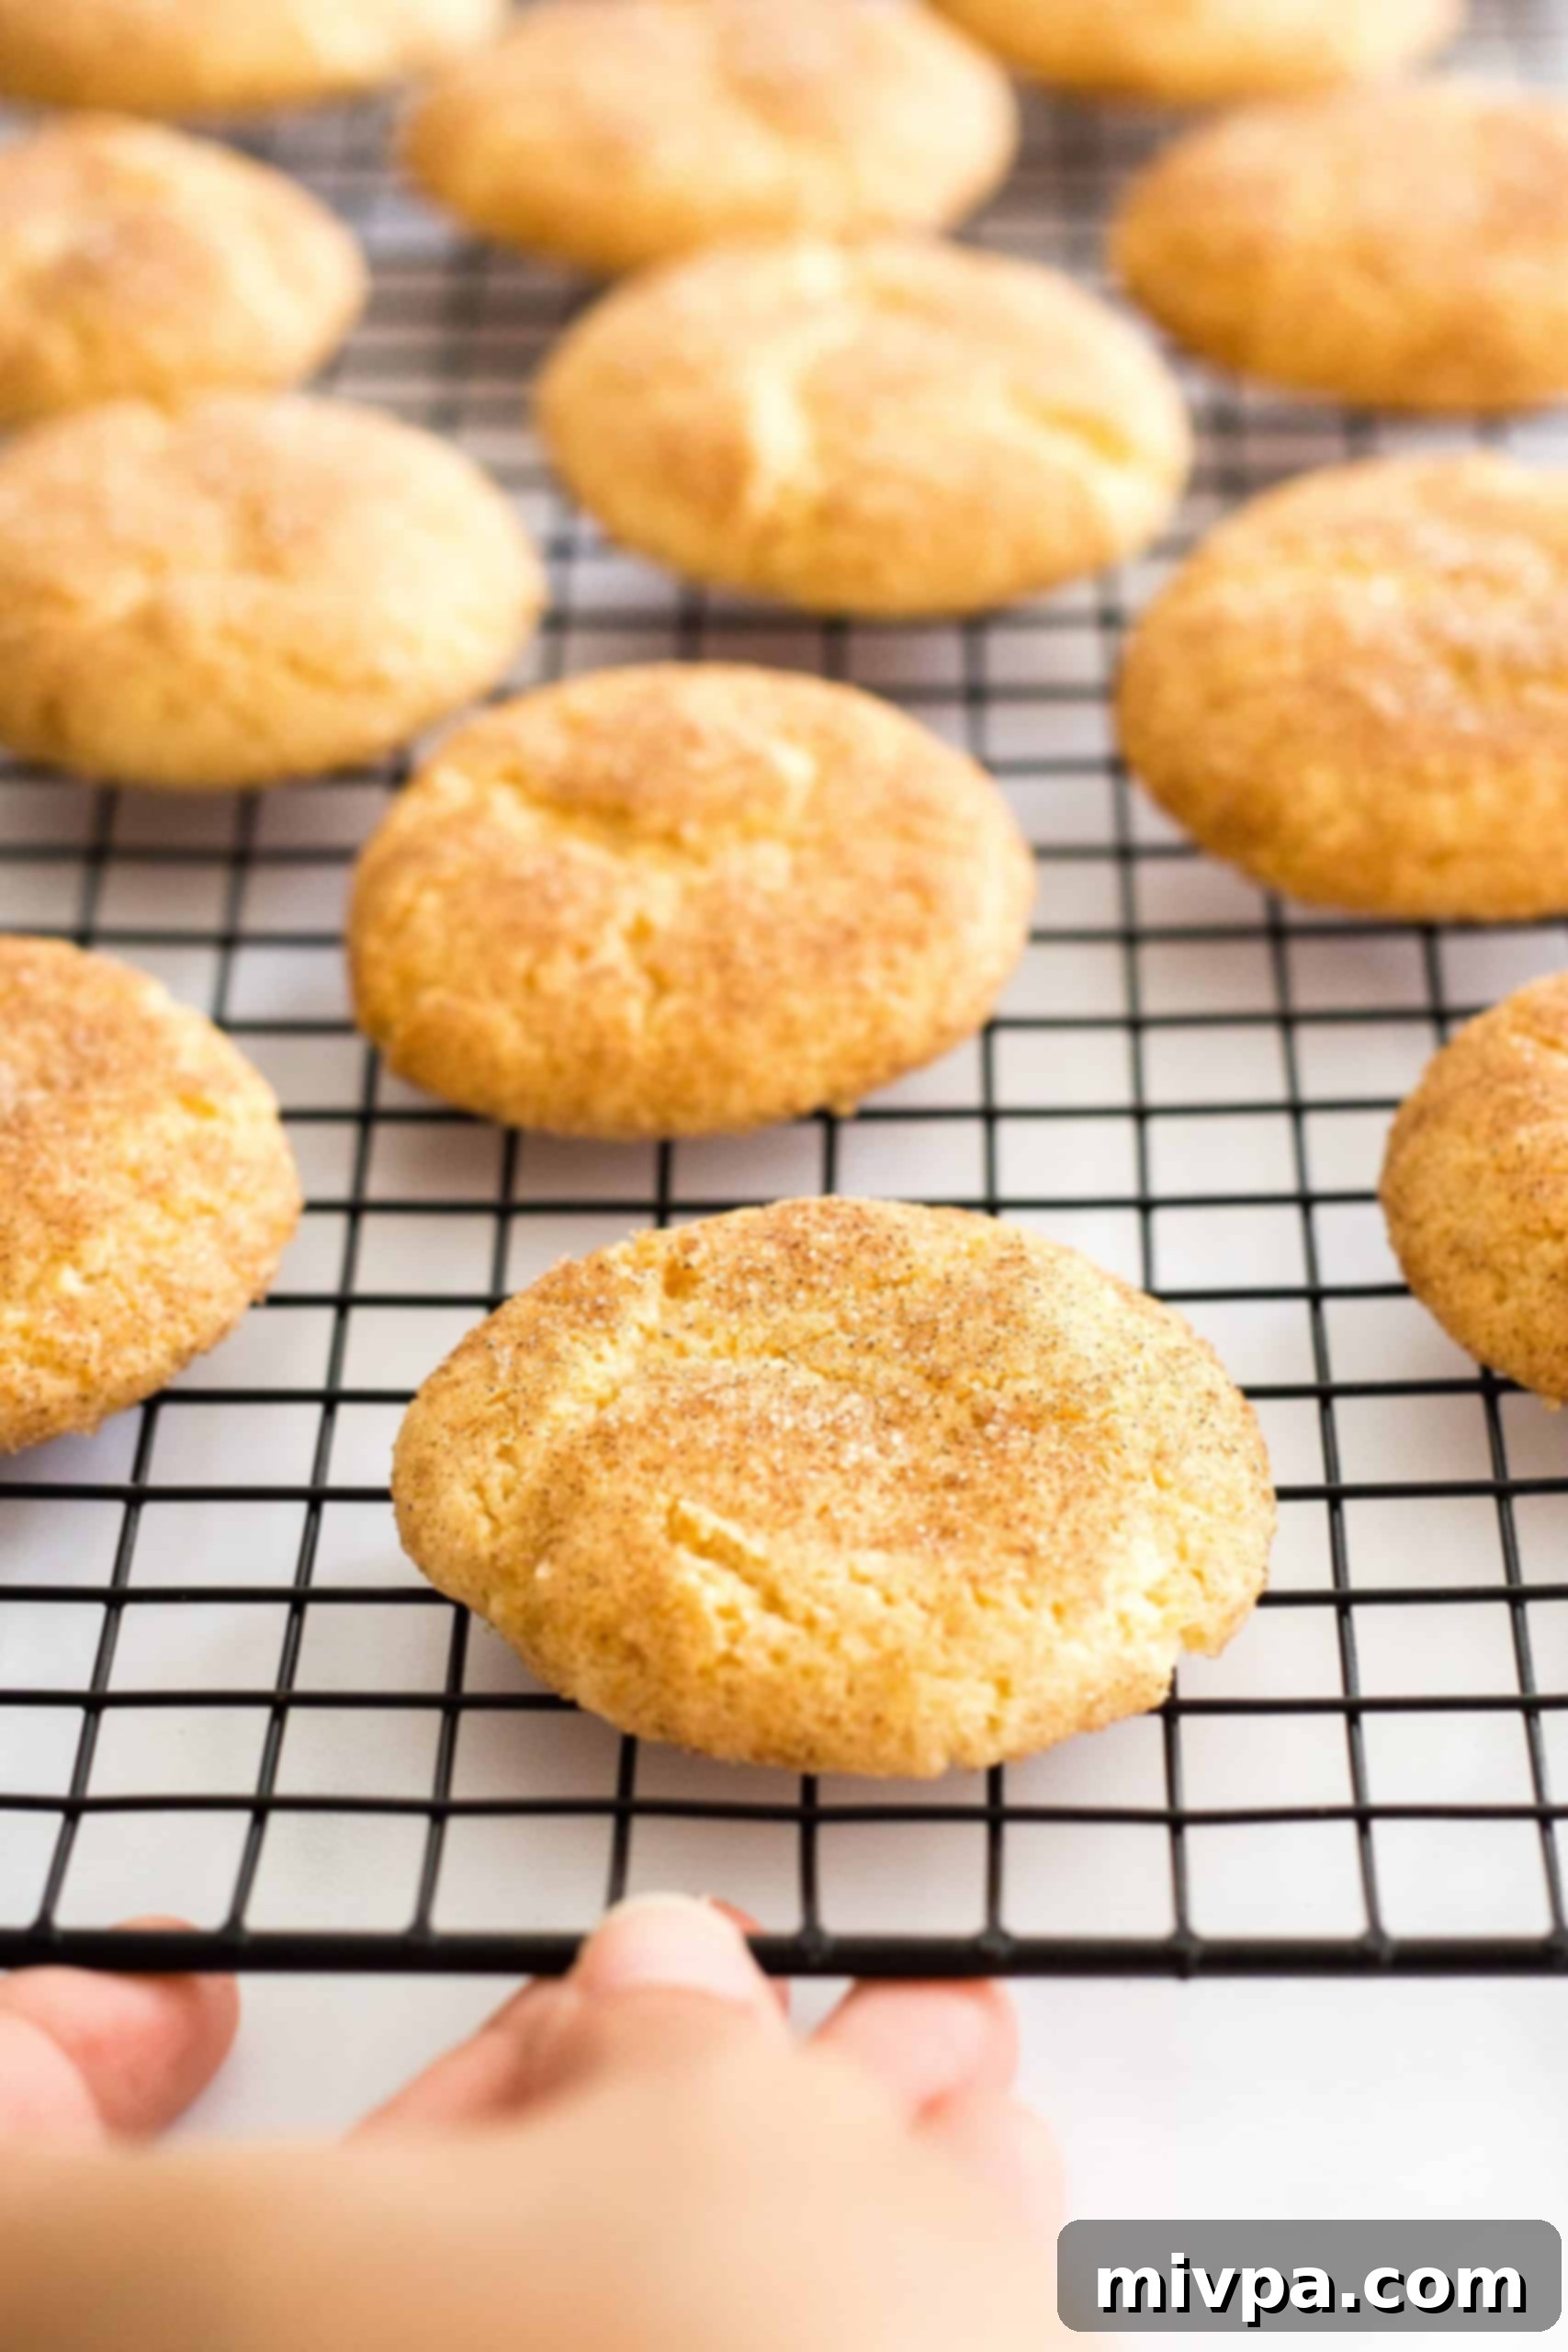
- Patience is Key: Allow Cookies to Cool Completely: It can be tempting to grab a warm cookie right out of the oven, but for the best texture and structural integrity, it’s vital to let these gluten-free snickerdoodles cool completely. Cookies continue to cook with residual heat after being removed from the oven. When they are very fresh and warm, gluten-free cookies can be quite fragile and prone to breaking. Wait at least a few minutes (as specified in the recipe card) before carefully transferring them from the baking sheet to a wire rack. This allows them to firm up properly and achieve their perfect chewy-crispy balance.
Common Questions About Gluten-Free Snickerdoodles:
Once your delicious gluten and dairy-free snickerdoodle cookies have cooled completely to room temperature, transfer them to an airtight container. They will stay fresh and perfectly chewy at room temperature for up to one week, making them perfect for enjoying throughout the week or sharing with friends and family.
Absolutely! If you wish to extend the shelf life of these wonderful cookies, you can easily freeze them. Once fully cooled, place the gluten-free dairy-free snickerdoodles in a freezer-safe container or a heavy-duty ziplock bag. They can be frozen for up to 2 months. When you’re ready to enjoy them, simply thaw the cookies overnight in the refrigerator, or briefly warm them in the microwave for a fresh-baked feel.
Yes, freezing the cookie dough is a fantastic way to prepare ahead for future baking! Follow the recipe instructions all the way up to step 8 (forming and coating the dough balls). Instead of baking, place the coated dough balls in single layers within freezer-safe containers, separating layers with parchment paper if stacking. Freeze for up to 2 months. When ready to bake, let the dough thaw overnight in the refrigerator, then proceed with baking as instructed in the recipe.
More Delicious Gluten-Free Cookies to Explore:
- Crunchy Almond Biscotti (Gluten-Free, Dairy-Free)
- Chewy Molasses Cookies (Gluten-Free, Dairy-Free)
- Soft Pumpkin Cookies (Gluten-Free, Dairy-Free)
- Easy Gingerbread Cookies (Gluten-Free, Dairy-Free)
- Easy Buckwheat Cookies (Gluten-Free, Dairy-Free)
- Easy Coconut Macaroons (Gluten-Free, Dairy-Free)
- Flourless Peanut Butter Cookies (Gluten-Free, Dairy-Free)
- Chickpea Chocolate Chip Cookies (Gluten-Free, Vegan)
- Almond Butter Cookies (Gluten-Free, Dairy-Free)
- Almond Cookies (Gluten-Free, Dairy-Free)
- Double Chocolate Almond Coconut Cookies (Grain-free)
- 8 Amazing Gluten-Free Cookie Recipes
Irresistible Gluten-Free Desserts to Indulge In:
- Gluten-Free Pumpkin Banana Muffins (Dairy-Free)
- 126 Gluten-Free Desserts and Sweet Treats for Labor Day
- Mini Pumpkin Cheesecakes (Gluten-Free, Dairy-Free Option)
- Gluten-Free Pecan Pie Bars (Dairy-Free)
P.S. If you try this recipe, I’d love for you to leave a star rating below, and/or a review in the comment section further down the page. I always appreciate your feedback. Be sure to check out my entire Recipe Index for all the recipes on the blog. You can also follow me on Pinterest, Facebook or Instagram! Sign up for my Email List to get fresh recipes in your inbox each week!
Print Recipe

Easy Gluten-Free Snickerdoodles (Dairy-Free)
5 Stars
4 Stars
3 Stars
2 Stars
1 Star
5 from 2 reviews
Author: Felicia Lim
Total Time: 45 minutes
Yield: 20 cookies
Diet: Gluten Free
Description
These gluten-free snickerdoodles are wonderfully crispy on the outside and incredibly soft and chewy inside. They are the perfect treat for Christmas and throughout the entire holiday season. A batch of these delightful snickerdoodle cookies comes together quickly and easily, making them fantastic for homemade gifts or simply to snack on whenever you crave a delicious sweet cookie! Best of all, they are completely dairy-free, making them inclusive for everyone.
Ingredients
Scale
For the Cookie Dough:
- 1 1/2 cups gluten-free all-purpose flour
- 1/2 teaspoon xanthan gum (omit if your flour blend already has it)
- 1 teaspoon cream of tartar
- 1/2 teaspoon baking soda
- 1/4 teaspoon salt
- 1/3 cup coconut oil, room temperature
- 3/4 cup light brown sugar
- 1 egg, beaten
- 1/2 teaspoon vanilla extract
For the Cinnamon Sugar Coating:
- 3/4 cup light brown sugar
- 1 1/2 teaspoons ground cinnamon
Instructions
- Preheat and Line: Preheat oven to 350F (180C) and line two large baking sheets with silpats or parchment paper.
- Whisk Flour Mixture: In a medium bowl, combine the gluten-free all-purpose flour, cream of tartar, baking soda, and salt. Whisk well to combine.
- Cream Sugar and Coconut Oil: In a large mixing bowl, whisk the sugar and coconut oil together until you get a light and creamy mixture.
- Add Egg and Vanilla: Add the beaten egg and vanilla extract and whisk to get a smooth liquid mixture.
- Prepare Cookie Dough: Add the flour mixture to the wet ingredients and whisk well until a soft dough is formed. Let dough chill for 5 minutes in the freezer.
- Form Small Balls: Once the dough is chilled, scoop out 1 teaspoon of dough and roll into small balls (approximately 1 1/2-inch balls) and place them on a plate. You should get about 18 to 20 balls in total. Let the balls chill in the freezer for 5 minutes.
- Prepare Cinnamon Sugar: As the cookie dough balls are chilling, mix the light brown sugar and ground cinnamon together in a shallow bowl until you get a homogeneous mixture.
- Roll Balls in Cinnamon Sugar: Roll the balls in the cinnamon-sugar mixture until they are coated all over. Place the coated balls on a plate and let them chill in the fridge for 5 minutes.
- Bake: Place the balls on the prepared baking sheets at least 3 inches apart (roughly 9 balls per sheet) and bake for 12 to 15 minutes until the edges are golden, rotating the sheets halfway through.
- Cool Completely: Let the gluten-free snickerdoodle cookies cool for at least 2 minutes on the baking sheets before removing them to cool completely on a wire rack.
Notes
Gluten-Free All-Purpose Flour: I highly recommend using a good-quality gluten-free all-purpose flour blend that is made up of lighter flours/starches (such as rice flour, tapioca starch, corn starch or potato starch), as this will result in a lighter texture. I do NOT recommend flour blends that use heavier flours such as bean flours as that will result in a denser texture.
Xanthan Gum: In this case, xanthan gum replaced the role of gluten in a gluten-free flour blend. If your blend already includes xanthan gum, you can leave it out completely.
Cream of Tartar/Baking Soda: Cream of tartar is the powdered form of tartaric acid, and despite the word “cream” in its name, it does not have any dairy at all. Cream of tartar is essential in a snickerdoodle cookie because it prevents the sugar from crystallizing to get a light and fluffy and chewier texture, and also gives the snickerdoodles the traditional tangy taste, which is what sets it apart from a typical sugar cookie. However, if you don’t have cream of tartar, simple replace the cream of tartar and the baking soda with 2 teaspoons of baking powder instead.
Sugar: I’ve used light brown sugar in this recipe, but feel free to swap it out for equal amounts of normal white sugar, cane sugar, dark brown sugar, or even coconut sugar if you prefer. If you are diabetic or insulin-resistant, I highly recommend that you use granulated monkfruit sweetener (a 1:1 sugar substitute with zero glycemic index and will not raise your blood sugar).
Coconut Oil: I prefer using refined coconut oil in my baking because it has a neutral flavor (as opposed to extra virgin coconut oil which has a strong coconut taste and smell). If you don’t have coconut oil, feel free to use palm shortening or dairy-free butter (vegan butter) in equal quantities instead. Alternatively, if you are not lactose-intolerant, go ahead of use butter if you prefer.
Egg: I personally haven’t tried this without an egg, but I believe it should work with aquafaba or an egg-replacer.
Vanilla Extract: I like adding a little bit of vanilla extract for extra flavor. However, if you prefer not to, or if you don’t have it on hand, feel free to leave it out.
Cinnamon: Ground cinnamon is essentially what sets snickerdoodles apart from normal sugar cookies, so I would not omit this.
Storing/Freezing the Cookies: Once cooled, store the snickerdoodle cookies in an airtight container at room temperature for up to a week. Alternatively, you can freeze the cookies in a freezer-safe container or ziplock bag and freeze for up to 2 months. Thaw them overnight in the refrigerator before eating.
Freezing the Dough: If you wish to freeze the cookie dough, simply follow the instructions up till step 8, then place the coated dough balls in single layers in freezer-safe containers and freeze for up to 2 months. Let the dough thaw overnight in the refrigerator before baking as instructed.
This recipe was originally posted in December 2020, but has since been republished to include better text, clearer instructions, and detailed recipe notes/substitutions to enhance your baking experience.
Adapted from: All Recipes
- Prep Time: 30 mins
- Cook Time: 15 mins
- Category: Cookies
- Method: Baking
- Cuisine: American
