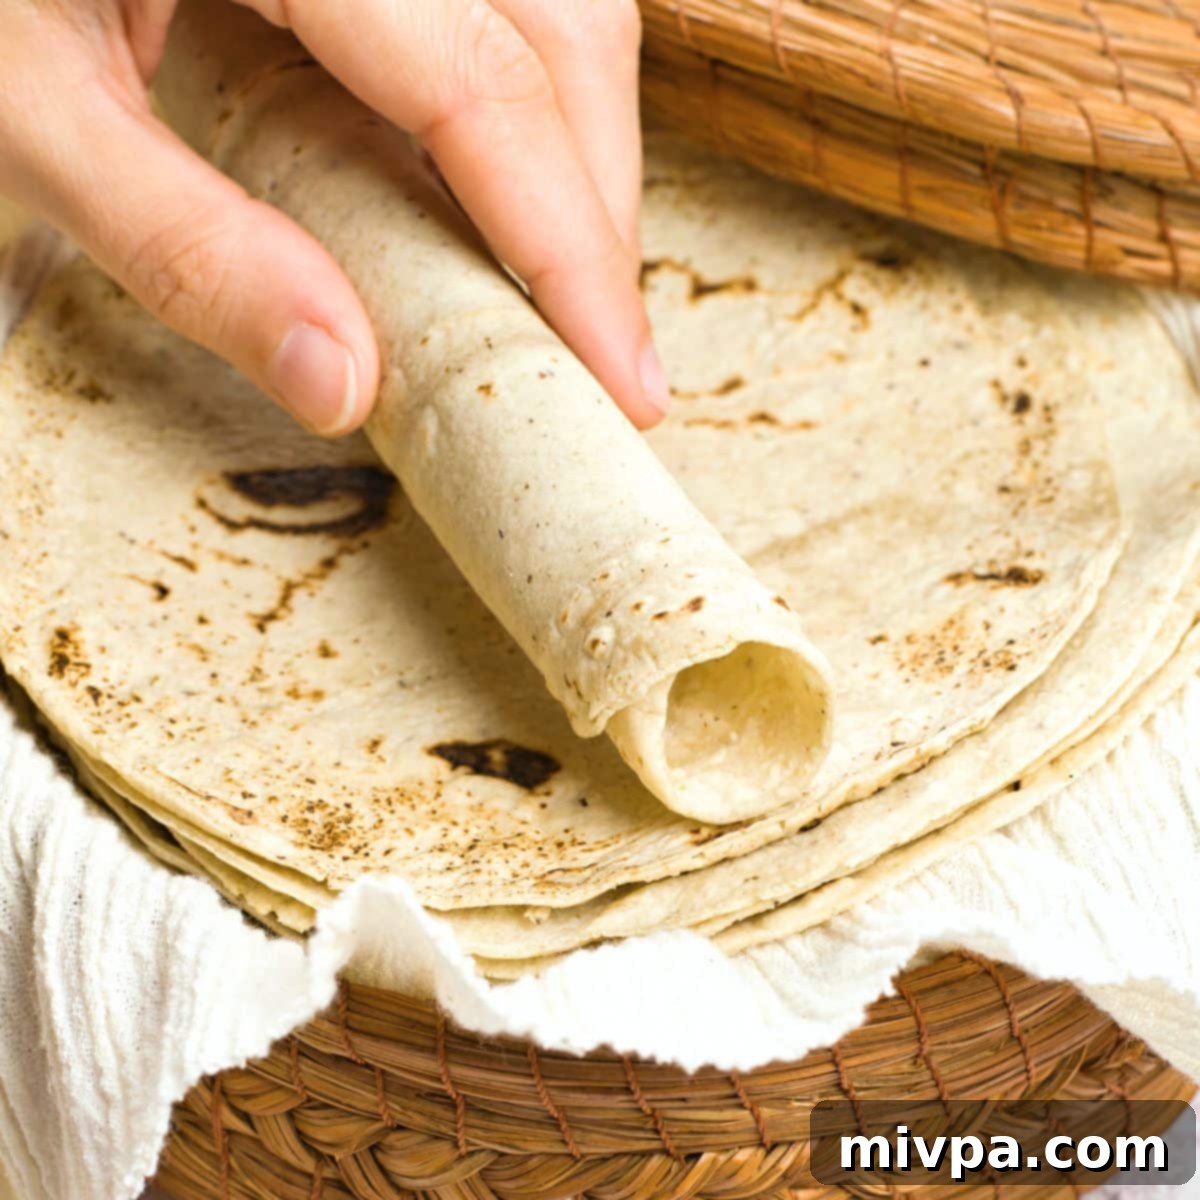
The Ultimate Guide to Easy Homemade Gluten-Free Corn Tortillas (Vegan & Dairy-Free)
Imagine sinking your teeth into a warm, soft, and perfectly pliable corn tortilla, fresh off the griddle. Now, imagine making it yourself with just three simple ingredients! These homemade gluten-free corn tortillas are incredibly easy to prepare and absolutely perfect for creating mouth-watering tacos, hearty burritos, crispy tortilla chips, or even delectable enchiladas. Not only are they naturally dairy-free and vegan, making them suitable for a wide range of dietary needs, but they also boast an unbeatable freshness and flavor that store-bought versions simply can’t match. Waving goodbye to bland, crumbly tortillas is easier than you think. Make a generous batch today, and you’ll have a ready supply of authentic, homemade tortillas to enjoy anytime you crave them – simply freeze for later!
[feast_advanced_jump_to]
What Exactly Are Tortillas? A Culinary Essential
Hailing from the vibrant culinary traditions of Mexico and Central America, tortillas are a staple, thin, and round unleavened flatbread. More than just a simple food item, they are a foundational component of Mexican cuisine, playing a role similar to that of rice in Asian cooking or bread in European diets. For centuries, tortillas have been the canvas upon which countless delicious dishes are built, offering a neutral yet satisfying base that complements a vast array of fillings and flavors.
Historically, corn tortillas predate the arrival of Europeans in the Americas, with evidence suggesting their consumption dates back thousands of years. They were, and still are, central to the diet and culture of many indigenous communities. While modern technology has made them widely available, the tradition of making tortillas from scratch at home remains a cherished practice, ensuring the freshest taste and a connection to culinary heritage.
Are All Tortillas Gluten-Free? Understanding Your Options
When considering whether tortillas are gluten-free, it’s crucial to understand their primary ingredients. Tortillas are typically crafted using one of two main flours: nixtamalized ground corn, famously known as masa harina, or wheat flour. The presence or absence of gluten hinges entirely on which of these flours is used.
Wheat tortillas, as their name suggests, are made from wheat flour. Wheat contains gluten, a protein composite that gives dough its elasticity and helps it rise. Therefore, wheat tortillas are unequivocally *not* gluten-free and should be avoided by individuals with celiac disease, gluten intolerance, or those following a gluten-free diet.
Corn tortillas, on the other hand, are traditionally made with just masa harina (which comes in white, yellow, or blue varieties), water, and a pinch of salt. Since masa harina is derived from corn, a naturally gluten-free grain, authentic corn tortillas are inherently gluten-free. This makes them an excellent and safe choice for anyone needing to avoid gluten. However, for those with severe gluten allergies or celiac disease, it’s always wise to check ingredient labels on store-bought corn tortillas to ensure no gluten-containing additives or cross-contamination has occurred during processing, especially if they are produced in facilities that also handle wheat products.
What is Masa Harina? The Essential Ingredient for Authentic Corn Tortillas
Masa harina is not just any corn flour; it’s a very specific, finely ground flour crucial for authentic corn tortillas. Its unique properties come from a traditional process called “nixtamalization.” This ancient Mesoamerican technique involves cooking and then soaking dried corn kernels (hominy) in an alkaline solution, typically limewater (calcium hydroxide).
The nixtamalization process is transformative. It softens the corn, loosens the hulls, and most importantly, unlocks the corn’s nutritional value, particularly increasing the bioavailability of niacin (Vitamin B3). Furthermore, it develops the distinct flavor and aroma characteristic of authentic corn tortillas and imparts a subtle, slightly sour taste. This alkaline treatment also causes the corn starch to swell and gel, creating a unique, instantly-binding flour that forms a cohesive, pliable dough when mixed with water – a quality not found in regular corn flour or cornmeal.
Depending on the variety of corn kernels used, you can find different types of masa harina: white masa harina (which has a pale yellow color), yellow masa harina (a more vibrant yellow), and blue masa harina (which is, as the name implies, blue). While all perform similarly, they offer slight variations in color and subtle flavor notes.
IMPORTANT: Because the corn used to make masa harina has undergone this specific limewater process, it CANNOT be substituted with normal corn flour, cornmeal, or polenta when making homemade corn tortillas. These alternatives will not yield the correct dough consistency, flavor, or pliability, often resulting in crumbly, dry, and bland tortillas that lack the authentic texture and taste you’re aiming for. Always ensure you purchase genuine masa harina for the best results.
Why Make Homemade Corn Tortillas? Unbeatable Freshness and Flavor
While convenience often leads us to store-bought tortillas, if you and your family frequently enjoy Mexican cuisine, venturing into making your own homemade gluten-free corn tortillas offers significant advantages. It’s not only more cost-effective in the long run but also provides a superior culinary experience that mass-produced options simply cannot replicate.
The process of making these soft, pliable gluten-free tortillas from scratch is surprisingly straightforward and incredibly rewarding. Many are intimidated by the idea, but the simplicity of the ingredients and steps makes it an accessible kitchen project for home cooks of all skill levels. Once you experience the unparalleled freshness and texture of a warm, homemade tortilla, you’ll find it hard to go back to store-bought. Plus, the ability to make a large batch and easily freeze these corn wraps means you can enjoy the authentic taste and convenience anytime!
Why This Easy Homemade Corn Tortilla Recipe Stands Out:
- Effortless and Simple Ingredients: This recipe calls for just 3 core ingredients, all of which are readily available at most local grocery stores. You don’t need obscure items or a fully stocked pantry to achieve fantastic results.
- Surprisingly Easy to Make: Don’t let the idea of making tortillas from scratch intimidate you! The process is far simpler than you might imagine. It primarily involves combining ingredients to form a soft, pliable dough, shaping it into thin circles, and then quickly cooking them on a hot griddle. No complex techniques or extensive baking experience required!
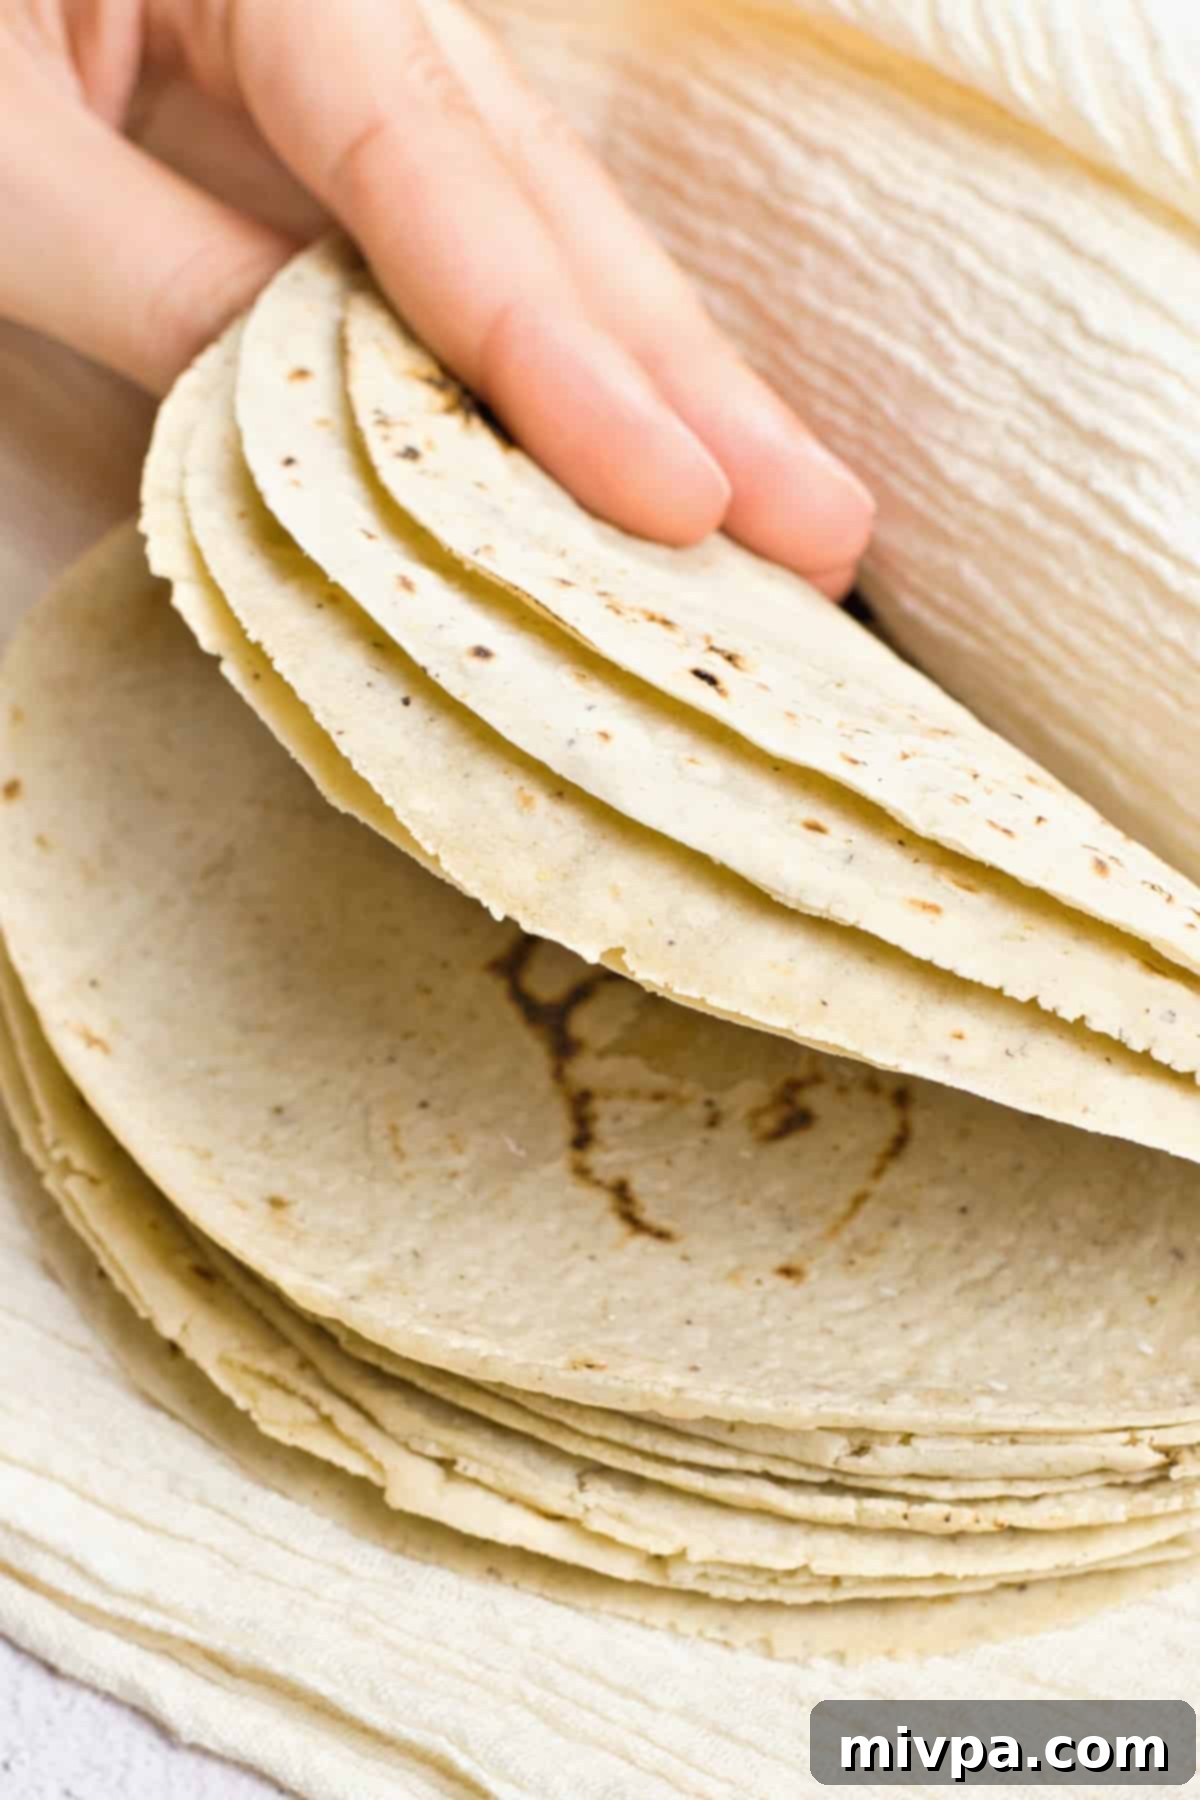
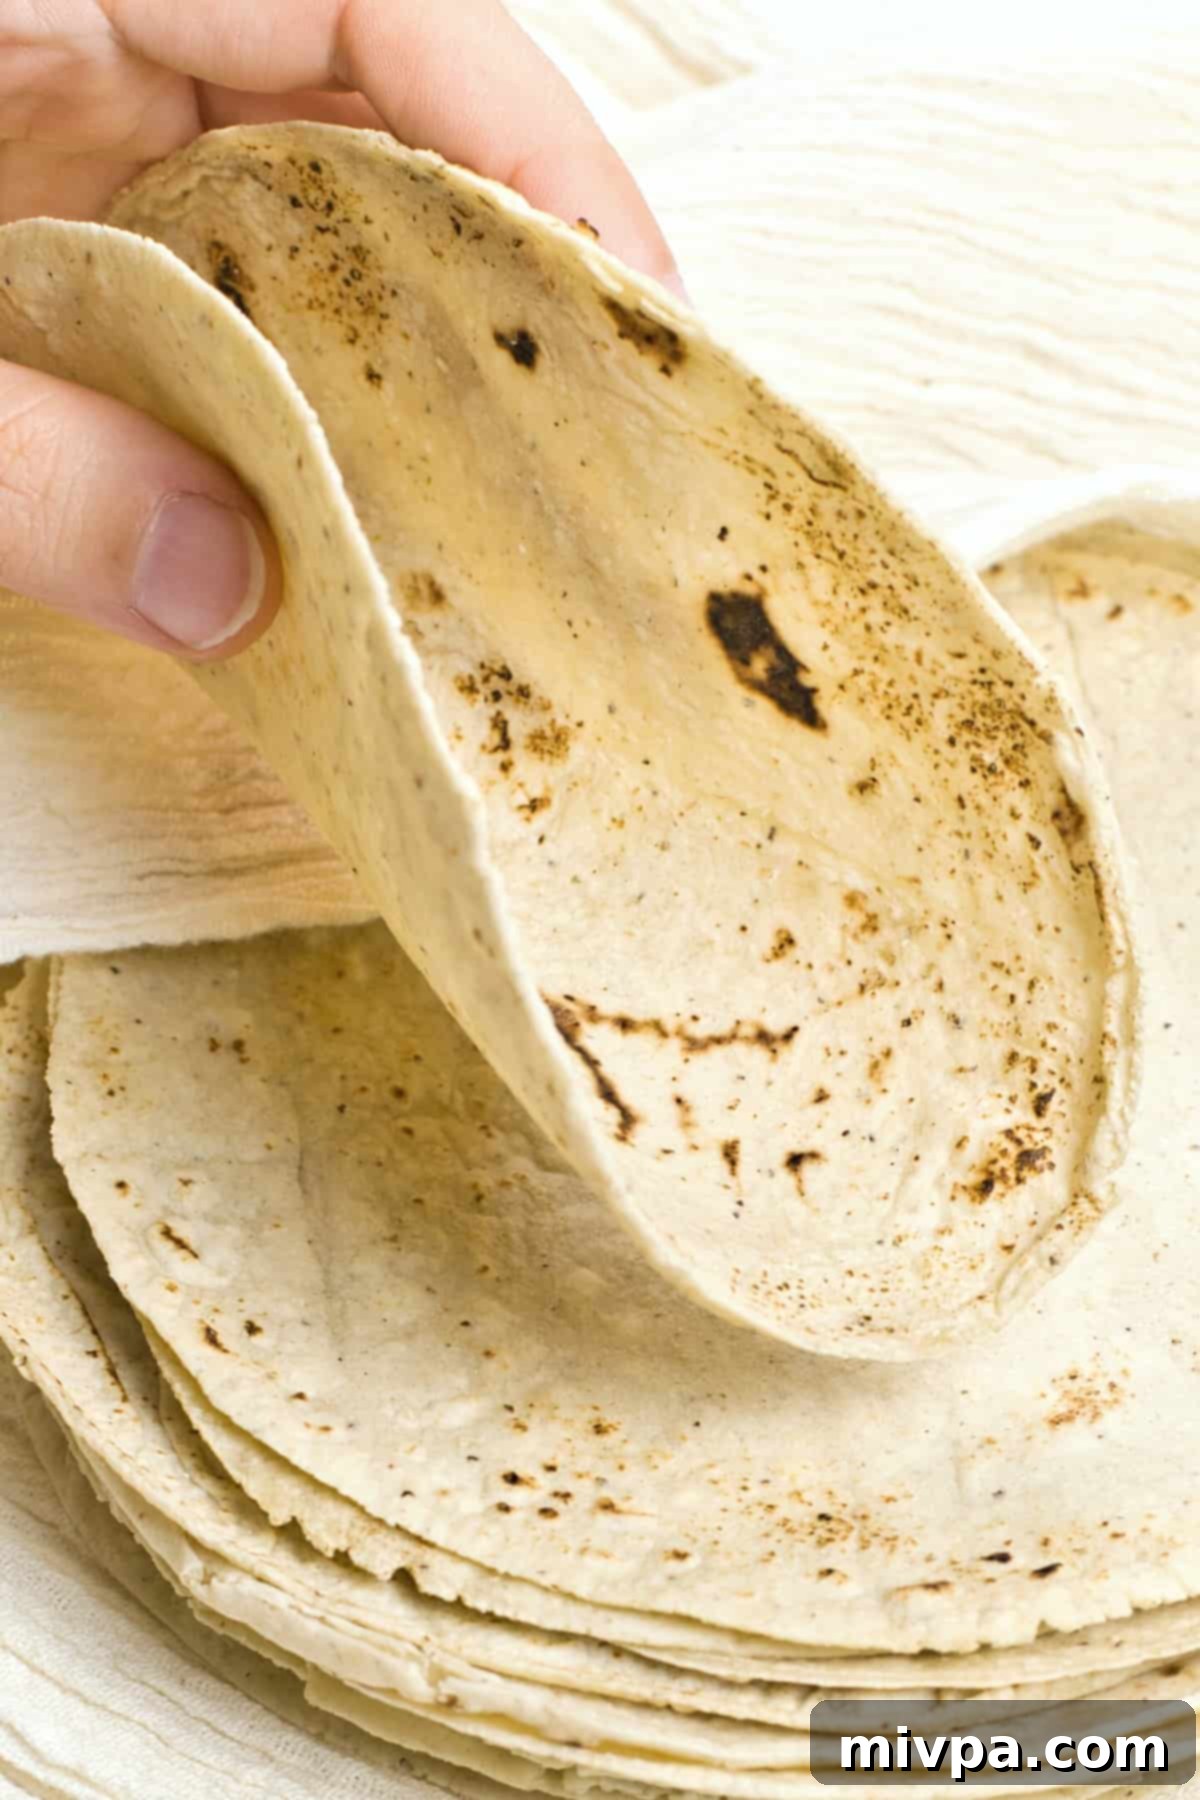
- Achieves the Perfect Flexible Texture: The key to a great tortilla is its texture – soft, flexible, and capable of being rolled without tearing. This recipe consistently delivers corn tortillas that are robust enough to hold generous fillings for tacos, burritos, enchiladas, and more, yet tender enough to fold beautifully.
- Diet-Friendly: 100% Gluten-Free, Dairy-Free & Vegan: This is truly the best part for many! Our homemade corn tortilla recipe is completely gluten-free, dairy-free, and vegan. This ensures that everyone, including those with Celiac disease, gluten sensitivities, lactose intolerance, or those following a plant-based diet, can enjoy delicious, authentic homemade tortillas without any dietary concerns or compromises.
- Cost-Effective: Making tortillas at home is significantly cheaper than buying them pre-made, especially if you consume them regularly.
- Freshness You Can Taste: The flavor of a freshly cooked tortilla is incomparable. The subtle sweetness of corn and the slightly earthy notes are much more pronounced when made at home.
Essential Ingredients You’ll Need:
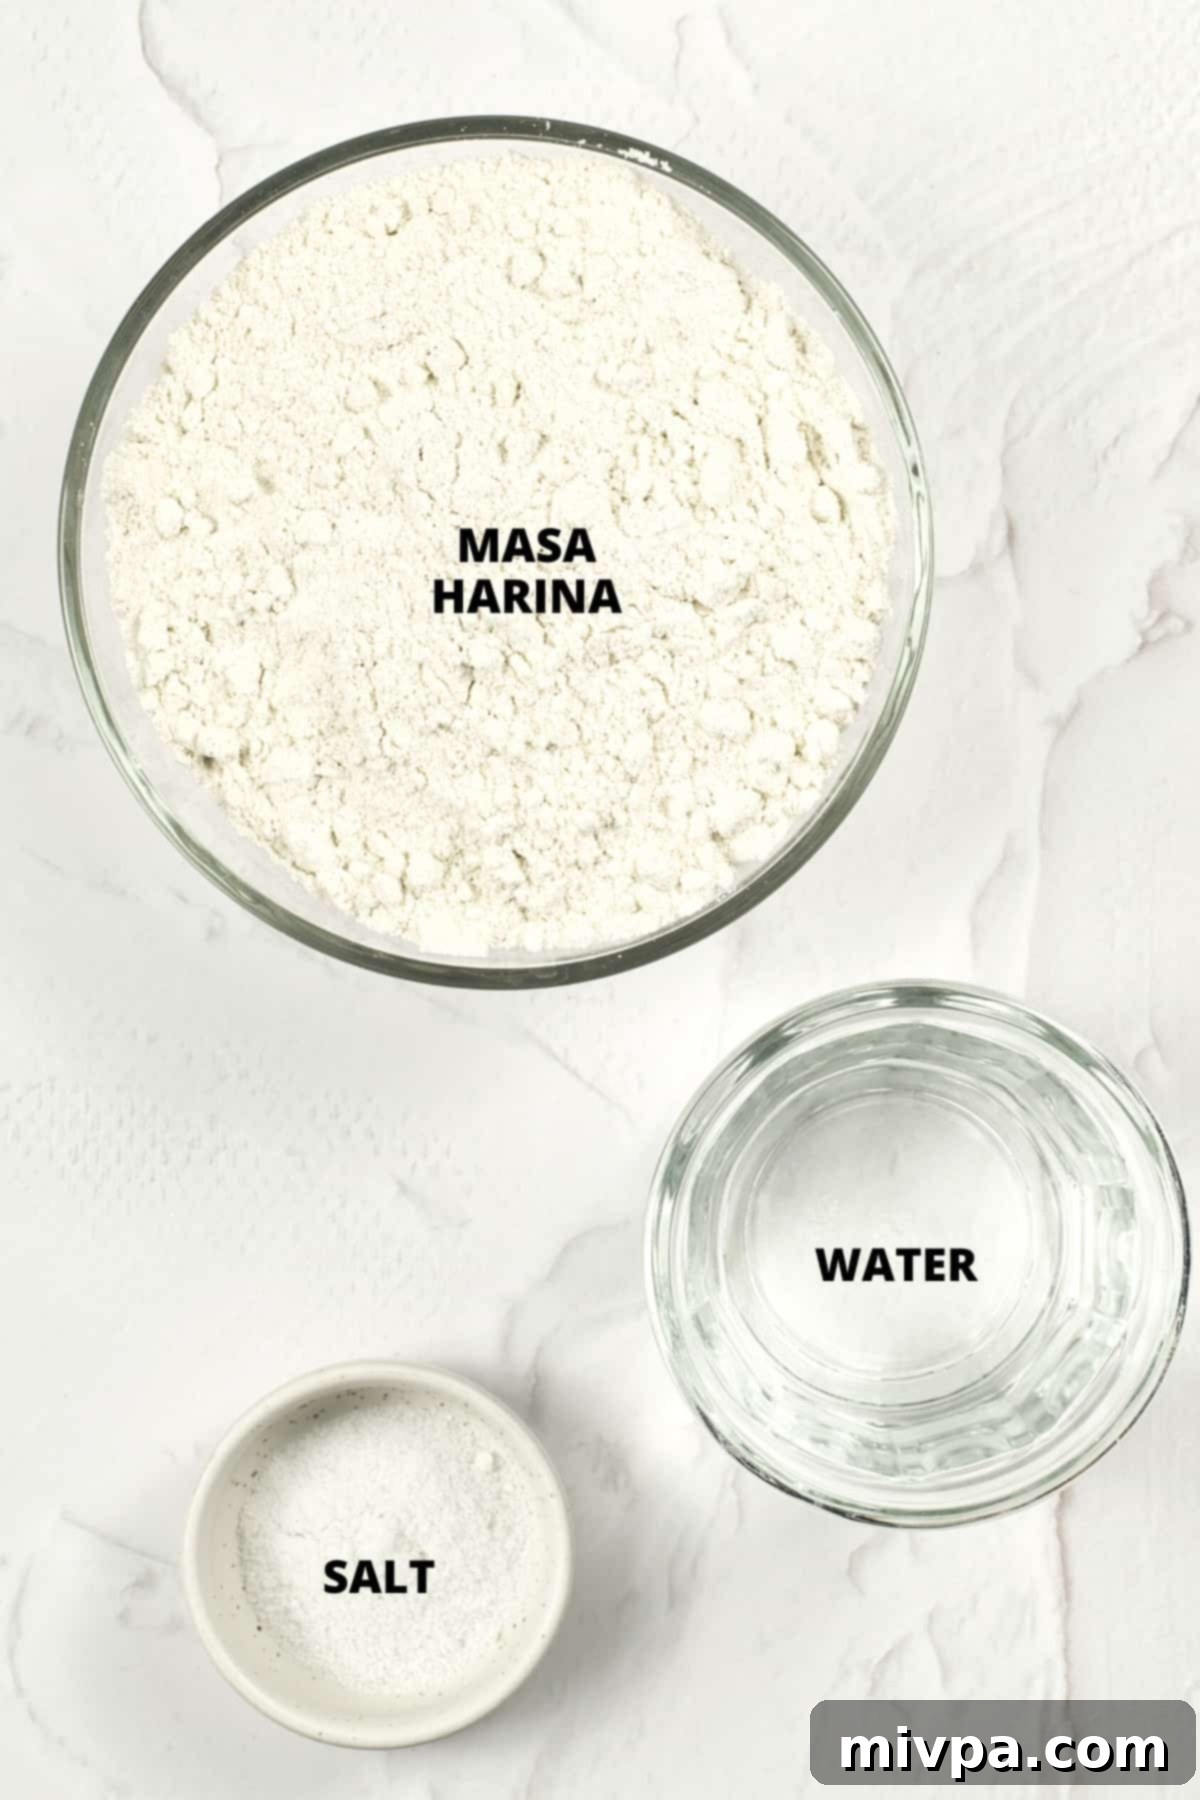
Making delicious homemade corn tortillas requires just a few basic ingredients. Here’s a quick visual overview to get you started, followed by detailed notes on each component.
(For the precise measurements and quantities, please make sure to scroll down to the comprehensive printable recipe card conveniently located at the bottom of this post.)
Recipe Notes & Expert Substitutions for Perfect Tortillas
- Masa Harina: The Non-Negotiable Core: As emphasized earlier, it is absolutely essential to use genuine masa harina for this recipe. Do not attempt to substitute it with regular cornmeal, corn flour, or polenta. These flours lack the nixtamalization process that gives masa harina its unique binding properties and distinct flavor profile, which are critical for pliable, authentic tortillas. In the USA, Maseca is an incredibly popular and widely available brand, often found in the ethnic or Mexican food aisles of most grocery stores. Other reliable brands in the USA include Azteca, Golden Masa Harina, Bob’s Red Mill, Goya, El Milagro, Barilla, and Minsa. If you’re in Europe, look for brands such as La Tortilla Factory, Maizena, P.A.N, Golden Masa Harina, El Rey, and Harina P.A.N.
- Warm Water: The Key to Pliability: The temperature of your water makes a difference! Use warm water (not hot, and definitely not cold) when mixing your dough. Warm water helps the masa harina hydrate more effectively and makes the dough significantly more pliable and easier to work with, resulting in softer tortillas. Pay attention to your dough’s consistency; if it feels too dry and crumbly, gradually add a tiny bit more warm water. If it feels too sticky, a small amount of extra masa harina can help balance it out. The ideal dough should feel like soft play-doh.
- Salt: Enhancing the Flavor (Optional): I prefer to use fine table salt to subtly enhance the natural sweetness of the corn and bring out more flavor in the tortillas. However, you can certainly opt for fine sea salt or fine Himalayan pink salt if those are your preferences. If you are on a low-sodium diet or simply prefer your tortillas unsalted, feel free to omit it entirely without affecting the texture.
How to Make Perfect Homemade Corn Tortillas (Step-by-Step Guide):
Follow these simple steps to create your own batch of soft, delicious corn tortillas at home. Precision and a little patience are your best friends here!
1. Combine Masa Harina with Salt
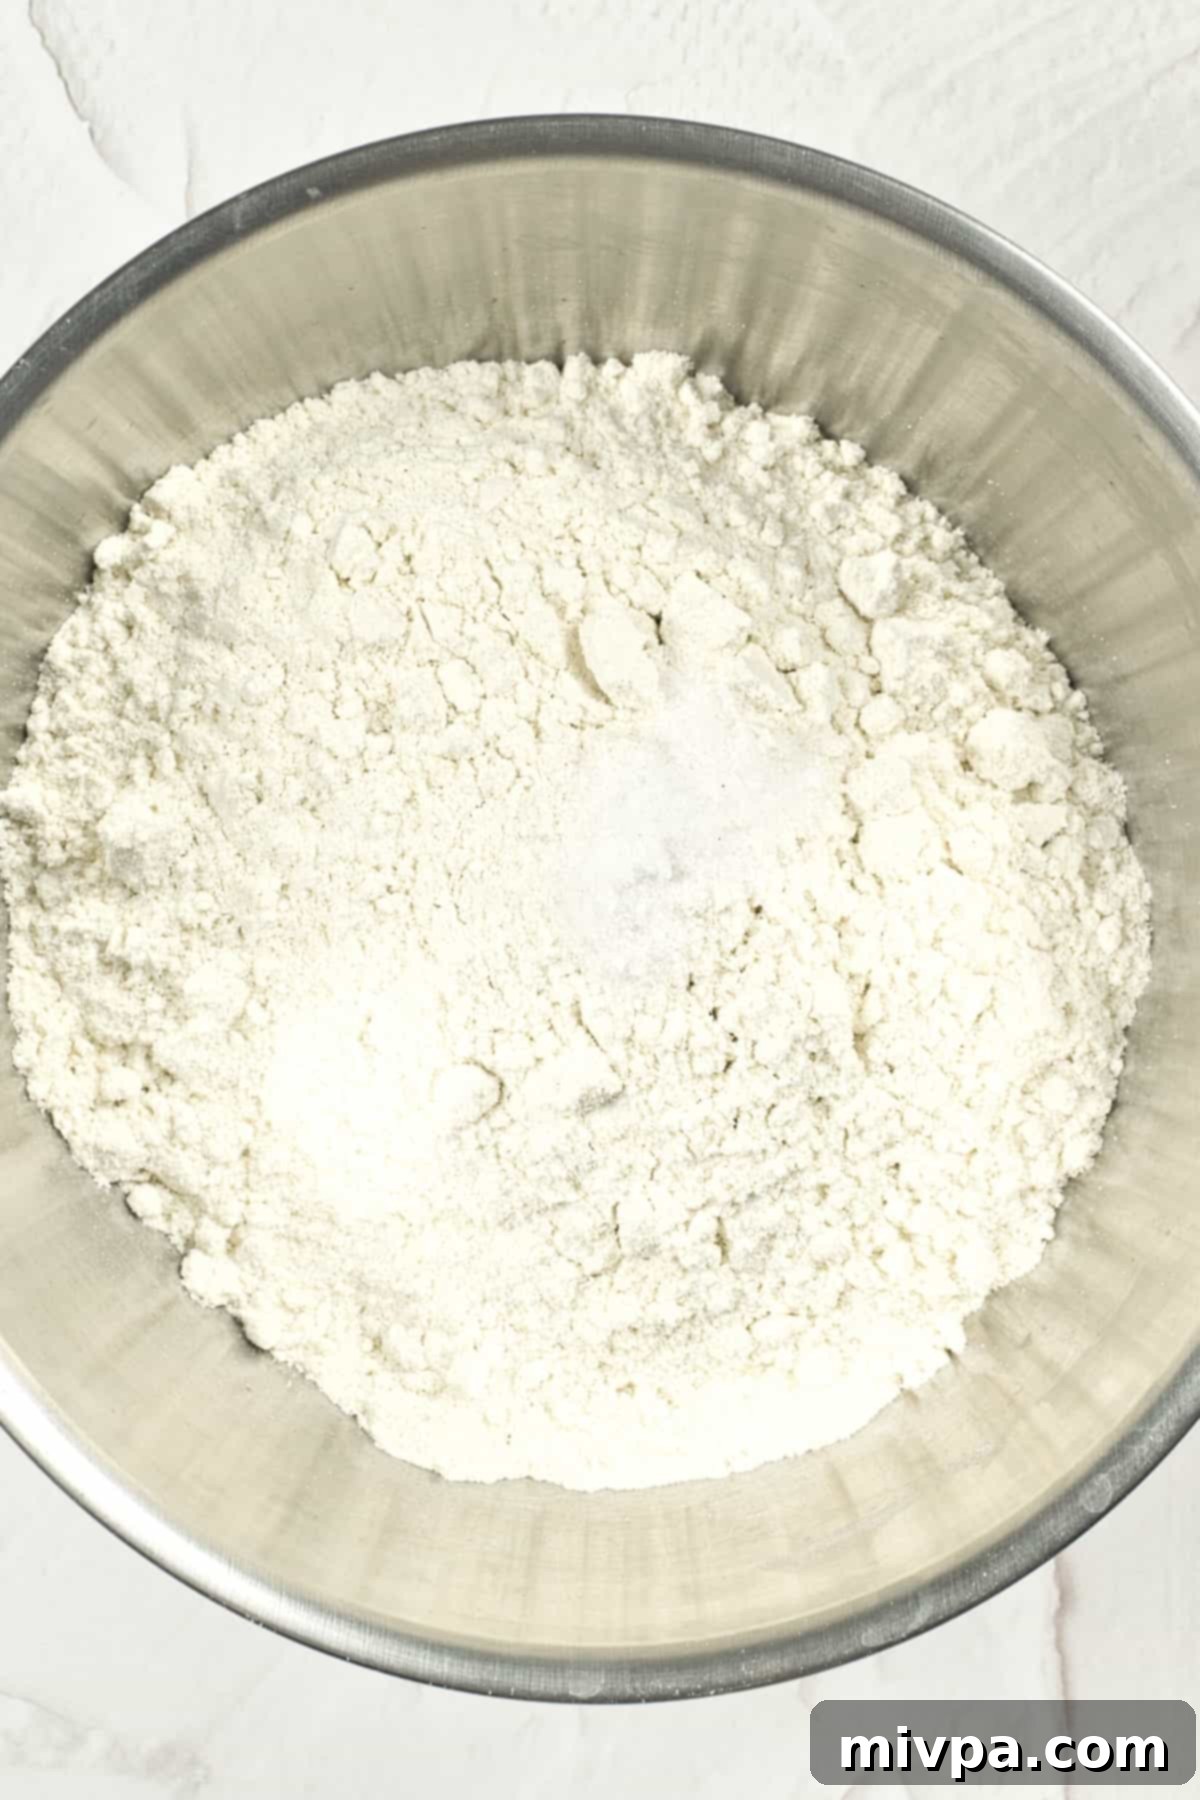
Begin by taking a large mixing bowl. Measure out your masa harina and add the salt (if you’re using it) into the bowl. Give them a quick stir with a spoon or your hands to ensure the salt is evenly distributed throughout the masa harina. This initial step sets the foundation for a flavorful dough.
2. Gradually Add Warm Water to Form a Dough
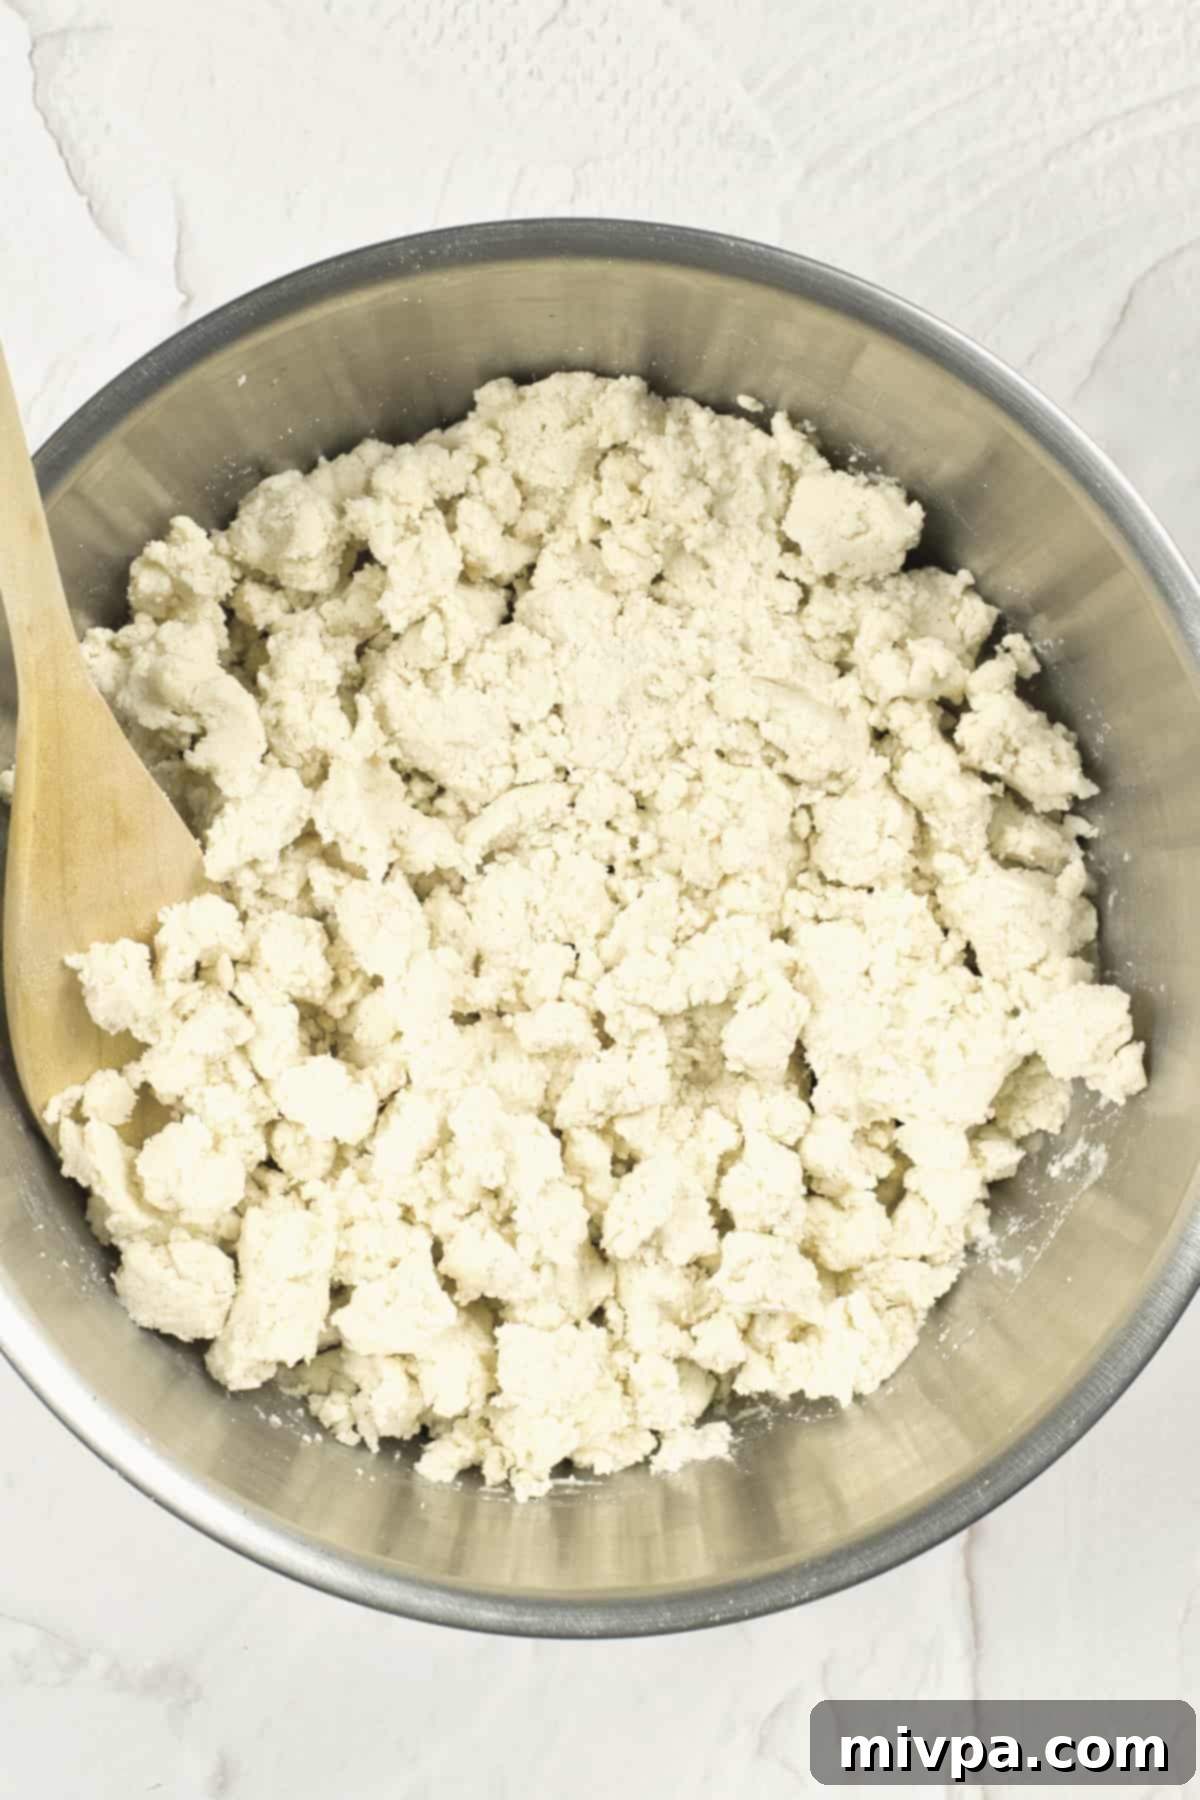
Now, it’s time to bring the dough together. Slowly pour the warm water into the masa harina mixture. As you add the water, continuously stir and mix the ingredients, either with a sturdy spoon or your hands. Keep mixing until a cohesive dough starts to form. The goal is a dough that feels moist and soft to the touch, but crucially, it should not be excessively sticky. If it’s too dry, add a teaspoon of water at a time; if too wet, a tablespoon of masa harina. You want it to hold its shape.
3. Knead the Tortilla Dough Until Smooth
Once you have a rough dough, transfer it to a clean work surface or continue in the bowl. Knead the dough vigorously for several minutes, typically around 2 to 5 minutes. The kneading process is vital for developing the masa’s texture. You’ll notice the dough transforming from a somewhat crumbly mixture into a smooth, uniform, and elastic ball. This pliability is essential for tortillas that won’t crack when flattened or folded.
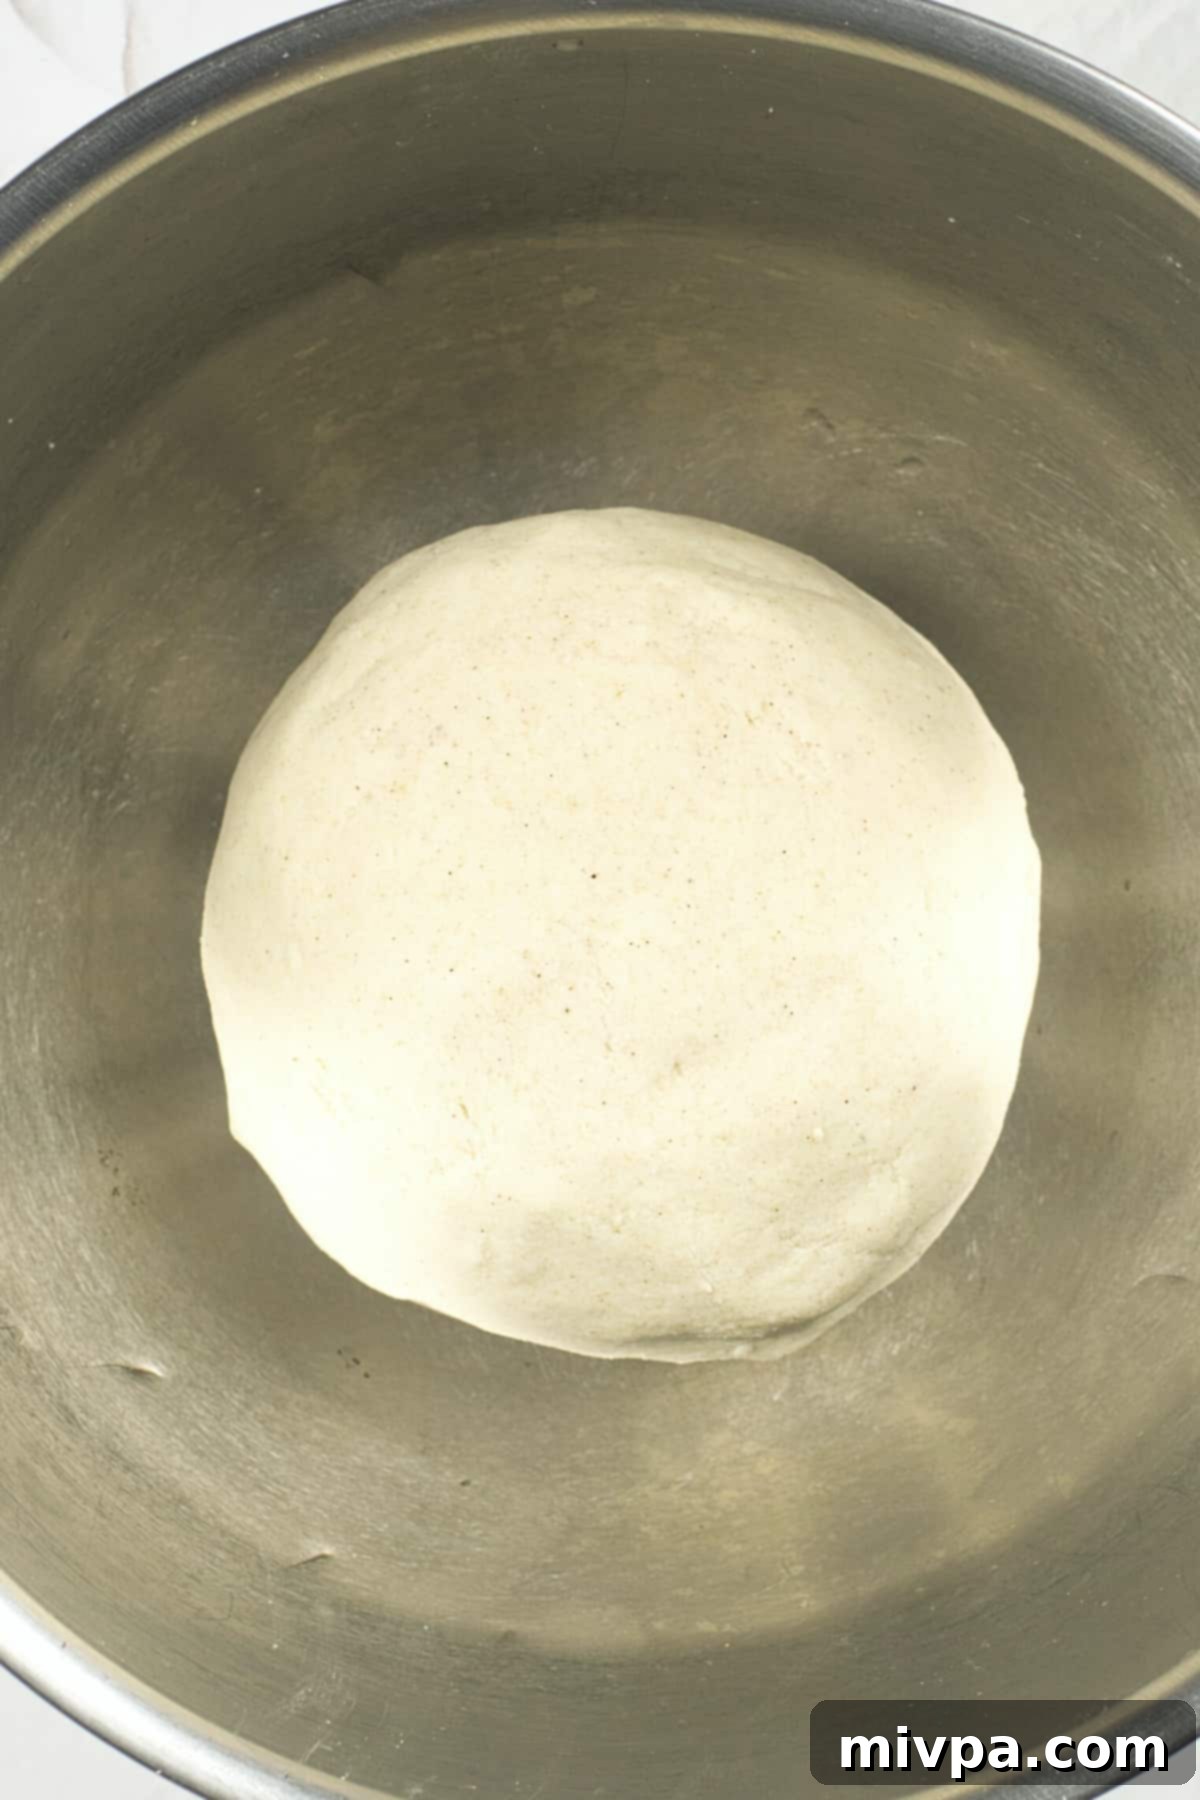
4. Divide and Roll Dough into Equal Portions, Then Rest
After kneading, divide the entire dough into 16 equal pieces. The exact size will depend on how large you want your tortillas to be, but aiming for golf-ball sized portions is a good starting point. Roll each piece into a neat ball using the palms of your hands. This ensures even cooking. Once formed, place the dough balls back into the bowl and cover them with a damp cloth or plastic wrap. This is crucial to prevent them from drying out, which can lead to cracking. Allow the dough balls to rest for at least 15 minutes. This resting period helps the masa harina fully hydrate and relax, making the dough even more pliable and easier to flatten.
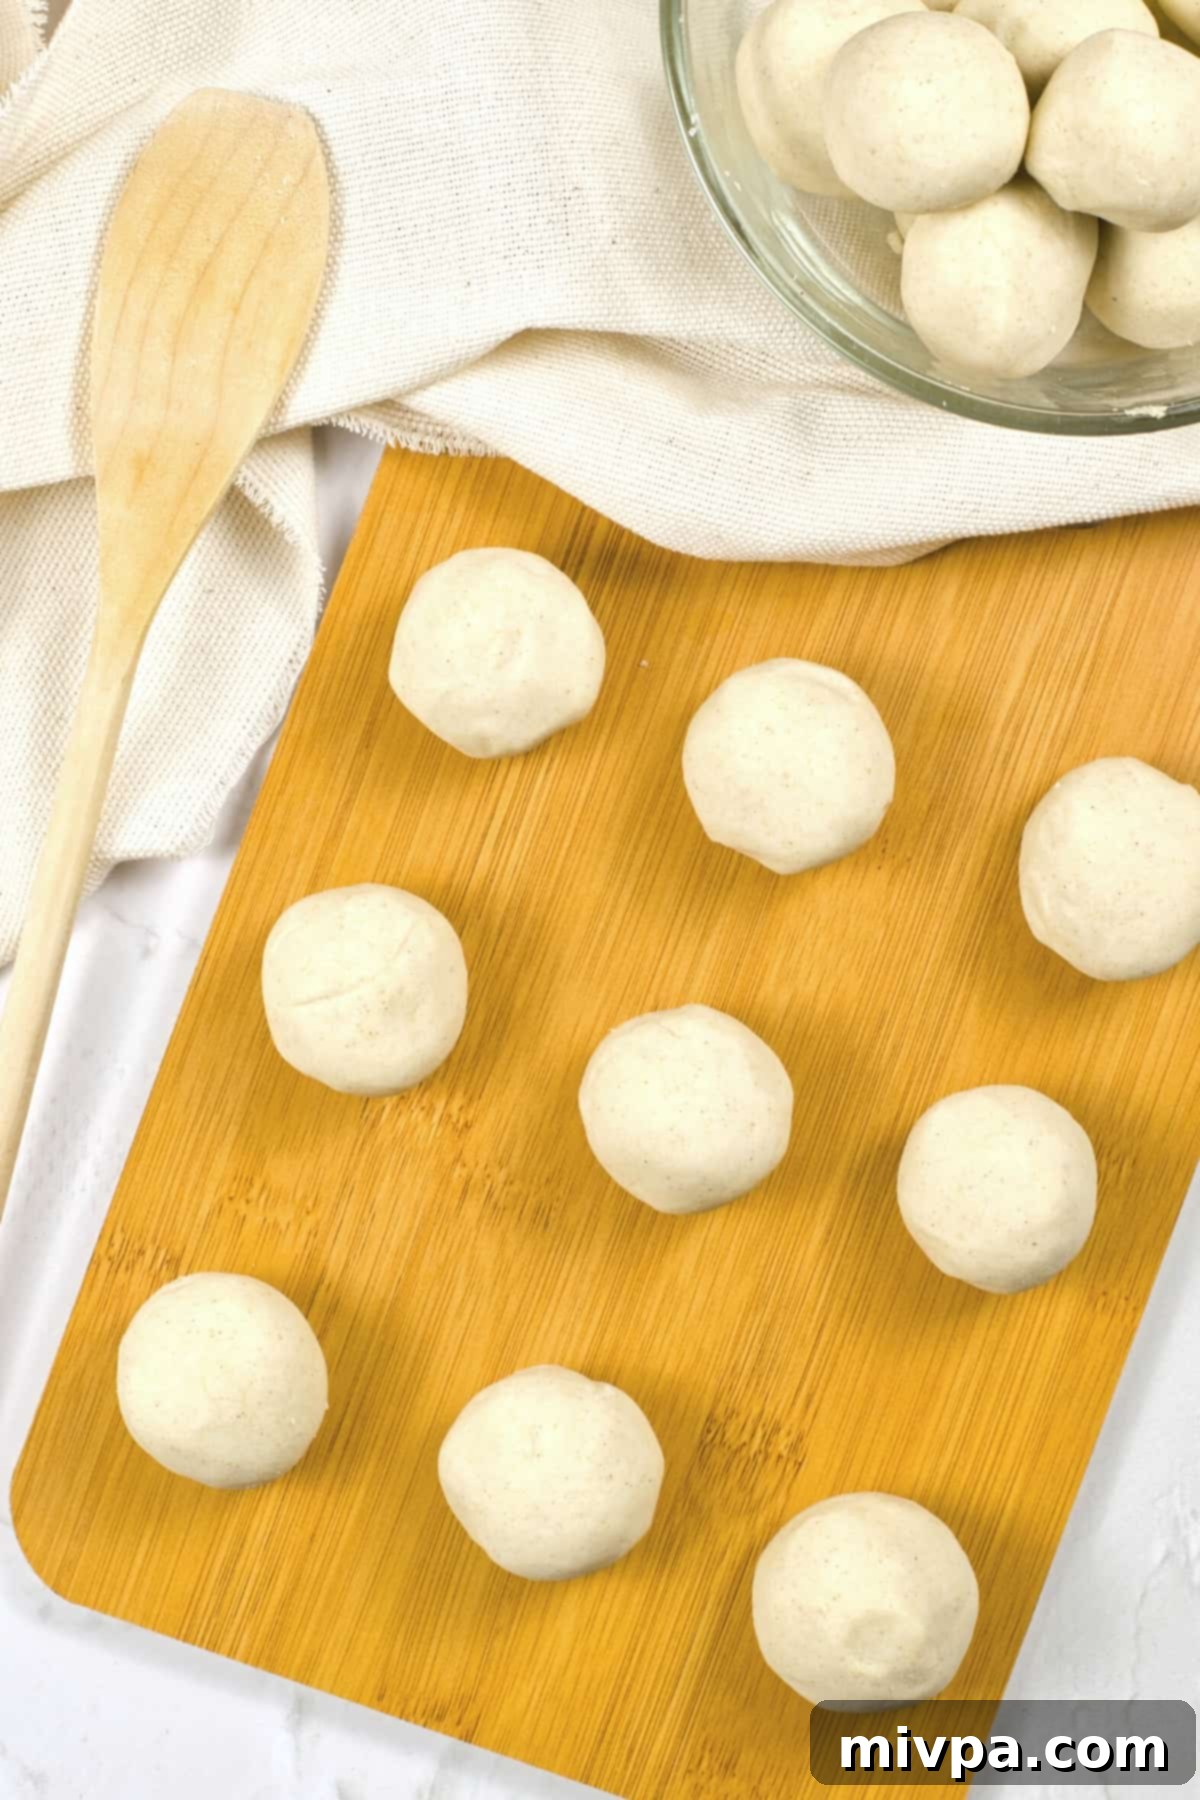
5. Prepare for Flattening: Dough Ball Between Protective Layers
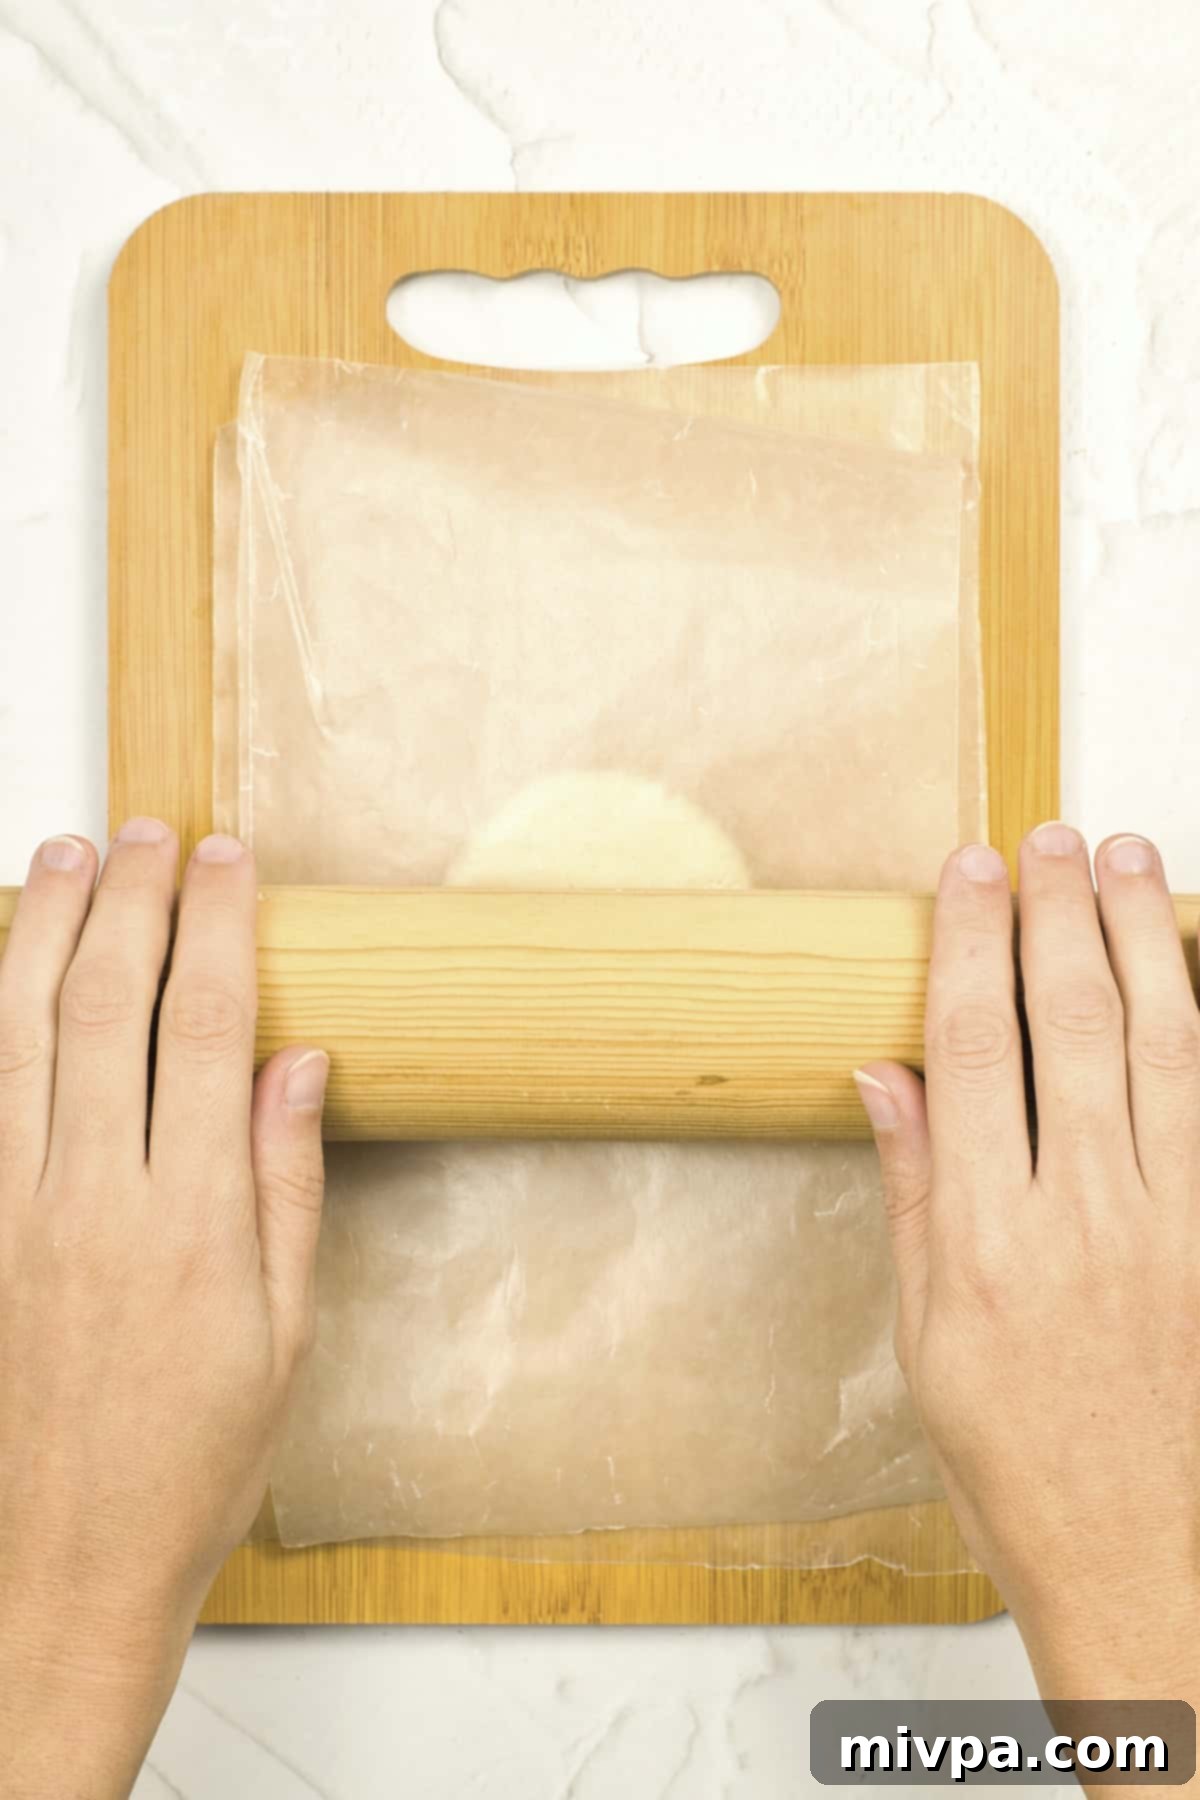
To prevent sticking and ensure easy handling, take one dough ball and place it between two pieces of either parchment paper, plastic wrap, or wax paper. This protective layer is essential whether you’re using a tortilla press or a rolling pin. It allows the dough to spread without adhering to your equipment or work surface.
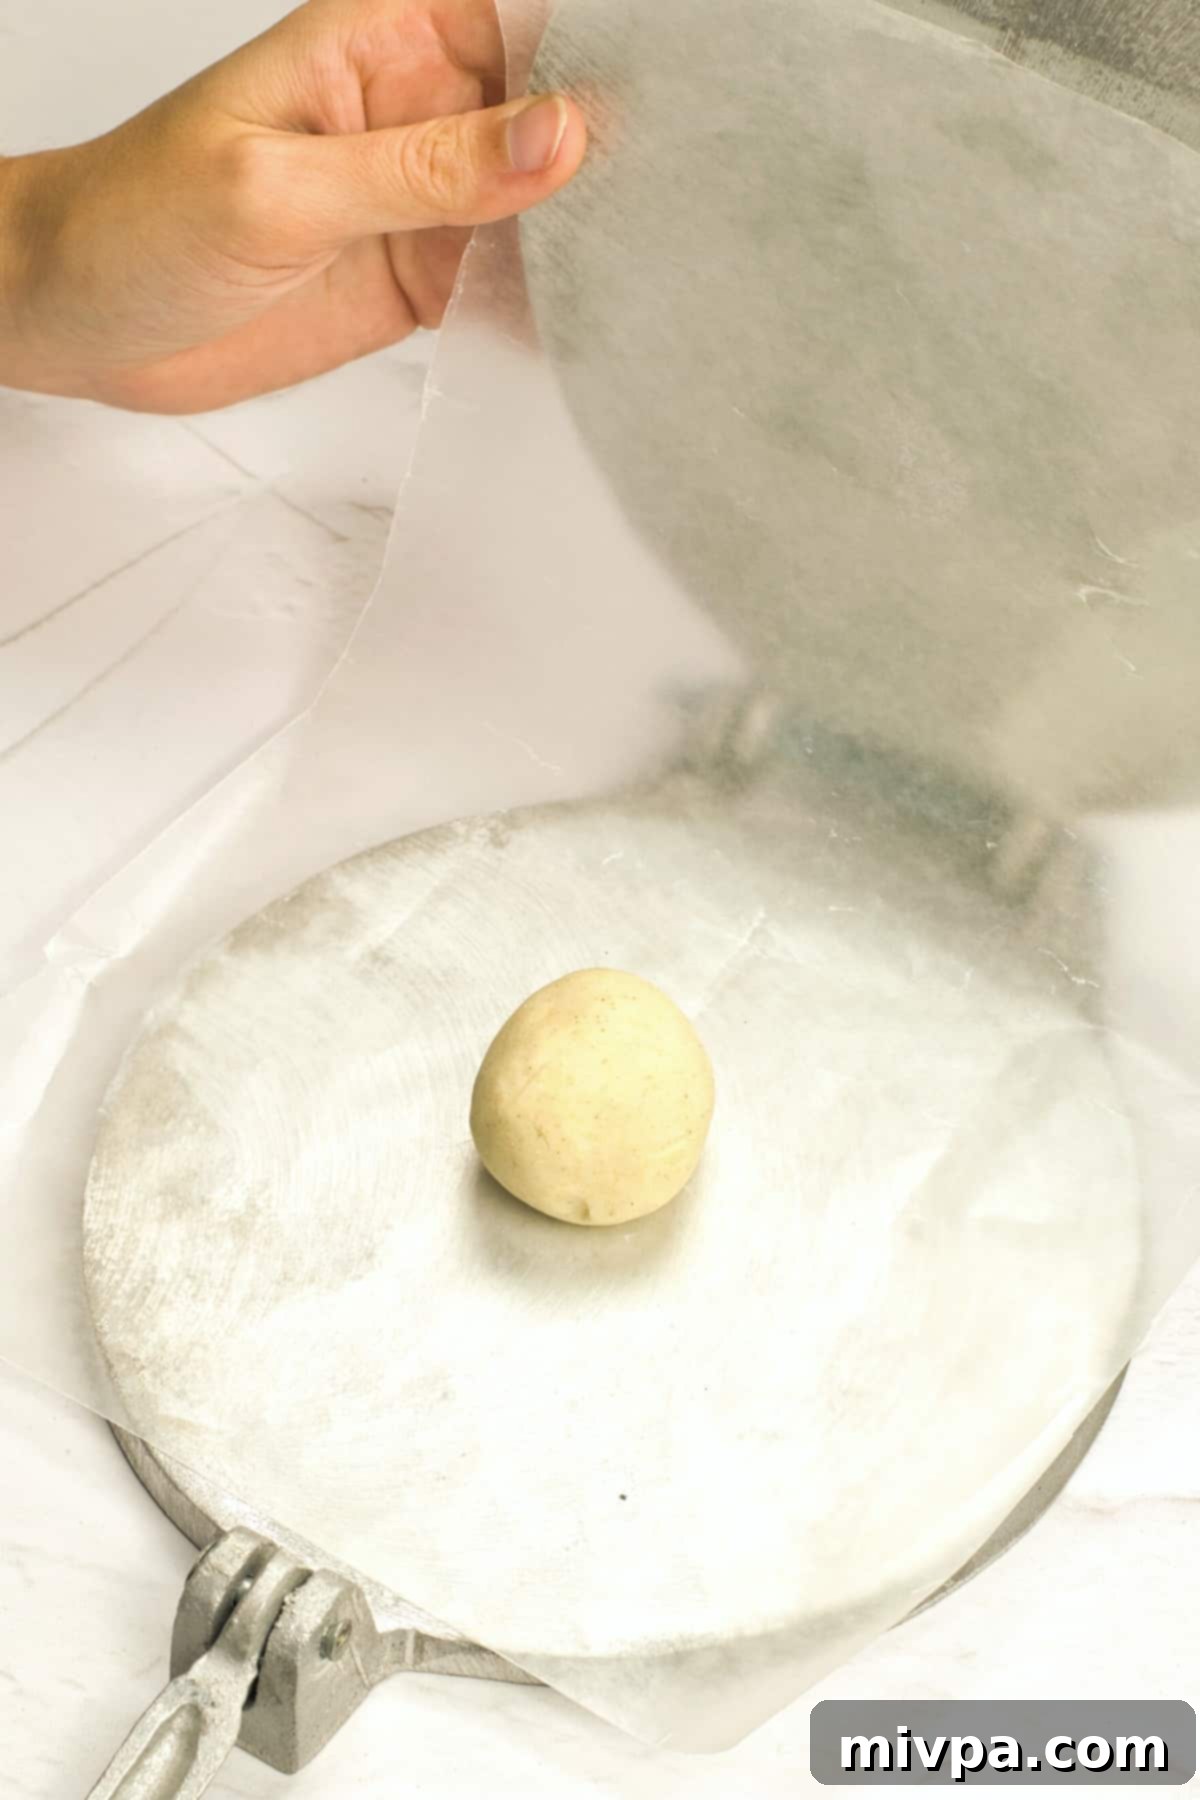
6. Flatten the Dough into a Tortilla
This is where your tortilla takes shape!
(A) If Using A Tortilla Press:
If you own a tortilla press, the process is incredibly efficient. Place the prepared dough ball (between its protective layers) directly in the center of the press. Close the press firmly and apply even, steady pressure to flatten the dough ball into a perfectly round, thin tortilla. Open the press carefully.
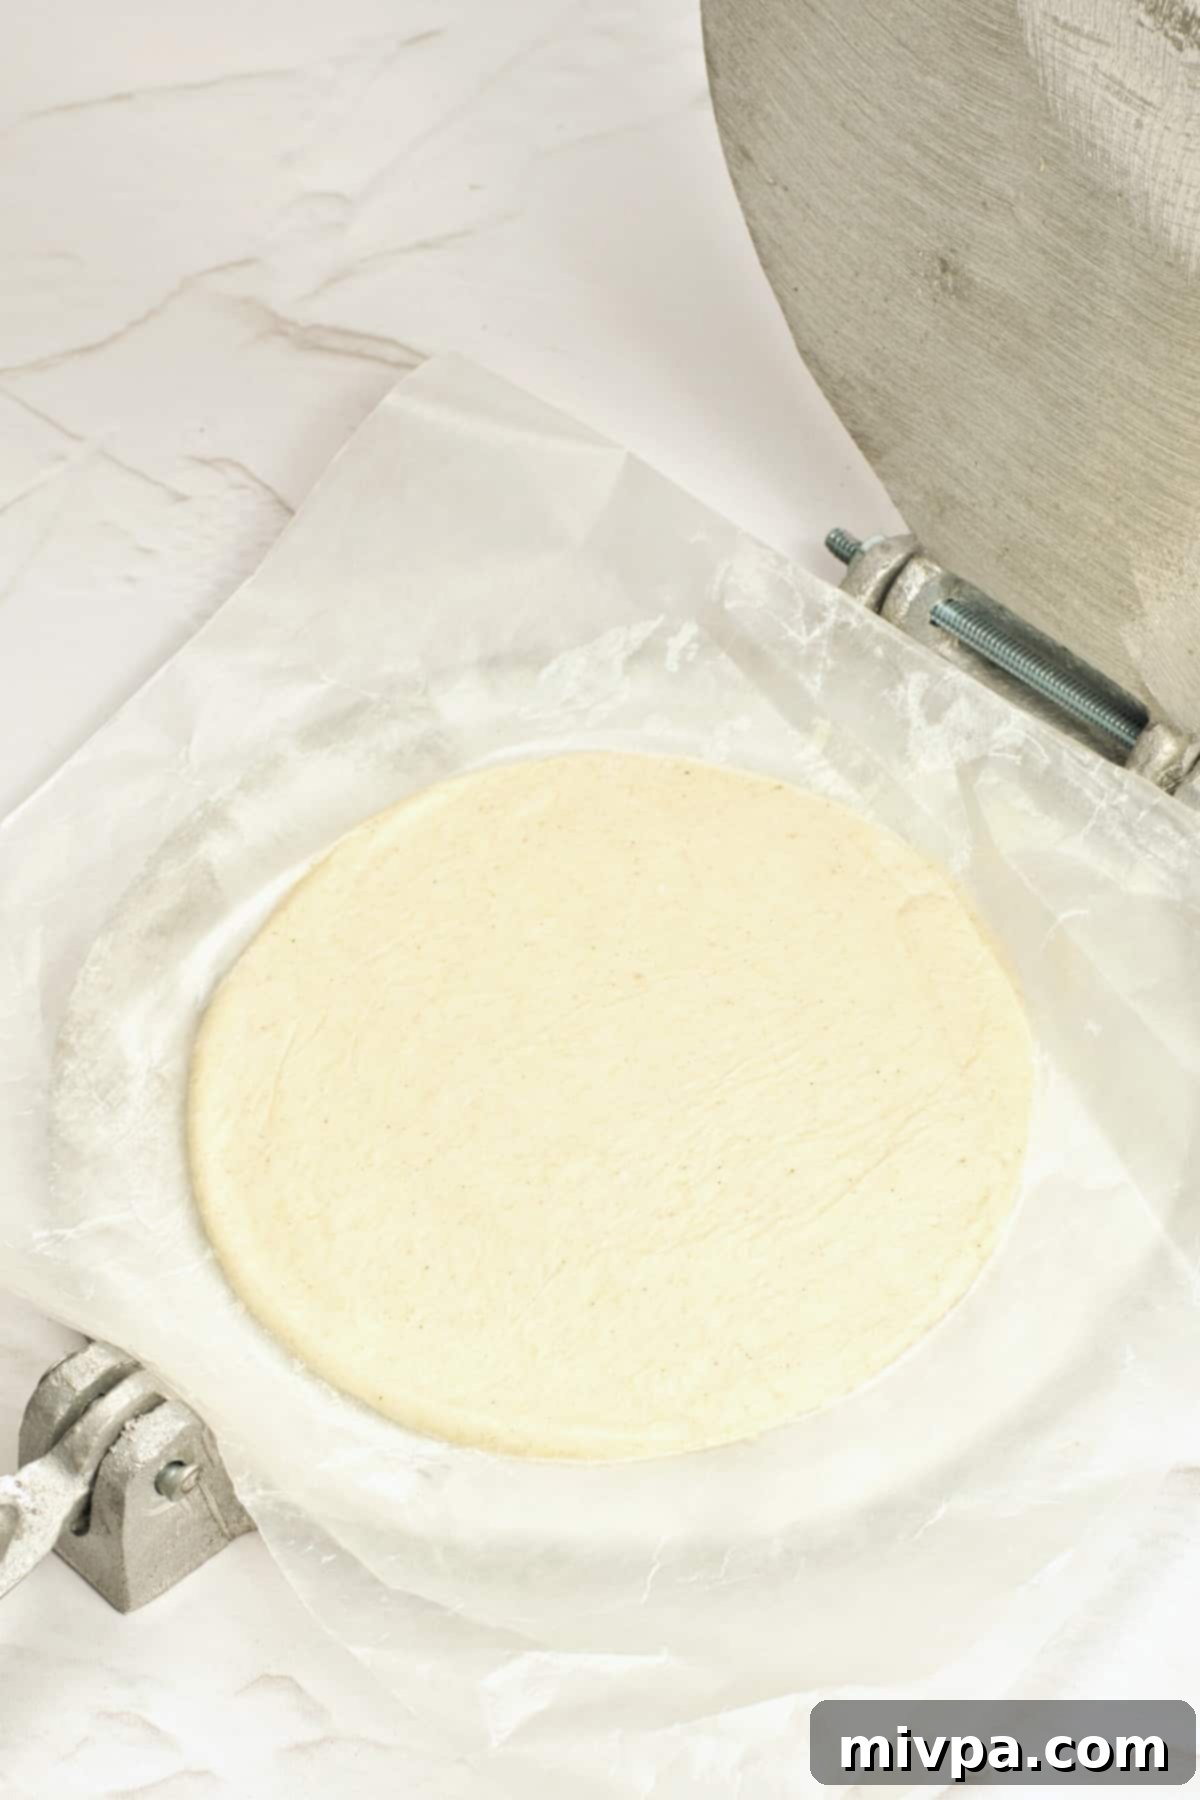
(B) If Using a Rolling Pin:
No tortilla press? No problem! A rolling pin works just as well, though it might take a little more practice to achieve a perfectly round shape. With the dough ball still between its two sheets of parchment or plastic, use your rolling pin to gently and evenly roll the dough outwards from the center until it forms a thin, circular tortilla. Aim for a thickness similar to a store-bought tortilla – about 1/16 to 1/8 inch.
7. Carefully Remove the Raw Tortilla
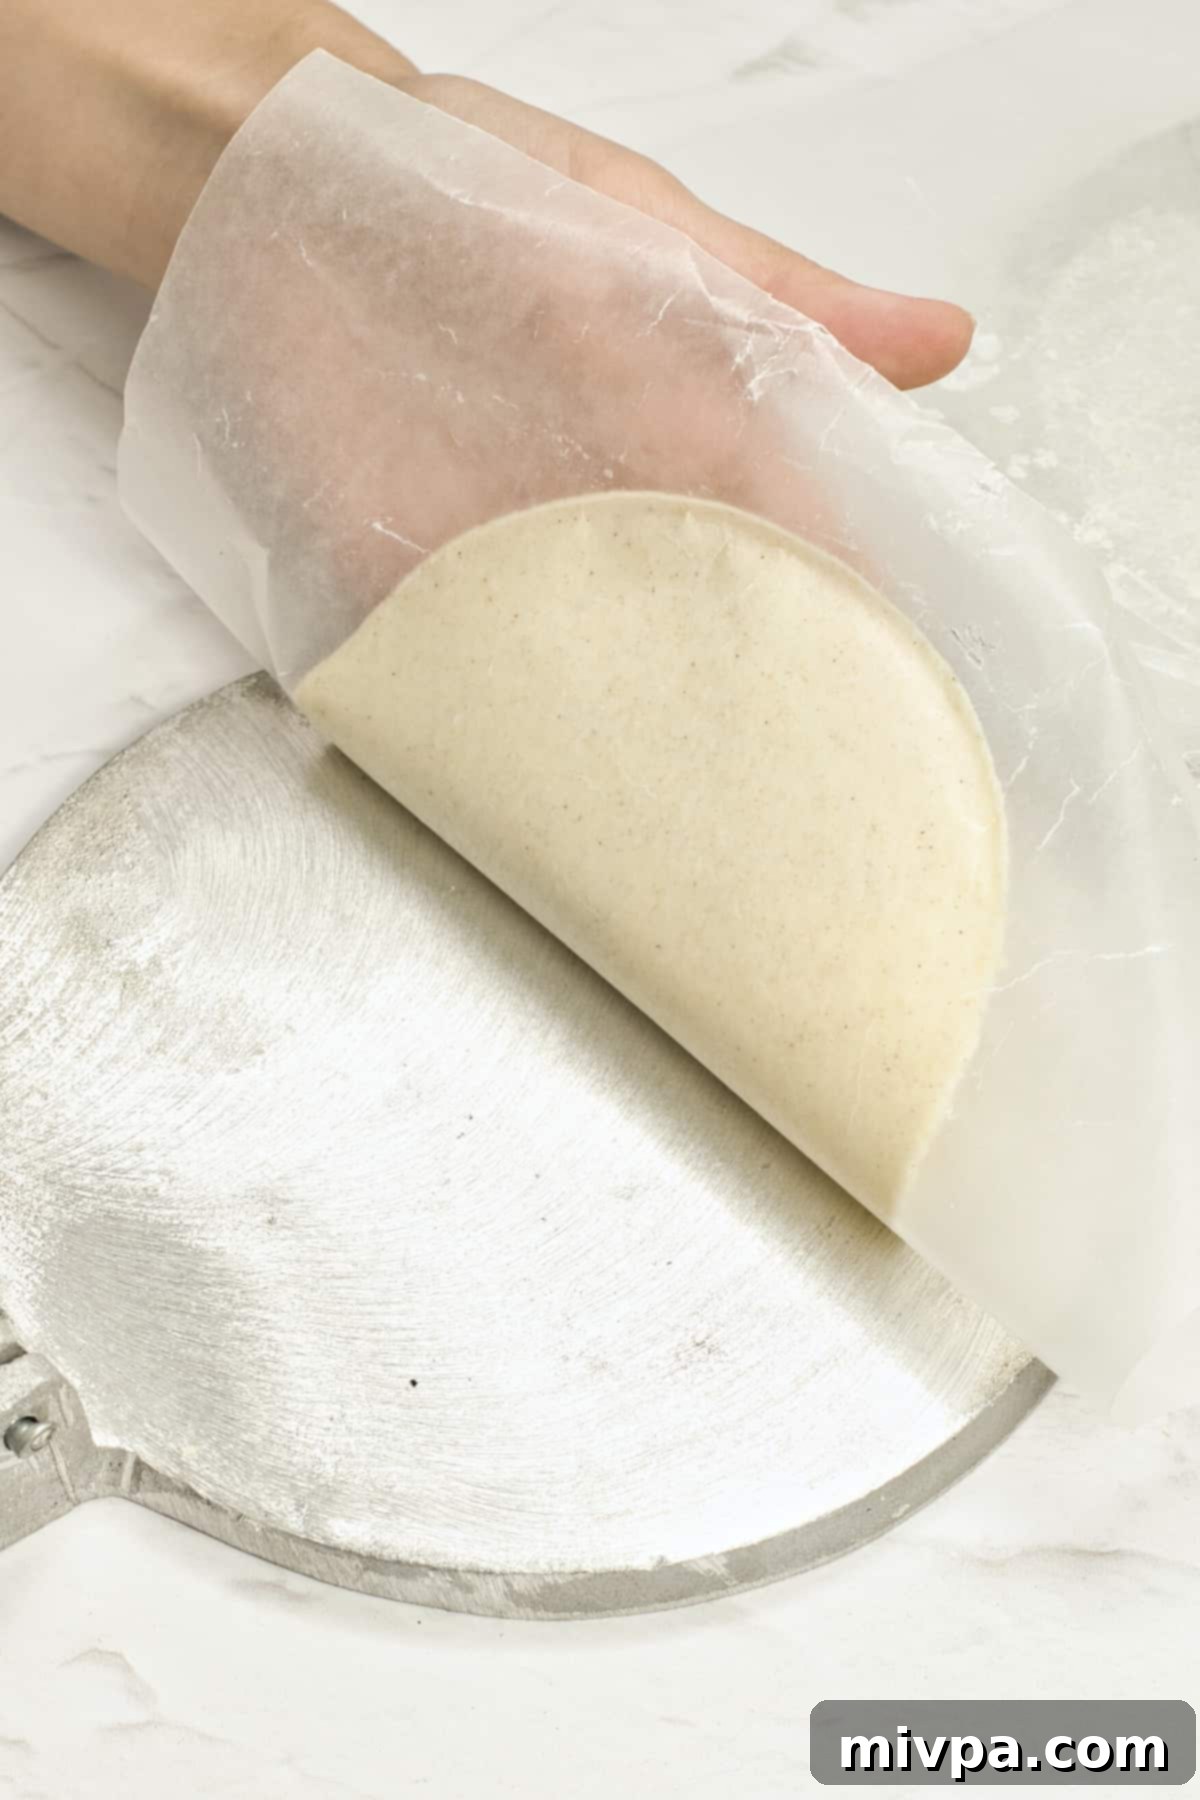
Once flattened, carefully peel off the top layer of parchment or plastic. Then, gently lift the raw tortilla from the bottom layer. Be tender as the raw dough is delicate. It’s best to handle it as little as possible to maintain its shape.
8. Transfer to Skillet and Cook to Perfection
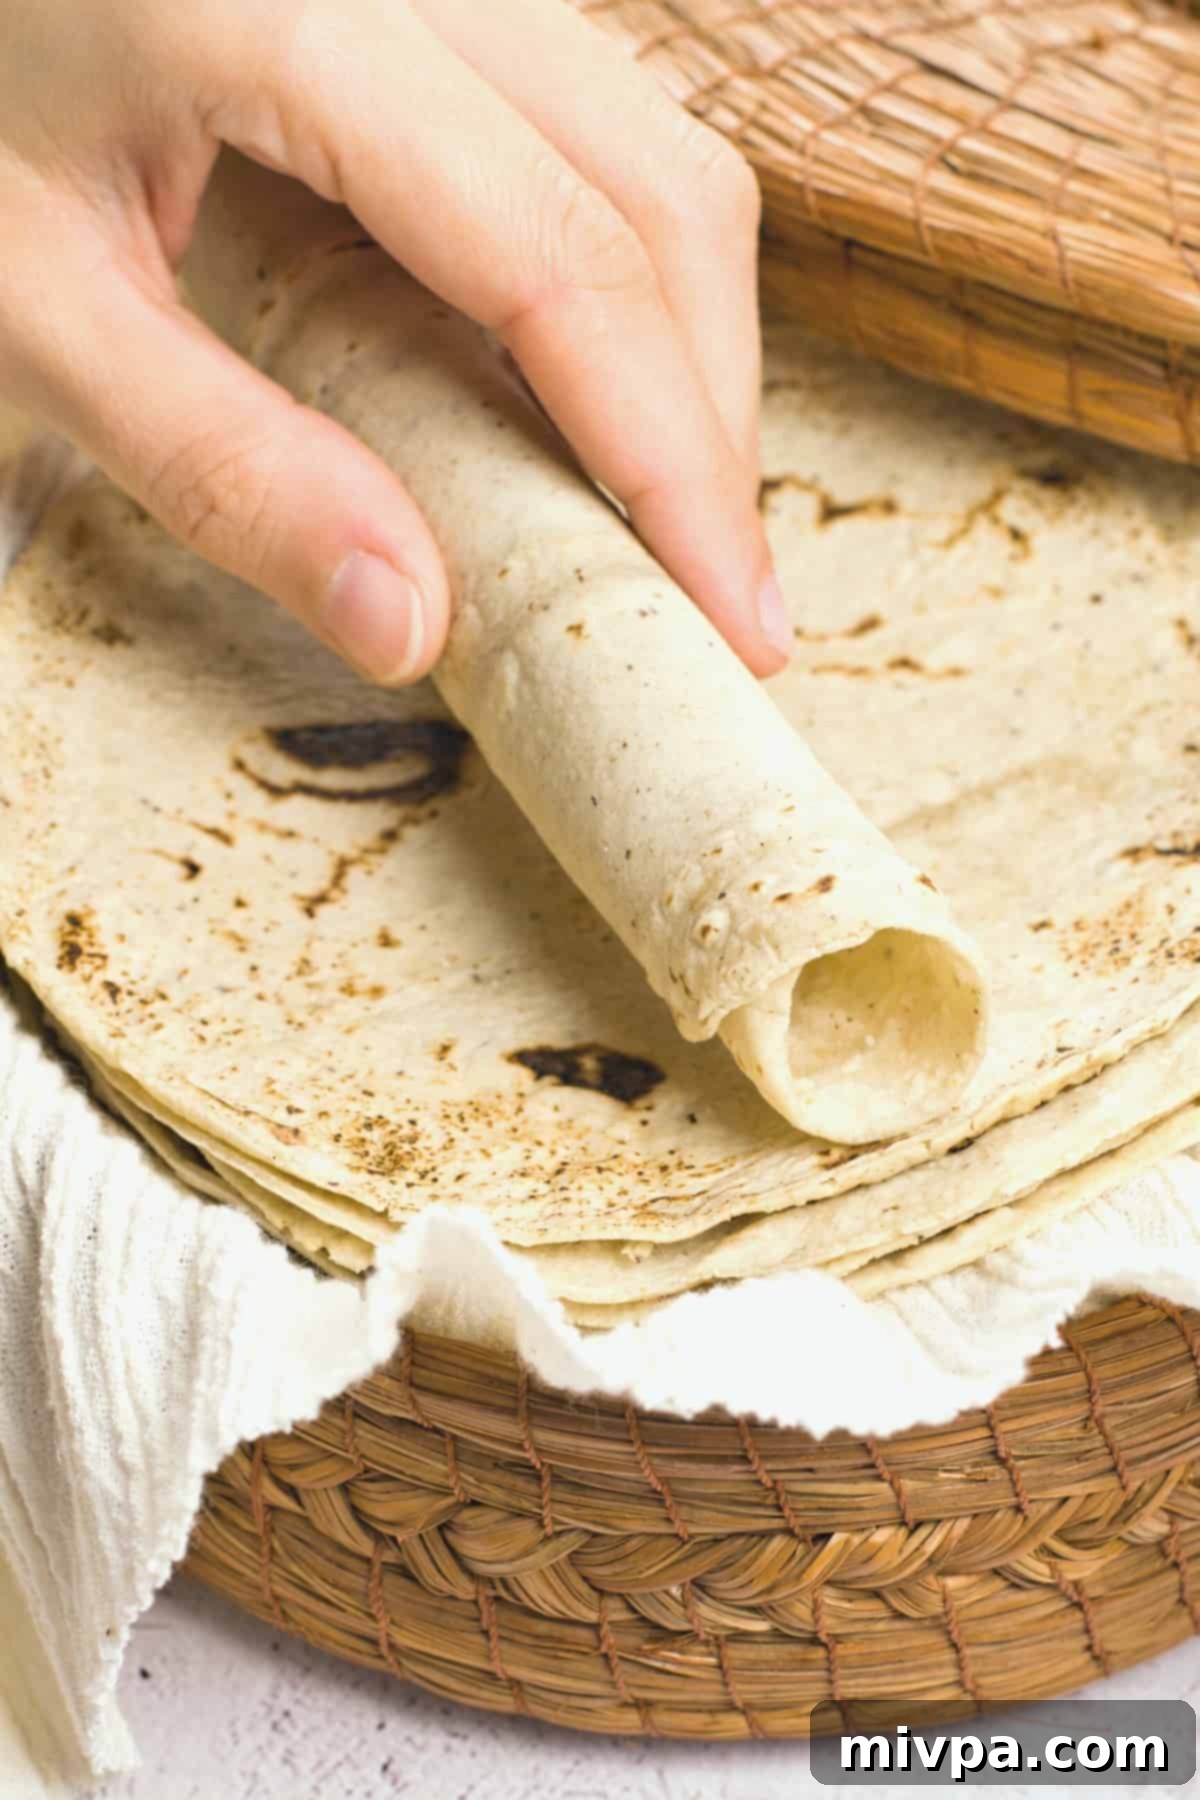
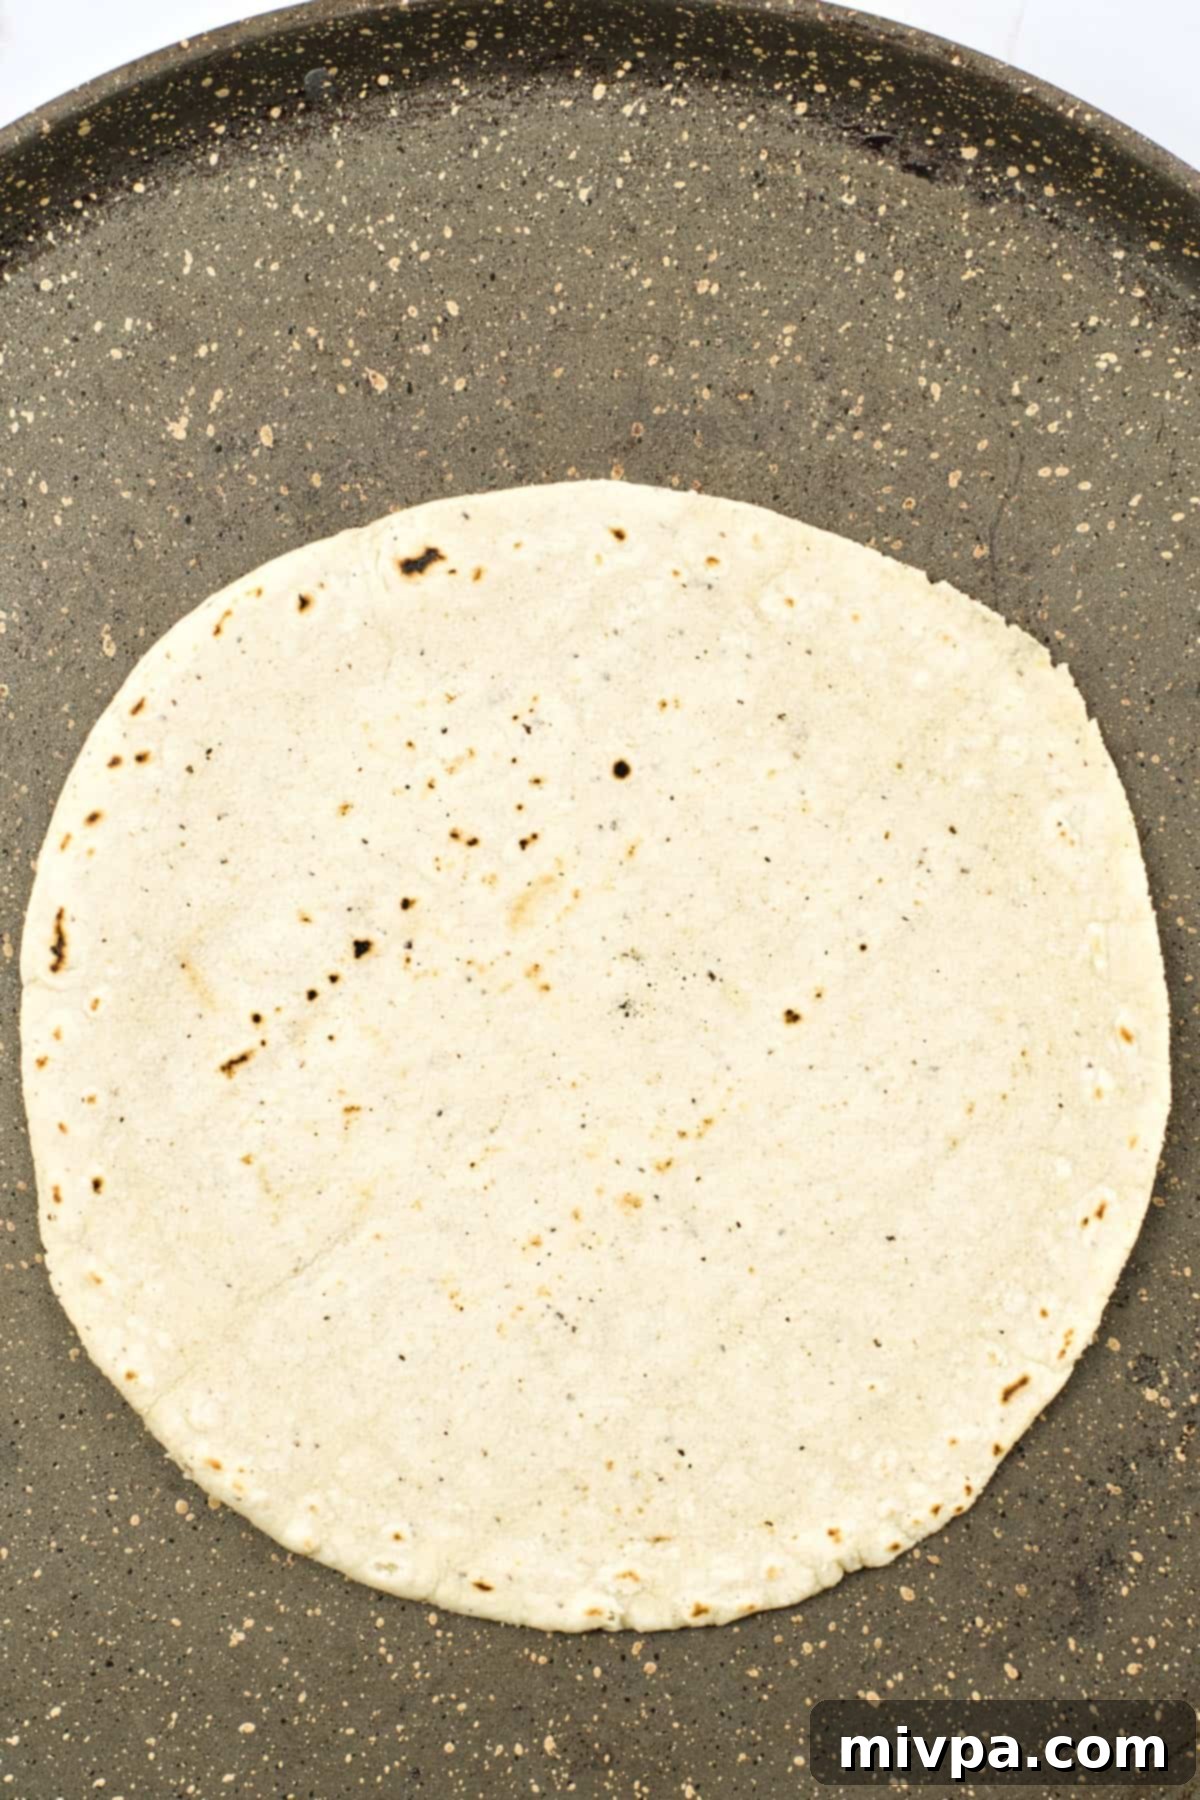
Preheat a dry, non-stick skillet or a cast-iron griddle (also known as a comal) over medium-high heat. Ensure it’s nice and hot before placing your tortilla. Gently lay one uncooked tortilla onto the hot surface. Cook for approximately 1 to 2 minutes on the first side. You’ll notice the edges might start to dry slightly, and it might even begin to puff up. Then, carefully flip the tortilla over using a spatula. Cook for another 1 to 2 minutes on the second side. The tortilla should develop light brown spots, some darker charred areas, and ideally, puff up slightly like a balloon. This puffing indicates the tortilla is cooked through and will be soft and tender.
9. Repeat and Keep Tortillas Warm
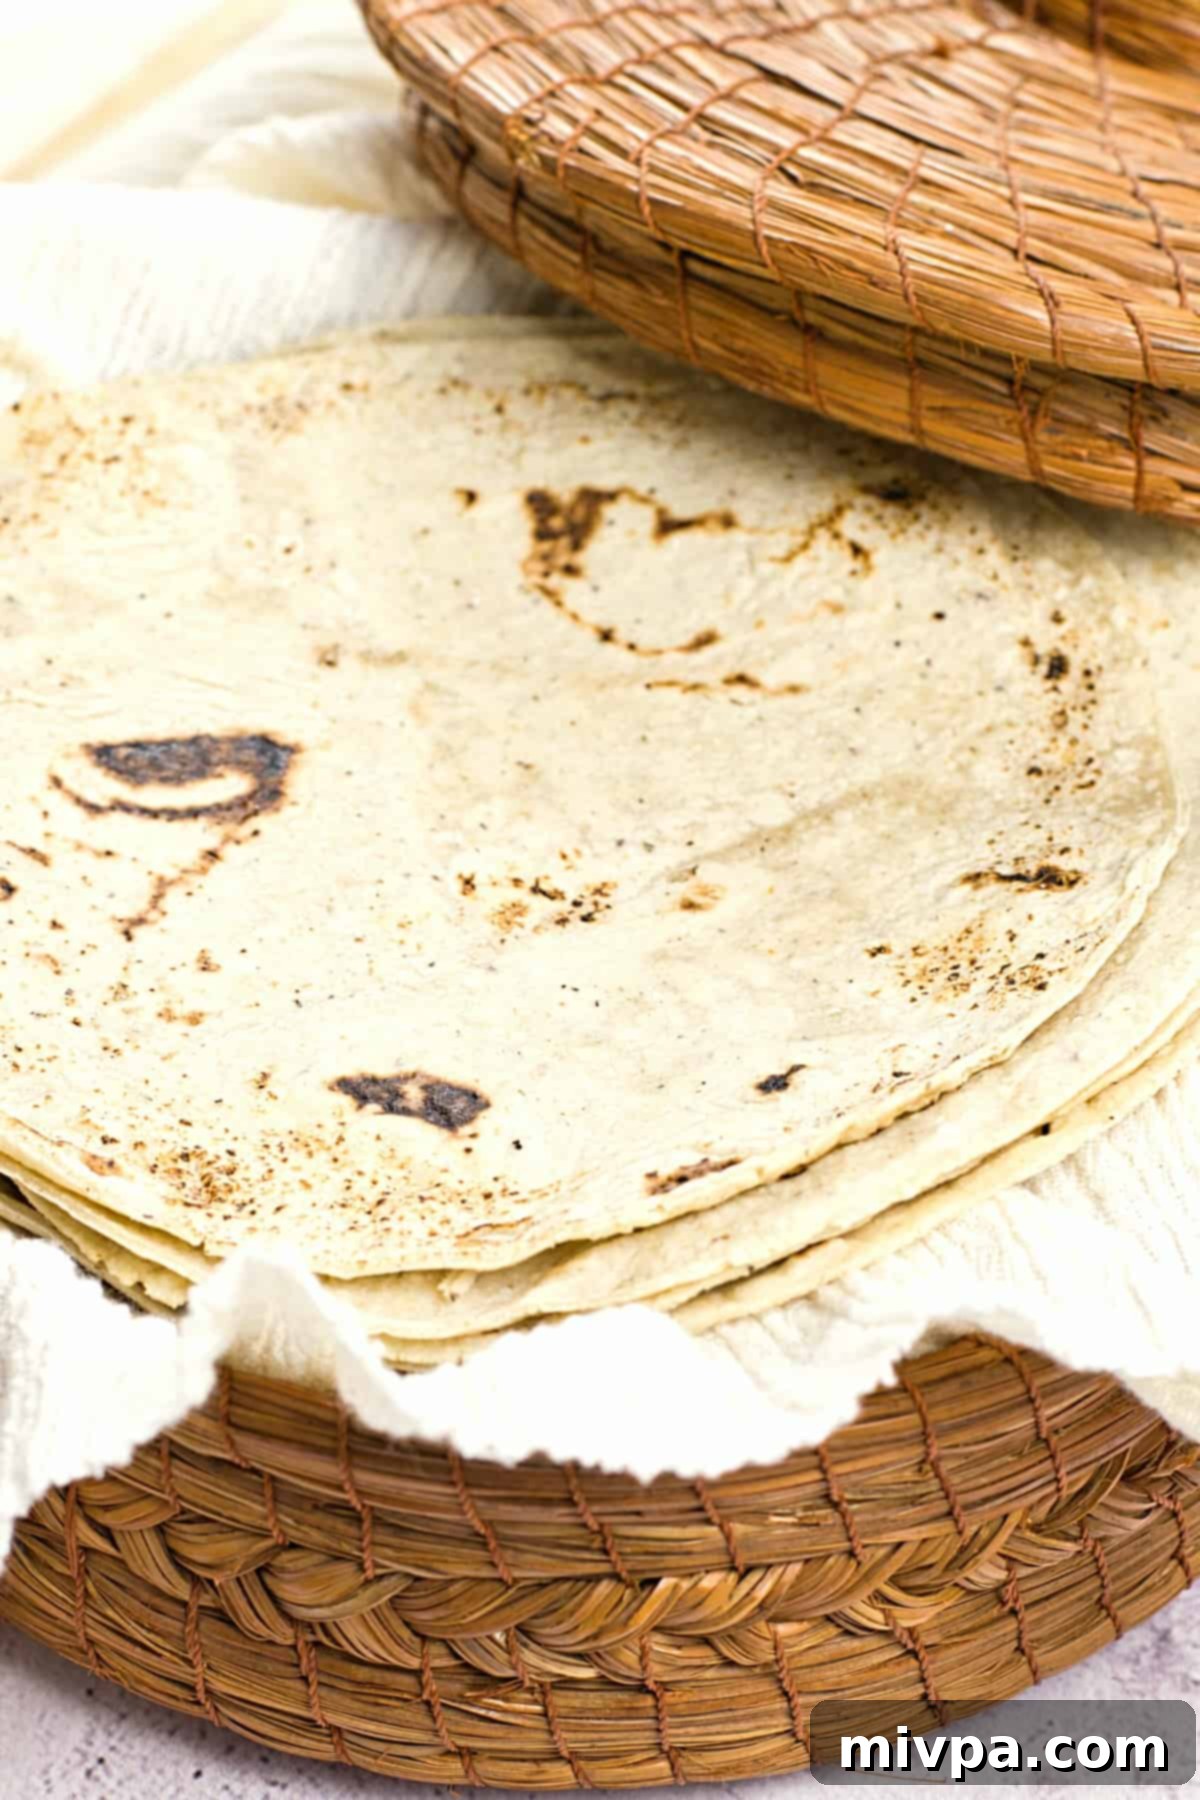
As soon as a tortilla is cooked, transfer it to a clean kitchen towel. Stack the cooked tortillas on top of each other and wrap them tightly in the towel. This step is crucial: the residual heat and moisture trapped by the towel will keep them warm, soft, and pliable while you cook the remaining dough. Alternatively, you can place them in a dedicated tortilla warmer (often called a “tortillero” in Spanish). Continue flattening the next dough ball as the current tortilla cooks to maintain efficiency and prevent your dough from drying out.
10. Serve Warm and Savor the Freshness
Once all your tortillas are cooked, serve them immediately while they are still warm and at their peak softness. These fresh corn tortillas are the perfect vehicle for an endless variety of fillings and toppings, transforming any meal into a delightful experience. Enjoy the fruits of your labor!
Dish by Dish Expert Tips & Troubleshooting for Perfect Tortillas:
- Thorough Kneading for Best Texture: Do not rush the kneading process. Ensure you knead the dough until it is completely smooth and noticeably elastic. Well-kneaded dough leads to tortillas that are pliable, less prone to cracking, and cook evenly with a superior texture. If your dough feels too crumbly or stiff, it might need more kneading or a tiny splash more warm water.
- Consistency in Dough Ball Size: For consistent cooking and presentation, try your best to divide the dough into equally sized balls. Uniform dough balls will result in tortillas that cook at the same rate, preventing some from being undercooked while others are overcooked.
- The Tortilla Press Advantage: While not strictly necessary, a tortilla press is an invaluable tool for efficiency and consistency. It’s the easiest and fastest way to flatten dough balls into perfectly round, evenly thin tortillas with minimal effort. If you don’t have one, a rolling pin is a perfectly acceptable alternative, just aim for even thickness.
- Parchment or Wax Paper is Your Best Friend: This is a non-negotiable step! Always place each dough ball between two sheets of parchment paper or wax paper before flattening. This barrier is crucial whether you use a tortilla press or a rolling pin, as it completely prevents the masa dough from sticking to your equipment or work surface. It also makes it incredibly easy to peel off the flattened tortilla without tearing.
- Mastering the Cook: The Art of the Puff: A perfectly cooked corn tortilla will often puff up like a balloon during cooking. This indicates that it’s cooked through and will be soft and flexible. Don’t worry if every tortilla doesn’t puff; they will still be delicious. Ensure your skillet is hot enough, but not smoking. A good non-stick or cast-iron surface is key. Cook each side for 1-2 minutes until you see light brown spots and some darker, slightly charred areas. Overcooking will make them stiff and brittle.
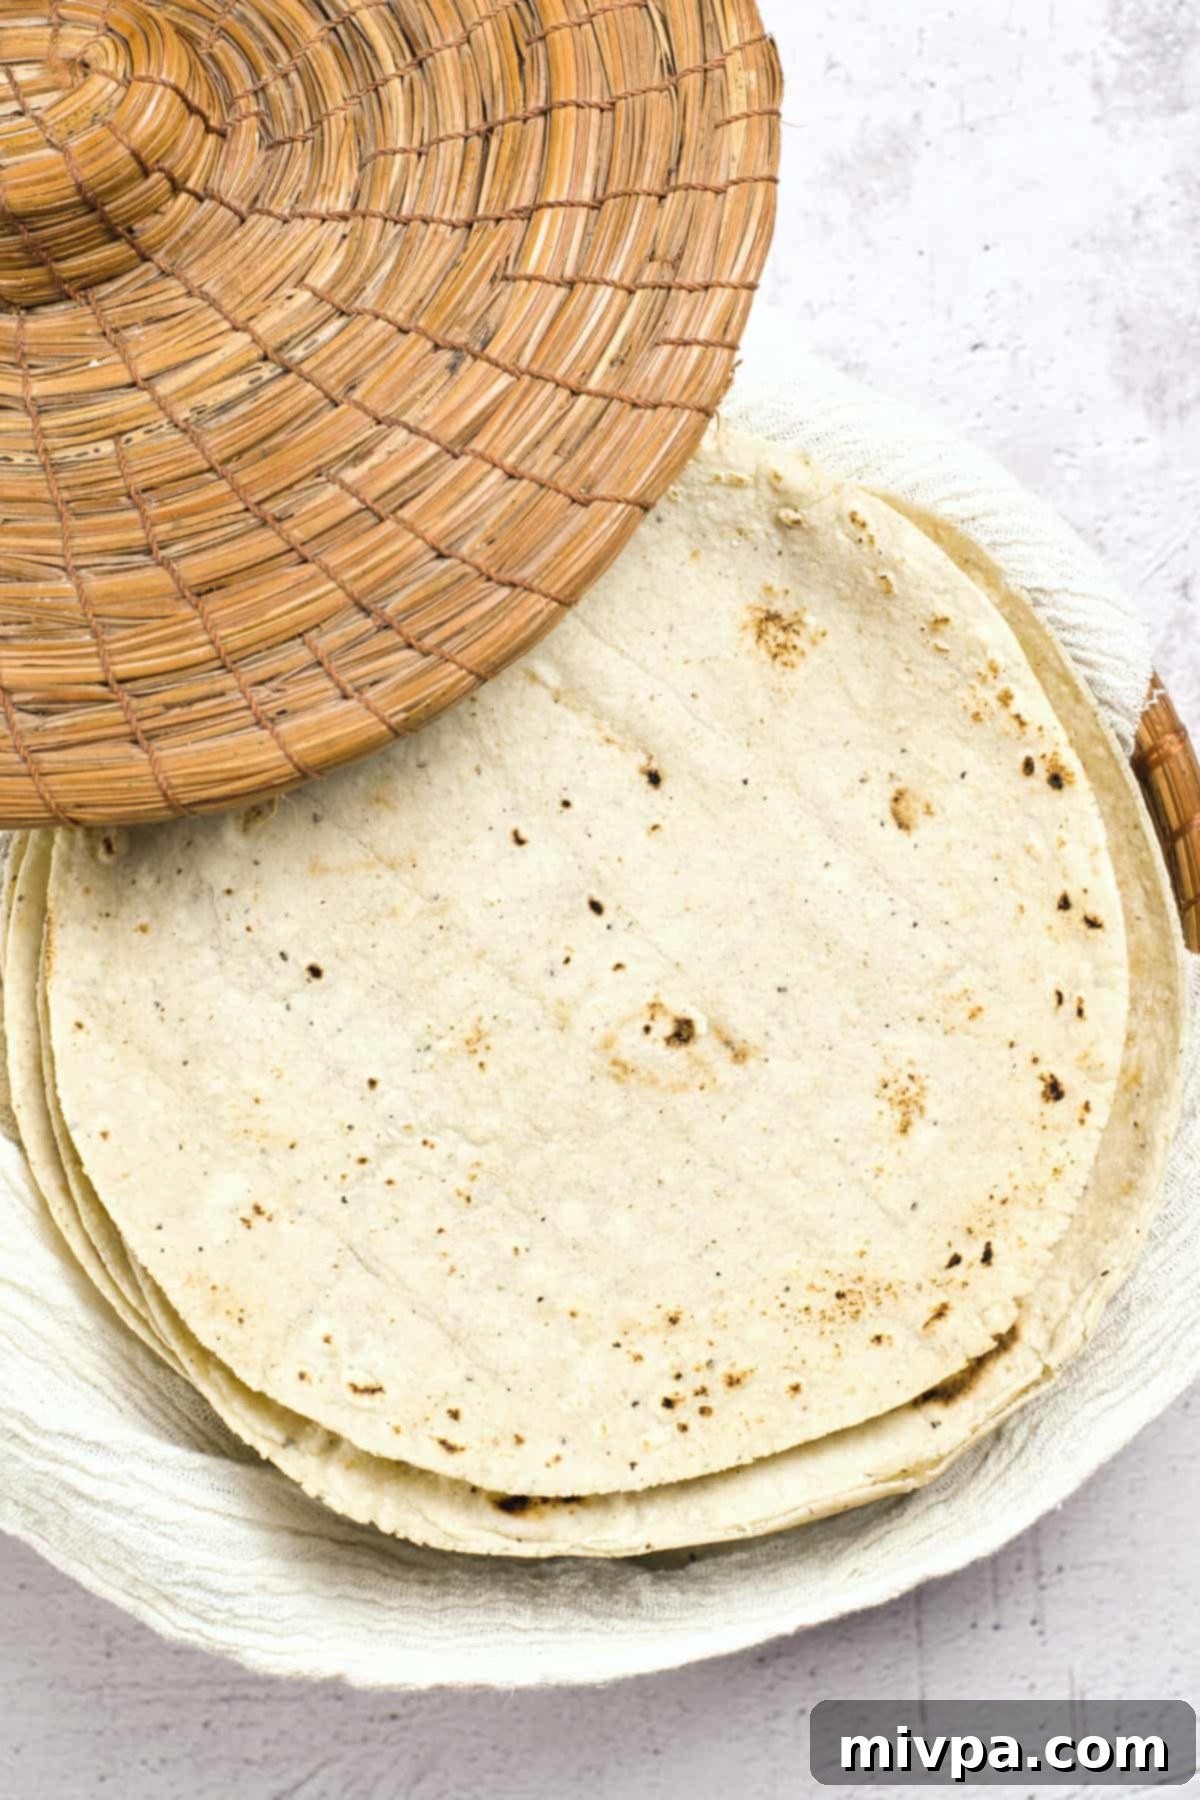
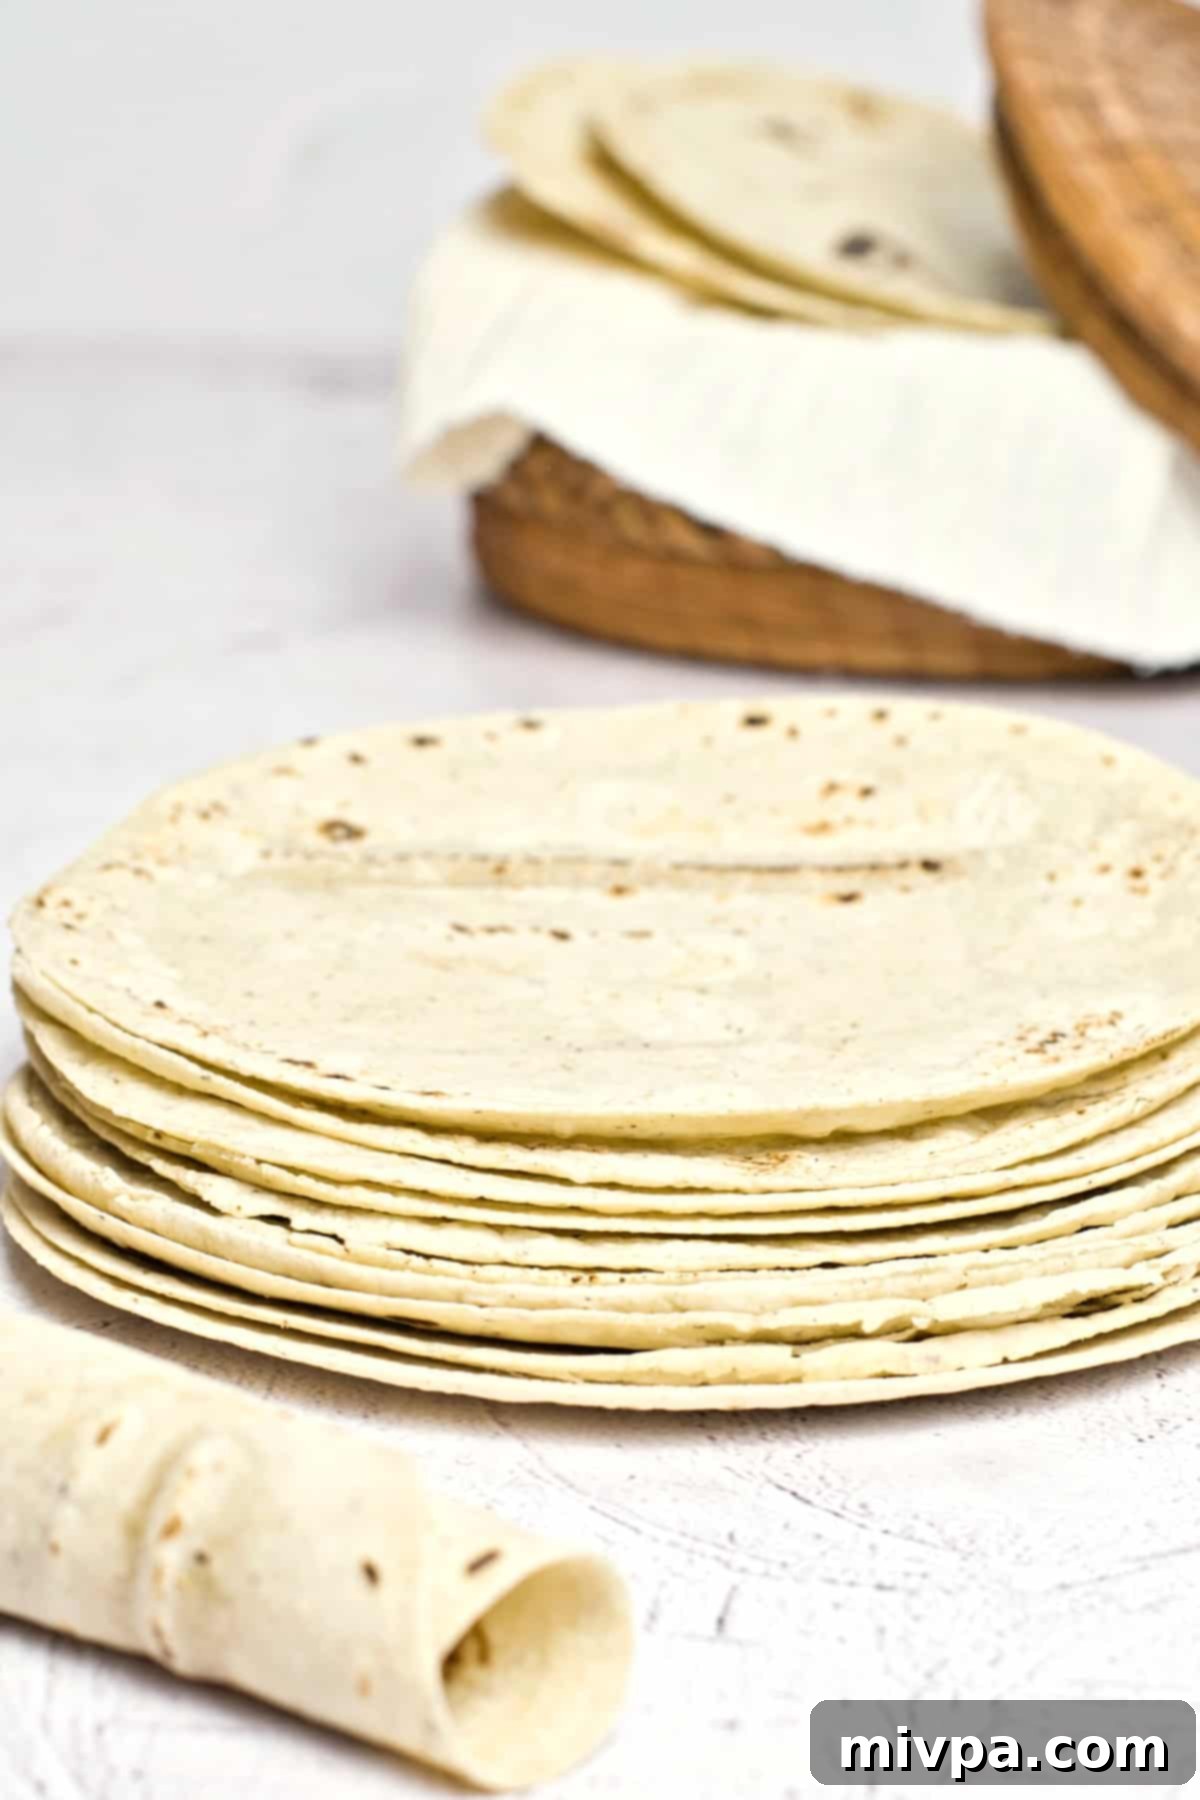
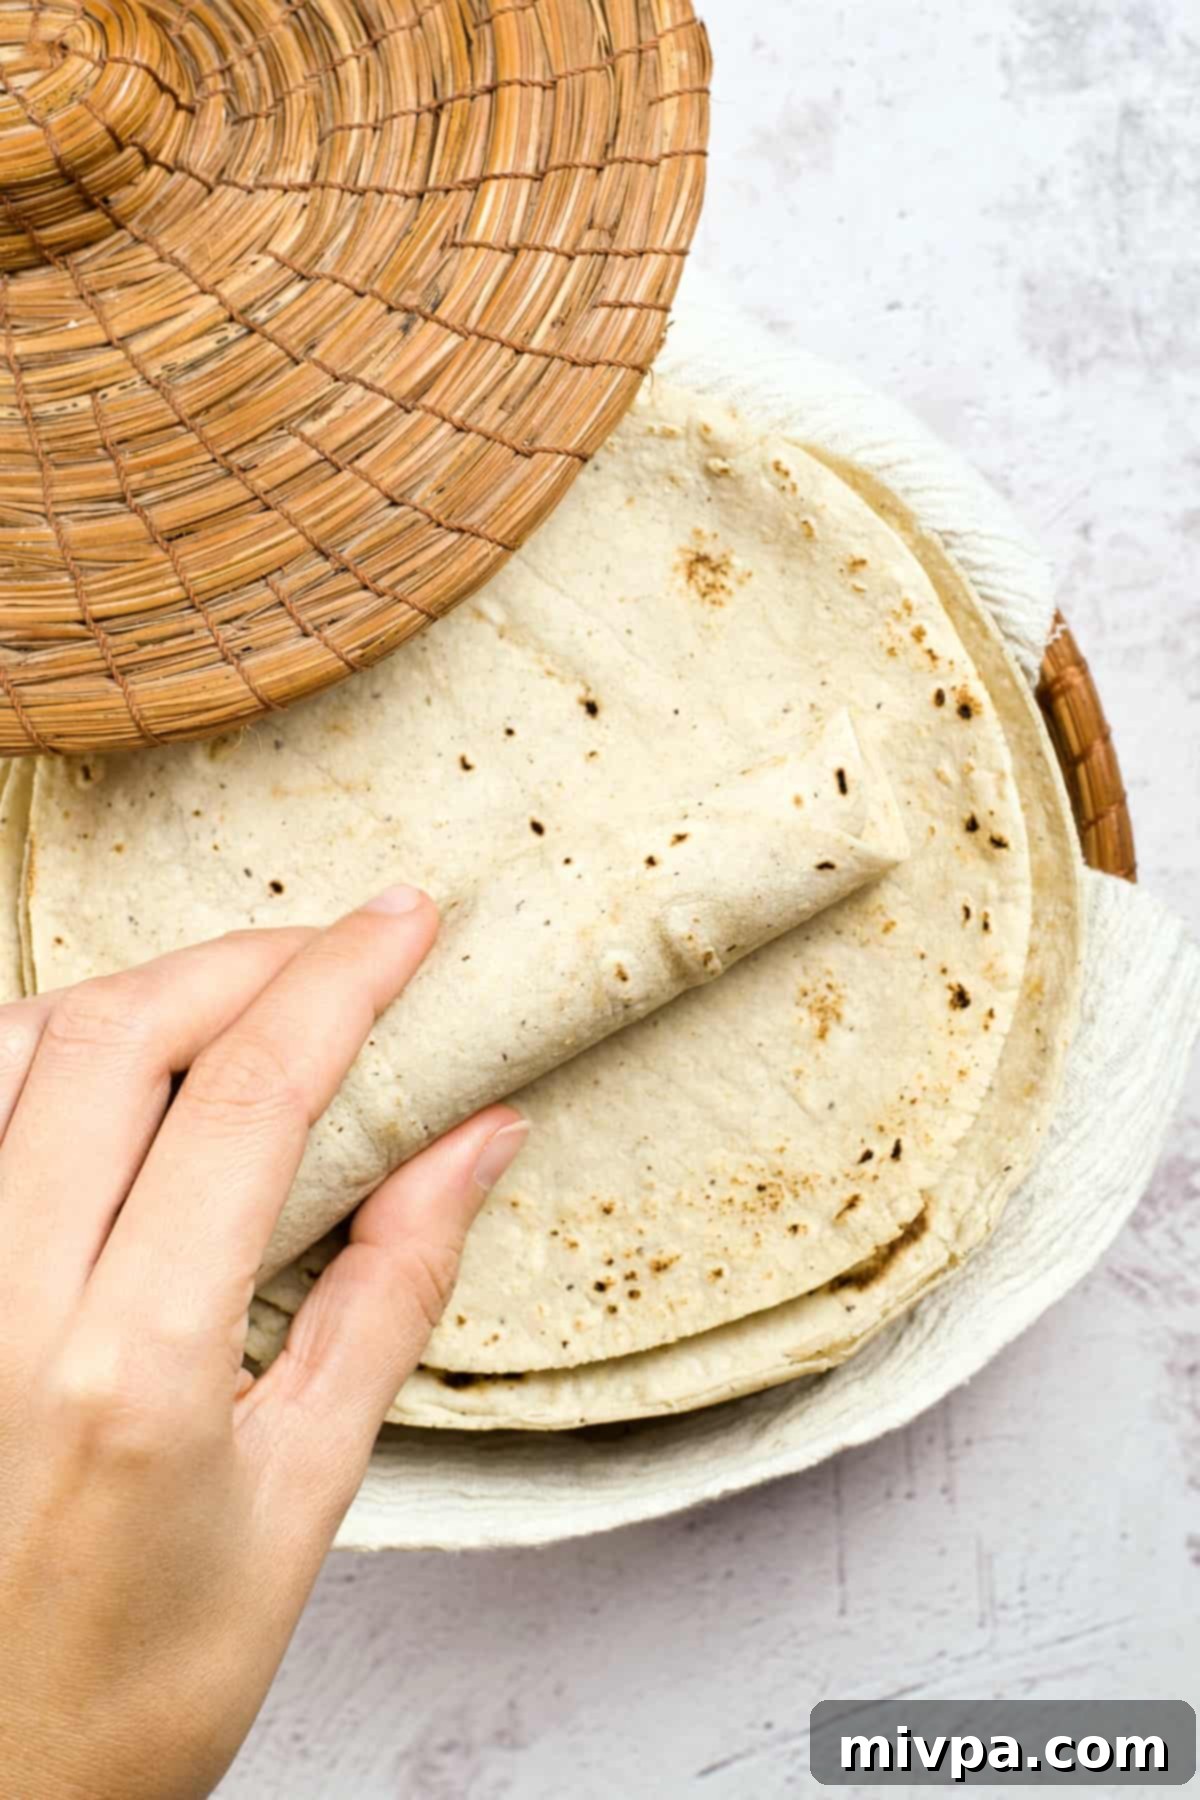
- Keeping Tortillas Warm and Soft: As you cook, immediately stack the finished gluten-free corn tortillas and wrap them tightly in a clean kitchen towel. The warmth and steam trapped inside the towel will keep them soft, pliable, and warm until you’re ready to serve. For longer periods, a tortilla warmer (or “tortillero” in Spanish, as seen in the photos) is ideal.
Creative Ways to Enjoy Your Homemade Corn Tortillas
Once you’ve mastered these incredible homemade corn tortillas, a world of culinary possibilities opens up! Their soft, pliable texture and authentic corn flavor make them perfect for so much more than just classic tacos. Here are some delicious ideas to get you started:
- Classic Tacos: Fill them with your favorite proteins like seasoned ground beef, shredded chicken, slow-cooked pork carnitas, or plant-based alternatives, then top with fresh salsa, cilantro, and a squeeze of lime.
- Hearty Burritos: While traditionally made with flour tortillas, smaller, freshly made corn tortillas can create delightful, open-faced burritos or burrito bowls with rice, beans, and your preferred fillings.
- Crispy Tortilla Chips: Cut the tortillas into wedges, brush lightly with oil, sprinkle with salt, and bake or air-fry until golden and crisp for homemade, healthier chips perfect for guacamole or salsa.
- Enchiladas: Dip them in your favorite enchilada sauce, fill with cheese and protein, roll them up, and bake for a comforting, flavorful meal.
- Quesadillas: Fill with cheese and other ingredients, then fold and cook in a skillet until the cheese is melted and the tortilla is slightly crispy.
- Flautas or Taquitos: Fill, roll tightly, and shallow fry until crispy for a delicious finger food.
- Migas: Tear leftover tortillas into pieces, fry until crisp, then scramble with eggs, onions, and peppers for a hearty breakfast.
- Tostadas: Fry whole tortillas until crisp, then use them as a sturdy base for piled-high toppings.
Storage & Freezing Homemade Corn Tortillas: Make Ahead for Convenience
One of the many benefits of making a big batch of these homemade tortillas is the ability to store them for future meals. Proper storage ensures they retain their freshness and quality.
- Short-Term Storage (Refrigeration): Once cooled, stack the tortillas and wrap them tightly in plastic wrap or place them in an airtight container. They will stay fresh in the refrigerator for up to 3-4 days. When ready to use, simply reheat them on a hot skillet for a minute or two until warmed through and pliable again.
- Long-Term Storage (Freezing): These homemade gluten-free corn tortillas freeze beautifully, making them perfect for meal prep. To freeze, stack the tortillas with small squares of parchment paper or plastic wrap in between each one to prevent them from sticking together. This allows you to easily take out just the amount you need. Place the stack in a freezer-safe bag, pressing out as much air as possible, or an airtight container. Freeze for up to 3 months.
- Reheating Frozen Tortillas: When you’re ready to use frozen tortillas, there’s no need to thaw them completely. You can place them directly on a medium-hot, dry skillet or griddle, flipping every 30 seconds to 1 minute until they are warm, soft, and flexible again. Alternatively, you can gently warm them in the microwave (covered with a damp paper towel) or in a preheated oven wrapped in foil.
Common Questions About Corn Tortillas: Answered!
Absolutely, freezing these homemade corn tortillas is a fantastic way to enjoy them anytime! To freeze, ensure the tortillas are completely cooled. Then, separate each tortilla with a small piece of parchment paper or plastic wrap to prevent them from sticking together. Stack them neatly and place them in freezer bags or an airtight container. They will maintain their quality in the freezer for up to 3 months. When you’re ready to use them, you can reheat them directly from frozen on a hot skillet, or let them thaw in the refrigerator overnight before warming.
Generally, yes, most corn tortillas are naturally gluten-free. Authentic corn tortillas are typically made with just three main ingredients: masa harina (which is derived from corn and inherently gluten-free), water, and sometimes salt. However, it’s crucial to exercise caution, especially if you have Celiac disease or a severe gluten intolerance. When purchasing store-bought corn tortillas, always take the extra step to meticulously check the ingredients list on the package. Some commercial brands might include gluten-containing additives, thickeners, or preservatives, or they may be processed in facilities that also handle wheat, leading to potential cross-contamination. Always look for products explicitly labeled “gluten-free” for complete peace of mind.
Other Delicious Gluten-Free Breads You’ll Love:
If you enjoyed making these corn tortillas, you might love exploring more of our homemade gluten-free bread recipes. Expanding your repertoire of GF baked goods is both fun and rewarding!
- Gluten-Free Chocolate Chip Pumpkin Bread (Dairy-Free)
- Easy Gluten-Free Drop Biscuits (Dairy-Free)
- Gluten-Free Vegan Bagels (Chewy and Tender!)
- Egg-Free Gluten-Free Bread (So Tender!)
P.S. If you try this fantastic recipe, I’d absolutely love for you to leave a star rating below and/or a review in the comment section further down the page. Your feedback is incredibly valuable and always appreciated. Be sure to explore my entire Recipe Index for all the delicious recipes on the blog. You can also follow me on Pinterest, Facebook or Instagram! Don’t forget to sign up for my Email List to receive fresh, exciting recipes directly in your inbox each week!
Print
Homemade Gluten-Free Corn Tortillas (Dairy-Free, Vegan)
5 Stars 4 Stars 3 Stars 2 Stars 1 Star
5 from 1 review
Author: Felicia Lim
Total Time: 50 minutes
Yield: 16 tortillas
Diet: Gluten Free, Dairy Free, Vegan
Description
Soft, pliable and easy to make, these homemade gluten-free corn tortillas are perfect for making tacos, burritos, or tortilla chips. They are completely dairy-free and vegan, catering to a wide range of dietary needs. Make a generous batch today and simply freeze them to enjoy fresh, homemade tortillas anytime you desire!
Ingredients
Units
Scale
- 2 cups masa harina (280 grams) – essential for authentic texture and flavor
- 2/3 cup warm water (150 grams) – adjust as needed for pliable dough
- 1 teaspoon fine salt (optional) – to enhance flavor
Instructions
- Combine Masa Harina with Salt: In a large mixing bowl, combine the masa harina and salt (if using). Stir well to ensure even distribution.
- Add Warm Water to Get a Dough: Gradually add the warm water to the masa harina mixture, stirring constantly. Continue mixing until a soft, moist, and pliable dough forms. It should not be overly sticky or crumbly. Adjust water or masa harina in tiny increments if needed.
- Knead Tortilla Dough: Transfer the dough to a clean surface and knead it for about 2-5 minutes until it becomes smooth, uniform, and elastic. This step is crucial for soft, flexible tortillas.
- Divide Dough into Equal Portions: Divide the well-kneaded corn tortilla dough into 16 equal portions. Roll each portion into a smooth ball using the palm of your hand. Cover the dough balls with a damp kitchen towel or plastic wrap to prevent them from drying out. Allow the dough balls to rest for at least 15 minutes; this helps with pliability.
- Place Dough Ball Between Plastic Wrap: Take one dough ball and place it between two sheets of plastic wrap, parchment paper, or wax paper. This prevents sticking and facilitates easy flattening.
- Flattening Dough with Tortilla Press: If using a tortilla press, place the dough ball (between its protective layers) in the center of the press, close, and apply even pressure to flatten it into a thin, round tortilla.
- Flattening Dough with Rolling Pin: If you don’t have a tortilla press, use a rolling pin. With the dough ball still between two sheets of parchment paper or wax paper, roll it out evenly until it forms a thin, circular tortilla, about 1/16 to 1/8 inch thick.
- Transfer Tortilla to Skillet: Carefully peel off the plastic/parchment from the flattened tortilla. Gently place the raw tortilla onto a hot, dry skillet or griddle preheated to medium-high heat.
- Cook Tortilla: Cook for about 1 to 2 minutes on the first side until the edges start to dry and it may begin to puff. Flip the tortilla over and cook for another 1 to 2 minutes until it’s lightly browned with dark brown spots on each side and ideally, slightly puffed.
- Repeat Until All Dough Used Up: As each tortilla cooks, immediately transfer it to a clean kitchen towel and wrap it to keep warm and soft. While one tortilla is cooking, flatten the next dough ball to maintain efficiency and prevent drying. You can also use a tortilla warmer.
- Enjoy! Serve these soft, warm corn tortillas immediately with your favorite toppings or fillings.
Notes
Masa Harina is Key: Ensure you use genuine masa harina (not regular cornmeal or corn flour) for the best authentic texture and flavor. Popular brands include Maseca (USA), Azteca, Bob’s Red Mill, Goya, El Milagro, Barilla, Minsa. In Europe, look for La Tortilla Factory, Maizena, P.A.N, and El Rey.
Warm Water Adjustment: Always use warm water for the dough to ensure pliability. Adjust the quantity slightly if your dough is too dry (add more water teaspoon by teaspoon) or too sticky (add more masa harina tablespoon by tablespoon).
Salt Preferences: I recommend fine table salt for flavor, but feel free to use fine sea salt or fine Himalayan pink salt. You can also omit it entirely if preferred.
Kneading for Success: Knead the dough thoroughly until it’s smooth and elastic. This is fundamental for flexible tortillas that cook evenly without cracking.
Consistent Dough Ball Size: For uniform cooking results, ensure all your dough balls are roughly the same size.
Tortilla Press vs. Rolling Pin: A tortilla press is ideal for speed and perfect circles. If using a rolling pin, aim for even thinness.
The Parchment Paper Trick: Absolutely essential! Always flatten dough balls between two sheets of parchment paper or wax paper to prevent sticking and allow easy removal.
Keeping Warm: Stack cooked tortillas and wrap them in a clean kitchen towel or place them in a tortilla warmer (tortillero) to keep them soft and warm while the rest are cooking.
Storage & Freezing: Store cooled tortillas in an airtight container in the fridge for 3-4 days. For longer storage, freeze them separated by parchment paper in freezer bags for up to 3 months. Reheat from frozen on a hot skillet.
- Prep Time: 20 mins
- Resting Time: 15 mins
- Cook Time: 15 mins
- Category: Bread, Vegan, Gluten-Free
- Method: Stovetop, Pressing
- Cuisine: Mexican, Tex-Mex
