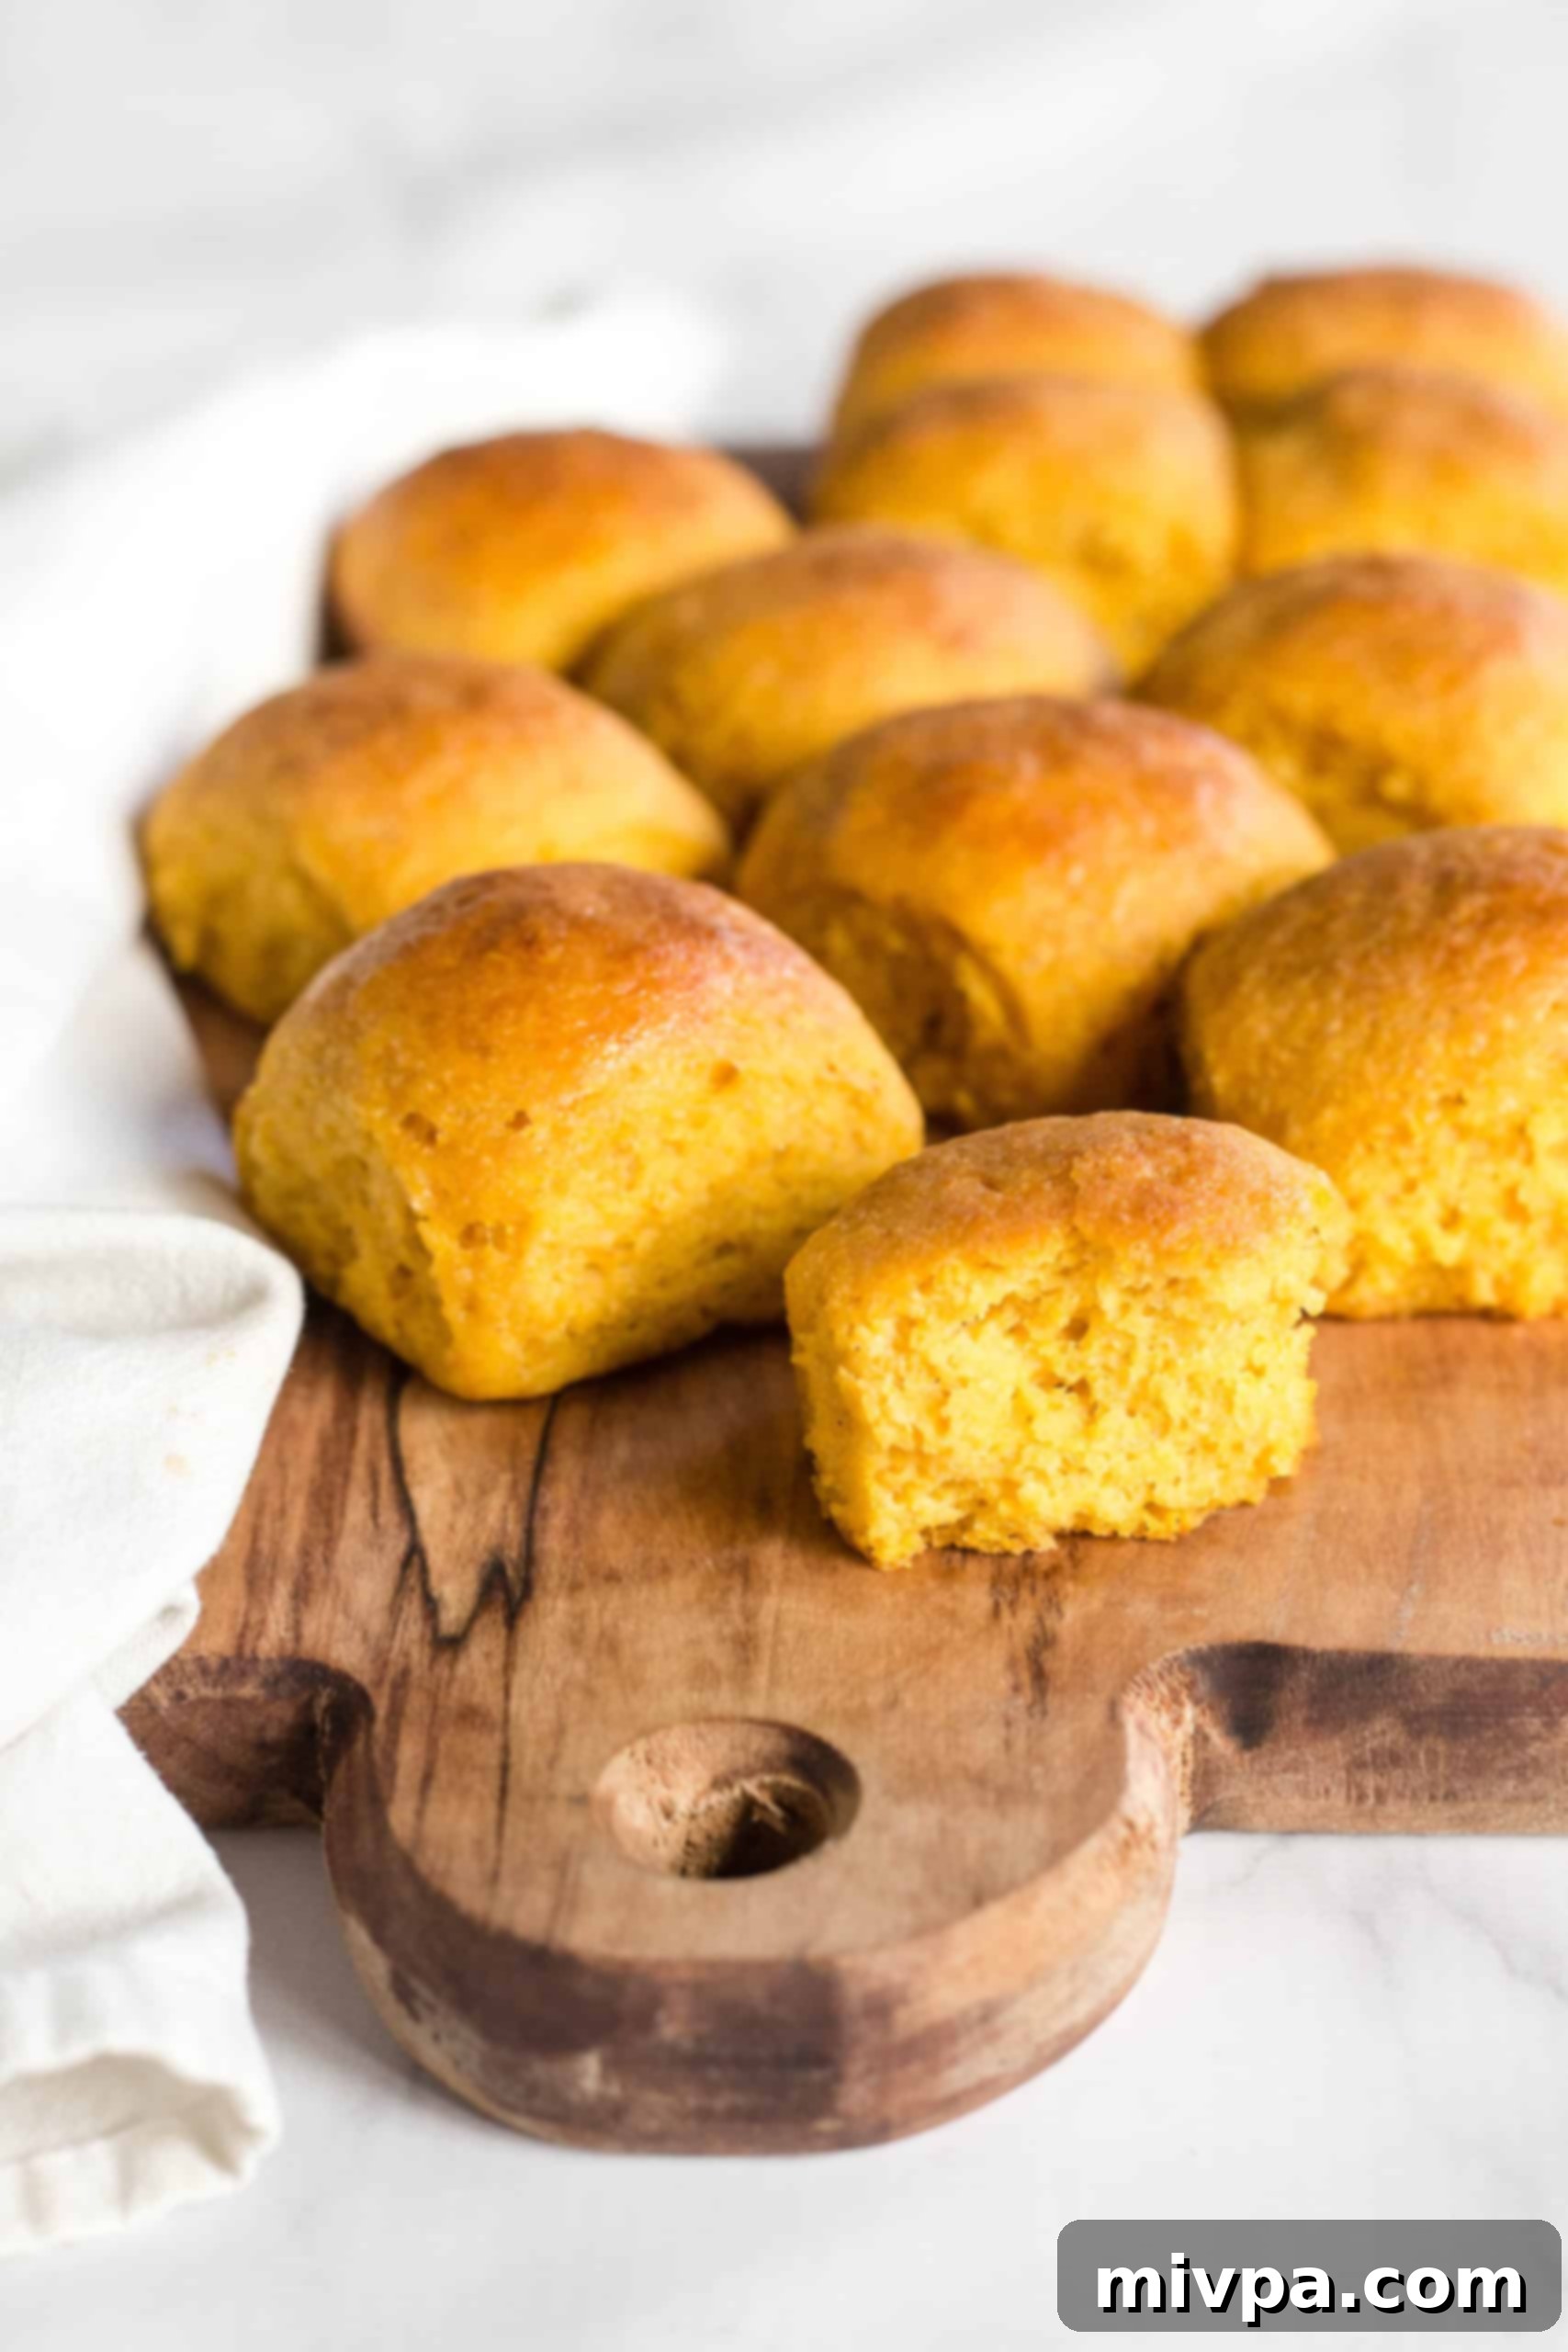
Irresistibly Soft Gluten-Free Pumpkin Dinner Rolls (Dairy-Free & Perfect for Holidays!)
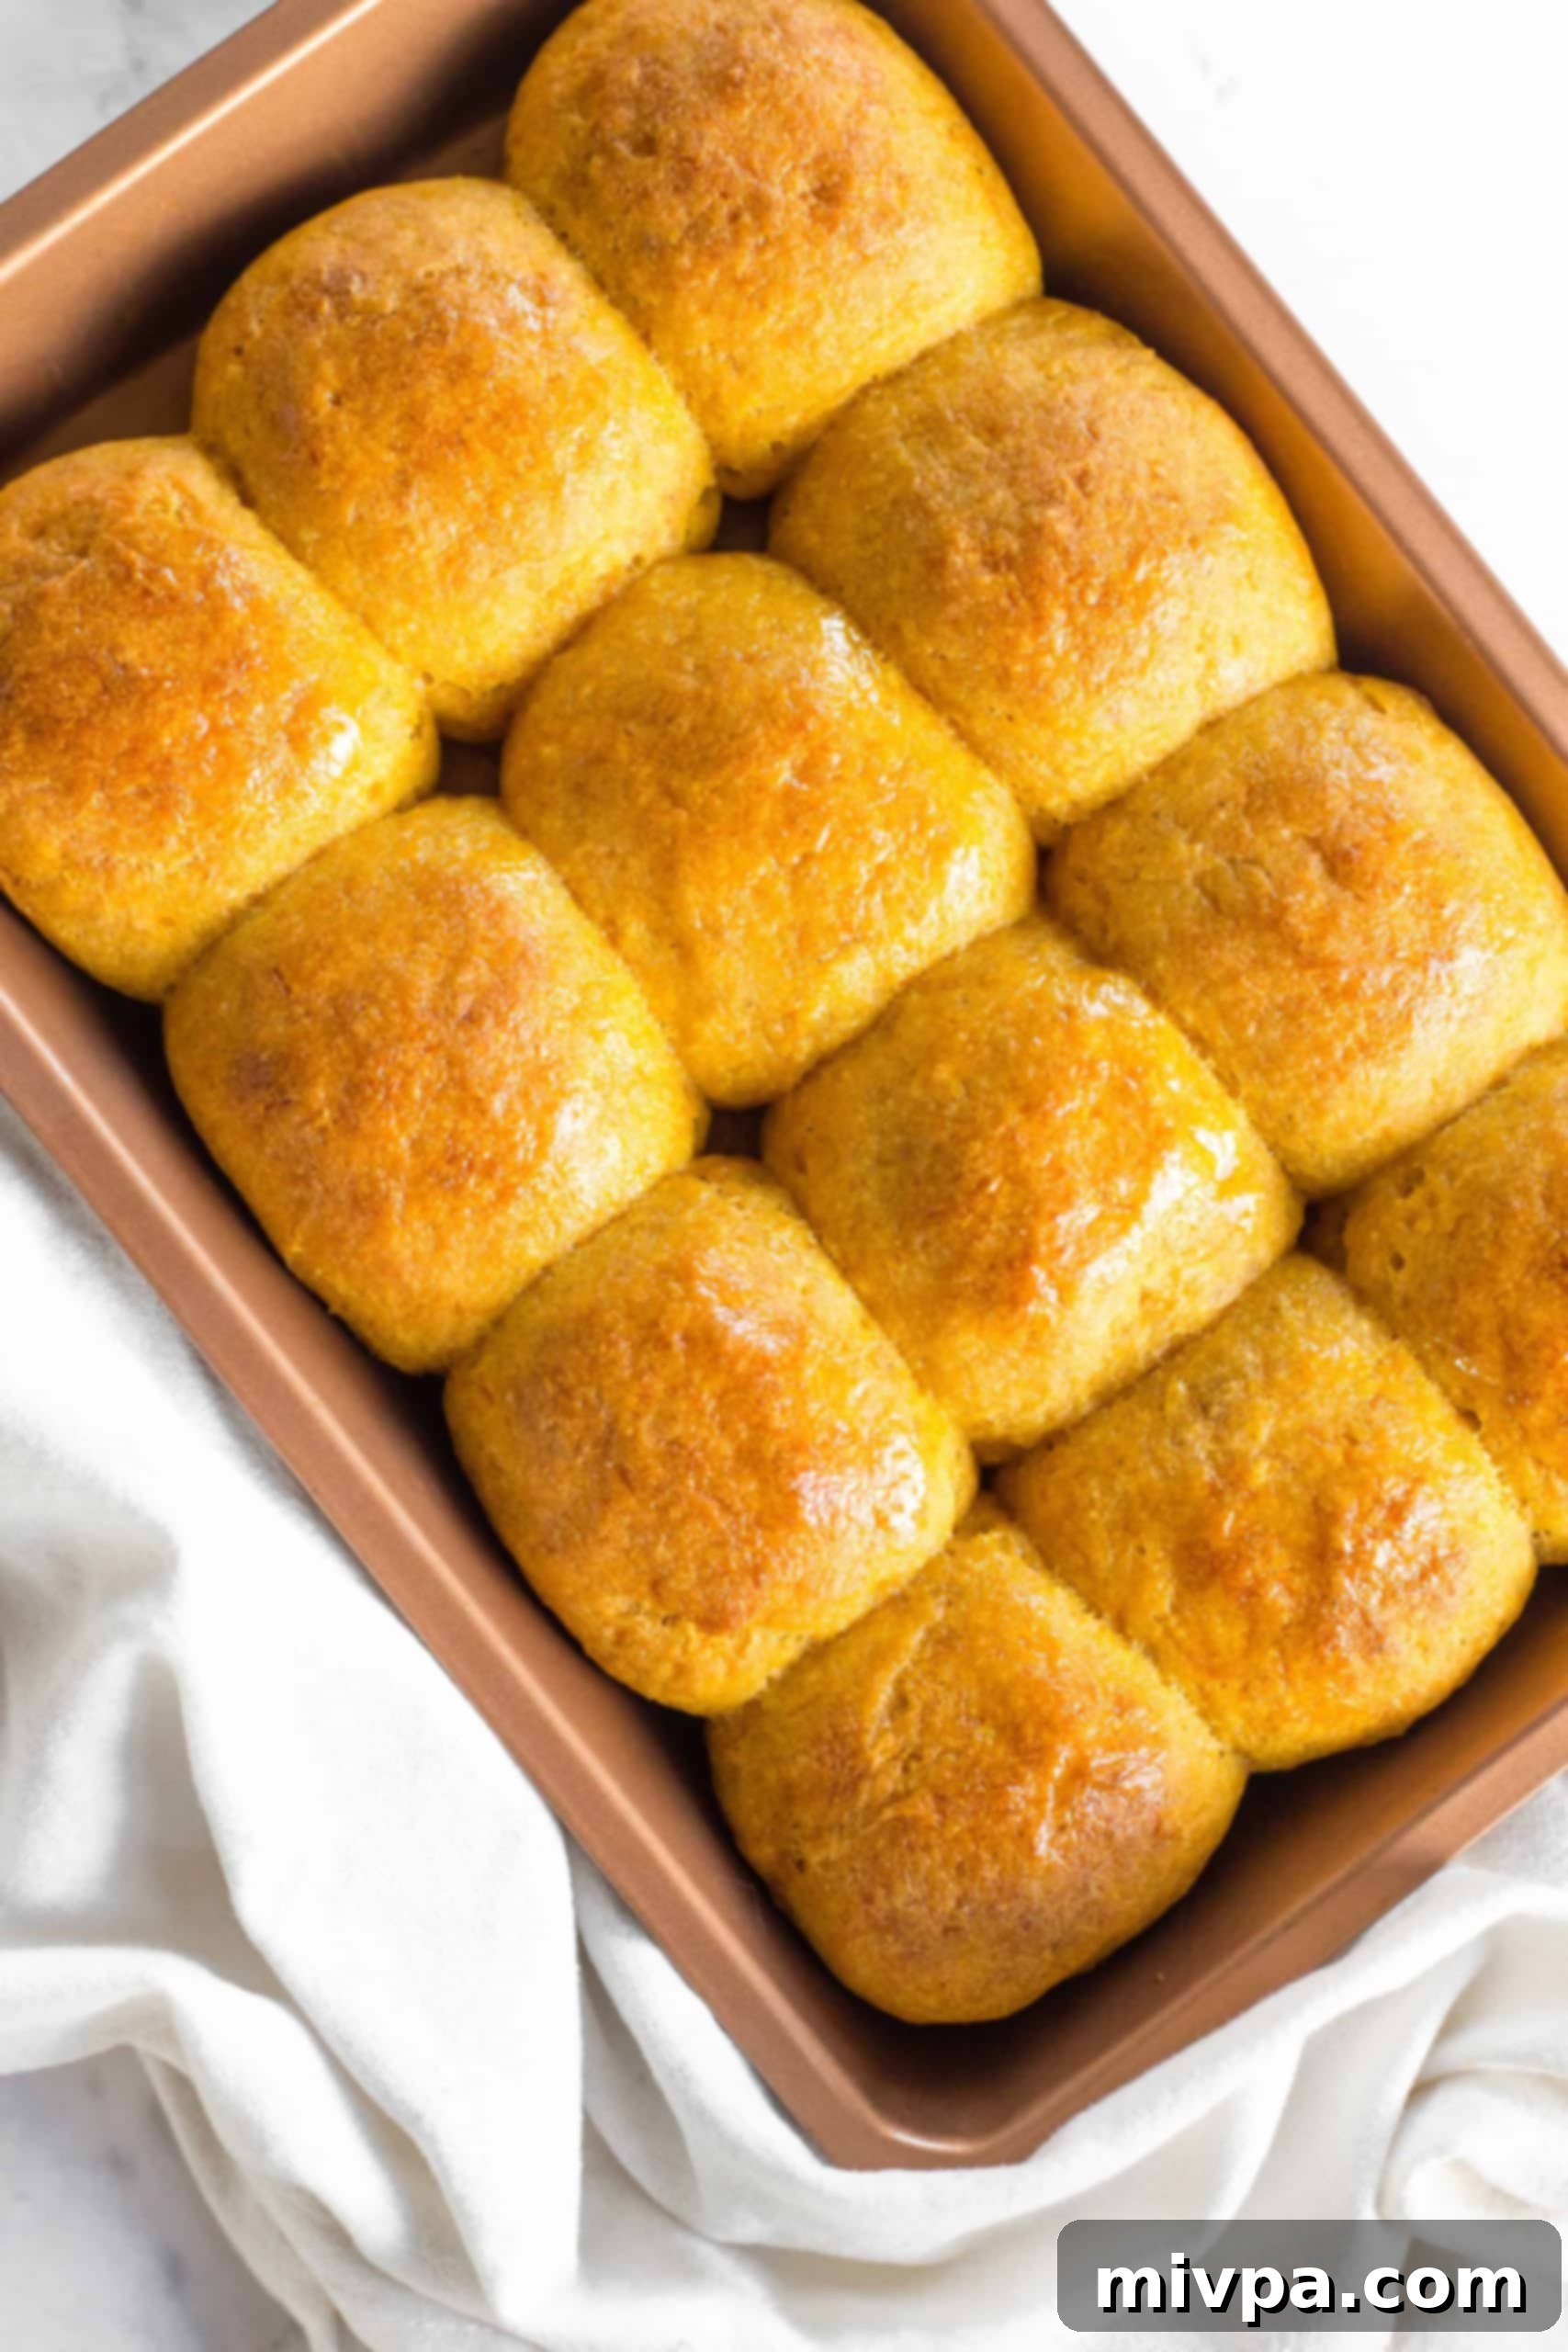
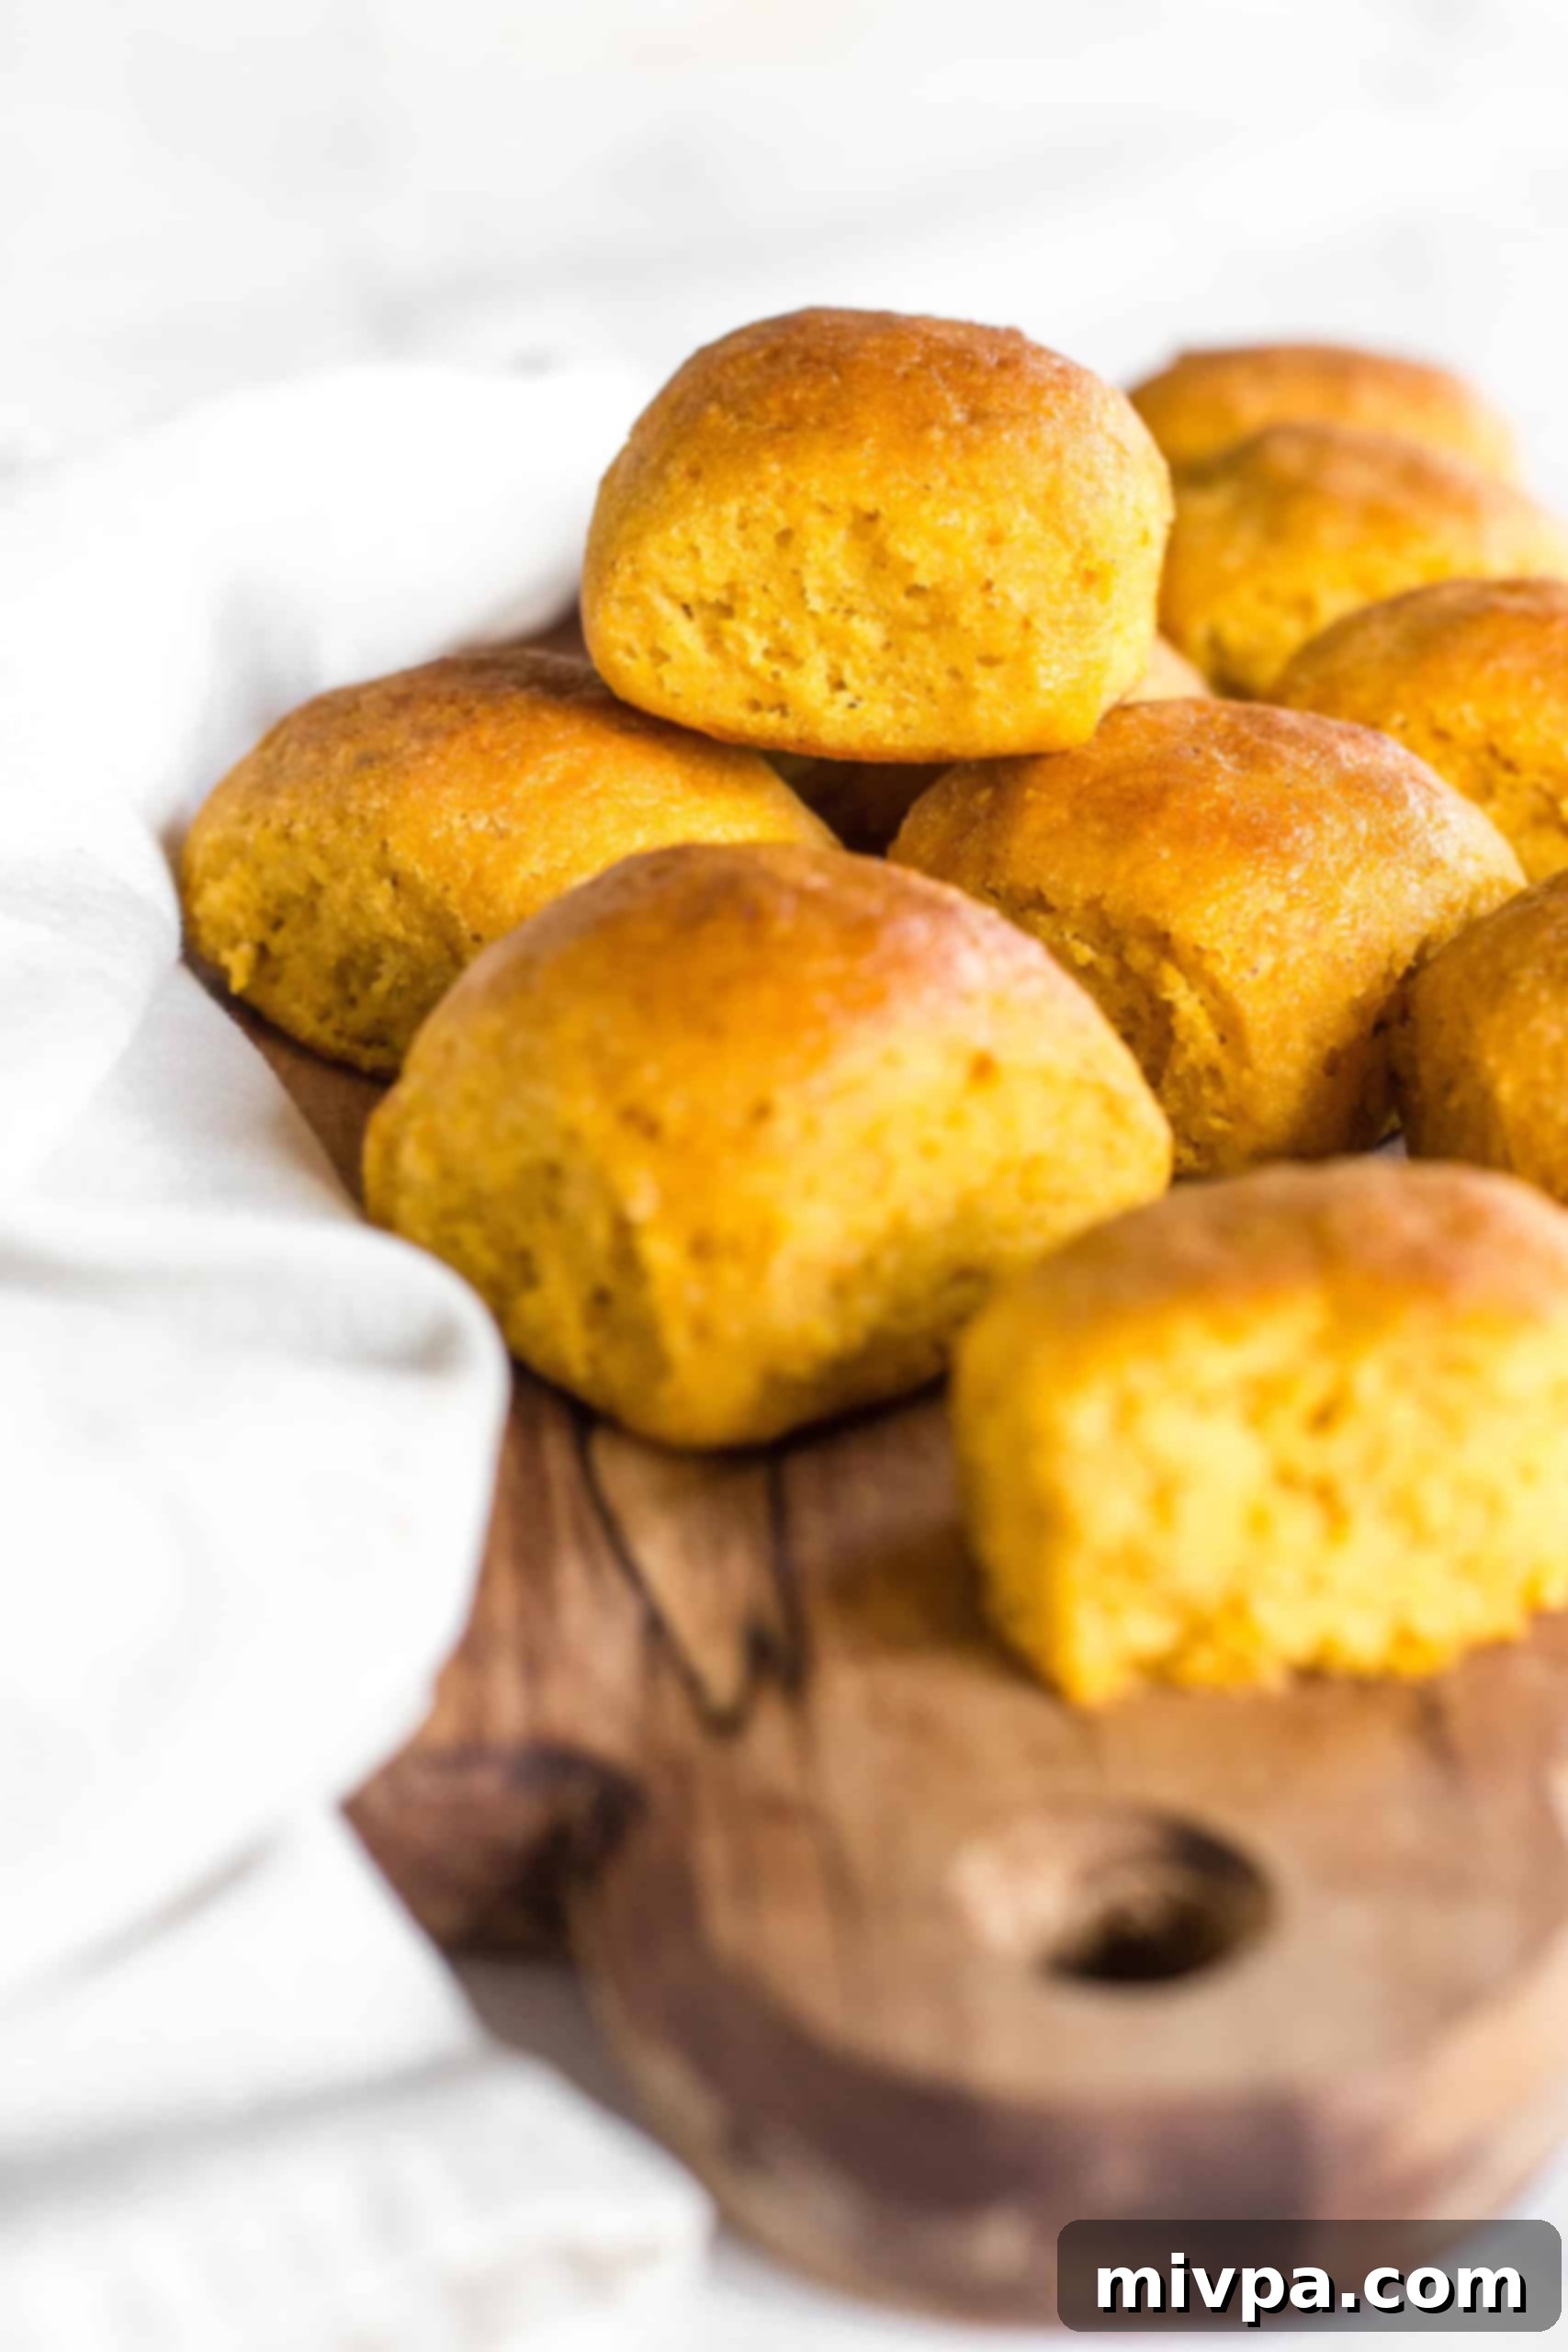
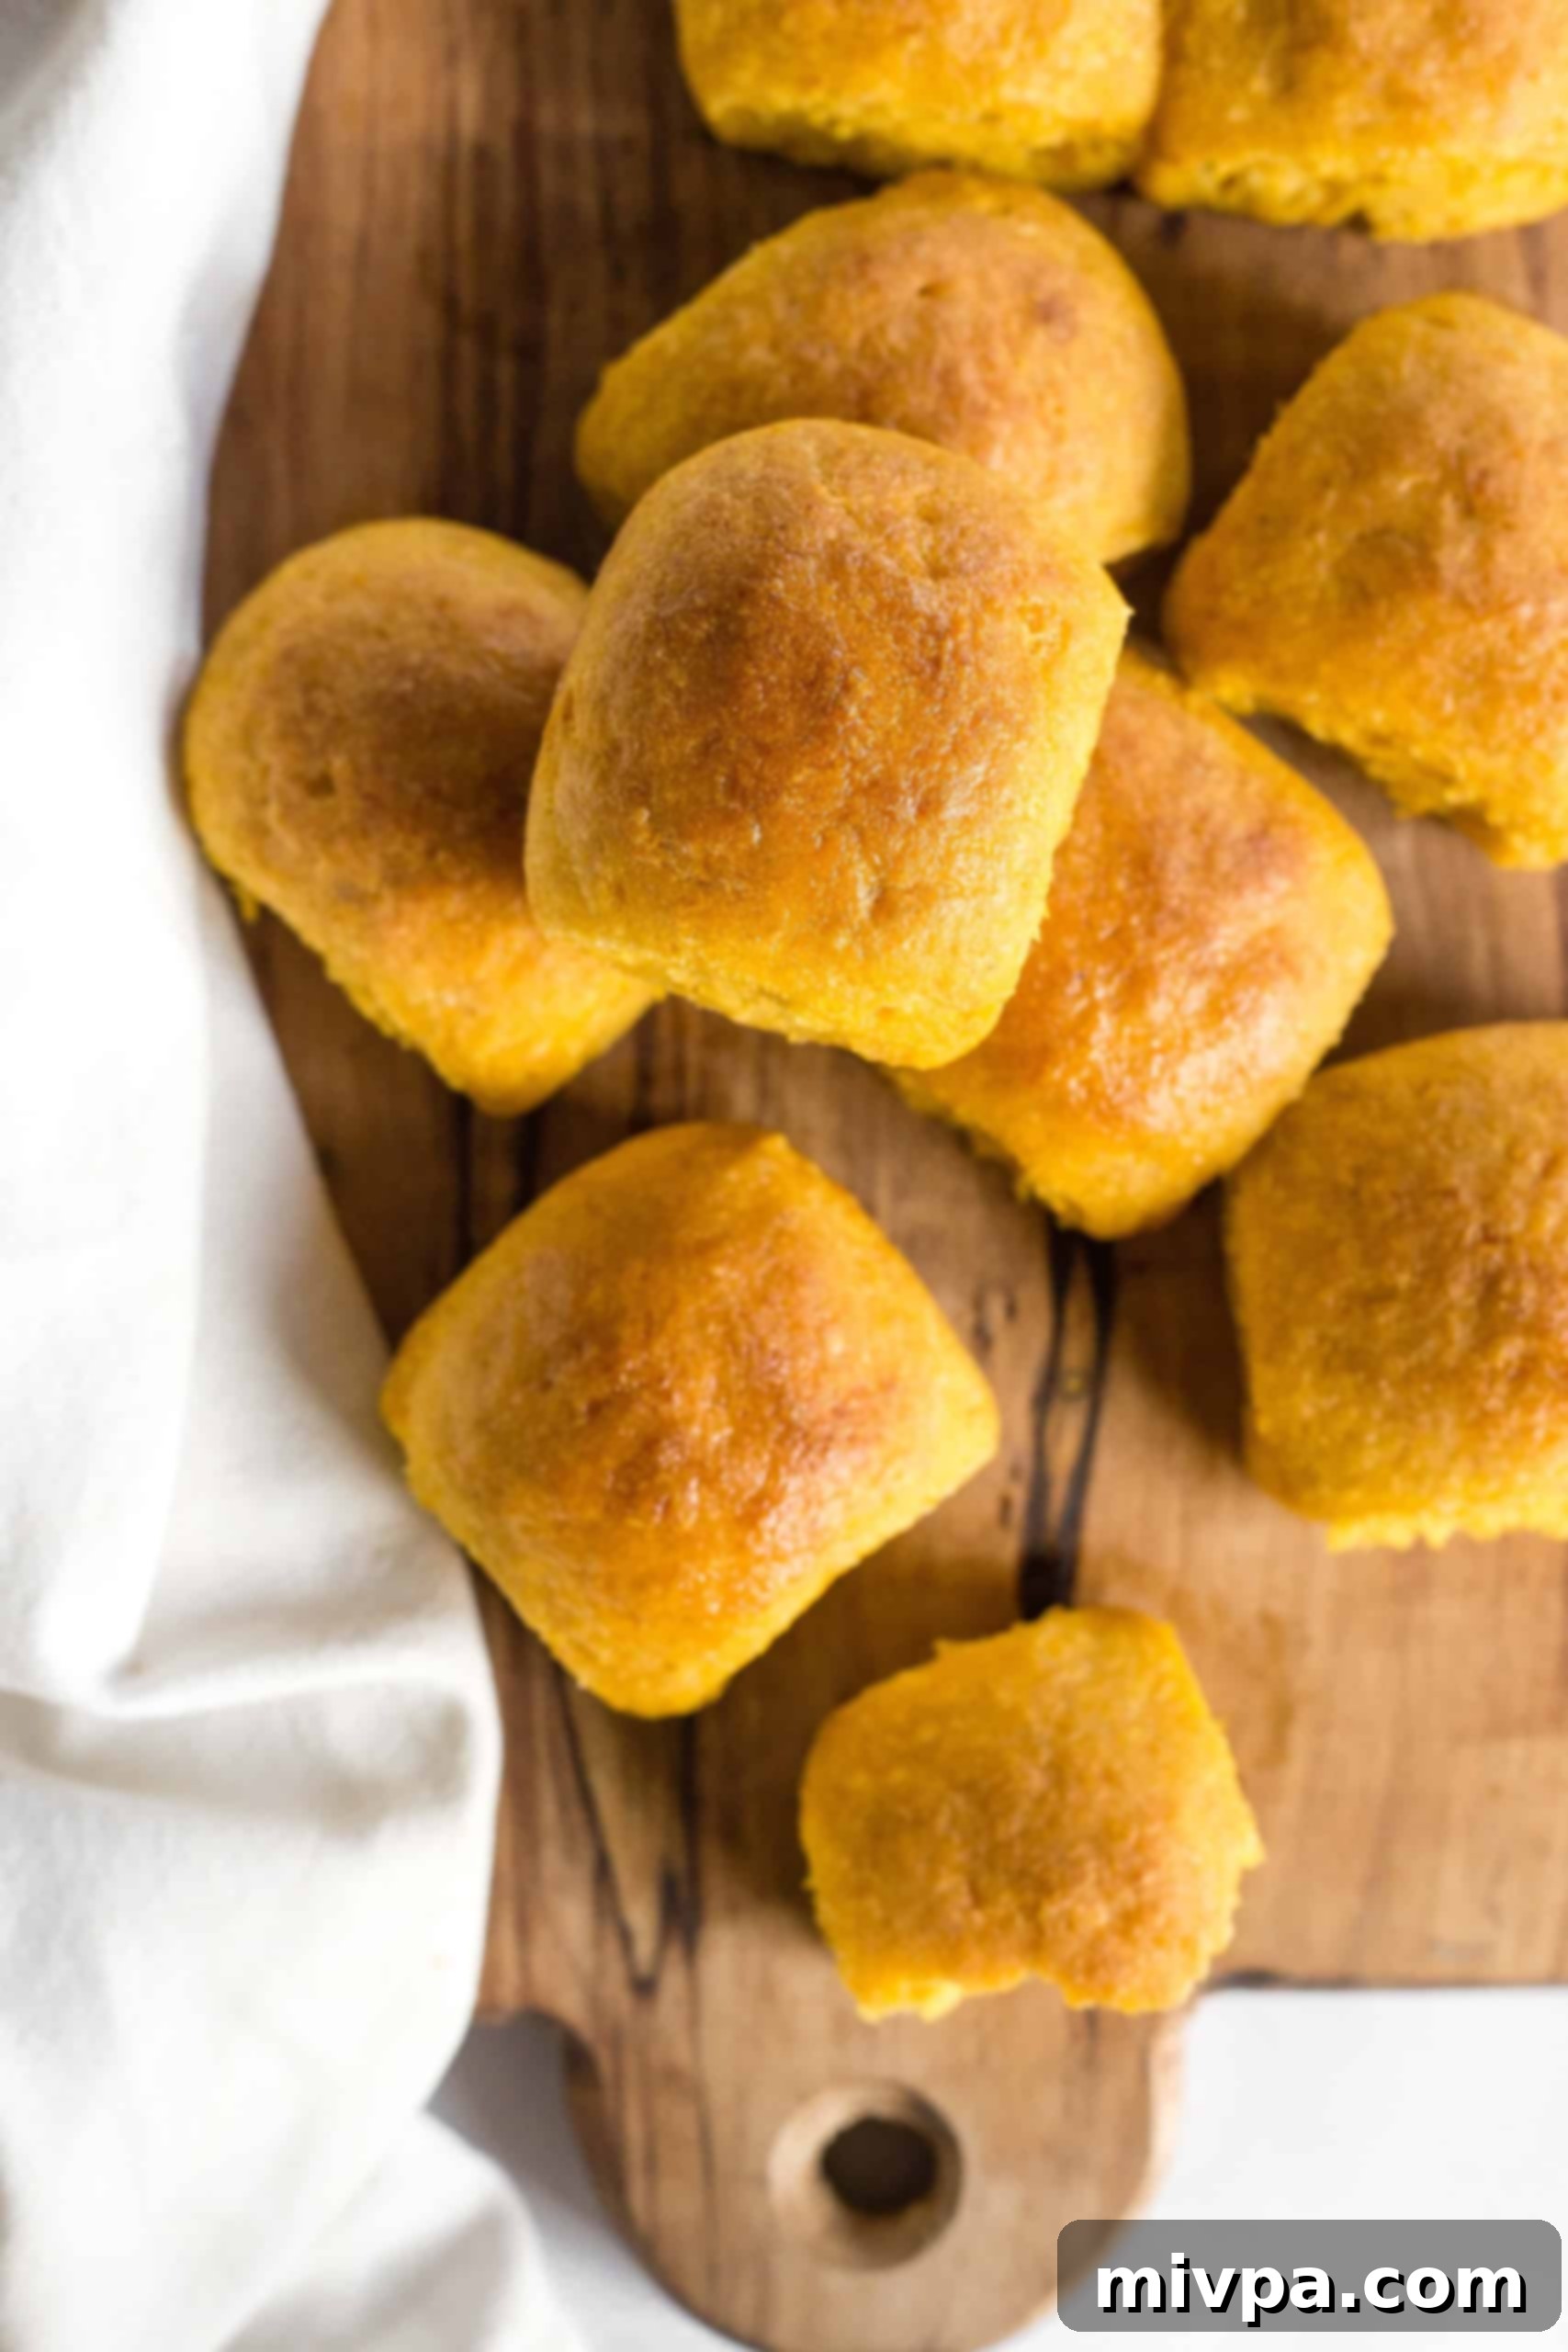
Imagine the aroma of freshly baked bread wafting through your home, especially during the festive holiday season. Now imagine those warm, pillowy rolls infused with the delightful flavor and vibrant color of pumpkin, all while being completely gluten-free and dairy-free. These gluten-free pumpkin dinner rolls are more than just a side dish; they are a celebration in themselves – soft, tender, and incredibly moist. A true must-have at your Thanksgiving dinner, Christmas table, or any autumn gathering. Flavored with wholesome pumpkin and boasting a beautiful orange hue, these delicious dinner rolls perfectly capture the spirit of the holiday season. They’re surprisingly easy to make and, despite being entirely dairy-free, everyone at your table will simply adore them. Don’t wait – bake a batch today and bring some extra warmth to your special meals!
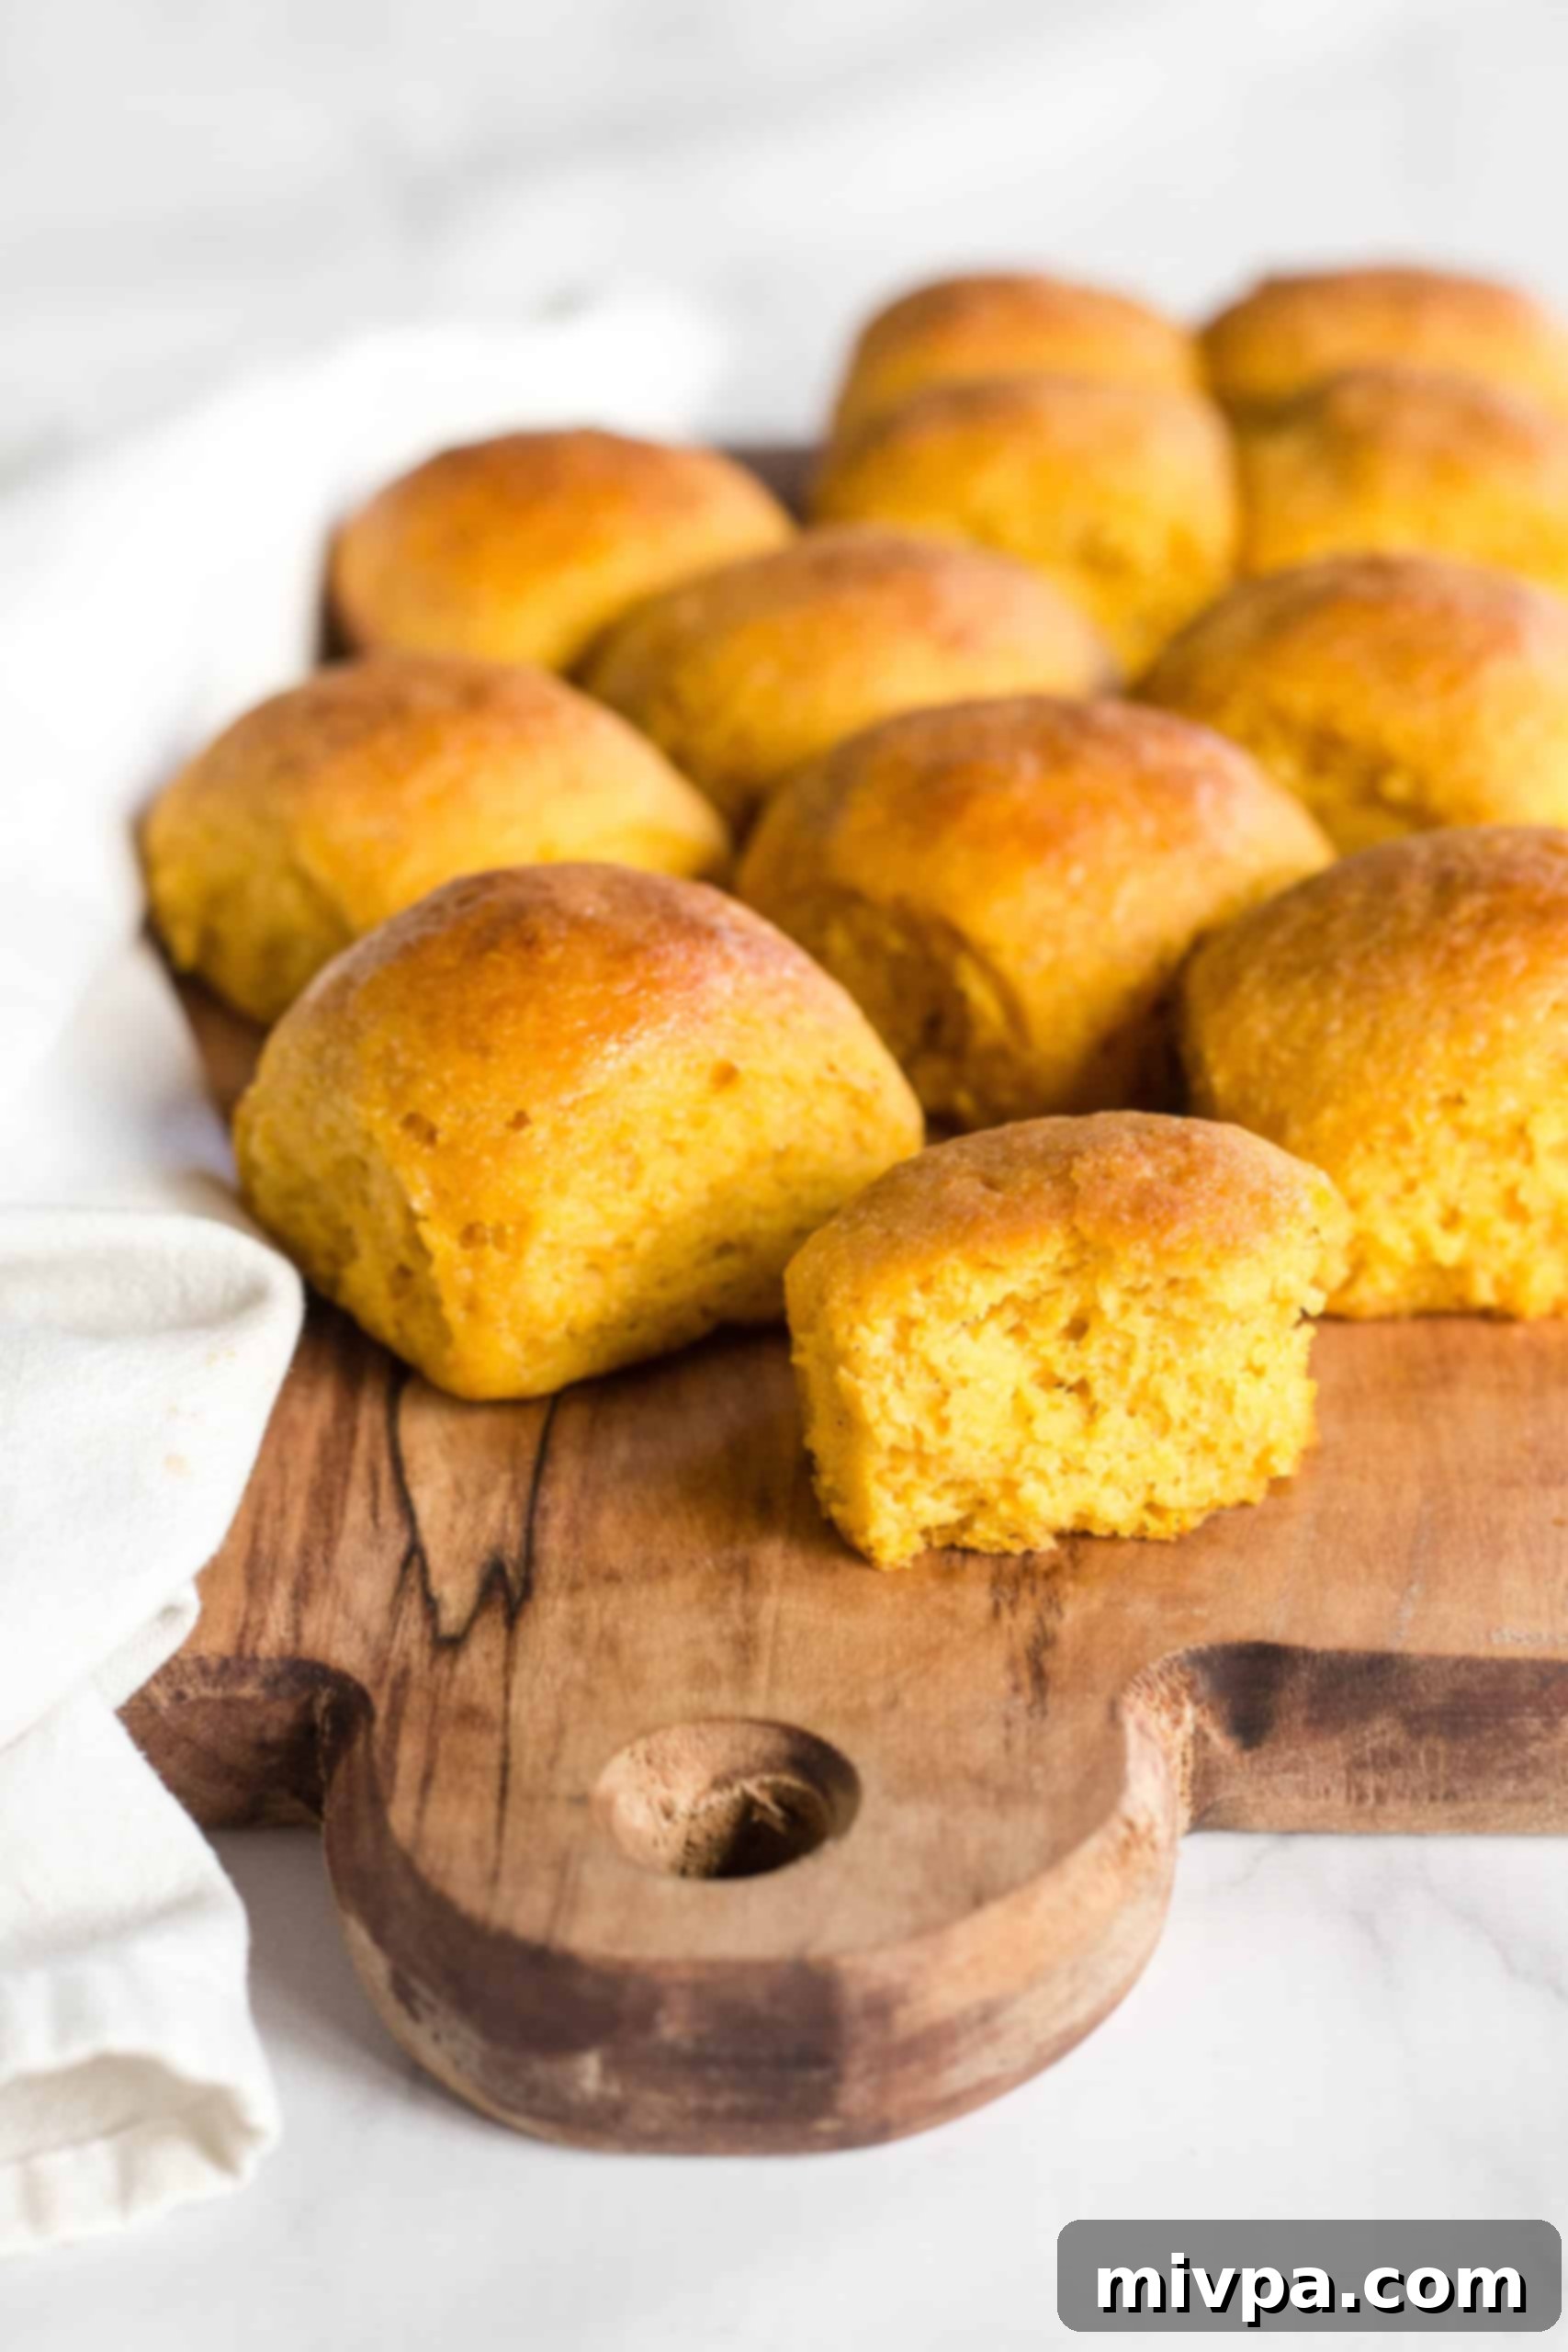
The Irresistible Charm of Homemade Dinner Rolls
There’s an unparalleled joy that comes from baking bread at home, and if you’ve followed my culinary adventures, you’ll know my particular fondness for crafting homemade bread – especially the rewarding challenge and delicious results of gluten-free yeast breads. The process is almost therapeutic, starting with the careful mixing of ingredients, watching the magical transformation as yeast activates and encourages the dough to gracefully rise. Then comes the anticipation of baking, as the dough slowly turns into a golden-brown masterpiece in the hot oven. There’s truly nothing quite like tearing into a warm, fresh loaf or a soft dinner roll straight from your own kitchen. It’s a simple pleasure that elevates any meal, making it feel more special and wholesome.
Explore Our Popular Gluten-Free Bread Creations
For those who share my passion for baking delicious gluten-free bread, or for anyone looking to expand their repertoire, here are some of the most cherished and popular gluten-free bread recipes from the blog:
- Soft, Fluffy Gluten-Free Bread (Dairy-Free)
- Buckwheat Bread (Gluten-Free, Dairy-Free)
- Brown Rice Bread (Gluten-Free, Dairy-Free)
- Potato Bread (Gluten-Free, Dairy-Free)
- Millet Bread (Gluten-Free, Dairy-Free)
- Sorghum Bread (Gluten-Free, Dairy-Free)
- Artisan No-Knead Bread (Gluten-Free, Dairy-Free)
- Rosemary Focaccia Bread (Gluten-Free, Vegan)
Embracing the Season with Pumpkin Dinner Rolls
As the leaves change and the air turns crisp, we’ve been enthusiastically embracing all things pumpkin in our kitchen! From savory delights to sweet treats, we’ve explored a variety of recipes: fluffy pumpkin yeast bread, perfectly chewy pumpkin bagels, decadent pumpkin bars, and the elegant pumpkin cake roll. Given our love for all things pumpkin and our belief that no holiday meal is complete without a basket of warm rolls, it was only natural that we turn our attention to creating the ultimate pumpkin dinner roll.
Because, let’s be honest, the elaborate Thanksgiving feast and the joyous Christmas table simply aren’t complete without the comforting presence of homemade rolls, are they? While our classic gluten-free dinner rolls are a firm favorite, I felt compelled to add a seasonal twist for this special time of year. So, I painstakingly developed this recipe specifically for pumpkin season: a truly exceptional gluten-free version of pumpkin dinner rolls.
These rolls are more than just a seasonal novelty; they are genuinely soft, remarkably fluffy, and so utterly delicious that they will steal the show. Trust me when I say you’ll want to bake not just one, but multiple batches of these delightful pumpkin bread rolls throughout the entire holiday season. They offer that perfect balance of familiar comfort and festive flavor, making them an instant classic at any gathering.
Why You’ll Love This Gluten-Free Pumpkin Roll Recipe:
This recipe isn’t just another gluten-free bread; it’s designed to be incredibly satisfying and easy to make, delivering delicious results every time. Here’s why these pumpkin dinner rolls will become a staple in your holiday baking:
- Simple, Accessible Ingredients: You don’t need obscure specialty items for this recipe. All the ingredients required for these gluten-free pumpkin dinner rolls are easily found at your local grocery store. In fact, you likely already have most, if not all, of them in your pantry right now, making it a convenient bake!
- Effortless to Make: Forget complex techniques or endless kneading. This recipe is designed for simplicity. All you need to do is combine the dry ingredients with the wet ingredients, mix them until a homogeneous dough forms, then gently shape the dough into balls. After a short rise, they’re ready for the oven. It’s a straightforward process that even novice bakers can master!
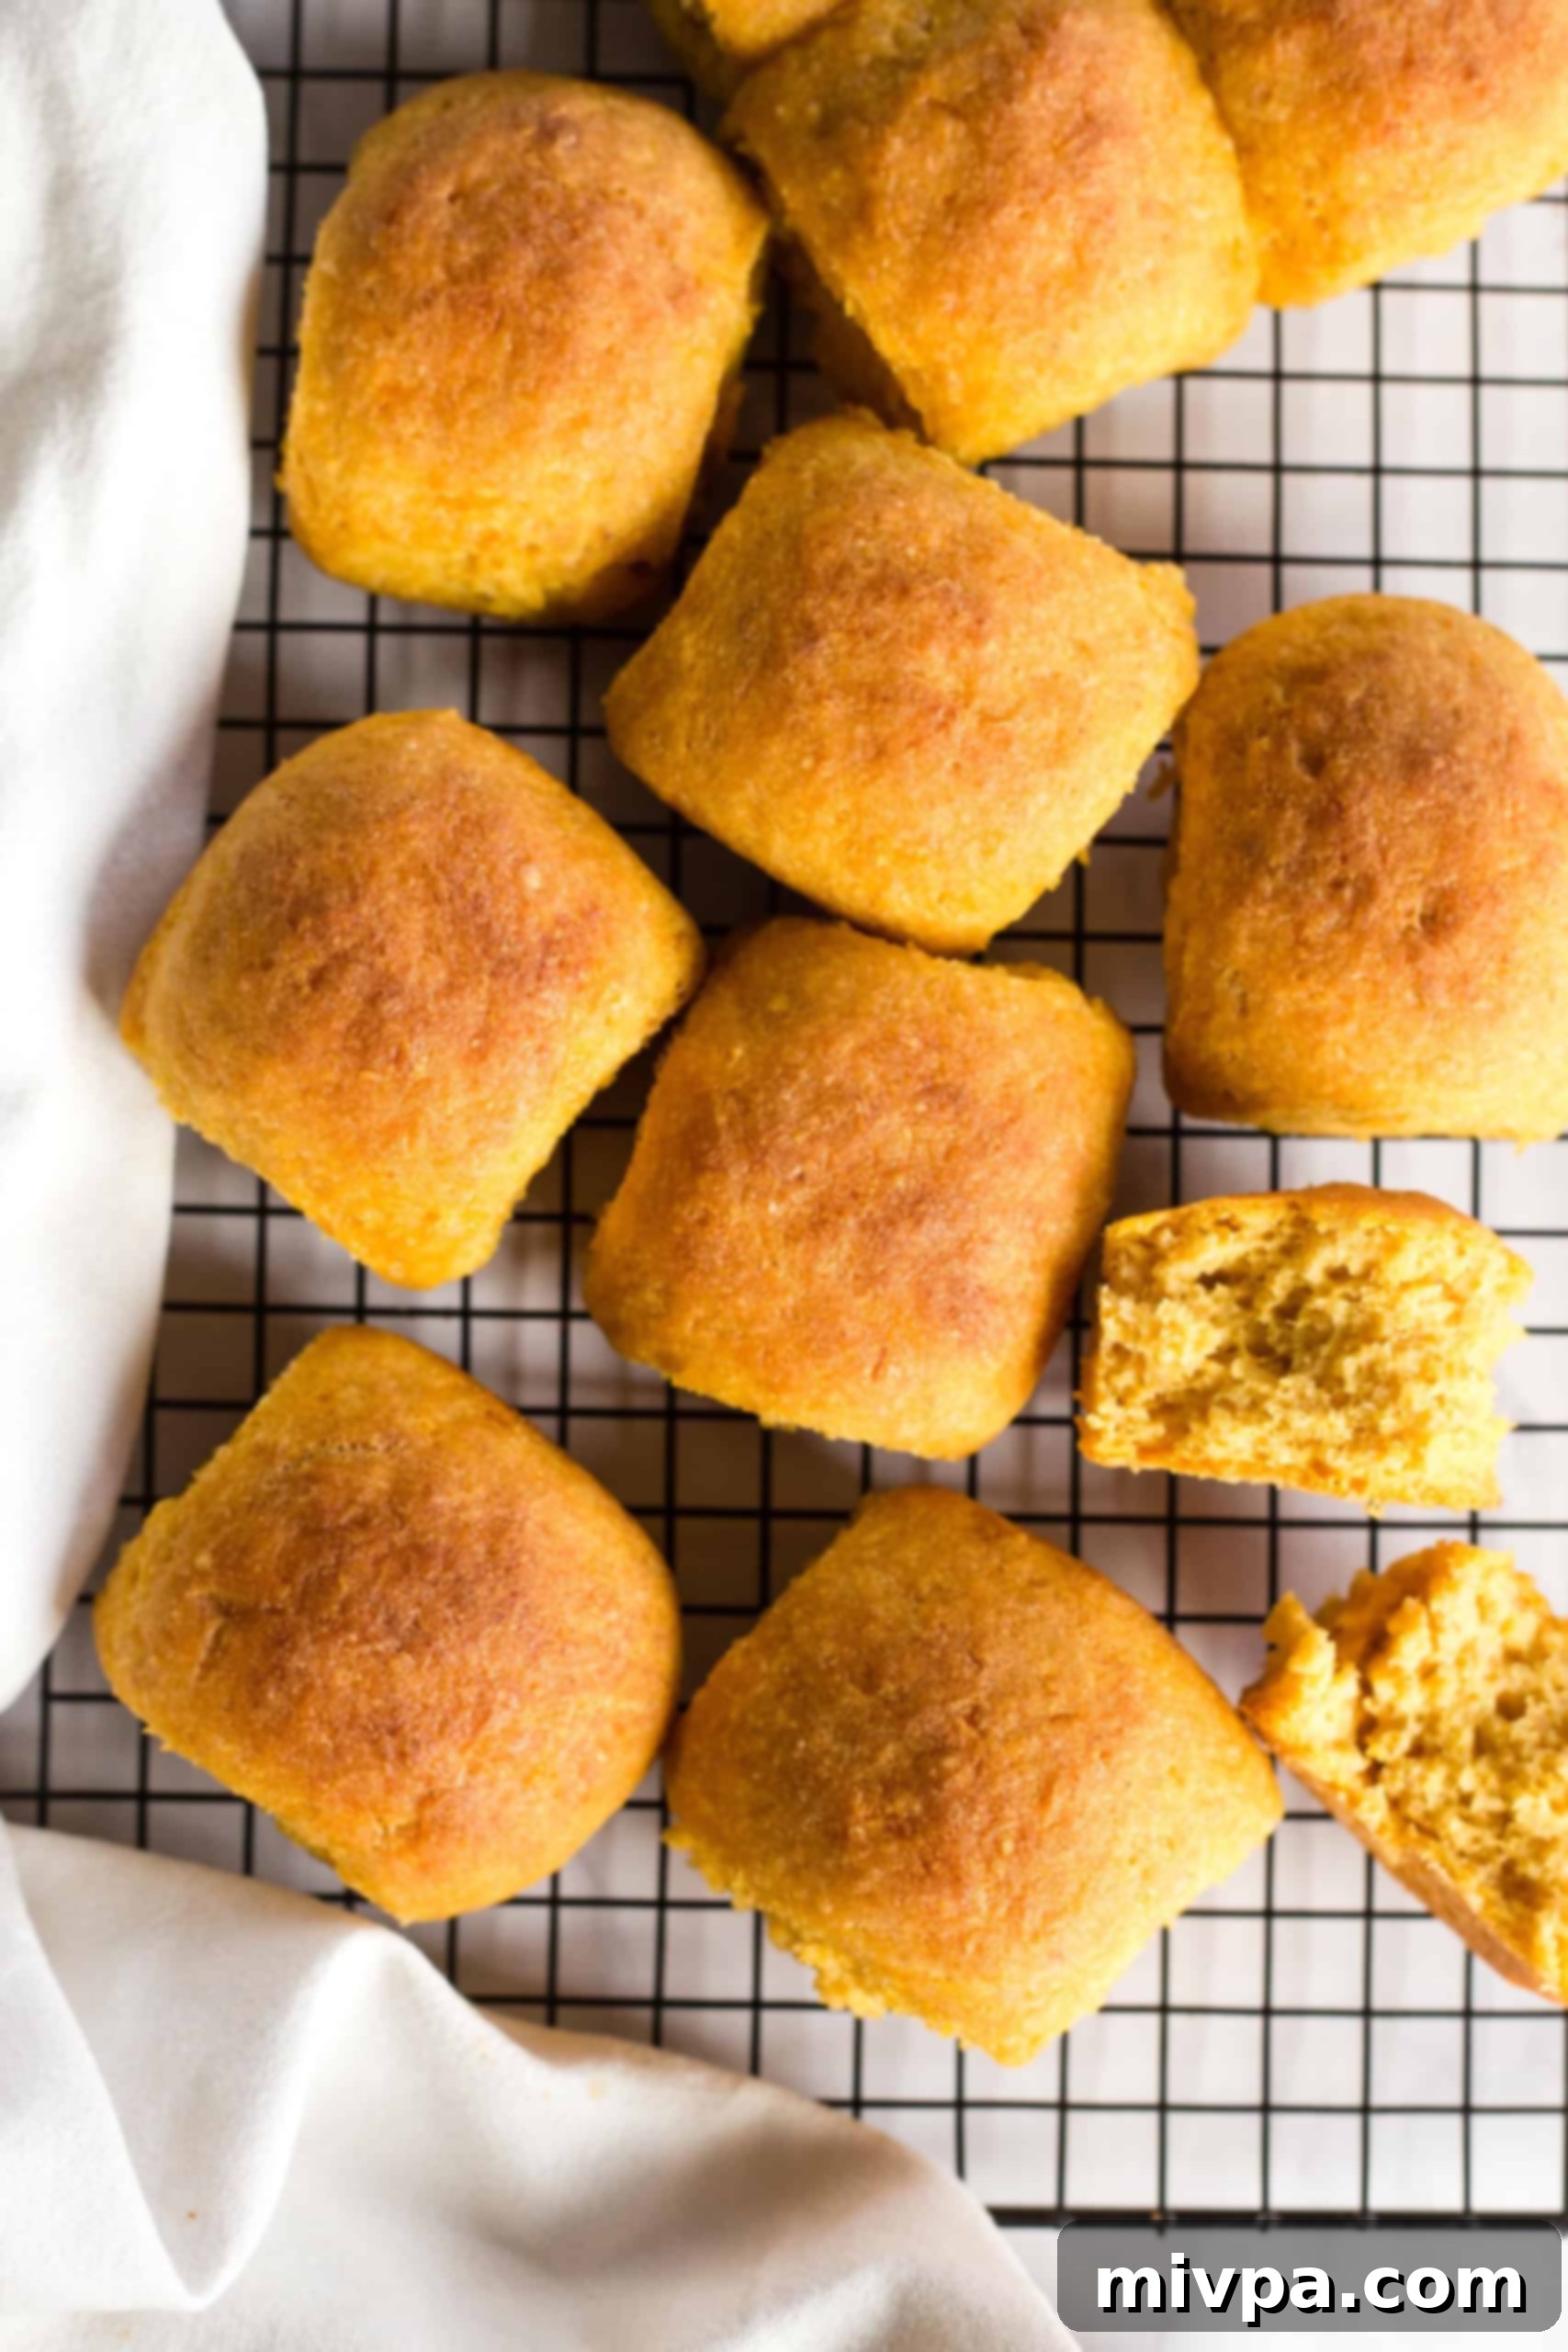
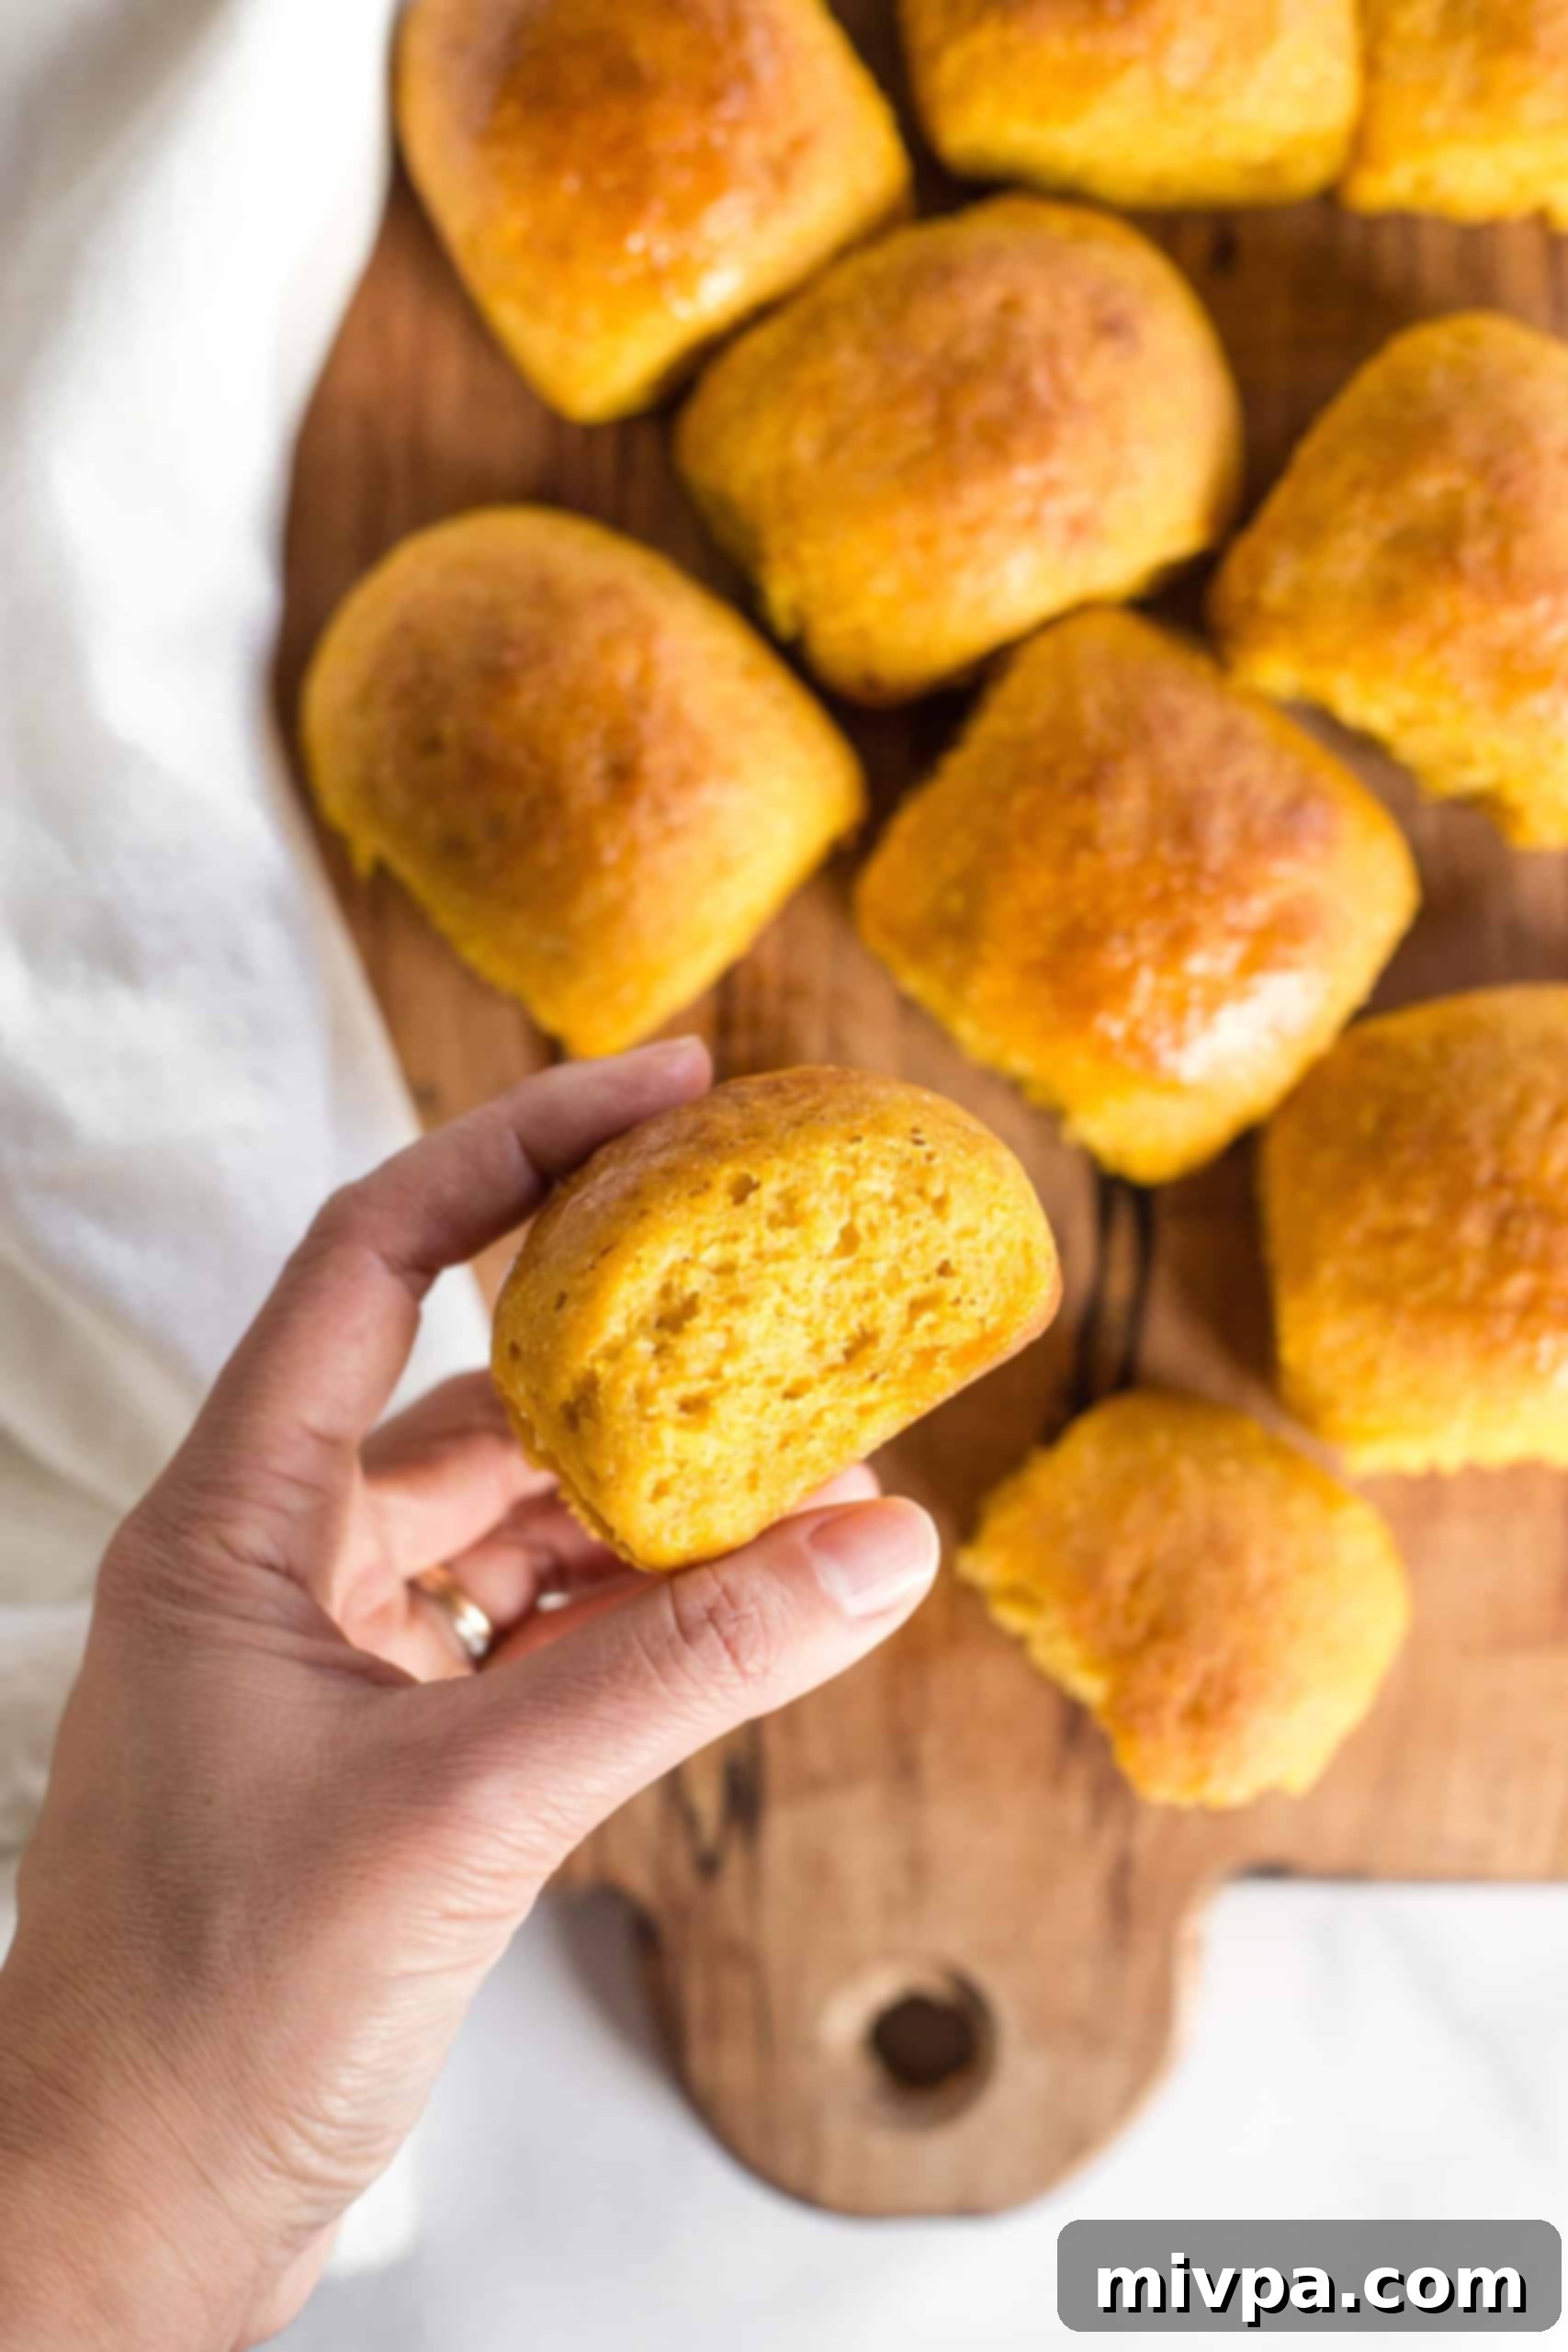
- Achieving Perfect Texture: The result is nothing short of perfection. These gorgeous pumpkin yeast rolls boast a beautifully golden-brown crust on the outside, giving way to an incredibly moist, tender, and airy interior. Their pillowy texture and delicate crumb make them an absolute must-have at any dinner table, especially during festive gatherings.
- Completely Gluten-Free and Dairy-Free: One of the most significant advantages of this recipe is its inclusivity. These fluffy pumpkin dinner rolls are 100% gluten-free and entirely dairy-free. This means that everyone, including those with Celiac disease, gluten intolerance, or lactose intolerance, can enjoy these homemade delights without any worries or compromise on flavor or texture. It ensures that every guest gets to savor a warm, homemade dinner roll this holiday season!
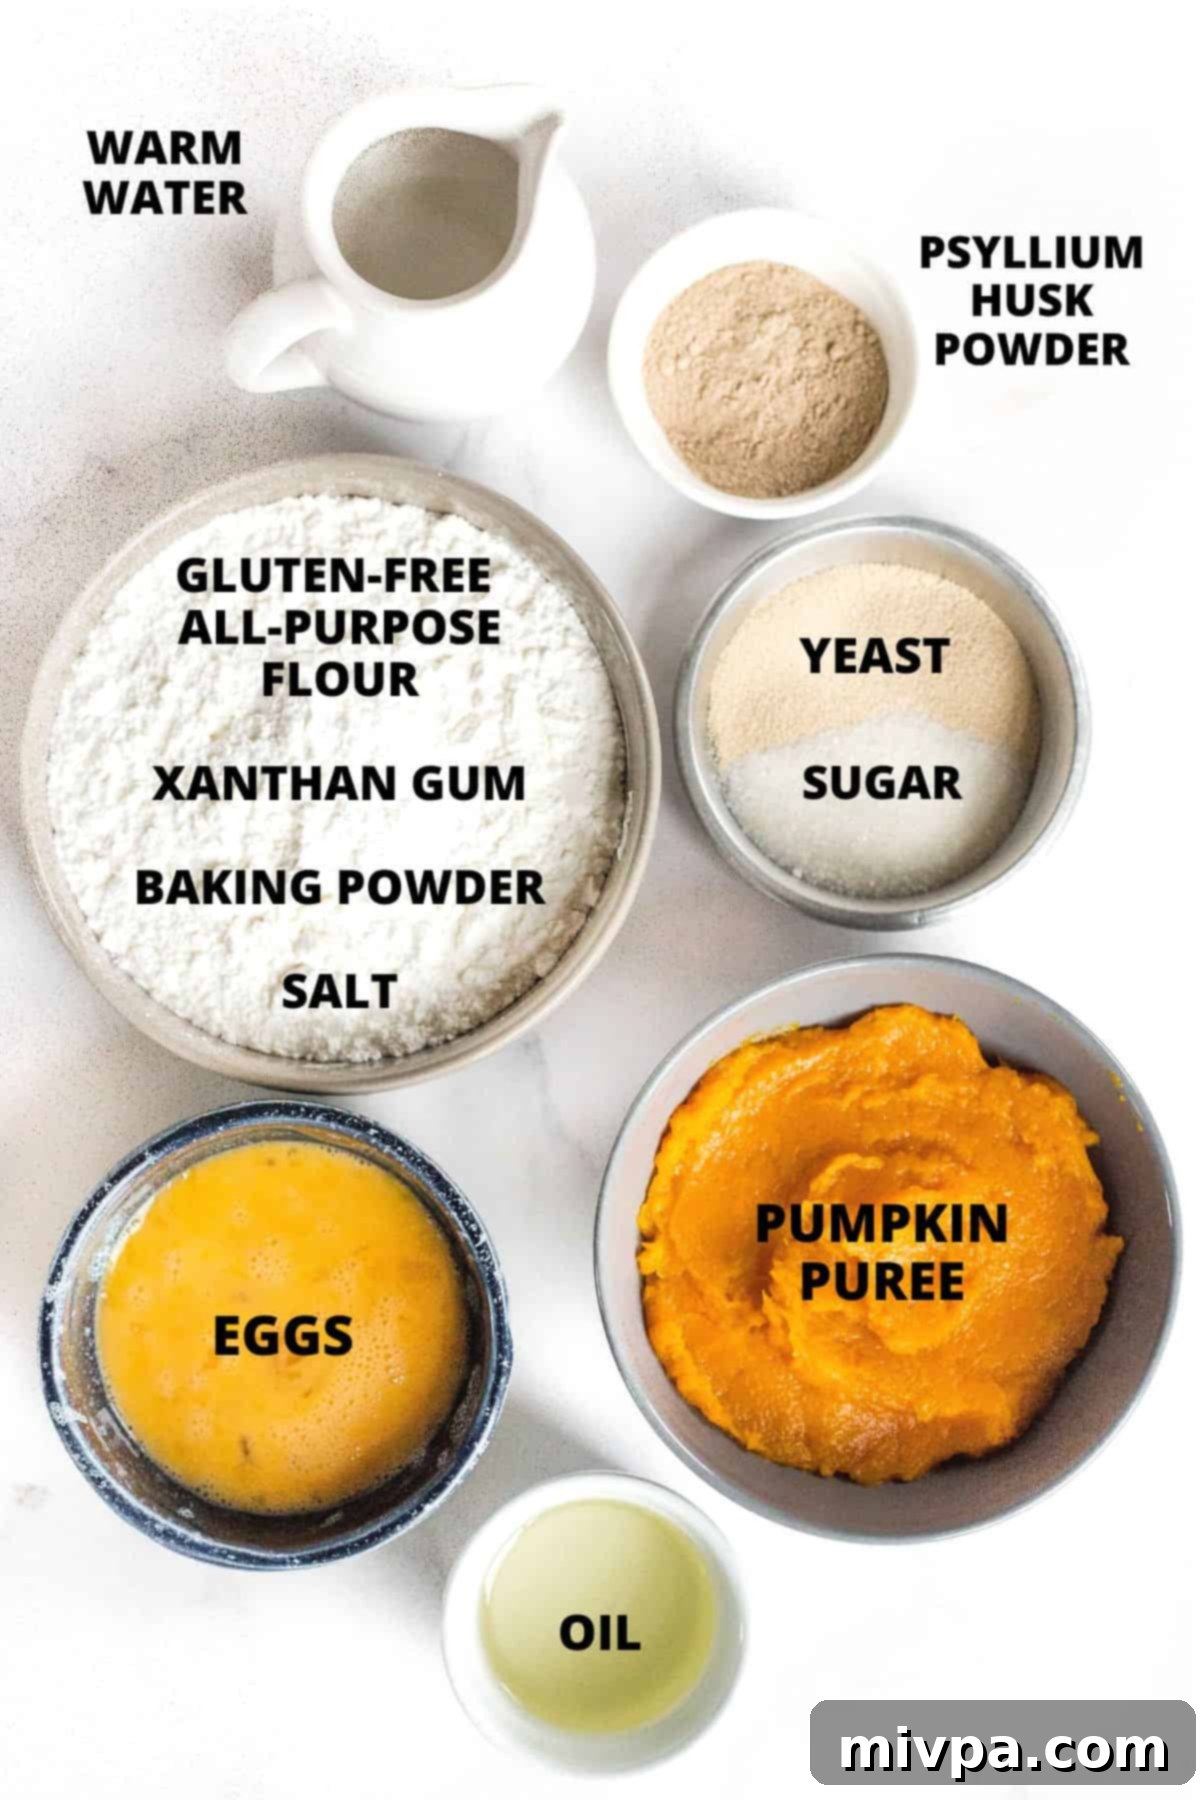
Essential Ingredients for Your Pumpkin Rolls
Crafting these delectable pumpkin dinner rolls starts with a selection of readily available ingredients. Here’s a visual overview to help you gather everything you need before you begin the baking process.
(For precise measurements and quantities, please refer to the detailed recipe card conveniently located at the bottom of this post.)
Recipe Notes & Expert Tips for Success:
To ensure your gluten-free pumpkin dinner rolls turn out perfectly every time, here are some important notes and potential substitutions for key ingredients:
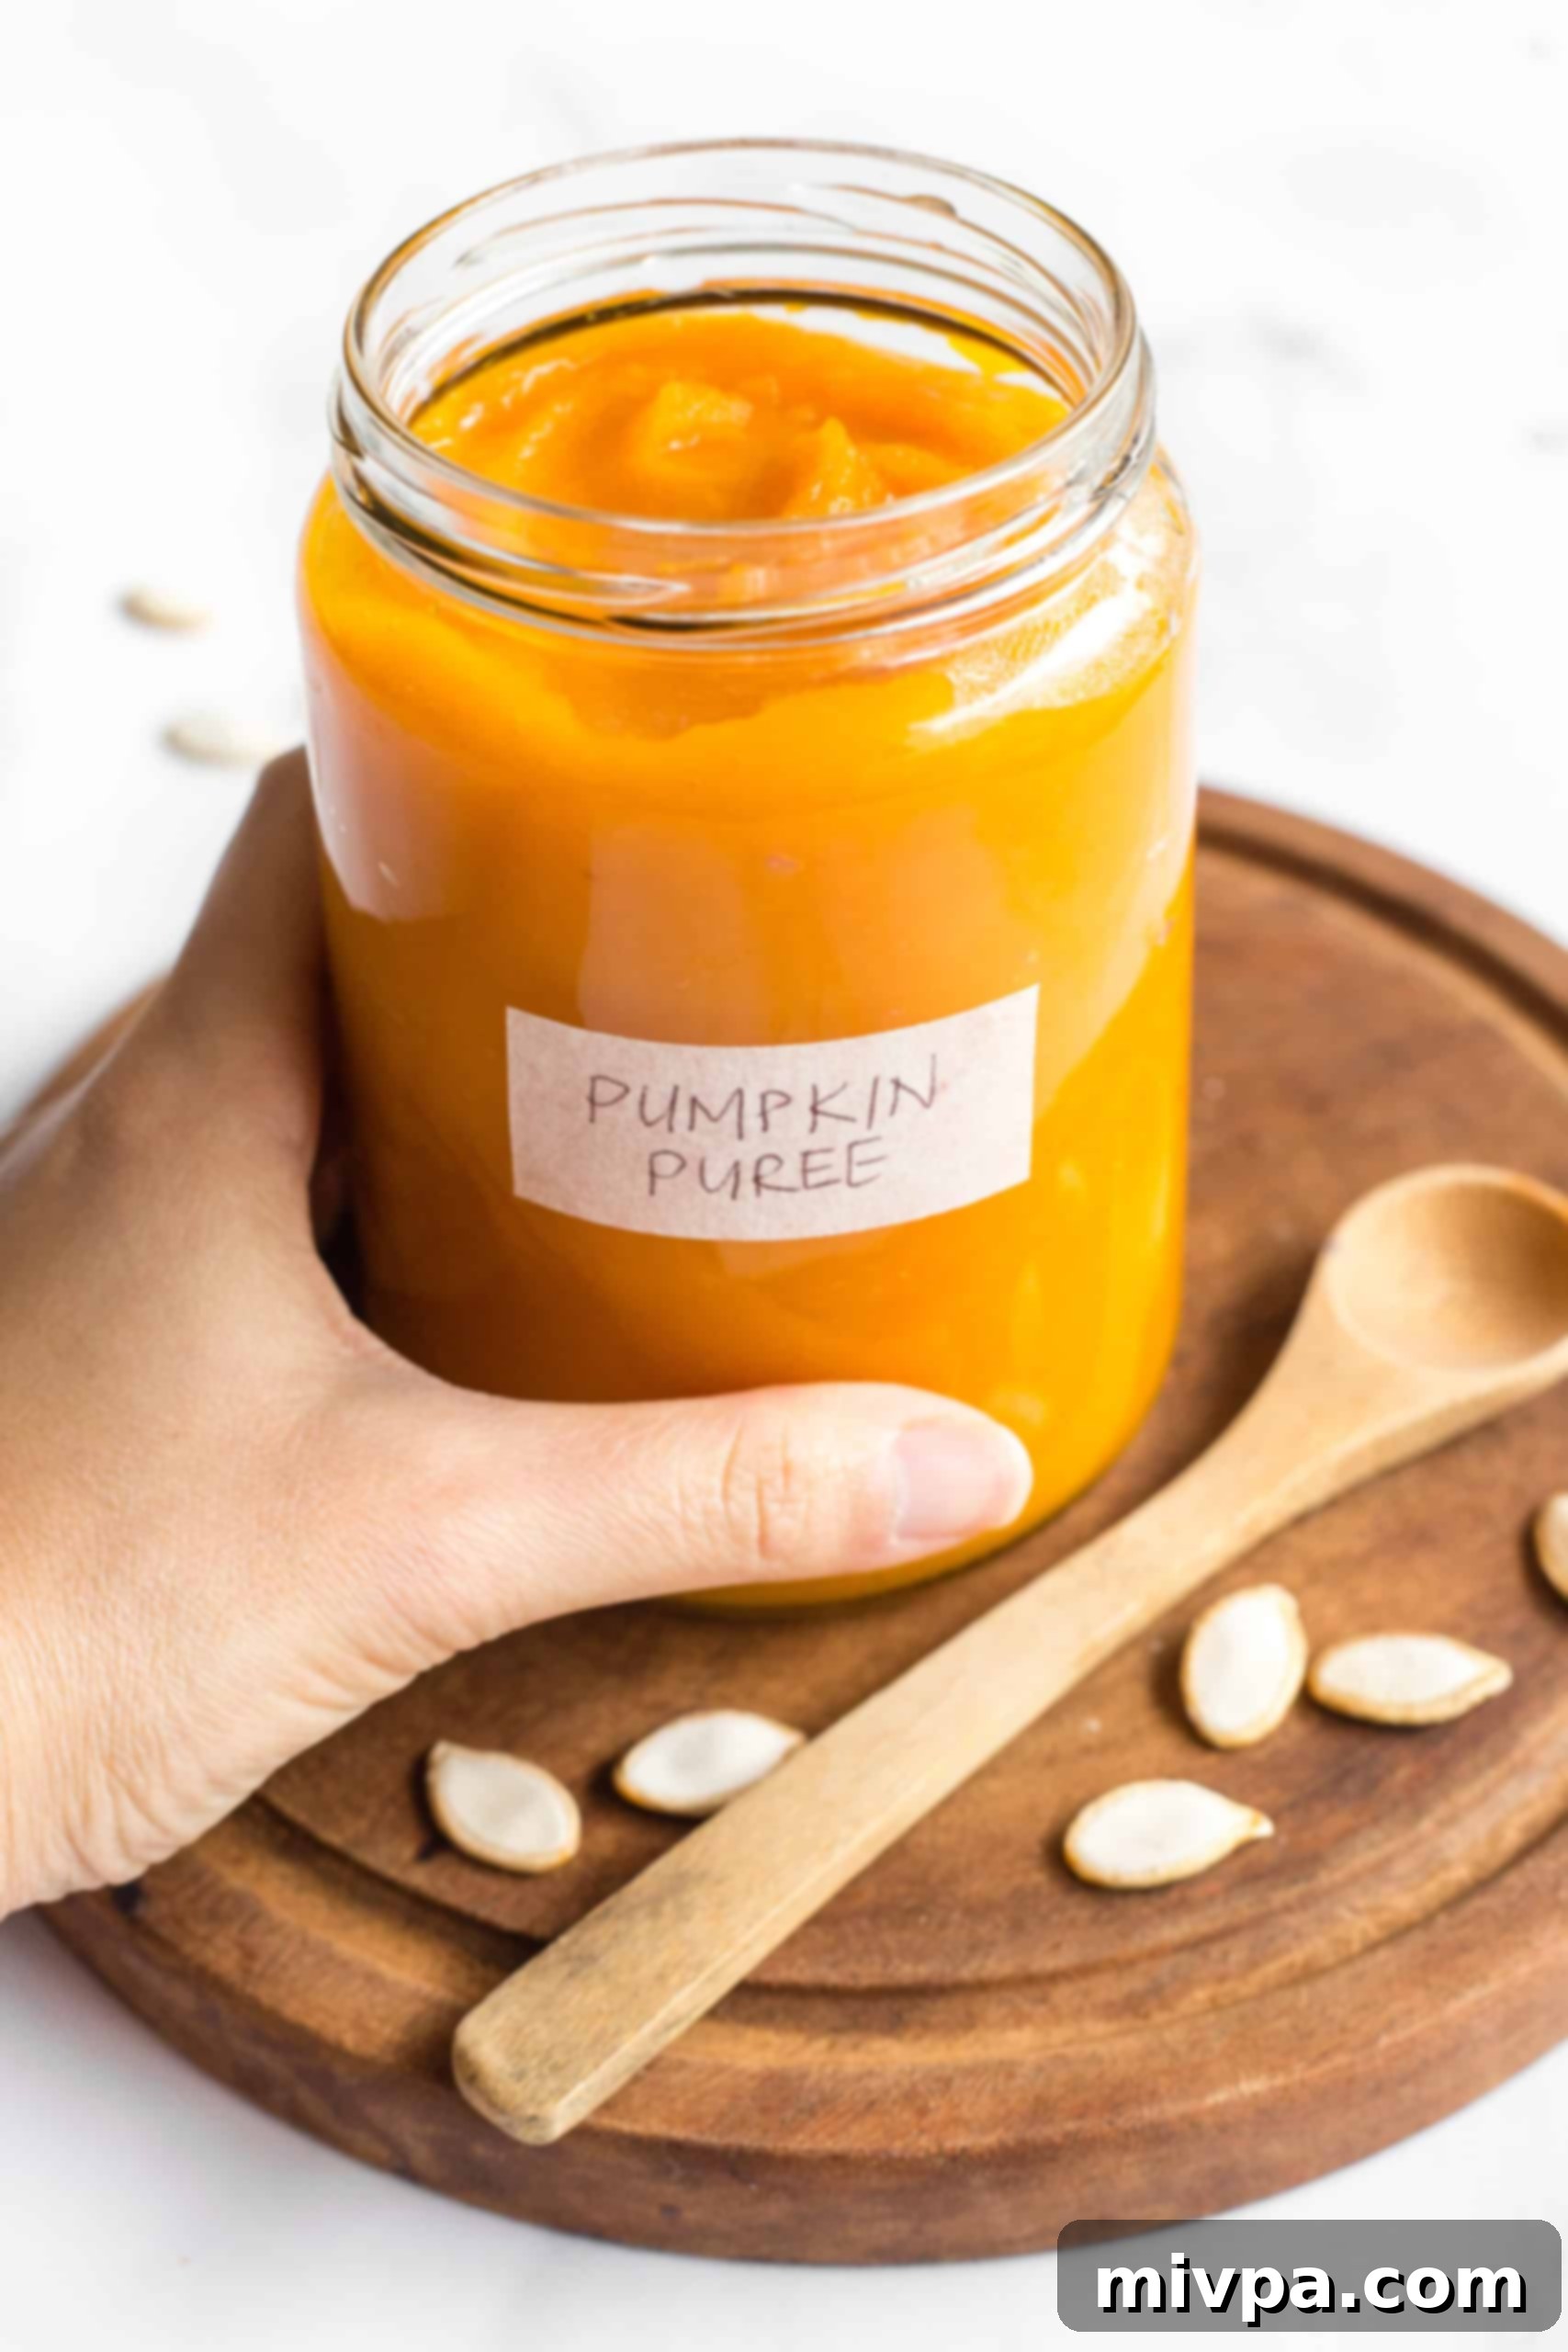
- Pumpkin Puree: The star of the show! While fresh homemade pumpkin puree is my preferred choice during peak pumpkin season (it’s surprisingly simple to make and tastes incredible!), feel free to use canned pumpkin puree. Just be absolutely certain you’re selecting pure pumpkin puree and not pumpkin pie filling, which contains added spices and sugar that will alter the flavor profile.
- Eggs: Eggs play a crucial role in binding the ingredients, providing structure, and contributing to the rolls’ tender texture. It’s important not to omit them. If you prefer to avoid egg yolks, you can substitute the 2 whole eggs with 4 egg whites. For those with egg allergies, I haven’t personally tested an egg-free version of this specific recipe, but common egg substitutes like aquafaba or a commercial egg-replacer (following package directions) may work. If you experiment with an egg-free version, please share your results in the comments – I’d love to hear how it turns out!
- Warm Water: The temperature of your water is critical for activating the yeast. It needs to be warm, ideally between 105 to 115°F (40-46°C). If the water is too cold, the yeast won’t activate; if it’s too hot, the high temperature will kill the yeast, preventing your dough from rising. You can also use warm non-dairy milk (such as homemade almond milk, creamy cashew milk, light rice milk, versatile soy milk, or comforting oat milk) for an extra layer of flavor. If dairy is not an issue for you, warm regular milk works just as well.
- Sunflower Oil: I typically use sunflower oil as it’s a neutral-flavored oil I always have on hand. However, you have several excellent alternatives. Melted vegan butter will add a rich, buttery taste, or you can opt for other vegetable oils like light olive oil, melted coconut oil, or healthy avocado oil. If you are not avoiding lactose, melted regular butter or flavorful ghee are also fantastic options.
- Gluten-Free All-Purpose Flour: The quality of your flour blend makes a significant difference. I highly recommend using a good-quality gluten-free all-purpose flour blend that incorporates lighter flours and starches, such as rice flour, tapioca starch, potato starch, and corn starch. These blends contribute to a much lighter, softer, and fluffier final texture. Conversely, I advise against using gluten-free flour blends that primarily feature heavier flours, like garbanzo bean (chickpea) flour, as these can result in a noticeably denser and sometimes crumbly product.
- Xanthan Gum: This ingredient is a game-changer in gluten-free baking. Xanthan gum acts as a replacement for gluten, providing elasticity and binding power to the dough. It’s essential for preventing your rolls from becoming crumbly. If your chosen gluten-free flour blend already lists xanthan gum as an ingredient, you can omit adding it separately. Always check your flour blend’s label!
- Baking Powder: While yeast provides the primary leavening, baking powder offers an extra boost, helping the dough to rise even more and achieve a wonderfully airy texture. If you have Celiac disease or a gluten intolerance, always ensure you use certified gluten-free baking powder.
- Psyllium Husk Powder: For truly exceptional gluten-free yeast breads, psyllium husk powder is a secret weapon. It adds remarkable structure and binding capabilities to the dough, significantly improving its texture and making it easier to work with. In my experience, incorporating psyllium husk powder makes a profound difference in the overall outcome of gluten-free yeast bakes. Be sure to use the powdered version for best results. If you only have whole psyllium husks, you can easily grind them into a fine powder using a coffee grinder or a high-speed blender.
- Instant Yeast: My preference is instant yeast because it eliminates the need for a separate activation step; you can simply mix it directly with your other dry ingredients. If you only have active dry yeast, you’ll need to activate it first. To do so, mix the active dry yeast with the warm water and a pinch of sugar, then let it sit in a warm, draft-free place for about 5 minutes until the mixture becomes visibly foamy – this indicates the yeast is alive and active.
- Sugar: Sugar serves as the “food” that activates the yeast, allowing it to produce gases that make the dough rise. I typically use white granulated sugar, but you can also use light brown sugar, dark brown sugar, or coconut sugar for a slightly different flavor profile.
- Salt: A small amount of salt is crucial for balancing the flavors and enhancing the overall taste of your rolls.
Whip Up Your Own Homemade Pumpkin Puree (It’s Simpler Than You Think!)
While canned pumpkin puree is undeniably convenient, especially when time is short, I wholeheartedly encourage you to try making your own fresh pumpkin puree, particularly during the bountiful fall season when pumpkins are at their peak. It’s a surprisingly straightforward process with numerous benefits!
Not only is homemade pumpkin puree incredibly easy to prepare, but a single large pumpkin can yield several jars of fresh, vibrant puree, making it a much more economical choice for all your fall baking needs. Beyond the cost savings, homemade puree is naturally healthier, free from any preservatives or additives often found in canned versions. The flavor is also noticeably brighter and fresher, bringing an authentic taste of autumn to your recipes.
Ready to give it a try? Here’s my simple and comprehensive tutorial on how to make your own pumpkin puree at home. You’ll be amazed at how simple it is!
How to Make Gluten-Free Pumpkin Dinner Rolls (Step by Step Guide)
Let’s get baking! Follow these easy steps to create your own batch of delicious gluten-free pumpkin dinner rolls.
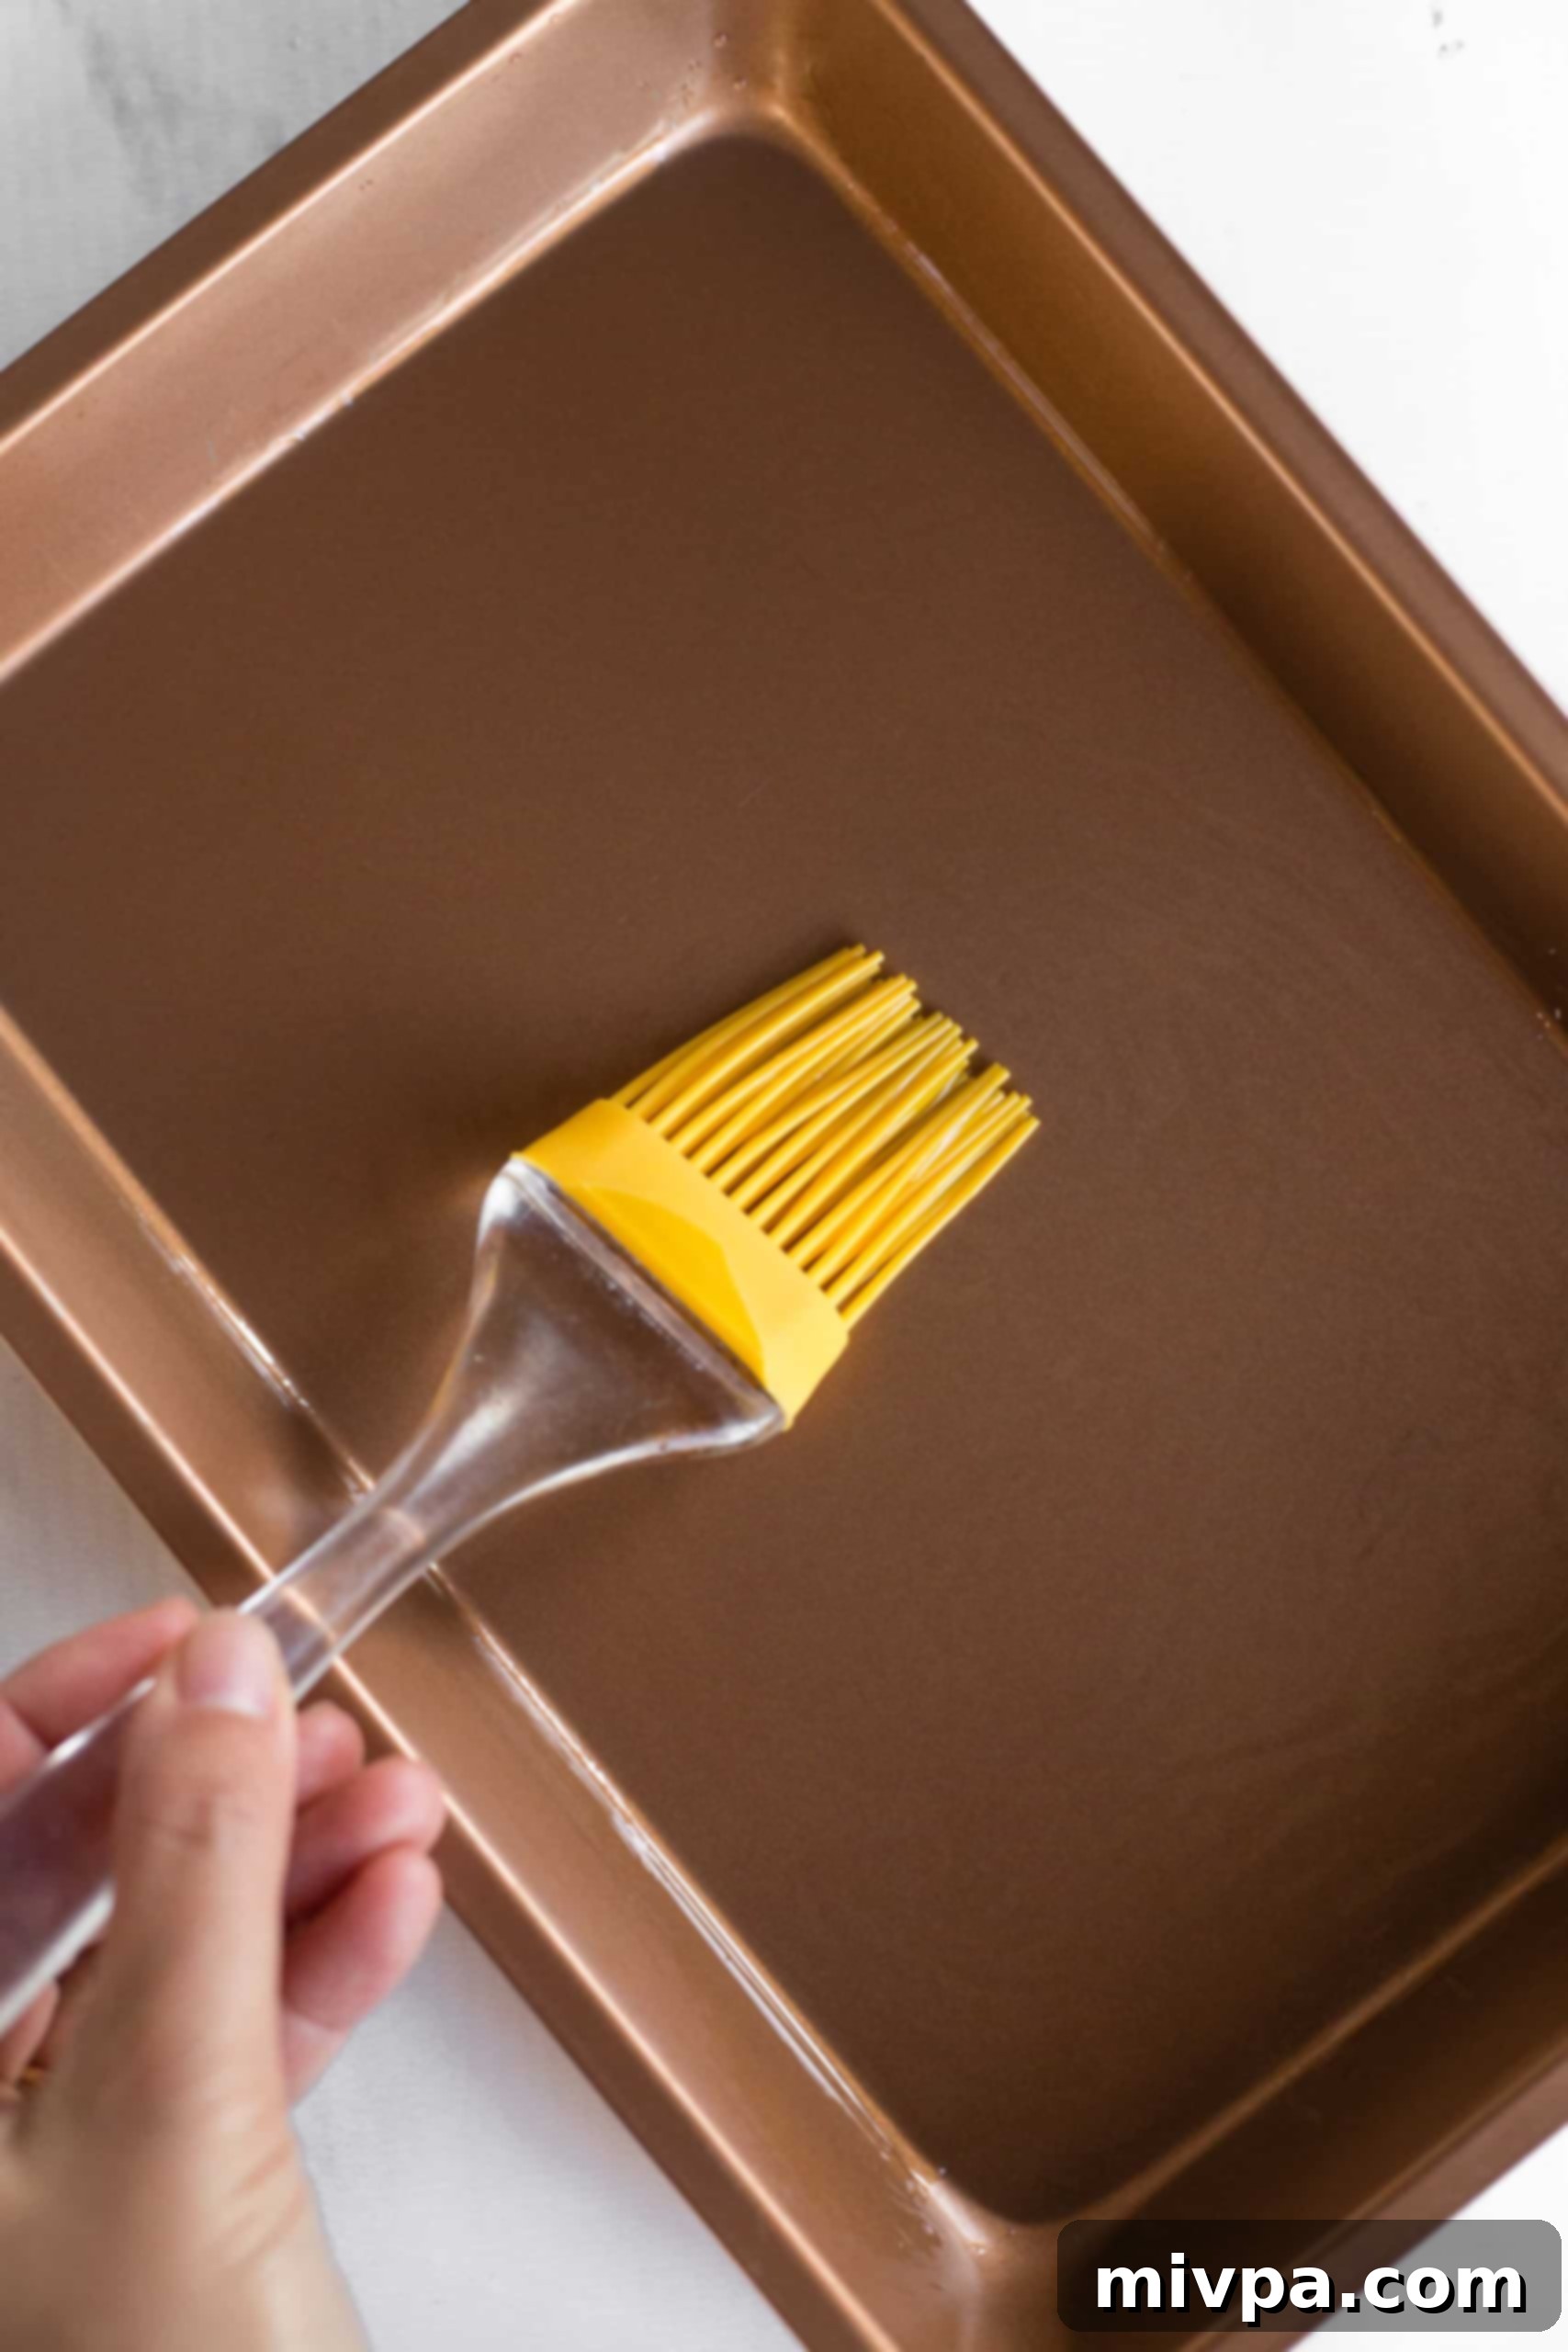
1. Prepare Your Baking Dish
Start by greasing a 7″ x 10″ non-stick baking dish thoroughly. Alternatively, you can line it with parchment paper for easy removal.
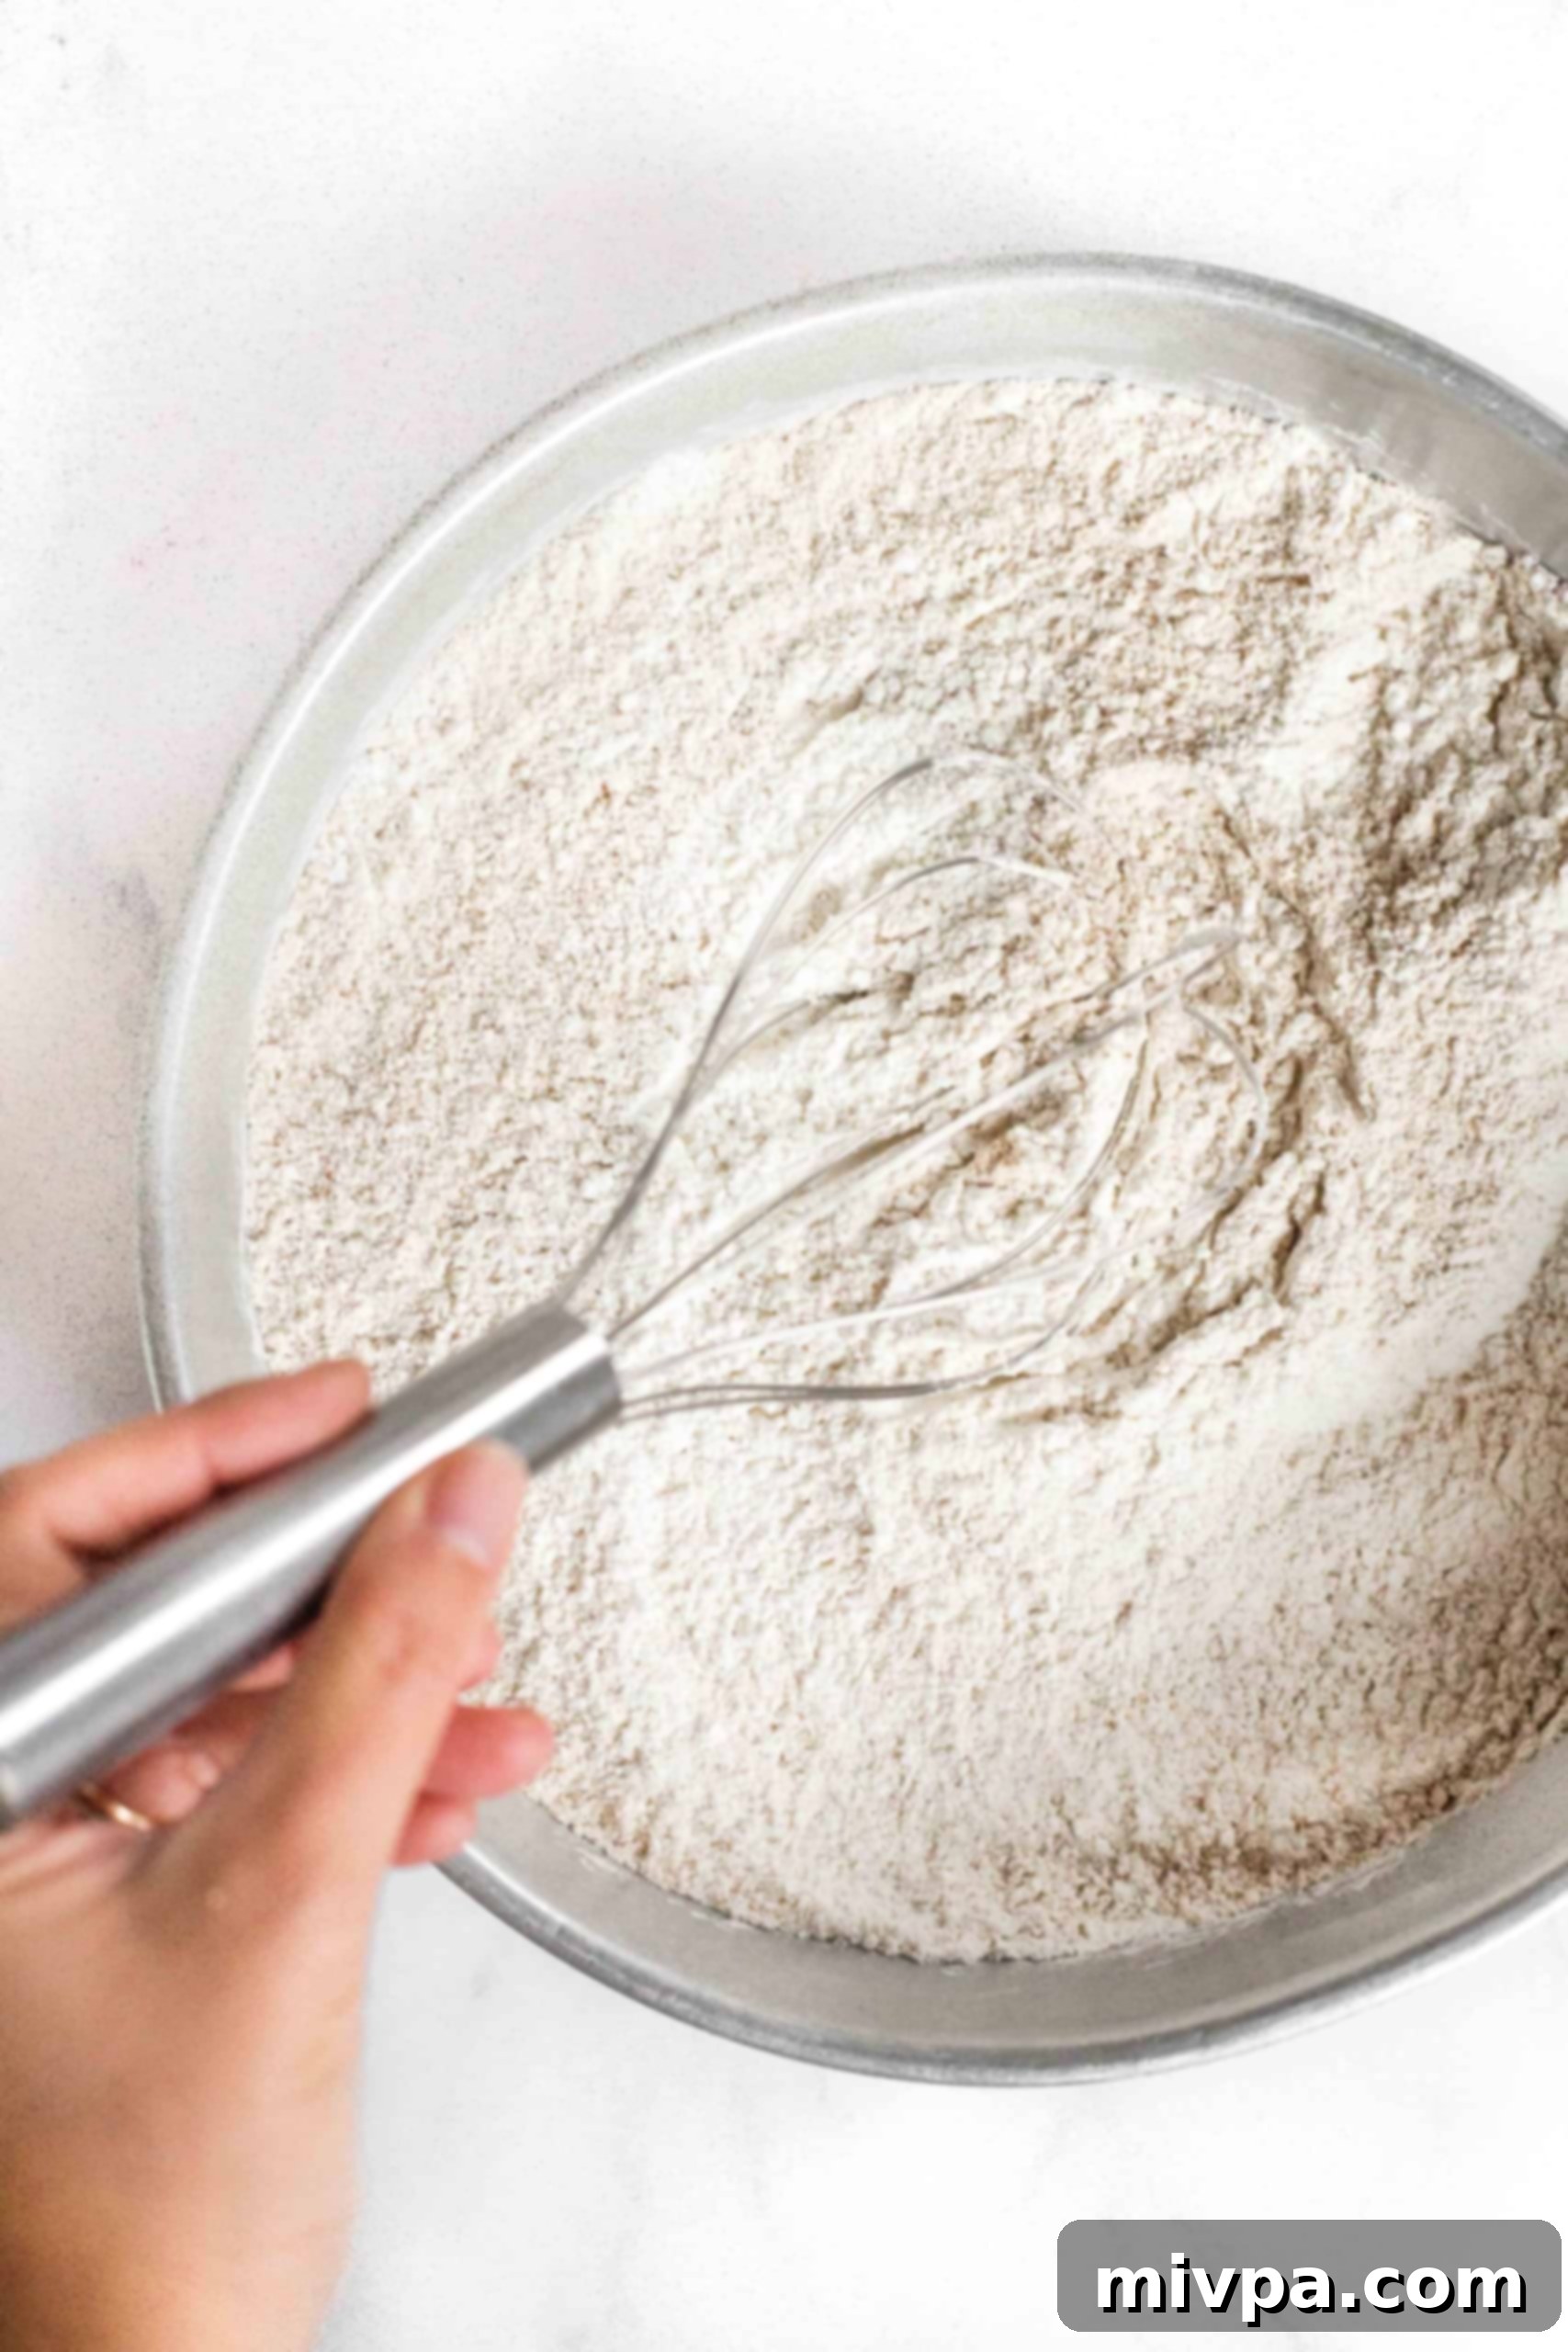
2. Whisk the Dry Ingredients
In a spacious large bowl, meticulously sift together the gluten-free all-purpose flour, xanthan gum (if not already in your blend), baking powder, salt, psyllium husk powder, instant yeast, and sugar. Use a whisk to combine these ingredients thoroughly, ensuring they are evenly distributed.
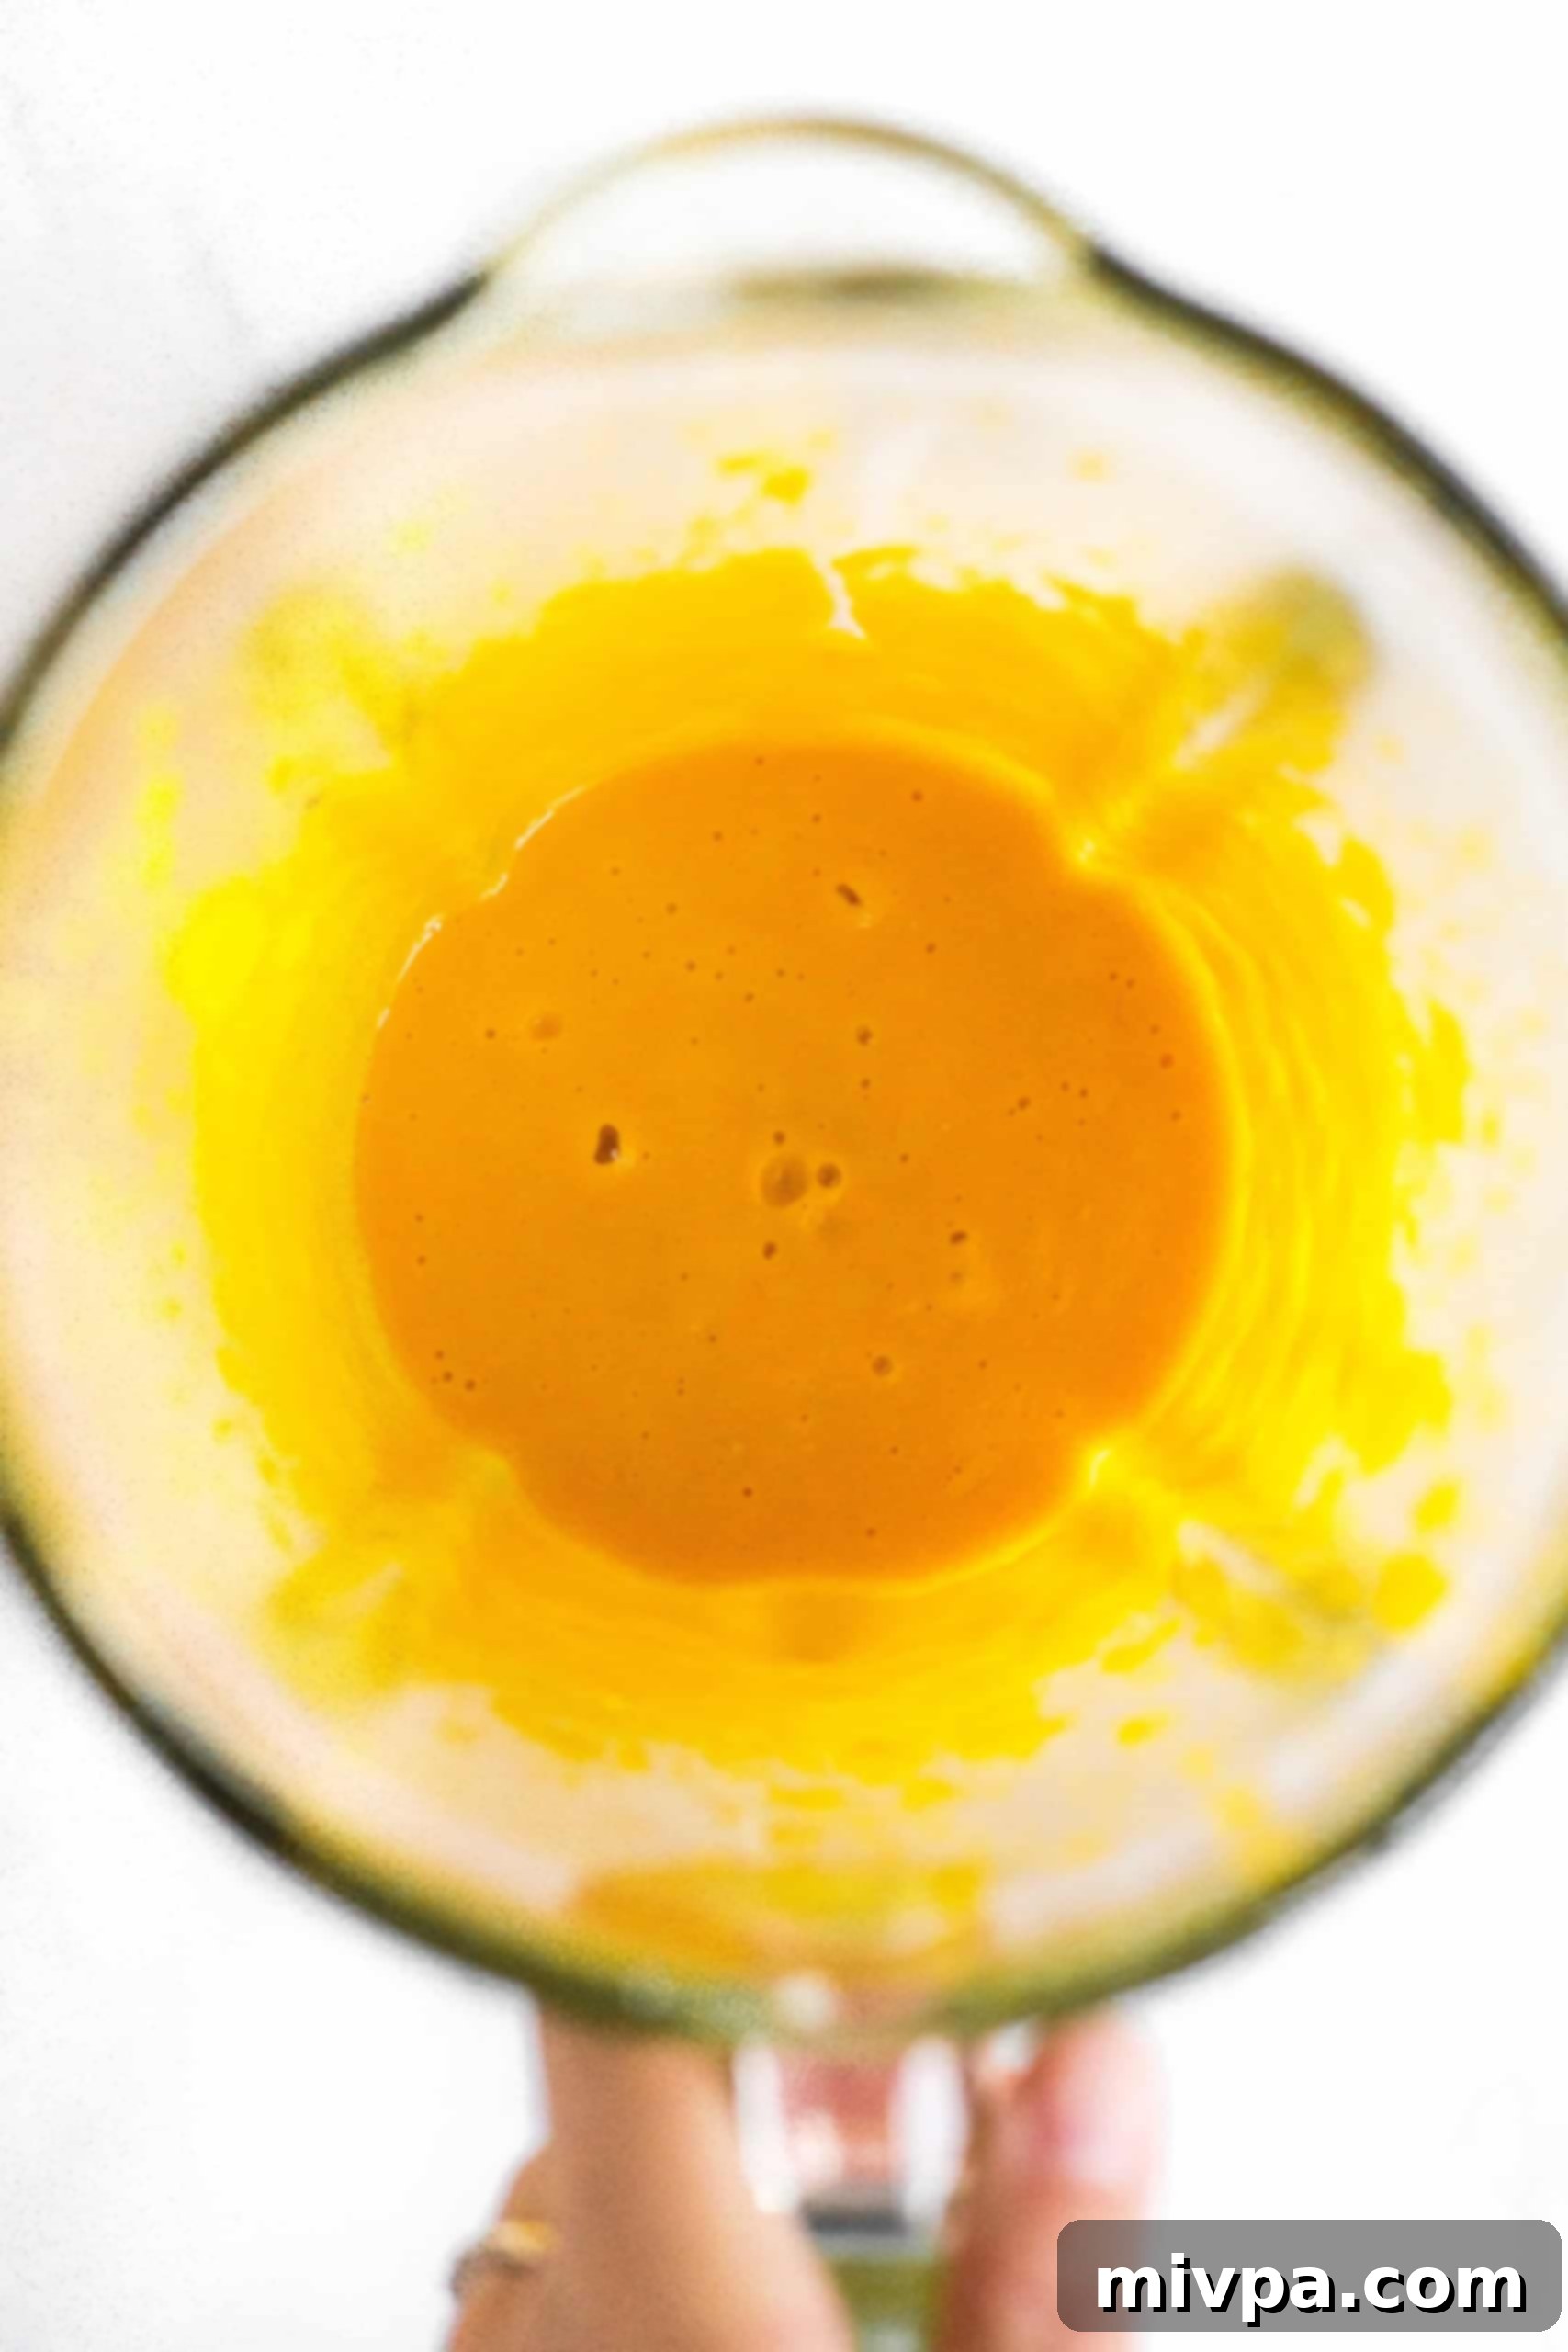
3. Blend Pumpkin and Eggs
Combine the pumpkin puree and beaten eggs in the bowl of your high-speed blender. Process these until the mixture is beautifully smooth, thick, and has a creamy orange consistency.
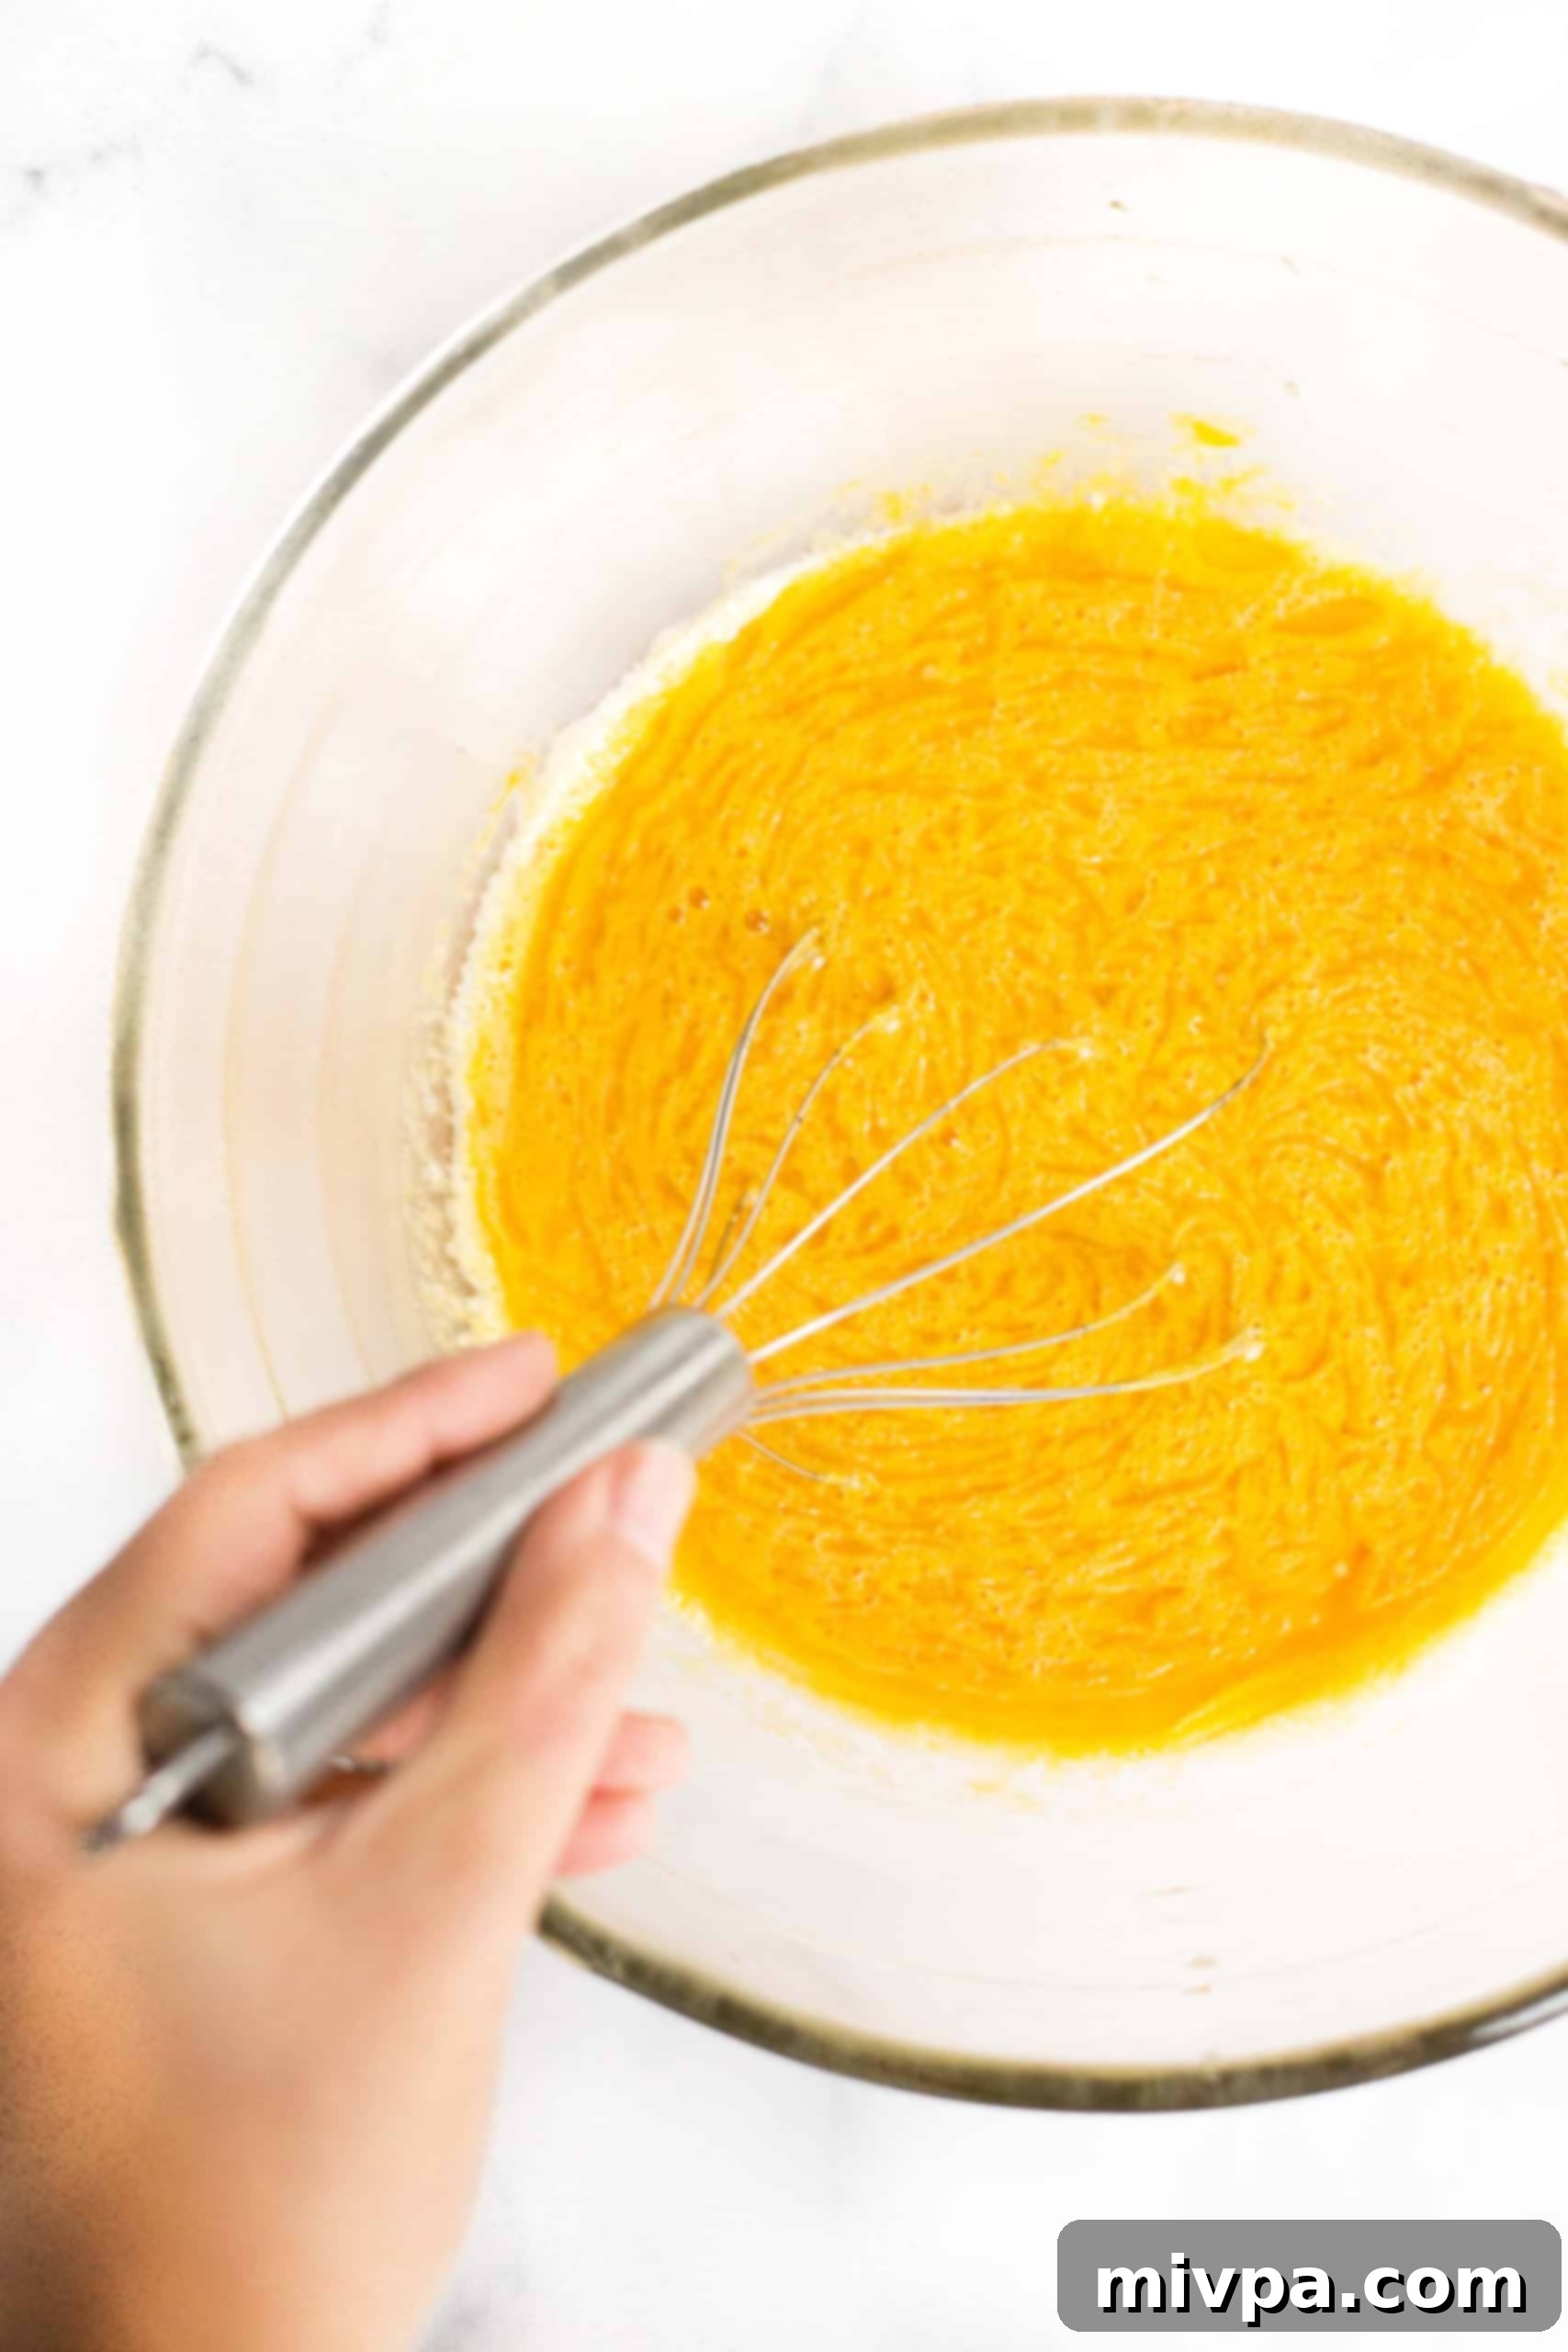
4. Incorporate Oil and Water
Transfer the smooth pumpkin-egg mixture into a separate large mixing bowl. Add the warm water and sunflower oil (or your chosen oil) to this mixture. Stir everything together well until you have a homogeneous orange liquid blend.
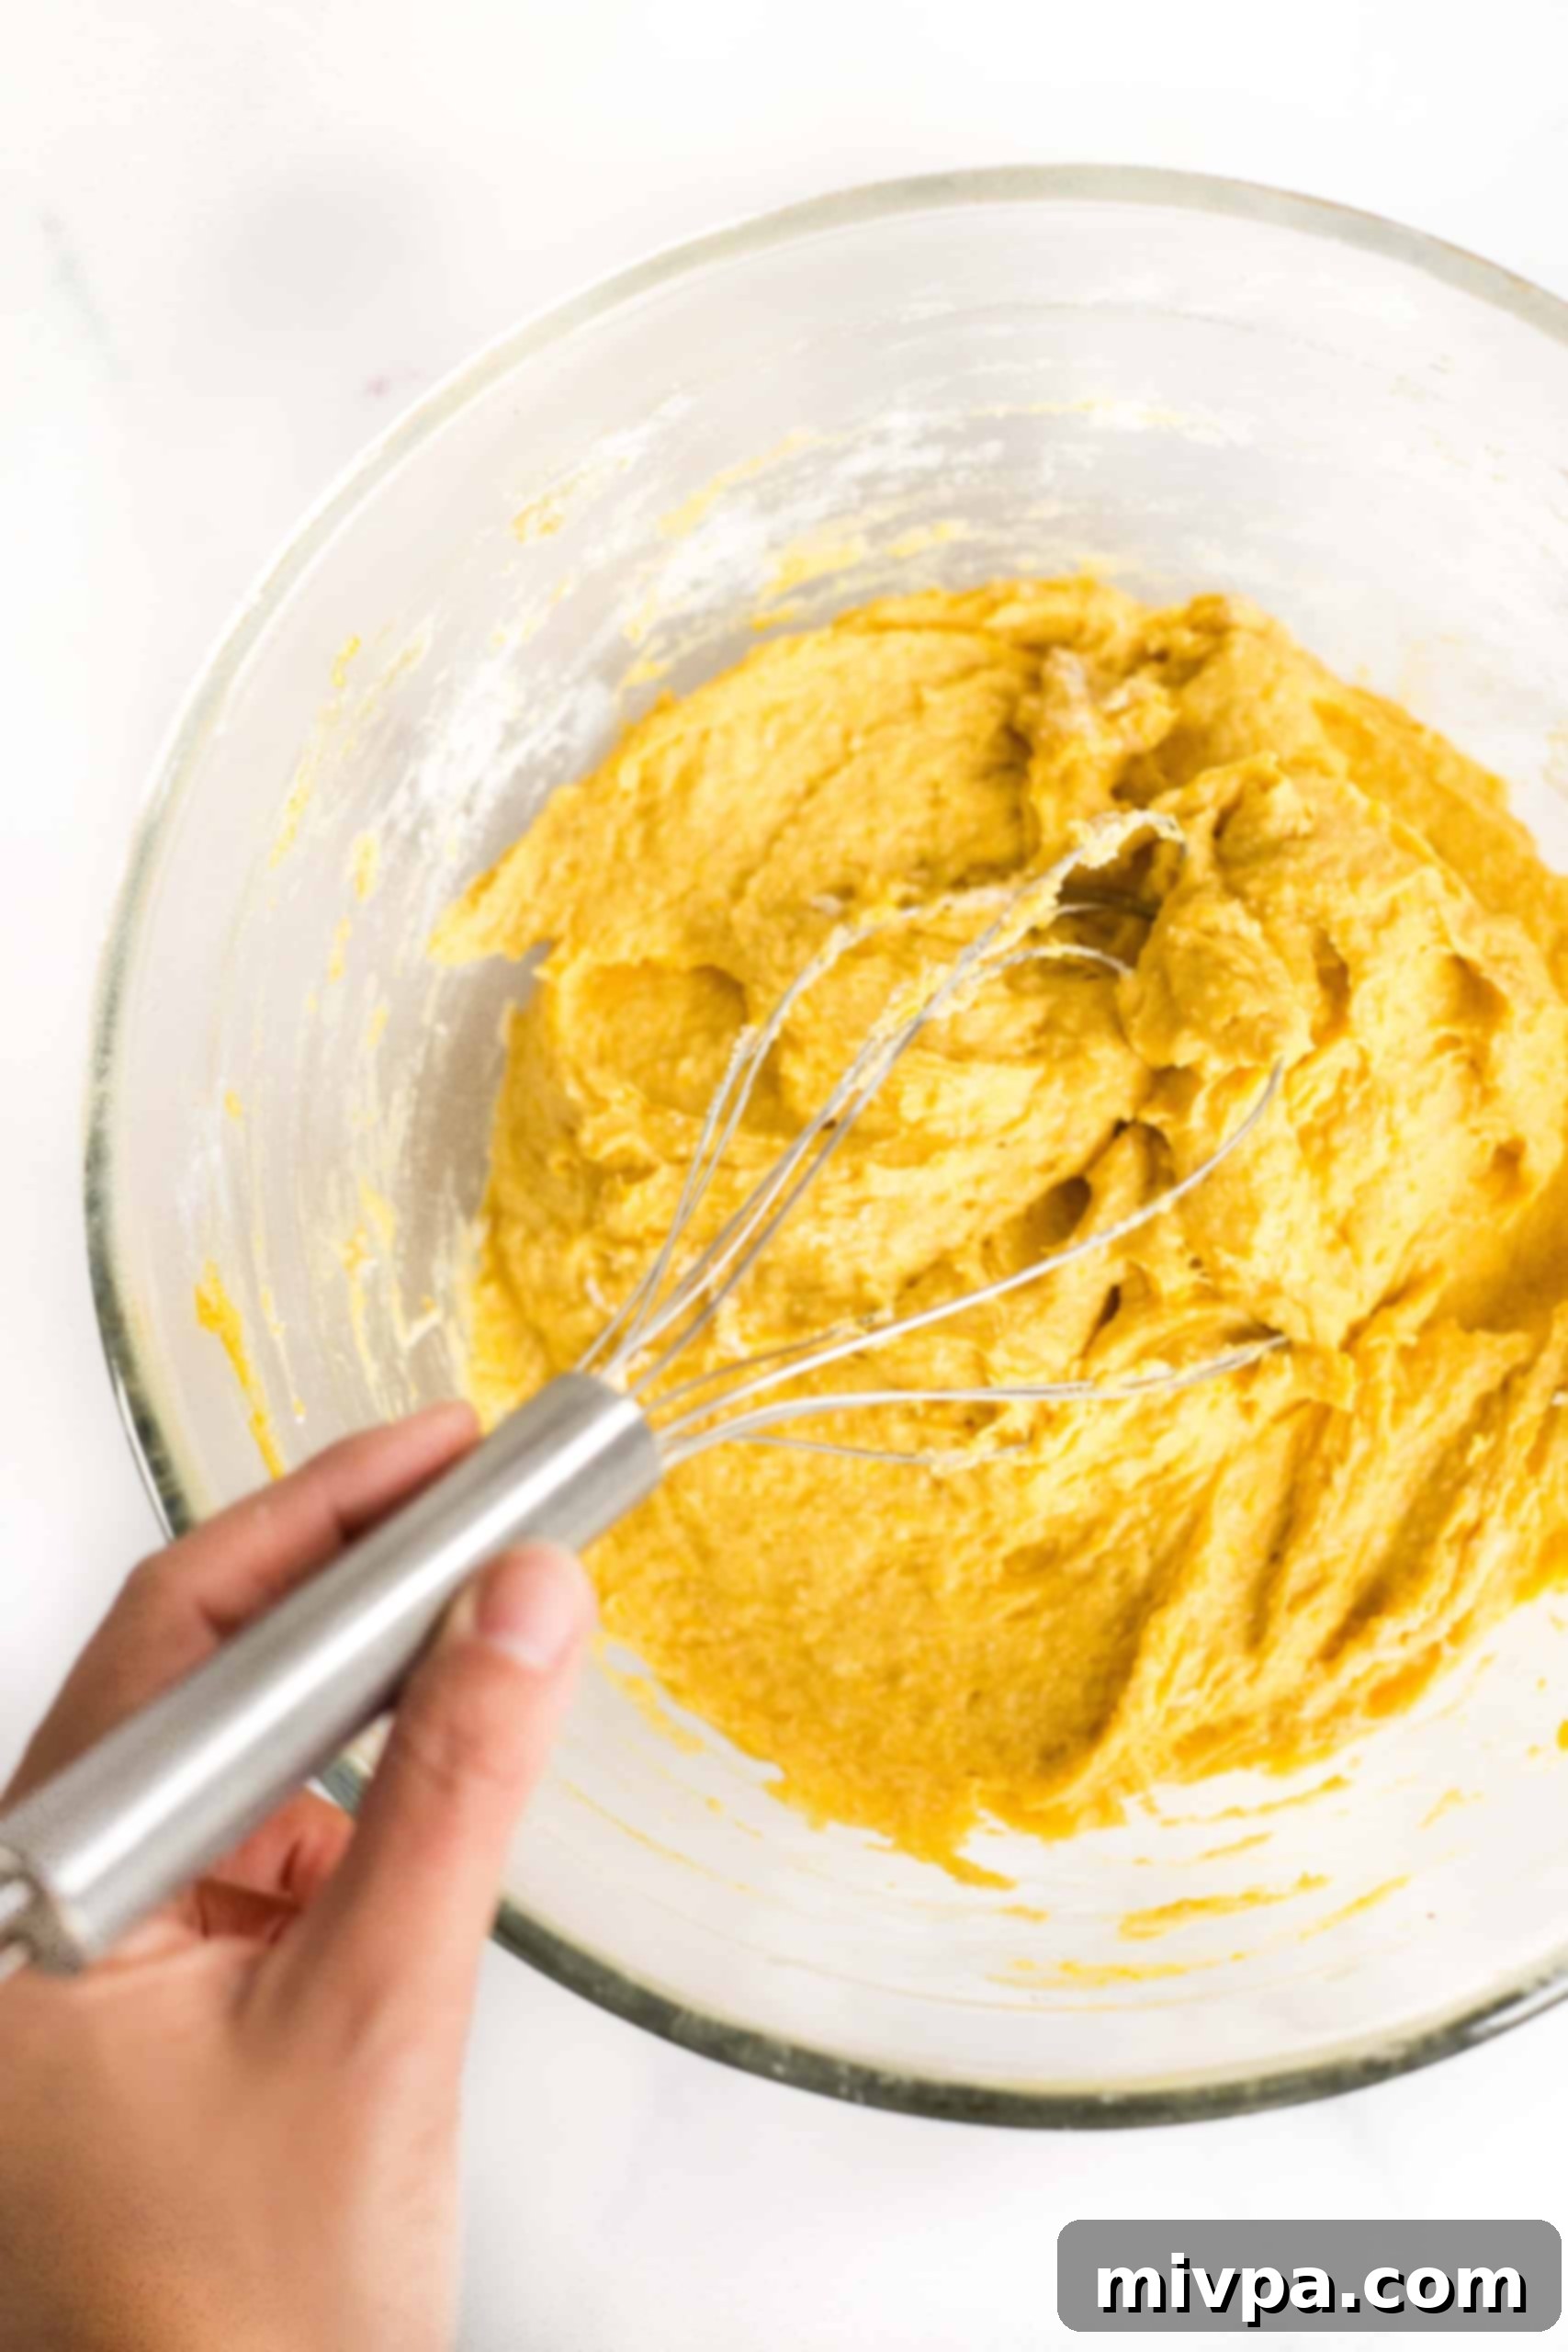
5. Combine Wet and Dry to Form Dough
Now, add the whisked dry ingredients into the large bowl containing the wet ingredients. Mix thoroughly until all components are well combined and you achieve a homogeneous dough. This dough will be quite wet and sticky, resembling a thick cake batter rather than traditional bread dough – this is exactly the correct consistency for these gluten-free rolls!
6. Shape the Dough into Rolls
Lightly oil your palms to prevent sticking. Using a regular ice cream scoop, scoop out portions of the dough. Gently roll each portion between your oiled palms to form smooth, uniform balls. You should yield approximately 12 perfectly shaped dinner rolls from this recipe.
7. Arrange on Baking Dish
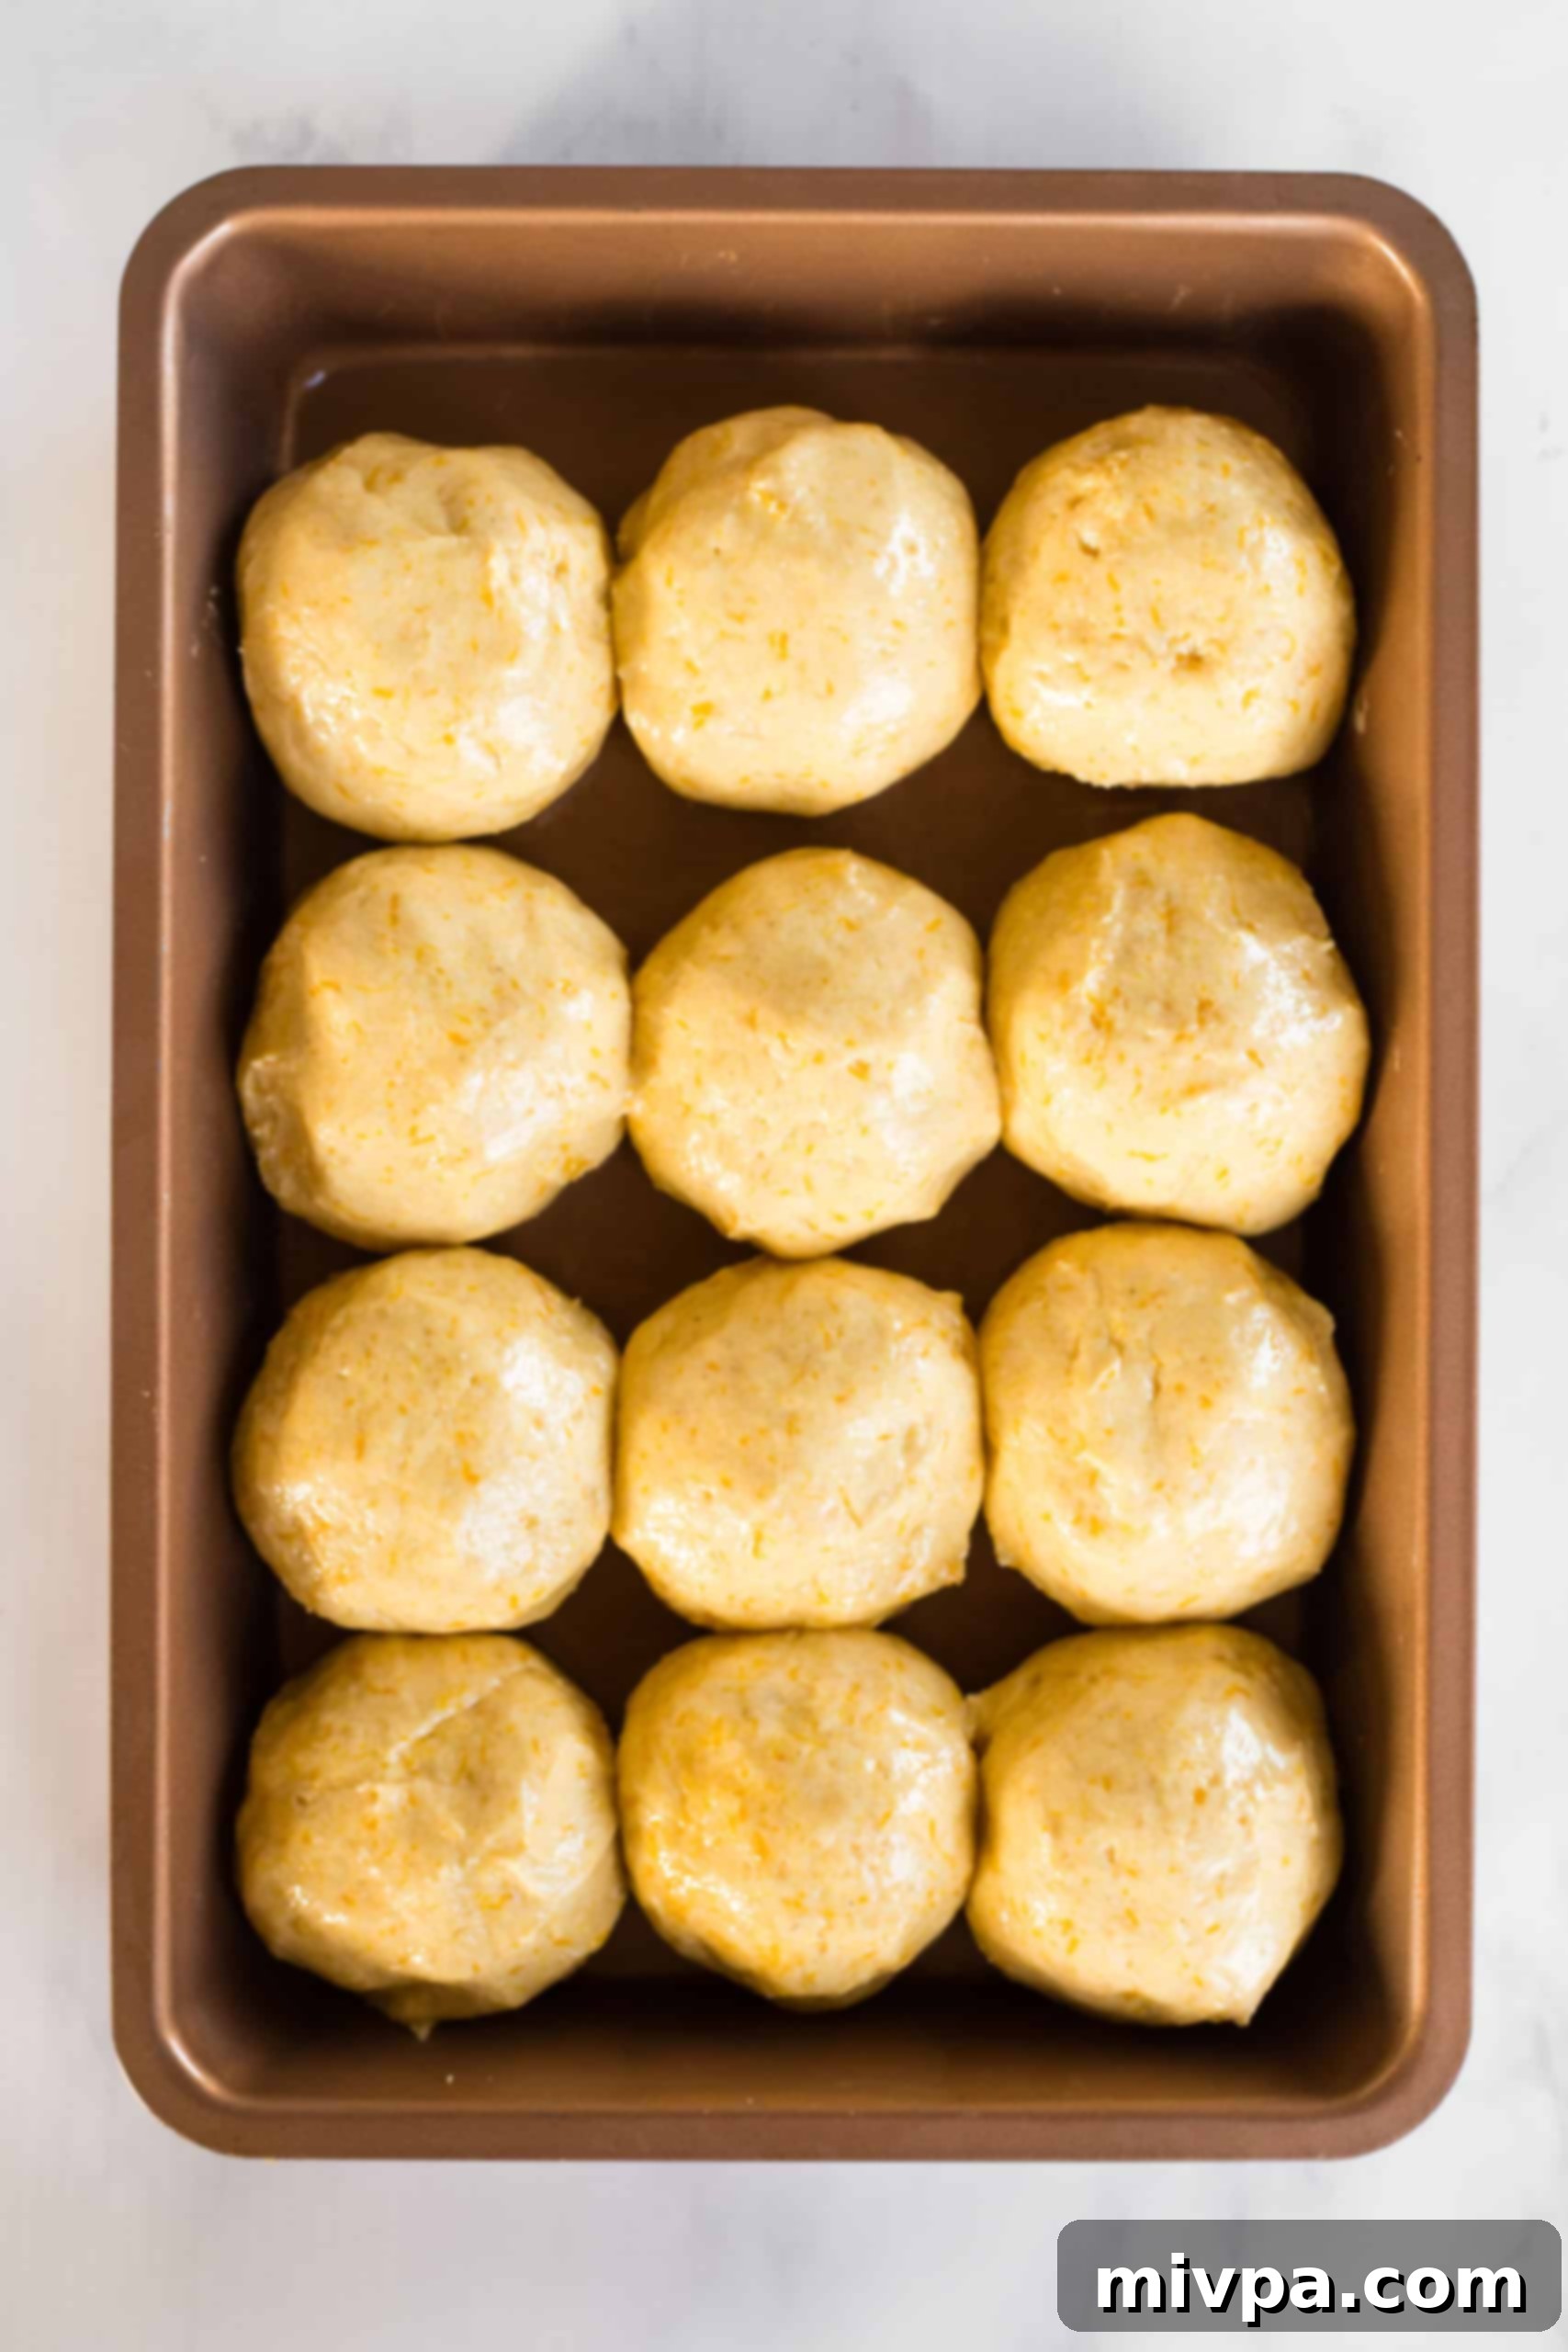
Carefully place the shaped dough balls in a single layer on your prepared baking dish. Position them so they are barely touching each other; they will expand slightly during the rising and baking process.
8. Allow the Dough to Rise
Cover the baking dish loosely with a clean kitchen towel. Place the covered dish in a warm, draft-free location and allow the dough to rise for approximately 1 hour. During this time, the dough will increase slightly in size, though it may not visibly double like traditional gluten-containing dough.
9. Preheat Your Oven
Towards the end of the rising period, preheat your oven to 350°F (175°C). Ensure your oven rack is positioned in the middle third for optimal baking.
10. Brush with Oil
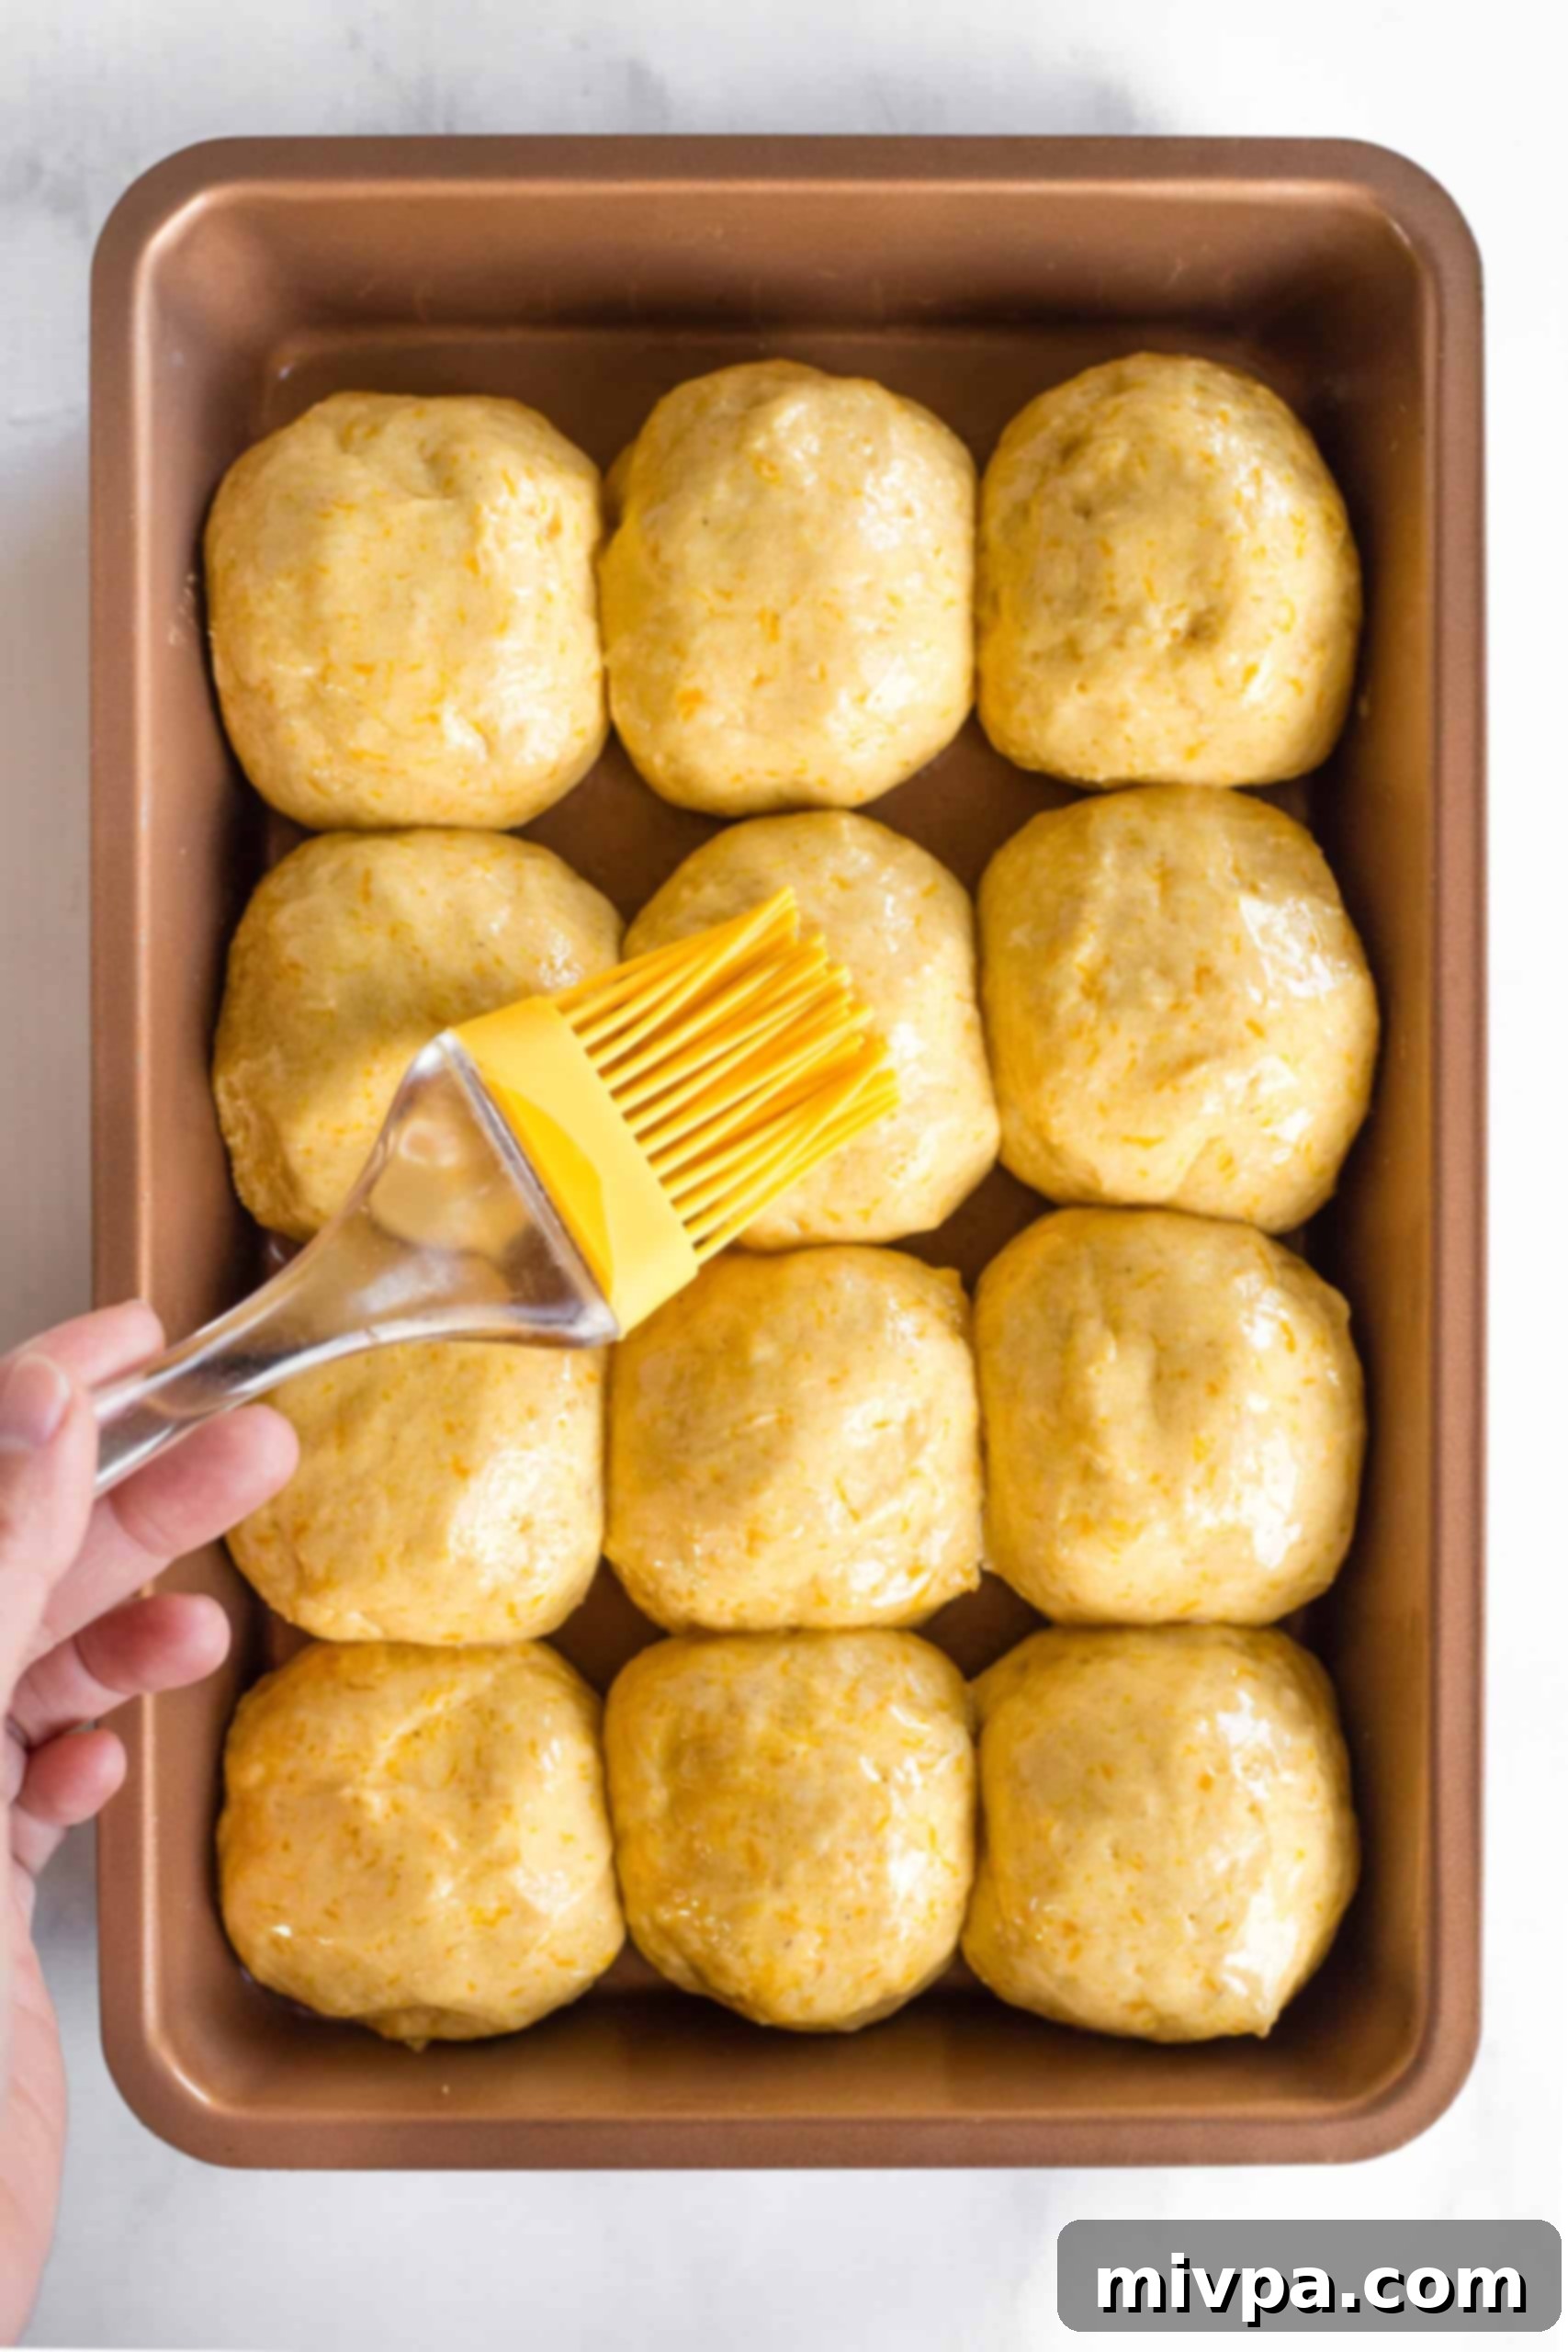
Once the dough has completed its rise, gently brush the tops of the dough balls with a little extra oil. This helps to create a beautiful golden crust and adds a touch of moisture.
11. Bake to Golden Perfection
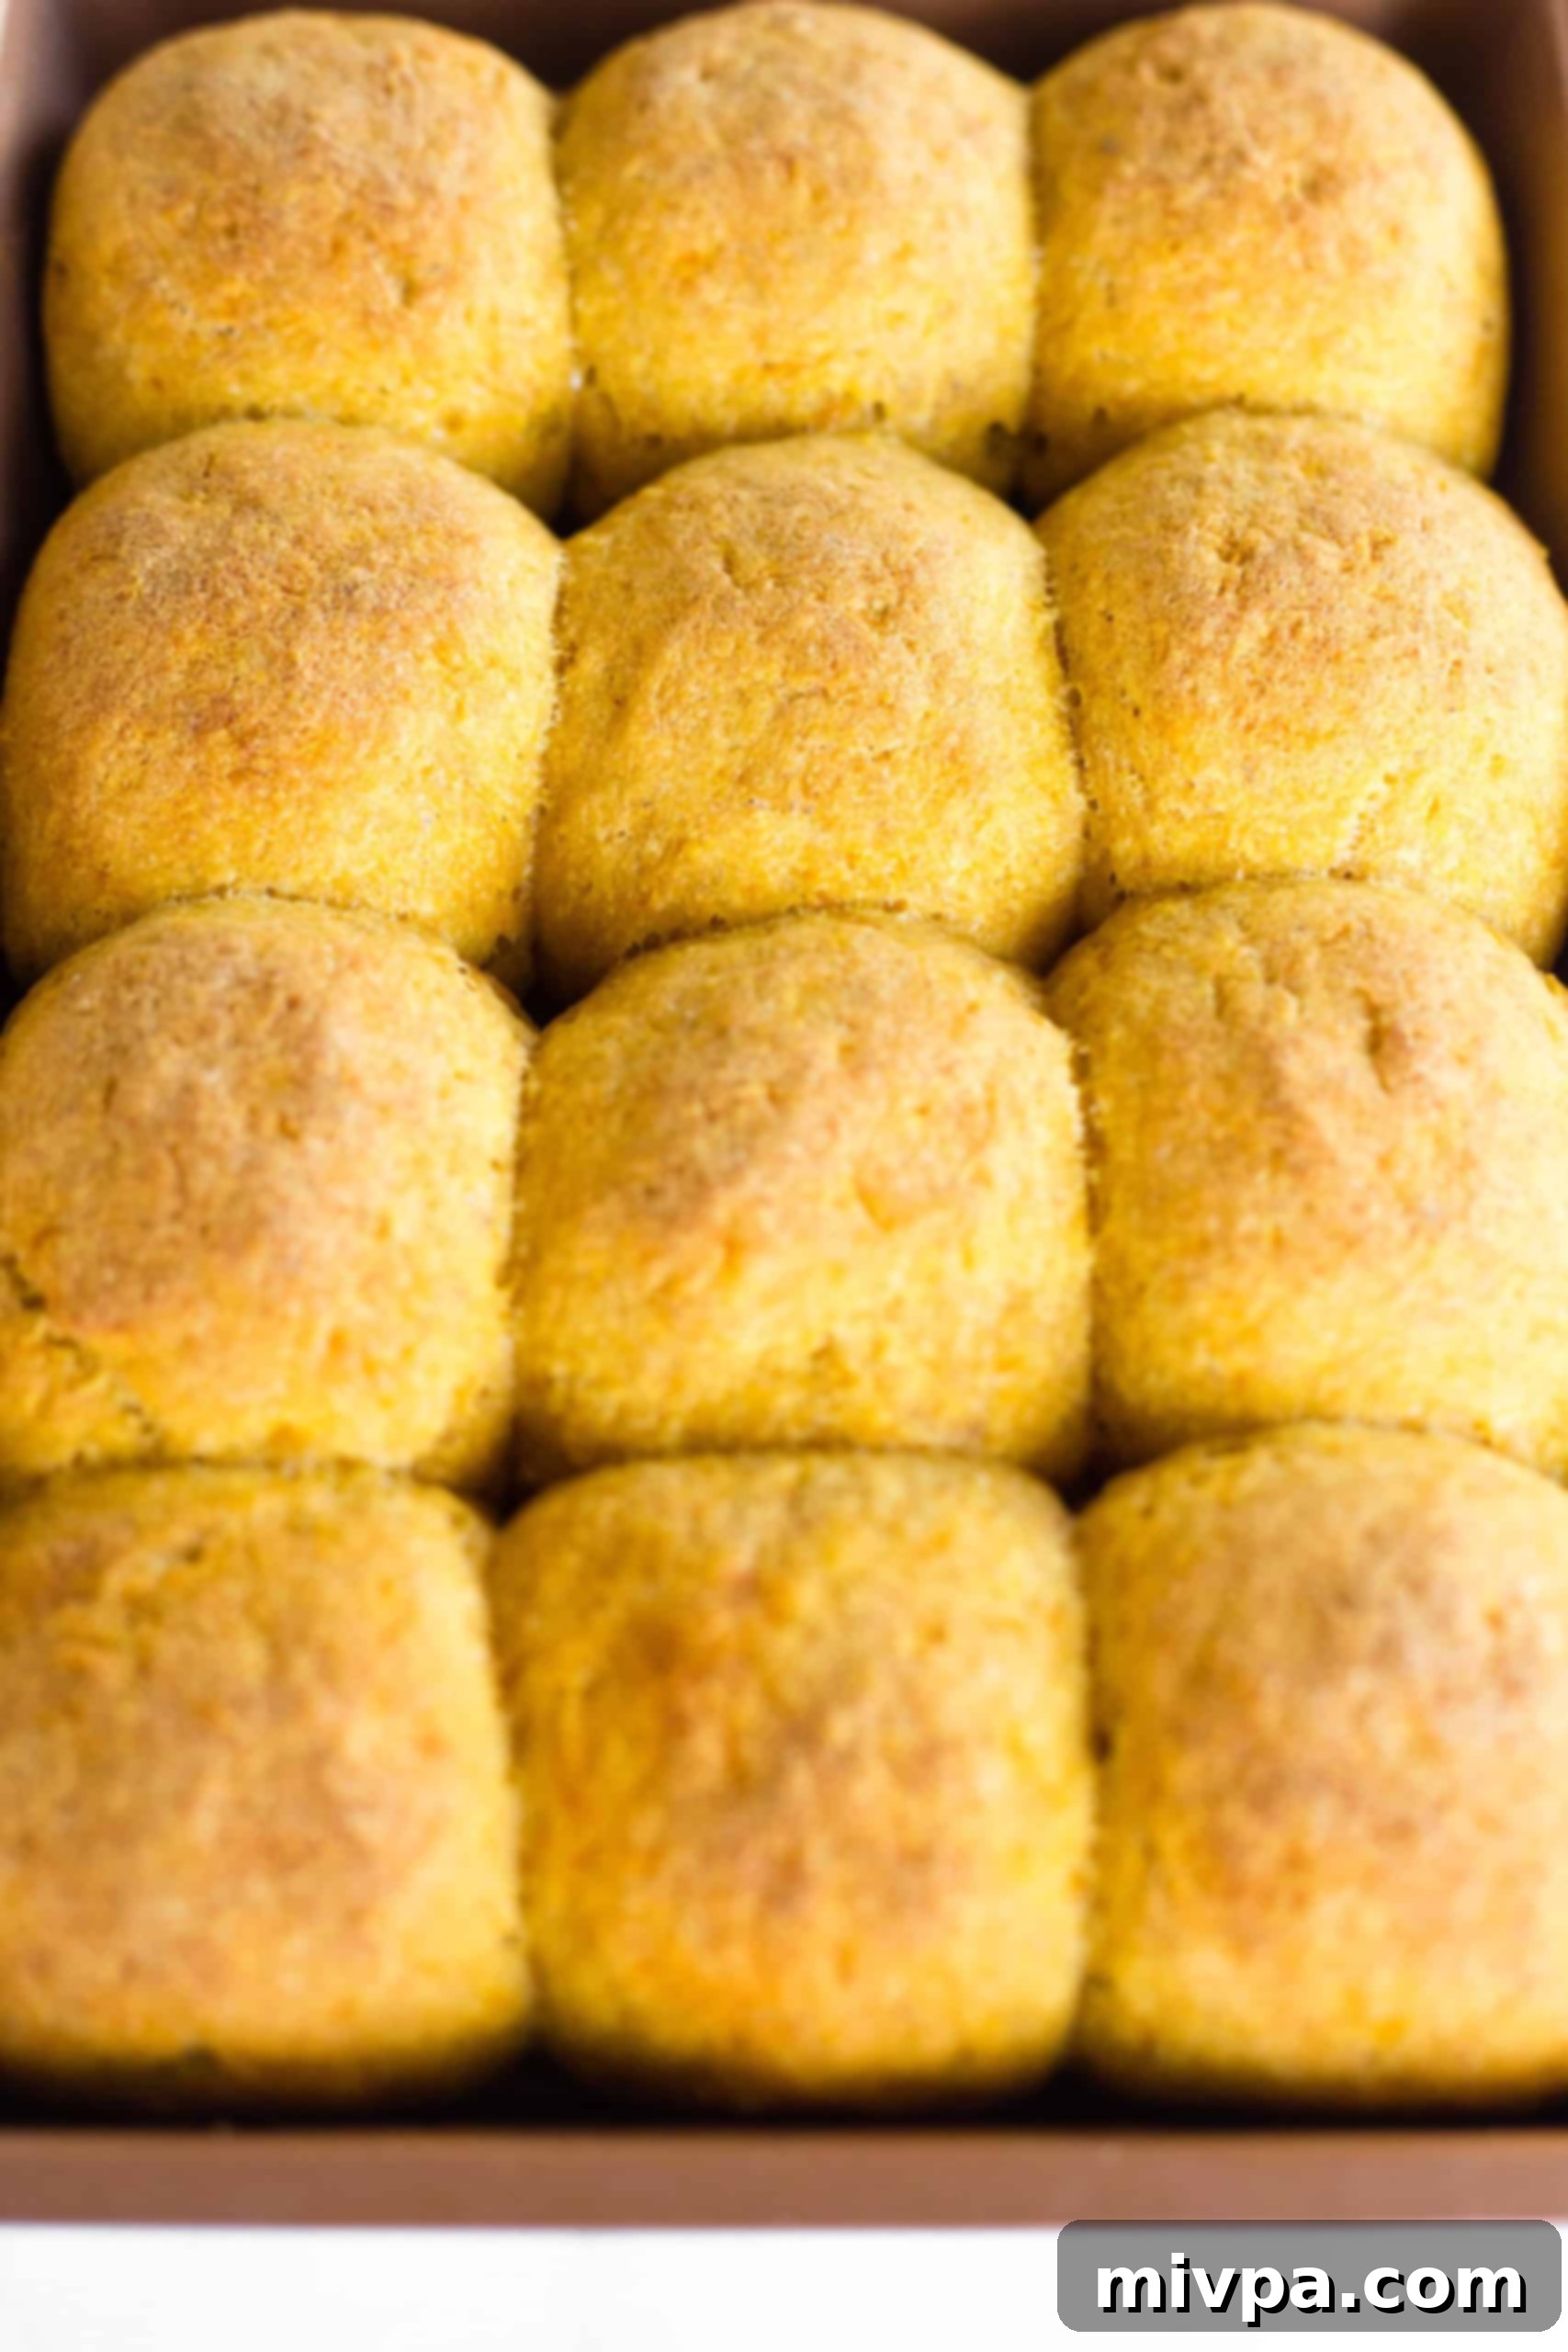
Place the baking dish in the preheated oven and bake for 30 to 40 minutes. The gluten-free pumpkin dinner rolls are ready when their tops are beautifully golden brown and they feel firm yet springy to the touch.
12. Final Touch and Serve Warm
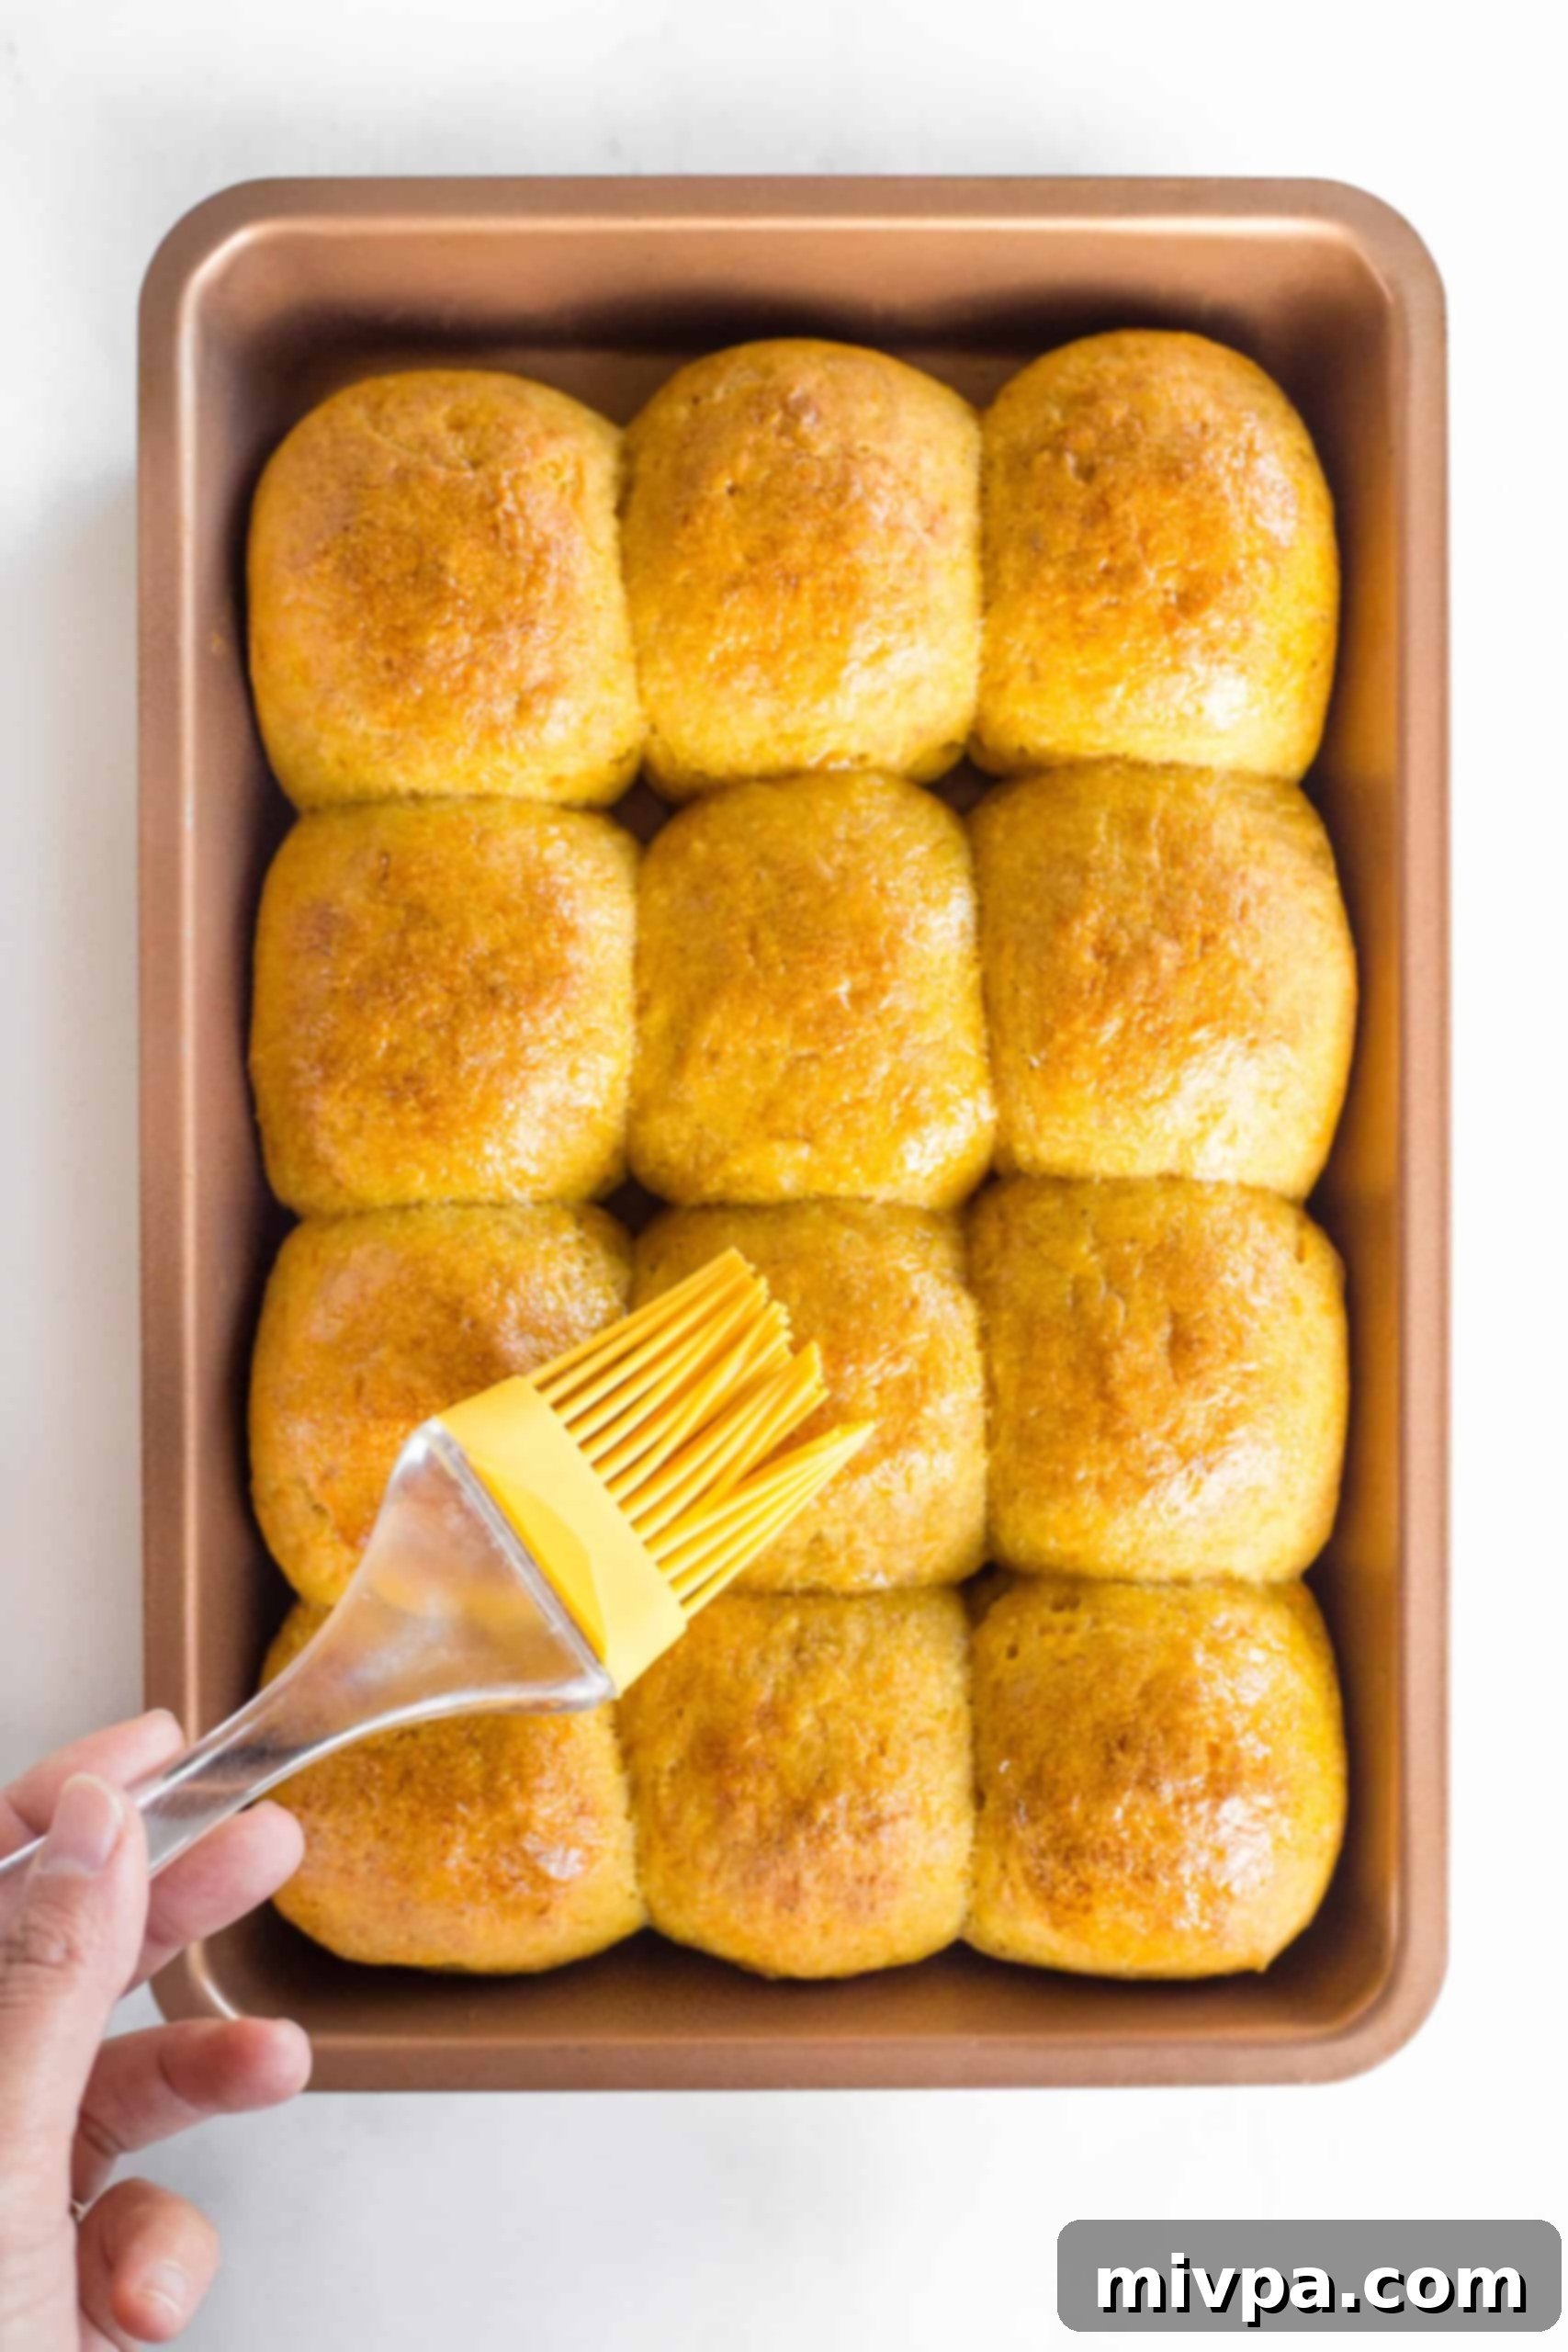
Immediately after removing the freshly baked dinner rolls from the oven, brush their tops with a little more oil. This adds a lovely sheen and further enhances their tenderness. Serve them warm and enjoy!
Dish by Dish Pro Tips & Creative Tricks:
Here are a couple of extra insights and ideas to make your gluten-free pumpkin roll experience even better:
- No Pumpkin Puree on Hand? No Problem! While pumpkin puree is ideal for its distinct flavor and color, this recipe is incredibly versatile. If you find yourself without pumpkin puree, or simply want to try a variation, you can easily substitute it with an equal amount of homemade butternut squash puree or sweet potato puree. Both offer a lovely sweetness and similar texture, resulting in equally delicious rolls.
- Transform Them into Bagels! Believe it or not, this remarkably adaptable dough can be used to create more than just dinner rolls! You can easily shape it into chewy, delightful gluten-free pumpkin bagels. Just follow the initial dough preparation steps, then shape into bagels, and proceed with boiling and baking instructions specific to bagels for another fantastic pumpkin-infused treat.
Frequently Asked Questions About These Pumpkin Rolls:
To maintain their freshness and tender texture, ensure the pumpkin dinner rolls have completely cooled down to room temperature. Once cooled, place them in an airtight container or wrap them securely in plastic wrap. Stored this way, they will keep beautifully in the refrigerator for up to 5 days. For best enjoyment, gently reheat them before serving.
Absolutely, these pumpkin rolls freeze wonderfully! To freeze them, first ensure they are completely cool. Then, wrap each dinner roll individually, or in small batches, in several layers of plastic wrap, followed by a layer of aluminum foil to prevent freezer burn. They can be frozen for up to 2 months. When you’re ready to enjoy them, simply reheat the frozen rolls in a preheated oven at 300°F (150°C) for a few minutes until they are thoroughly warmed through and soft again. This makes them perfect for meal prepping or having a quick side ready for unexpected guests.
More Delicious Pumpkin Recipes You’ll Adore:
If you’re as enchanted by pumpkin as we are, you’ll be thrilled to discover these other fantastic pumpkin-flavored creations:
- Mini Pumpkin Cheesecakes (Gluten-Free, Dairy-Free Option)
- Gluten-Free Chocolate Chip Pumpkin Bread (Dairy-Free)
- Gluten-Free Pumpkin Chocolate Chip Muffins (Dairy-Free)
- Easy Pumpkin Butter (Gluten-Free, Vegan)
More Gluten-Free Bread Recipes to Bake and Enjoy:
If you’re on a quest for more delightful gluten-free bread options, here are some other recipes that are sure to become new favorites in your kitchen:
- Easy Gluten-Free Drop Biscuits (Dairy-Free)
- Gluten-Free Vegan Bagels (Chewy and Tender!)
- Egg-Free Gluten-Free Bread (So Tender!)
- Easy Gluten-Free English Muffins (Dairy-Free)
P.S. If you try this recipe, I’d love for you to leave a star rating below, and/or a review in the comment section further down the page. Your feedback is invaluable to me! Be sure to explore my entire Recipe Index for all the delicious recipes available on the blog. You can also connect with me on Pinterest, Facebook, or Instagram! Don’t forget to sign up for my Email List to receive fresh, exciting recipes delivered straight to your inbox each week!
Print
Soft Gluten-Free Pumpkin Dinner Rolls (Dairy-Free)
5 Stars 4 Stars 3 Stars 2 Stars 1 Star
5 from 1 review
Author: Felicia Lim
Total Time: 2 hours
Yield: 12 dinner rolls
Diet: Gluten Free
Description
Soft, tender, and incredibly moist, these gluten-free pumpkin dinner rolls are an absolute essential for your Thanksgiving dinner and festive Christmas table! Infused with the delightful flavor of pumpkin and boasting a beautiful, vibrant orange hue, these delicious rolls are perfectly suited for the joyous holiday season. What’s more, they are completely dairy-free, yet so remarkably delicious that no one will even notice! Don’t hesitate – bake a batch today and enjoy the taste of homemade perfection.
Ingredients
Units
Scale
- 1 cup pumpkin puree
- 2 large eggs, beaten
- 1 cup warm water (between 105 and 115F)
- 1/4 cup sunflower oil, plus more for brushing
- 3 cups gluten-free all-purpose flour
- 1 teaspoon xanthan gum (omit if your gluten-free flour blend already includes it)
- 1 teaspoon baking powder
- 1/4 teaspoon salt
- 2 tablespoons psyllium husk powder
- 2 1/4 teaspoons instant yeast
- 1 tablespoon sugar
Instructions
- Grease and Line: Prepare your baking vessel by generously greasing a 7″ x 10″ non-stick baking dish. For even easier cleanup, you may also line it with parchment paper.
- Whisk Dry Ingredients: In a large mixing bowl, meticulously sift together the gluten-free all-purpose flour, xanthan gum (if required), baking powder, salt, psyllium husk powder, instant yeast, and sugar. Use a whisk to blend these ingredients thoroughly until well combined.
- Process Pumpkin and Eggs: Place the pumpkin puree and beaten eggs into the bowl of your high-speed blender. Process on high until you achieve a thick, smooth, and creamy orange mixture.
- Combine Wet Ingredients: Transfer the blended pumpkin-egg mixture to a large mixing bowl. Add the warm water and sunflower oil. Mix everything well until you have a uniformly orange liquid mixture.
- Form the Dough: Gradually add the whisked dry ingredients to the large bowl containing the wet ingredients. Mix until thoroughly combined and you achieve a homogeneous dough. Remember, this gluten-free dough will be wet and sticky, resembling cake batter more than traditional bread dough, and that’s precisely the texture you are looking for.
- Shape Dough into Balls: Lightly oil your palms to prevent sticking. Using a regular ice cream scoop, scoop out portions of dough. Gently roll each portion between your oiled hands to form smooth, round balls. This recipe should yield approximately 12 uniform dinner rolls.
- Place Balls on Baking Dish: Arrange the shaped dough balls in a single layer on your prepared baking dish. Position them so they are just barely touching each other, allowing for slight expansion during rising and baking.
- Let Dough Rise: Cover the baking dish with a clean kitchen towel. Allow the dough to rise in a warm, draft-free place for approximately 1 hour. The dough will increase slightly in volume, though it may not double in size like traditional yeast dough.
- Preheat Oven: As the dough nears the end of its rising time, preheat your oven to 350°F (175°C). Adjust the oven rack to the middle third position.
- Brush with Oil: Once the dough has risen, gently brush the tops of the dough balls with a little extra oil. This will contribute to a lovely golden crust.
- Bake Until Golden: Place the baking dish in the preheated oven and bake for 30 to 40 minutes, or until the gluten-free pumpkin dinner rolls are beautifully golden brown on top and cooked through.
- Brush with More Oil and Serve: As soon as the rolls come out of the oven, brush their tops with a bit more oil for a perfect finish and added tenderness. Serve these delicious rolls warm and enjoy!
Notes
Pumpkin Puree: For the best flavor, I highly recommend using fresh homemade pumpkin puree, especially when pumpkins are in season. It’s incredibly easy to make! If opting for convenience, canned pumpkin puree is perfectly fine, but double-check that you are buying pure pumpkin puree and not pumpkin pie filling (which is pre-spiced and sweetened).
Eggs: Eggs are vital for binding and structure in this gluten-free recipe. Do not omit them. If you need to avoid yolks, you can substitute 2 whole eggs with 4 egg whites. For those with egg allergies, while I haven’t tested it myself, alternatives like aquafaba or a commercial egg-replacer might work (follow their specific instructions). If you try an egg-free version, please let me know your results in the comments!
Warm Water: The water temperature is crucial for yeast activation. It should be between 105 to 115°F (40-46°C). Water that is too cold will inhibit yeast activity, while water that is too hot will kill it. For an richer flavor, you can substitute warm non-dairy milk (such as almond milk, cashew milk, rice milk, soy milk, or oat milk). If dairy isn’t an issue, warm regular milk is also a suitable alternative.
Sunflower Oil: I typically use a neutral-flavored sunflower oil. Other excellent substitutes include melted vegan butter, olive oil, melted coconut oil, or avocado oil. If you can consume dairy, melted butter or ghee can also be used.
Gluten-Free All-Purpose Flour: For the best light and fluffy texture, choose a high-quality gluten-free all-purpose flour blend that contains lighter starches like rice flour, tapioca starch, potato starch, and corn starch. Avoid blends heavy in bean flours (e.g., garbanzo bean flour) as they can result in a denser product.
Xanthan Gum: This ingredient is crucial for replacing the elasticity of gluten, ensuring your rolls bind together well and aren’t crumbly. Only omit xanthan gum if it’s already listed in your chosen gluten-free flour blend.
Baking Powder: Along with the yeast, baking powder helps achieve an even better rise and a softer crumb. If you have Celiac disease or gluten intolerance, ensure you use certified gluten-free baking powder.
Psyllium Husk Powder: For superior structure and binding power in gluten-free yeast breads, psyllium husk powder is highly recommended. It makes a noticeable difference in texture and workability. Ensure you use the powdered form. If you only have whole psyllium husks, you can easily grind them into powder using a coffee grinder or a high-speed blender.
Instant Yeast: My preference is instant yeast as it doesn’t require prior activation and can be mixed directly with dry ingredients. If using active dry yeast, activate it first by mixing it with warm water and sugar, letting it sit for 5 minutes until foamy.
Sugar: Sugar is the essential “food” for the yeast to activate and rise. While white sugar works perfectly, you can also experiment with light brown sugar, dark brown sugar, or coconut sugar for subtle flavor variations.
Storing & Freezing: To store, allow the pumpkin dinner rolls to cool completely. Place them in an airtight container or wrap them tightly in plastic wrap, then refrigerate for up to 5 days. For longer storage, wrap the cooled rolls in several layers of plastic wrap and freeze for up to 2 months. Reheat frozen rolls in the oven at 300°F (150°C) for a few minutes until warm and soft before serving.
- Prep Time: 20 mins
- Rising Time: 1 hour
- Cook Time: 40 mins
- Category: Bread
- Method: Baking
- Cuisine: American
