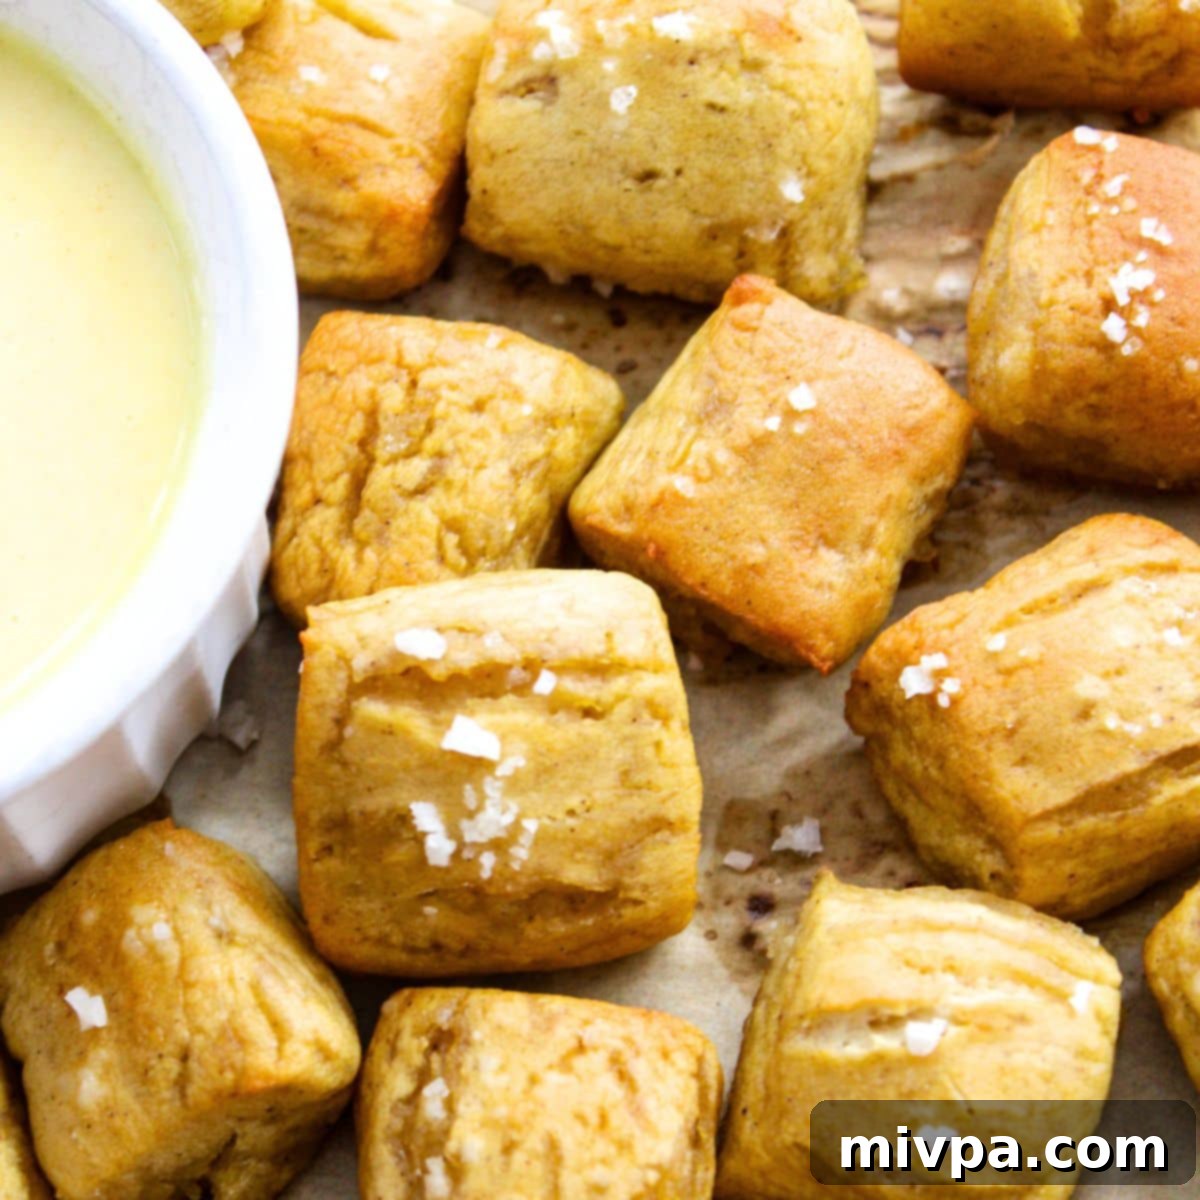
Homemade Gluten-Free Soft Pretzel Bites: Your Easy & Delicious Dairy-Free Recipe
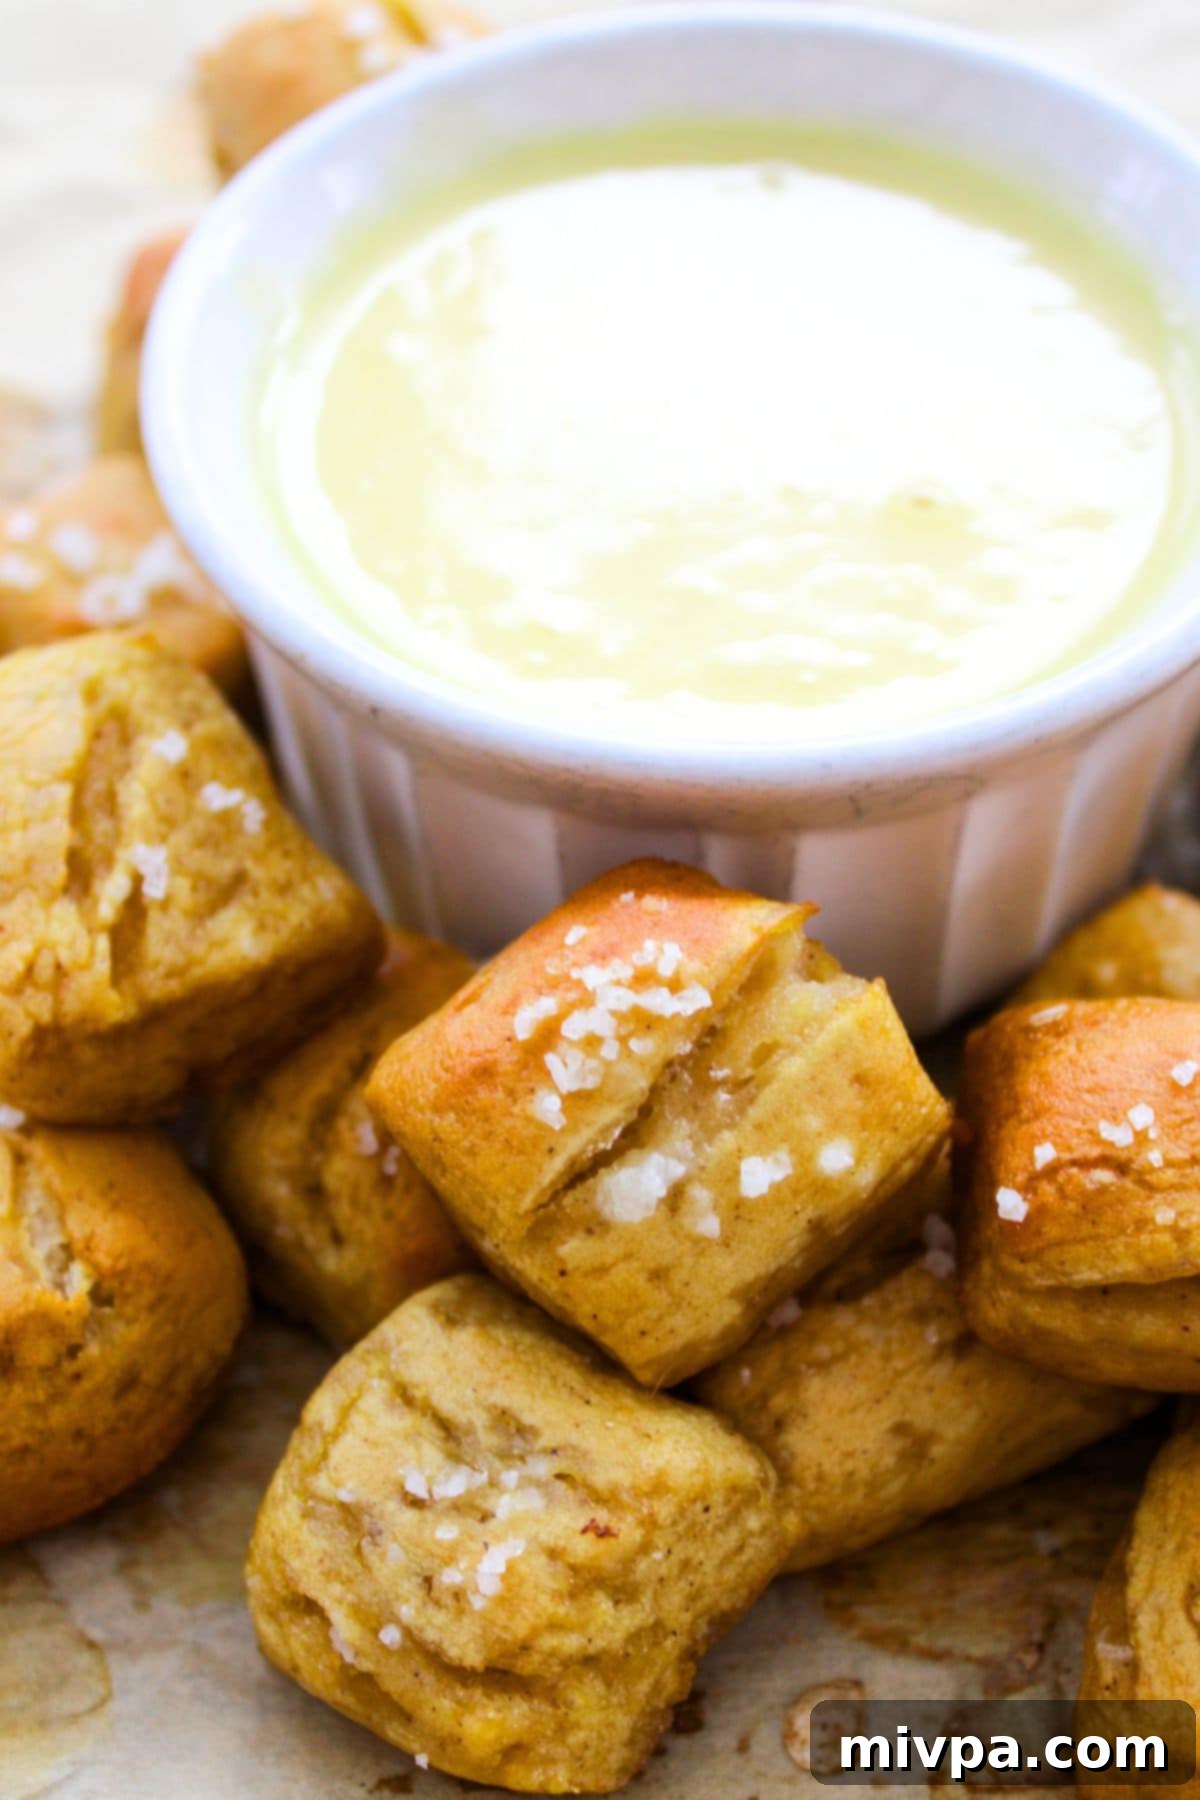
Indulge in the irresistible taste and chewy texture of our homemade gluten-free soft pretzel bites! This recipe offers a convenient, bite-sized version of our beloved gluten-free pretzels, perfect for any occasion. Golden brown, generously sprinkled with salt, and utterly satisfying, these little nuggets are ideal for snacking with a creamy cheese sauce or a tangy mustard. Plus, they can be easily adapted to be completely dairy-free, ensuring everyone can enjoy this delightful treat.
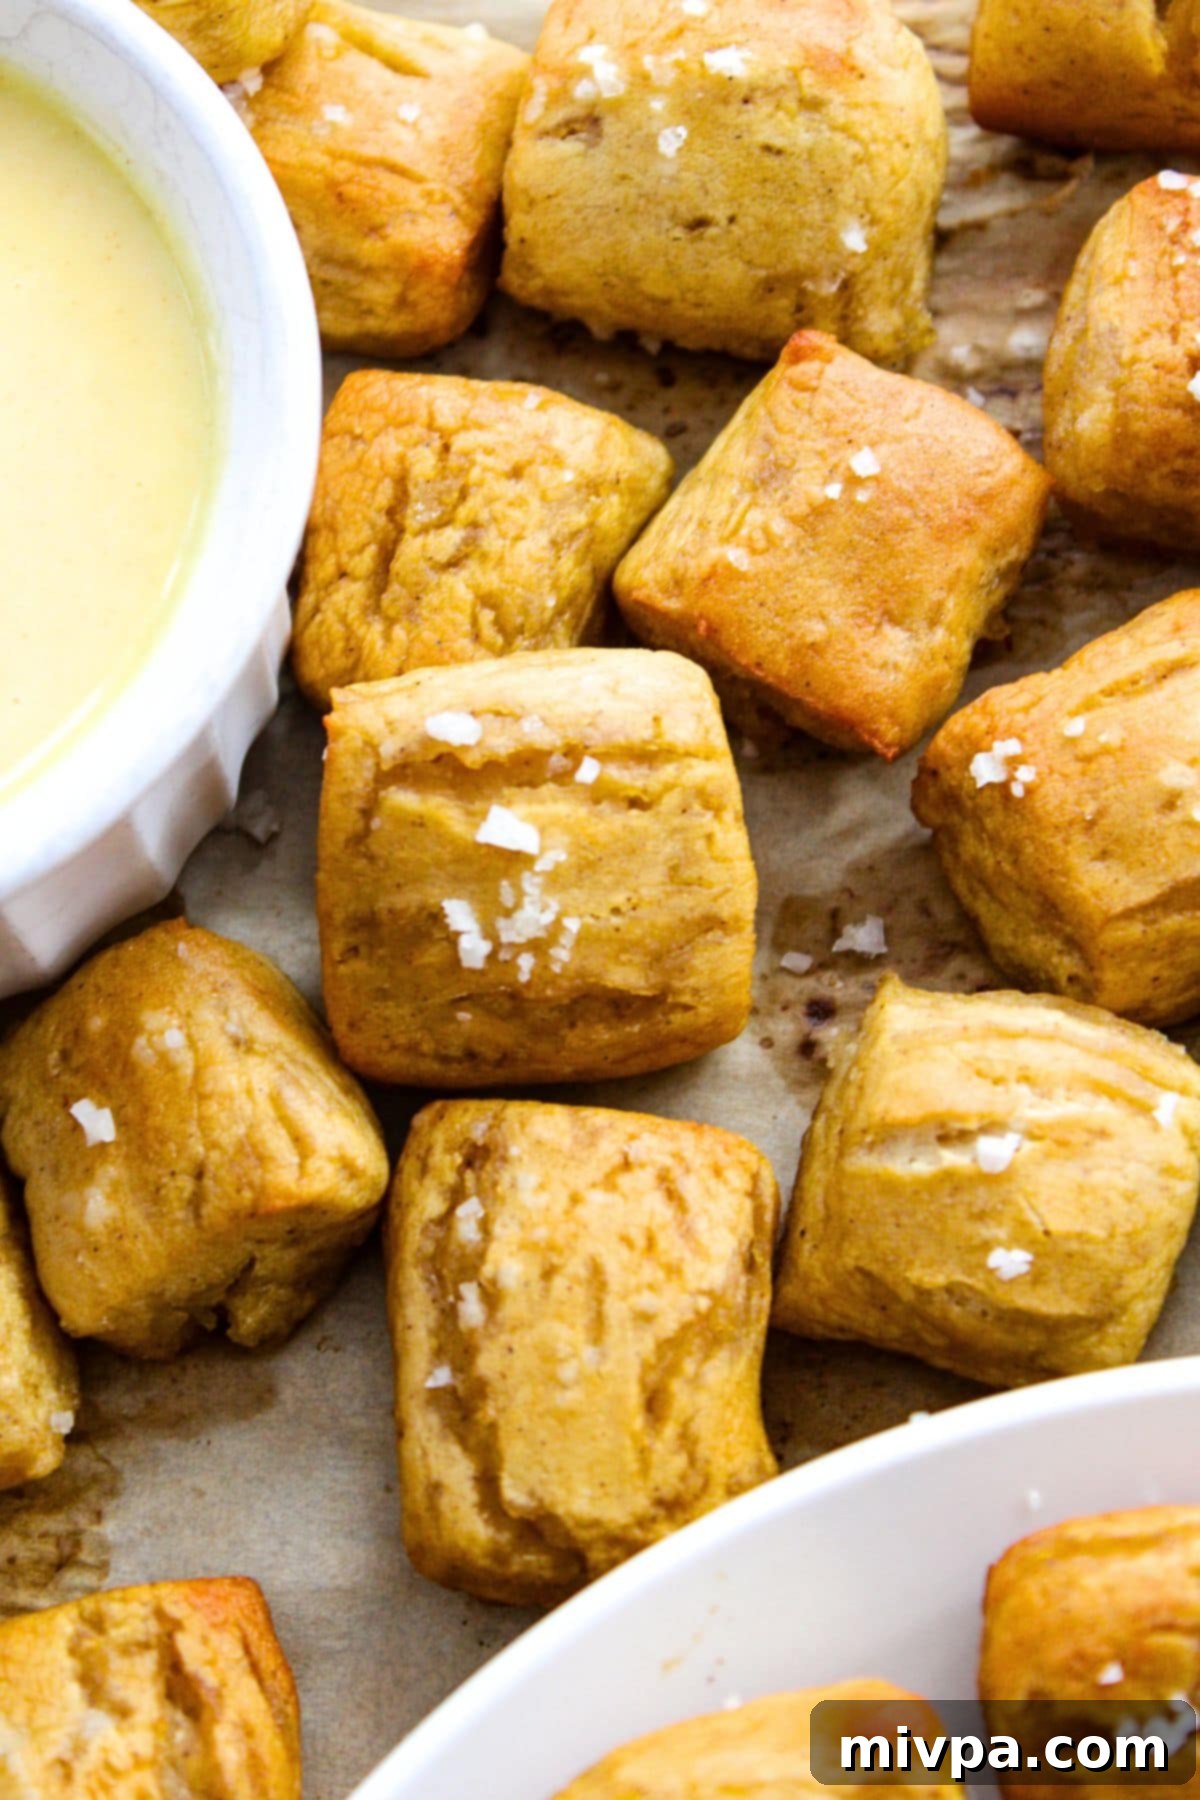
Irresistibly Chewy Pretzel Bites: The Ultimate Delicious Snack
Who doesn’t love a classic soft pretzel 🥨? After the incredible popularity of our easy homemade gluten-free soft pretzels, we knew we had to bring you an even simpler, more shareable version: pretzel bites! These small, savory morsels are incredibly addictive and make for a fantastic snack or appetizer.
These soft gluten-free pretzel bites boast a wonderfully chewy texture and a savory flavor that will have everyone reaching for more. Best of all, they’re surprisingly easy to make and include a dairy-free option, ensuring that these delectable treats are accessible to all.
Whether you’re hosting a game day party, celebrating the Super Bowl, or simply battling an afternoon craving, these homemade soft pretzel nuggets are the perfect solution. They pair exceptionally well with your favorite dips, from creamy cheese sauce to spicy mustard. Prepare to be amazed – you won’t believe they’re gluten-free!
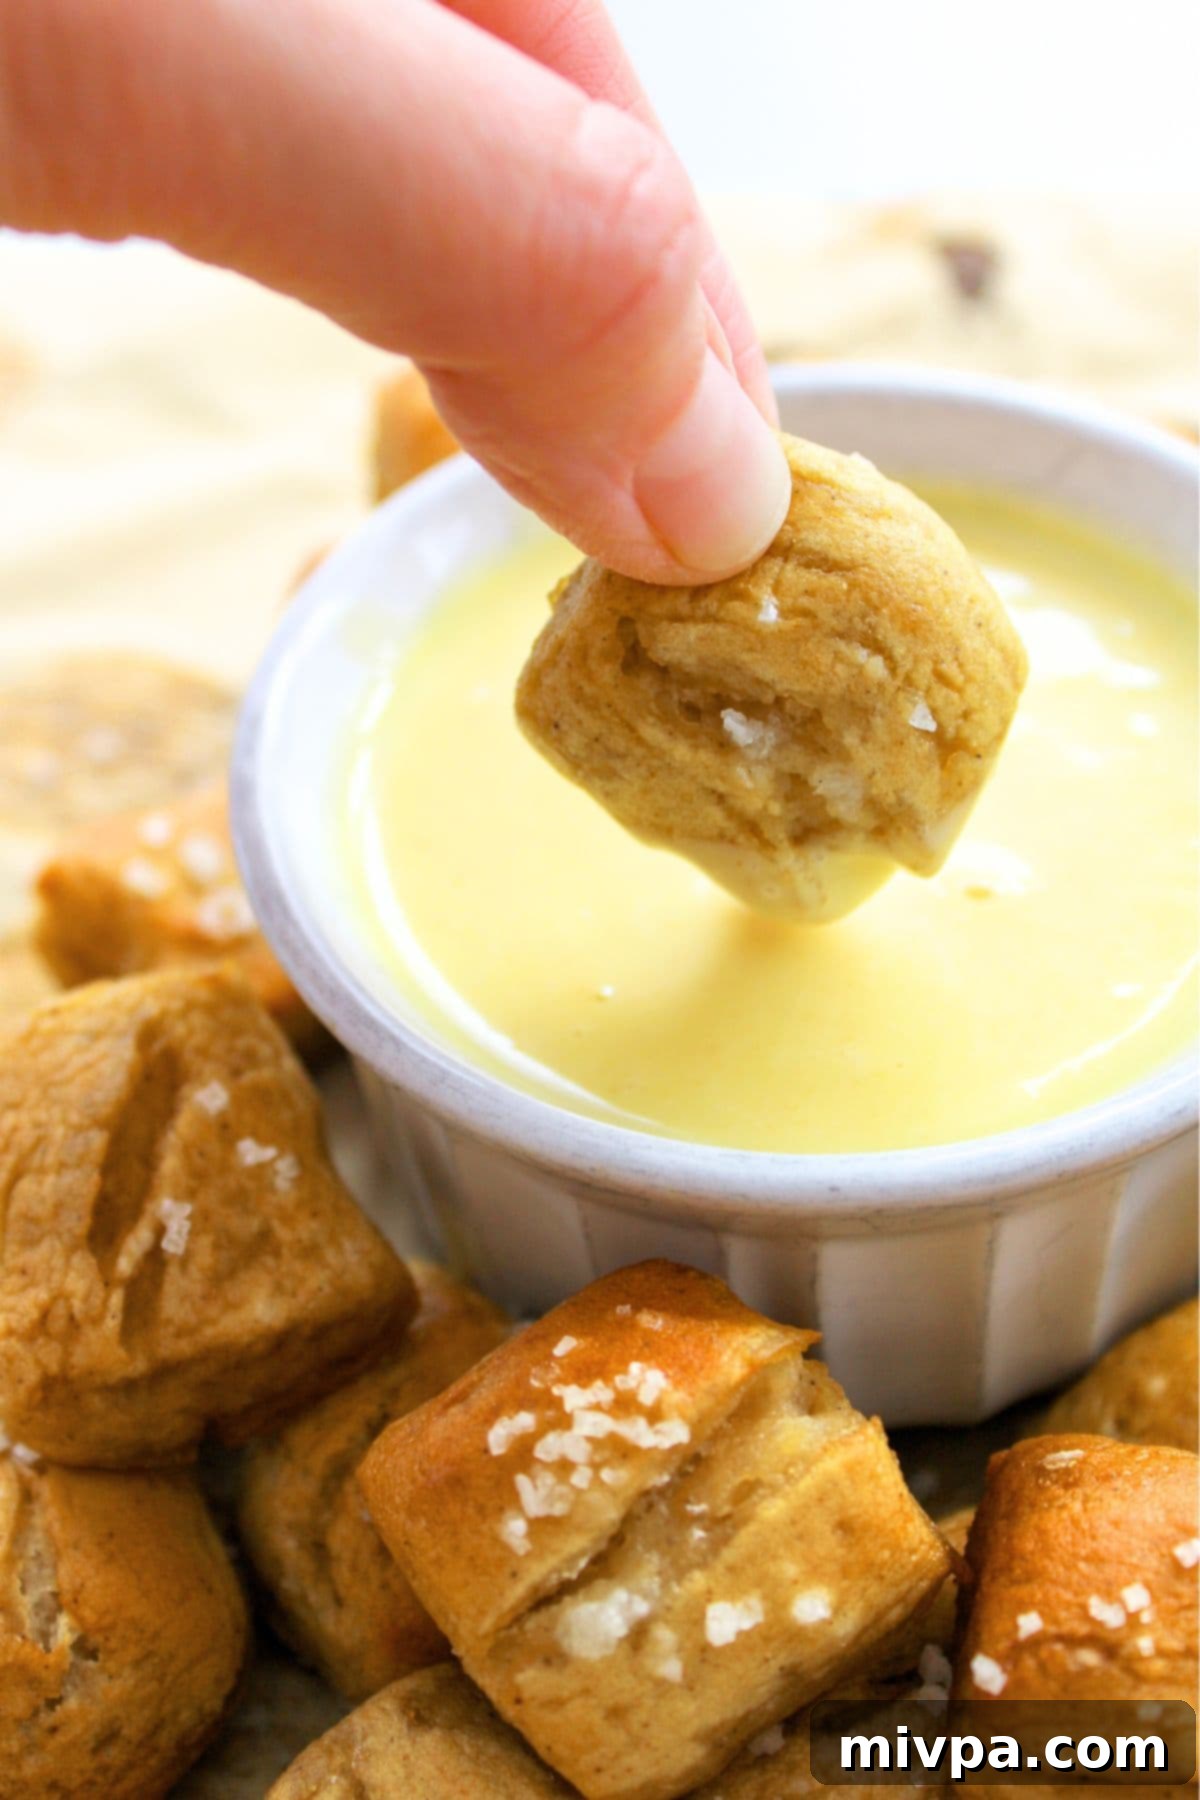
Why This Gluten-Free Pretzel Bites Recipe Will Become Your Favorite:
Our gluten-free soft pretzel bites aren’t just delicious; they’re also designed for ease and enjoyment. Here’s why this recipe stands out and why you’ll absolutely adore making them:
- Simple, Accessible Ingredients: Forget specialty stores or hard-to-find items! The main ingredients required for these gluten-free pretzel bites are readily available at any local grocery store. We prioritize using common pantry staples to make your baking experience as stress-free as possible.
- Effortless Preparation: Unlike traditional pretzels that require careful shaping, this recipe streamlines the process. Instead of intricate knots, you’ll simply roll the dough into long ropes and cut them into perfectly bite-sized pieces. This significantly reduces prep time and makes the recipe much more approachable for bakers of all skill levels.
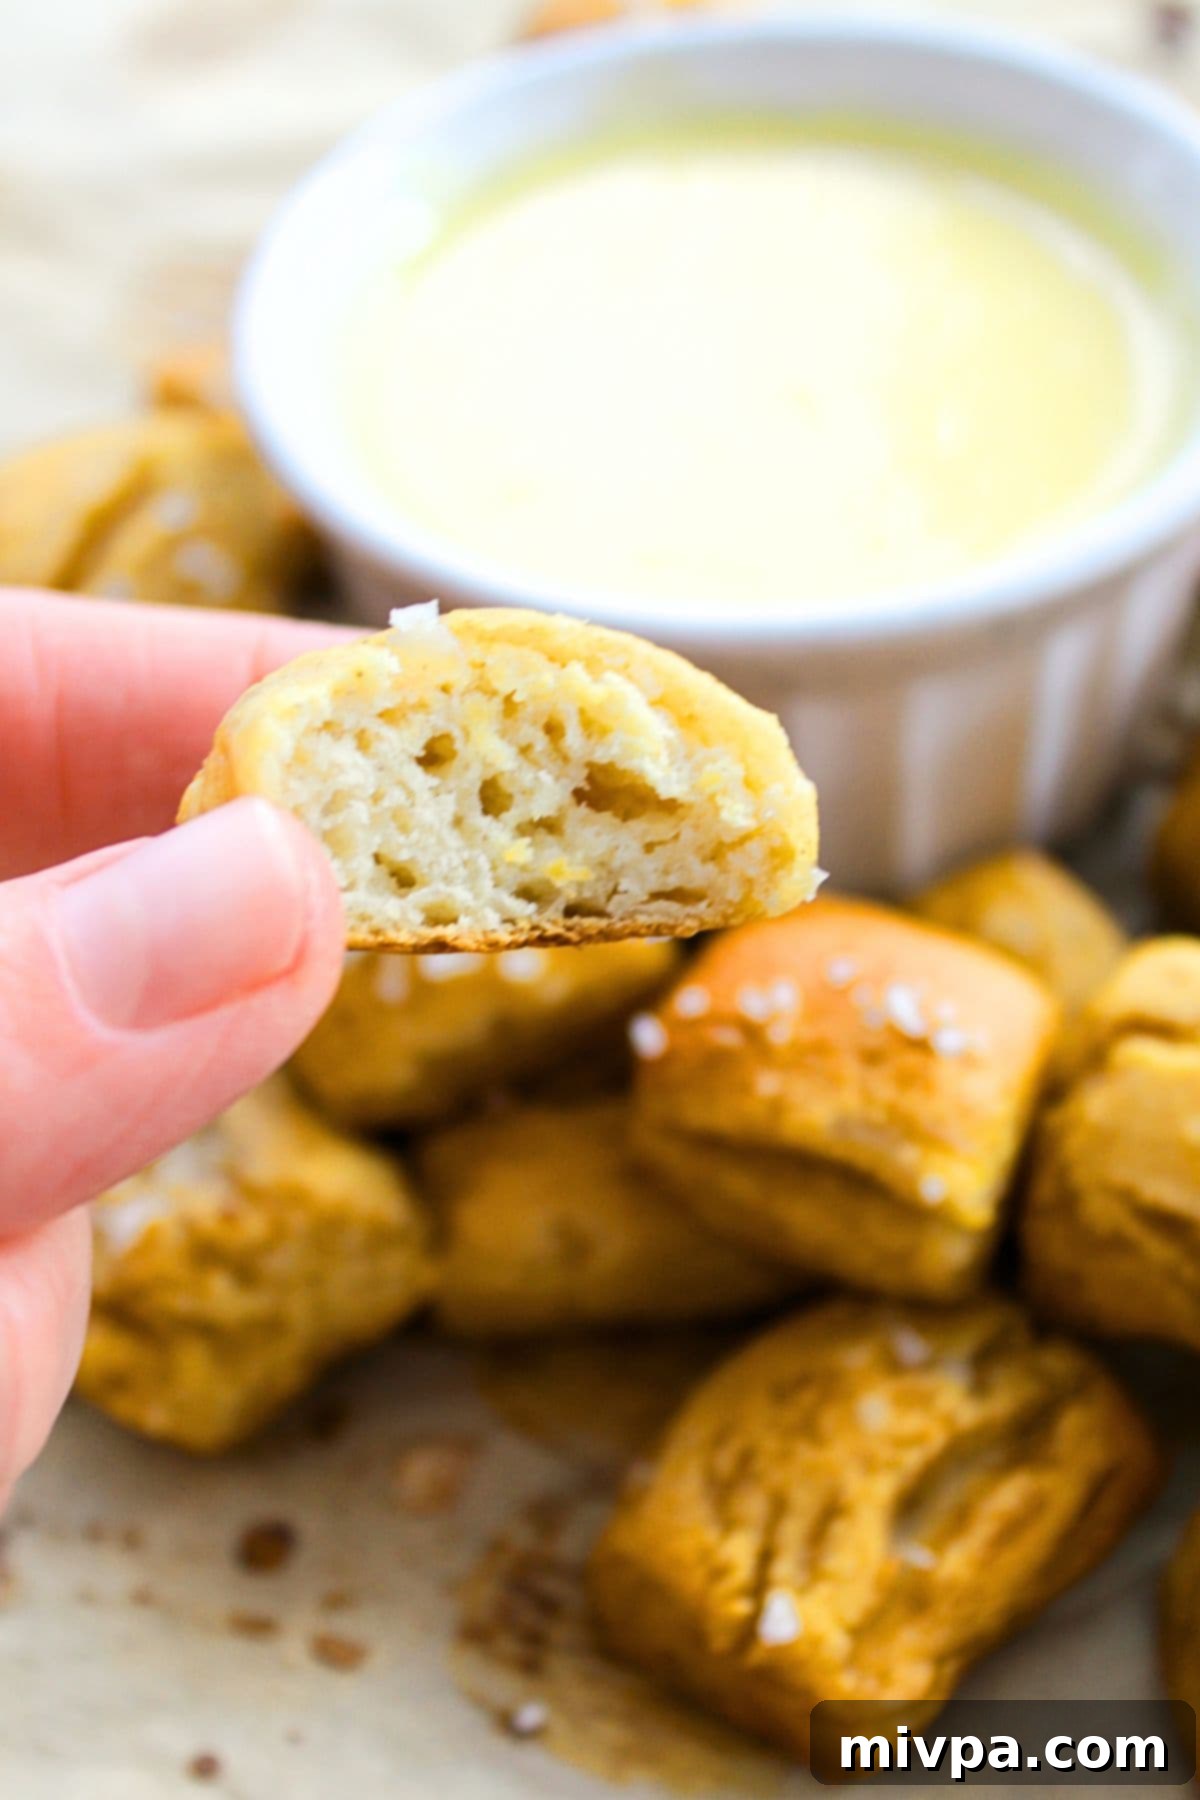
- Irresistible Taste and Texture: These soft pretzel bites achieve that ideal balance of a slightly crisp, golden-brown exterior and a wonderfully soft, chewy interior. A generous sprinkle of coarse sea salt adds the perfect savory kick, creating a snack that’s so good, everyone will be asking for the recipe – and seconds!
- Inclusive & Dietary-Friendly: Gluten-Free with Dairy-Free Option: The best part? These homemade soft pretzel bites are 100% gluten-free, making them safe for those with Celiac disease or gluten sensitivities. Moreover, we provide an easy adaptation to make them completely dairy-free, ensuring that individuals with lactose intolerance or dairy allergies can also savor these savory pretzel nuggets without any issues.
Essential Ingredients for Your Gluten-Free Pretzel Bites
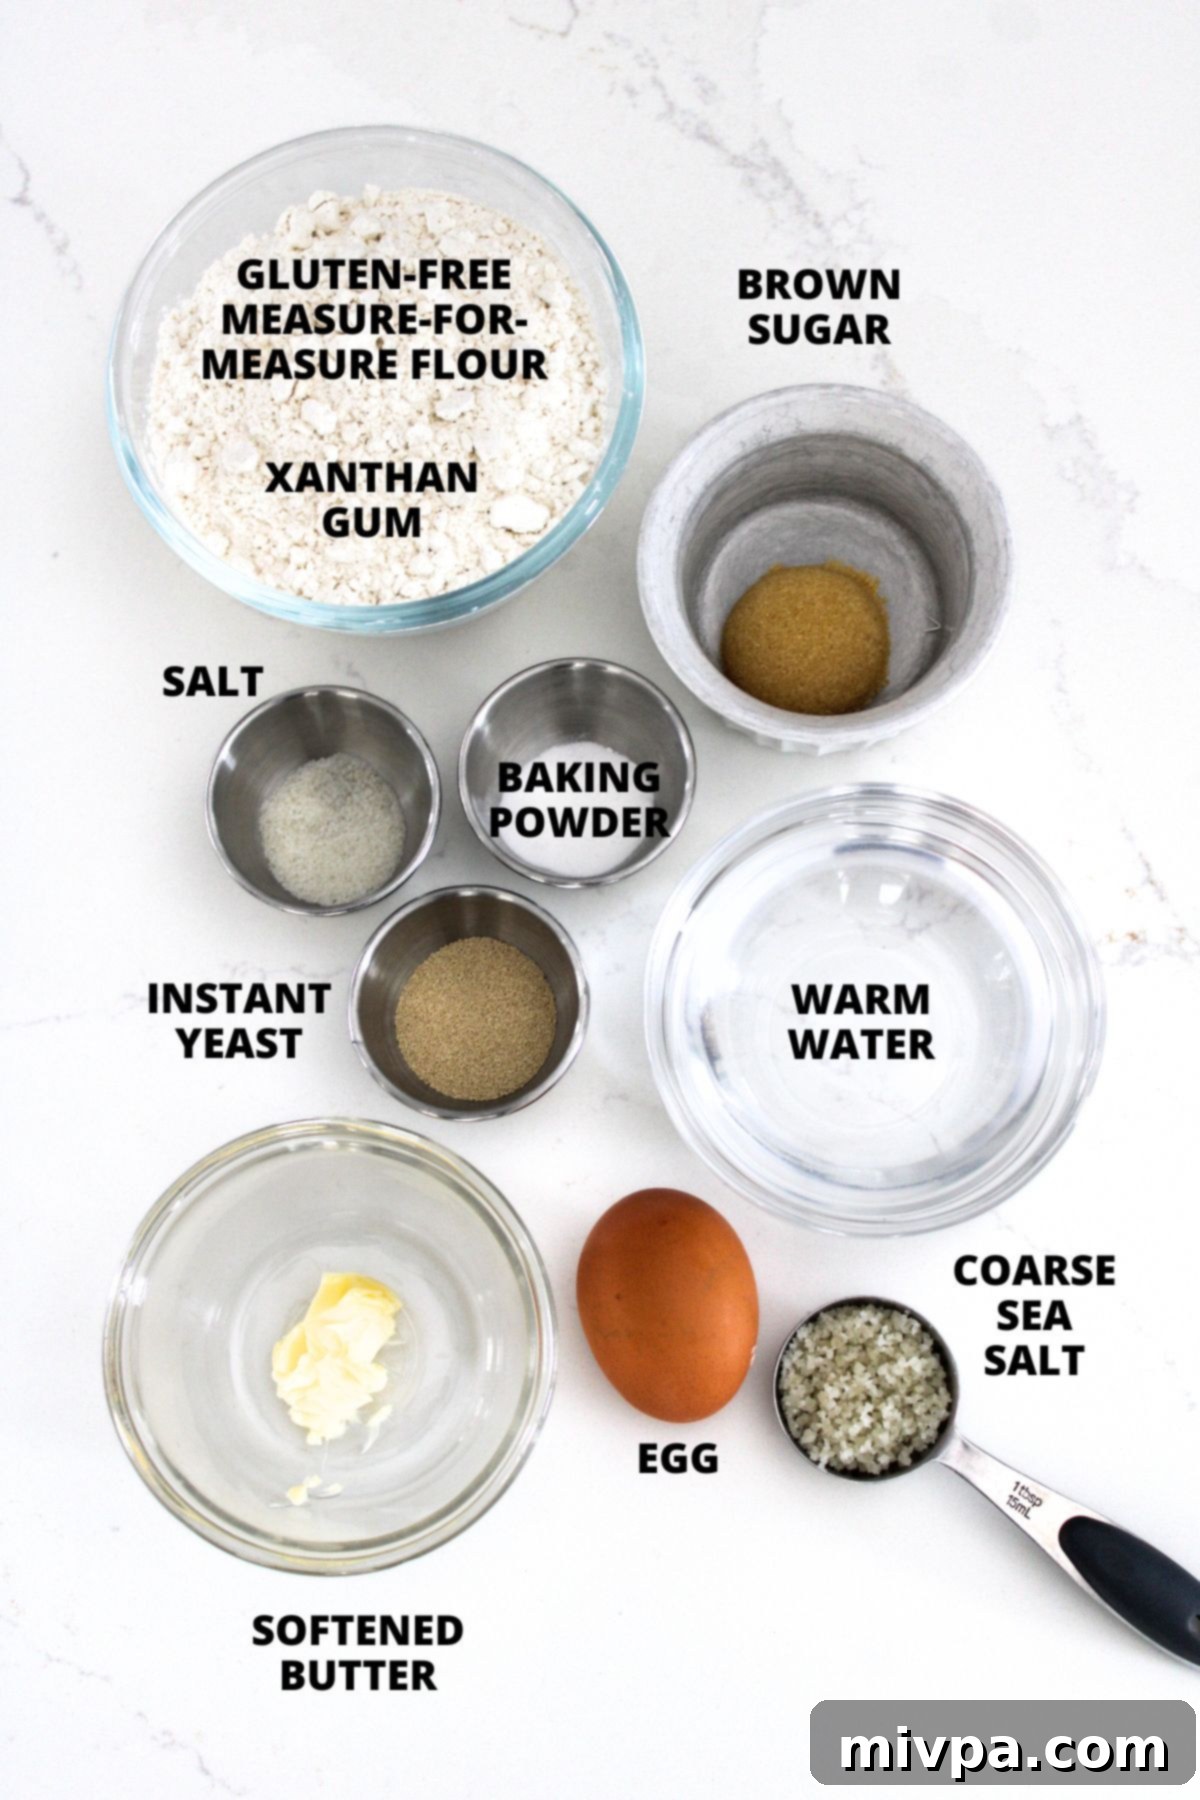
Gathering your ingredients is the first step to deliciousness! Here’s a visual overview of everything you’ll need to create these fantastic gluten-free pretzel bites. Each component plays a crucial role in achieving that perfect taste and texture.
(For exact measurements and a printable version, please scroll down to the printable recipe card at the bottom of this post.)
For the Pretzel Dough:
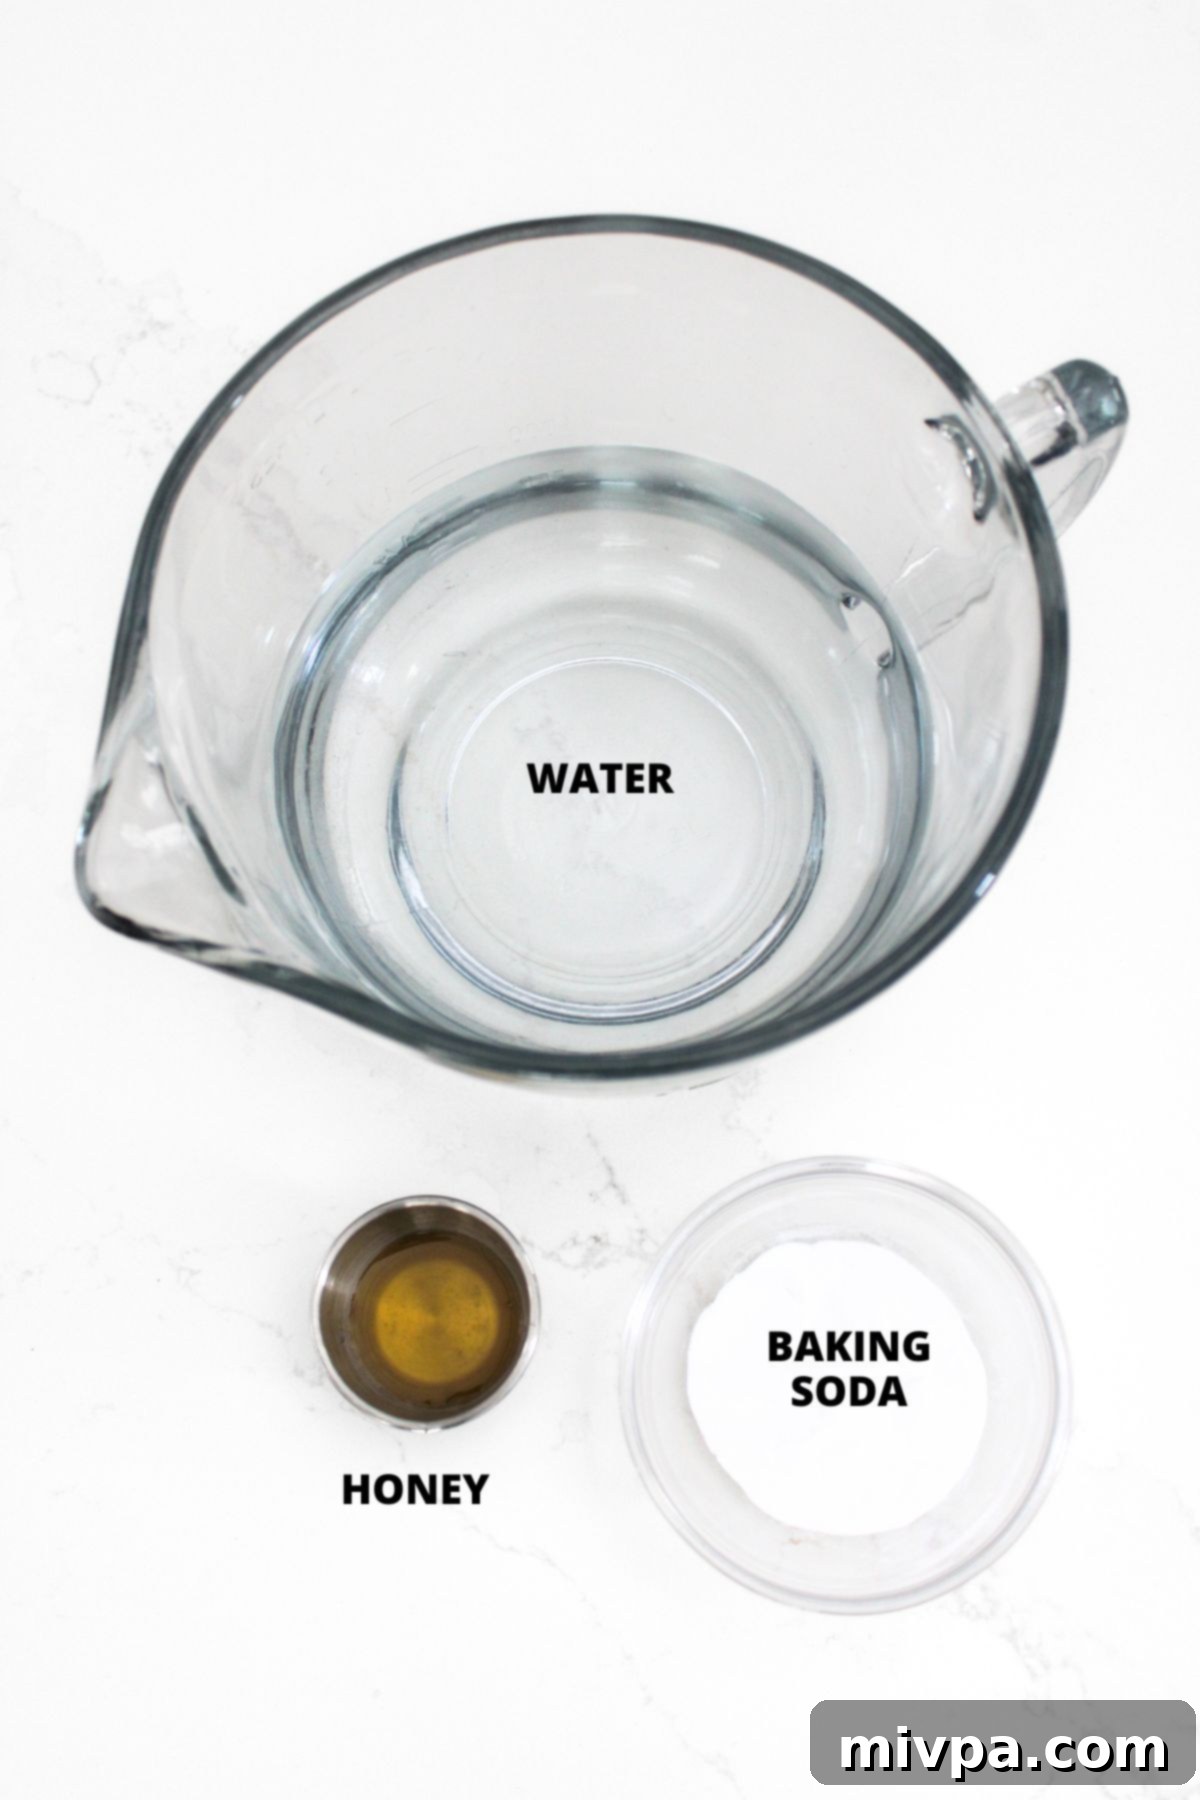
For the Baking Soda Bath:
Recipe Notes & Expert Substitutions for Perfect Results:
Achieving the perfect gluten-free soft pretzel bites involves understanding the role of each ingredient and knowing when and how to make substitutions. Here are our essential tips and notes:
- Gluten-Free Flour Blend: For the best chewy yet soft texture, a good-quality gluten-free 1:1 all-purpose flour blend is crucial. This blend acts as a direct substitute for regular wheat flour. Look for blends primarily made from lighter flours and starches like rice flour, tapioca starch, corn starch, or potato starch. Avoid blends that heavily feature garbanzo bean flour or other heavier flours, as these can result in a denser, drier, or gritty texture.
- Xanthan Gum: This ingredient is a powerhouse in gluten-free baking! Xanthan gum mimics the elasticity and binding properties of gluten, which is naturally absent in gluten-free flours. It’s essential for holding your dough together and giving the pretzels their characteristic chew. If your chosen gluten-free flour blend already lists xanthan gum in its ingredients, you can omit adding extra. Otherwise, be sure to include it for optimal results.
- Sugar: We recommend light brown sugar for its subtle caramel notes, which complement the savory pretzels beautifully. However, you can easily substitute it with white sugar, cane sugar, or even dark brown sugar if you prefer a richer flavor profile. The sugar also feeds the yeast, aiding in the dough’s rise.
- Baking Powder: While yeast provides the primary rise, baking powder acts as a leavening agent that adds an extra boost of lightness and fluffiness to the pretzel dough. Ensure you use certified gluten-free baking powder if you have Celiac disease or severe gluten intolerance.
- Instant Yeast: We love using instant yeast because of its convenience – it can be mixed directly with other dry ingredients without prior activation. If you only have active dry yeast on hand, simply combine it with the sugar and warm water (105-115°F) in a small bowl and let it sit for about 5 minutes until it becomes foamy. This indicates the yeast is active and ready to be added to your other ingredients.
- Warm Water: The temperature of your water is critical for yeast activation. It needs to be warm enough (between 105°F to 115°F or 40°C to 46°C) to awaken the yeast. If the water is too cold, the yeast won’t activate; if it’s too hot, it will kill the yeast, preventing your dough from rising. Using a kitchen thermometer can help ensure accuracy.
- Egg: The egg serves as a binder, helping to emulsify the ingredients and provide structure to the dough. It also contributes to the rich, slightly tender crumb of the finished pretzels. Don’t skip it!
- Butter (Dairy-Free Option): Regular unsalted butter adds flavor and tenderness to the dough. For a dairy-free version, simply substitute with a good quality dairy-free butter (vegan butter). Ensure your chosen dairy-free butter is solid at room temperature for the best results.
- Baking Soda Bath: This step is non-negotiable for authentic soft pretzels! The baking soda bath gelatinizes the surface of the dough, creating that distinctive chewy exterior and promoting the deep golden-brown color during baking. The honey added to the bath contributes a subtle sweetness and further enhances the browning. Do not skip this crucial step!
- Coarse Sea Salt: A generous sprinkle of coarse sea salt before baking is what truly makes a pretzel. It adds essential salinity and a pleasant textural crunch. While optional, it is highly recommended for that classic pretzel experience.
How to Make Gluten-Free Pretzel Bites: A Detailed Step-by-Step Guide
Creating these delicious gluten-free soft pretzel bites is simpler than you might think. Follow these clear steps to achieve perfect, chewy results every time!
Phase 1: Prepare the Dough
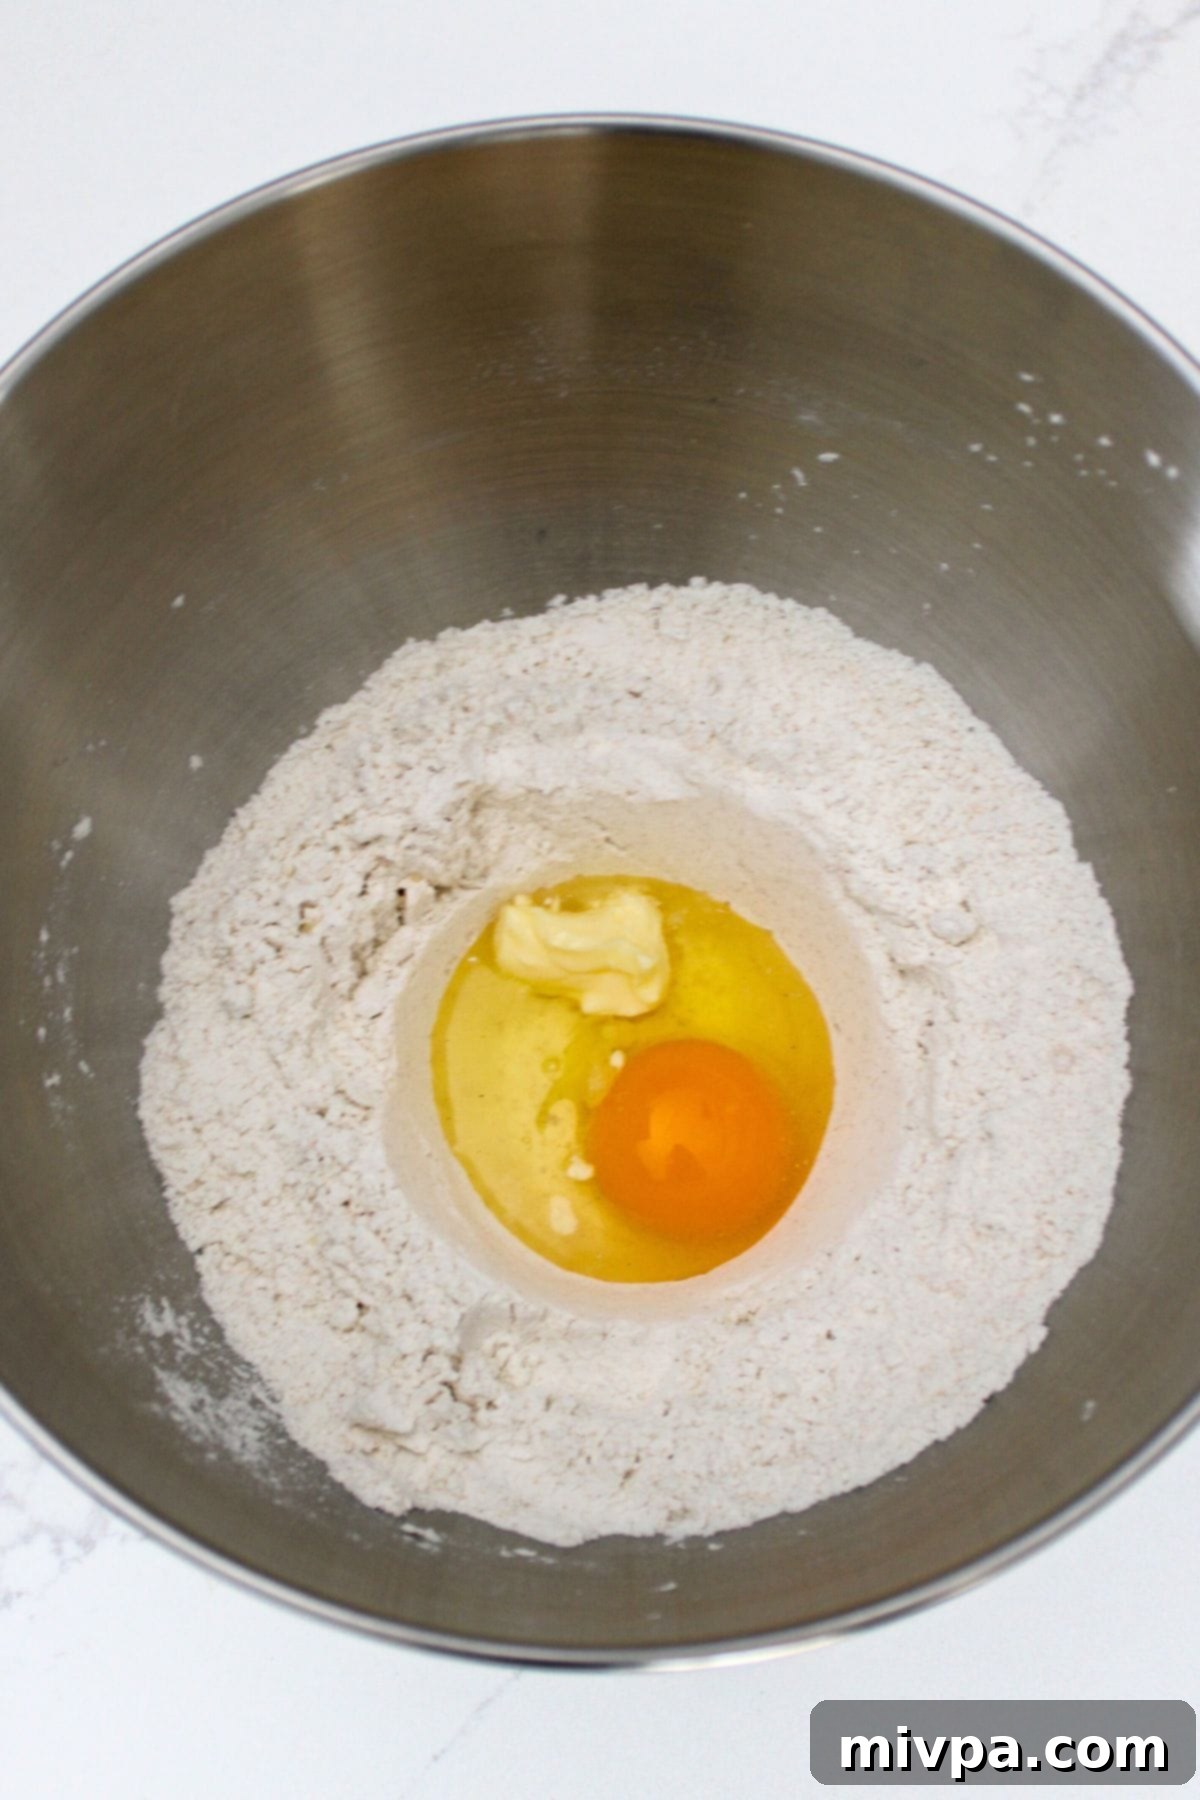
1. Combine Dry and Wet Ingredients: In the large bowl of a stand mixer, add your gluten-free 1:1 baking flour, brown sugar, baking powder, sea salt, and instant yeast. Whisk these dry ingredients together thoroughly to ensure even distribution. Create a small well in the center of the dry mixture. To this well, add the egg, softened butter, and warm water. Begin mixing on low speed with the dough hook attachment.
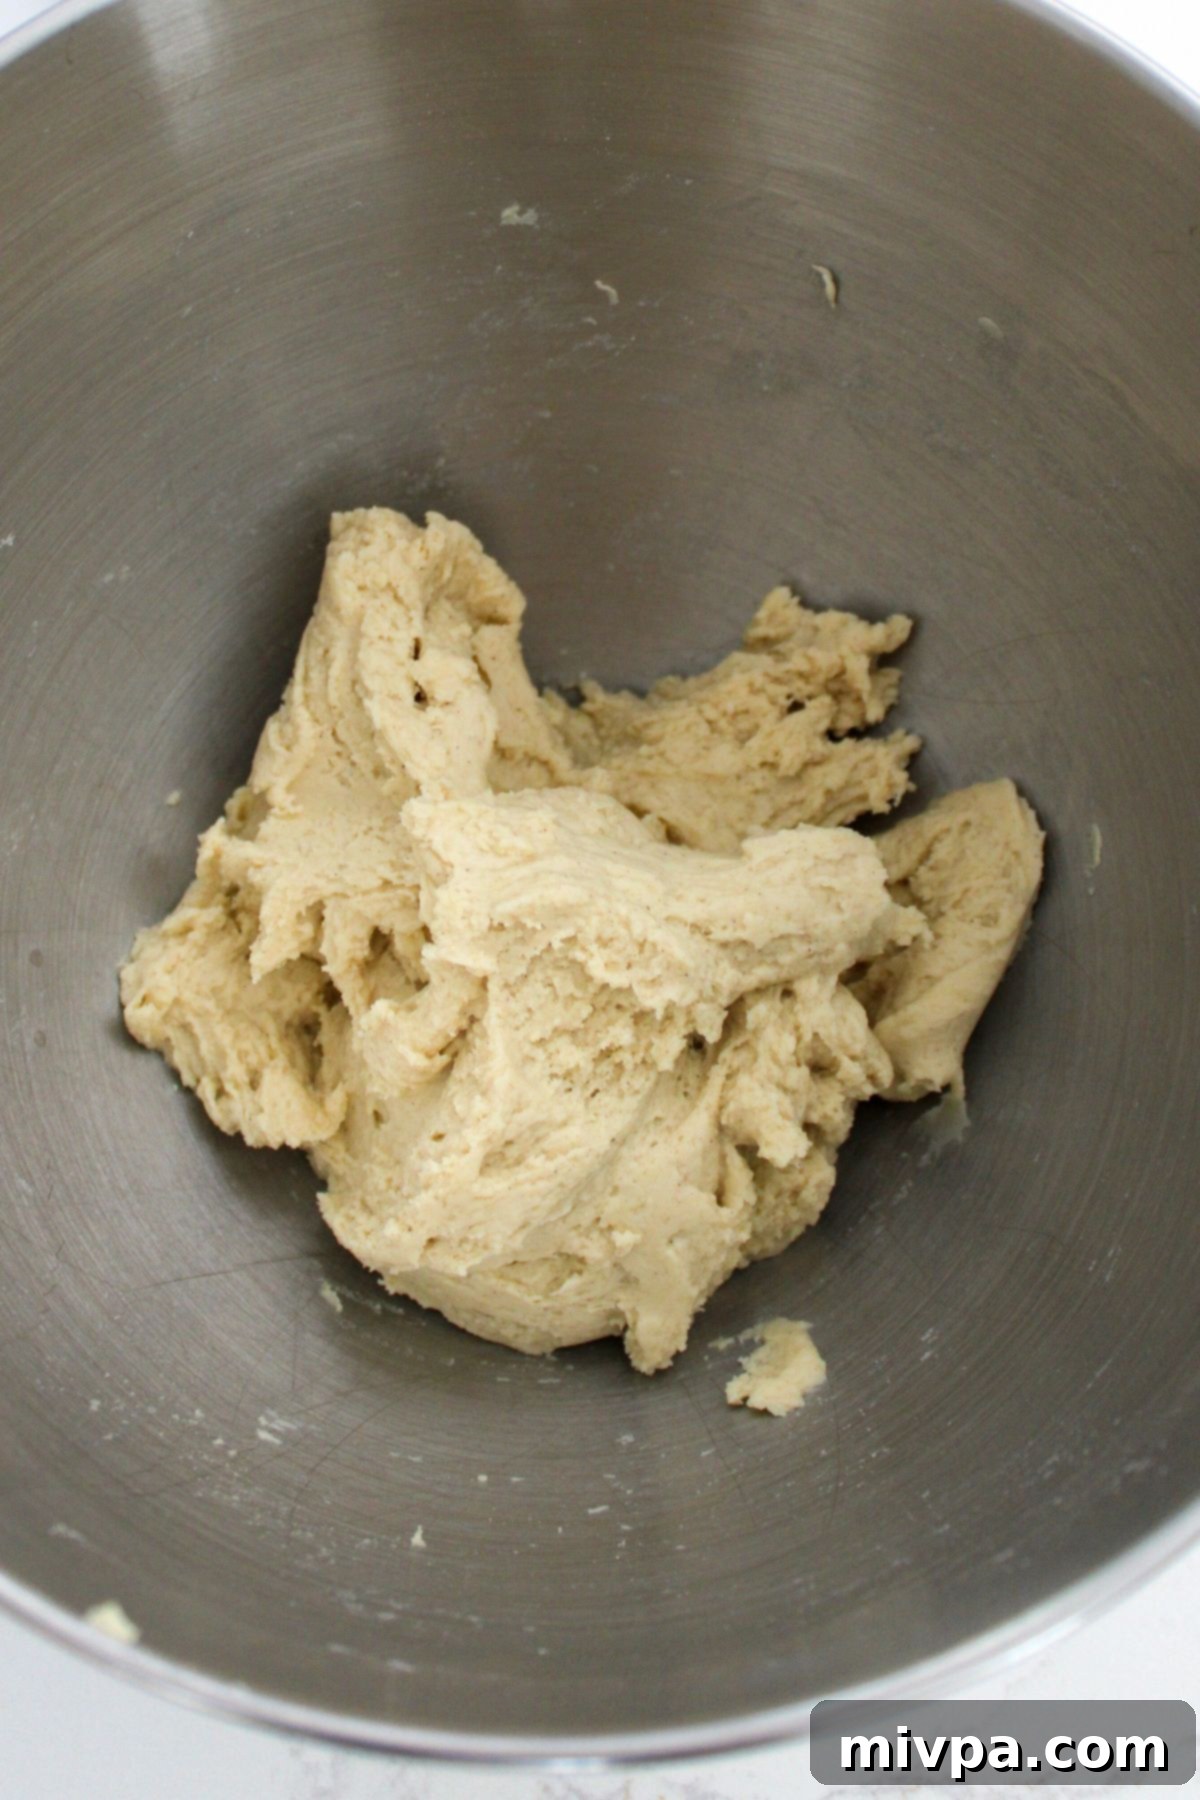
2. Mix Well to Get Dough: As the mixture starts to come together and form clumps, increase the mixer speed to medium. Continue mixing for approximately 1 minute, or until a smooth and slightly sticky dough ball forms. Be careful not to overmix, as gluten-free dough doesn’t develop gluten like traditional dough.
Phase 2: Let Dough Rise & Prepare the Soda Bath
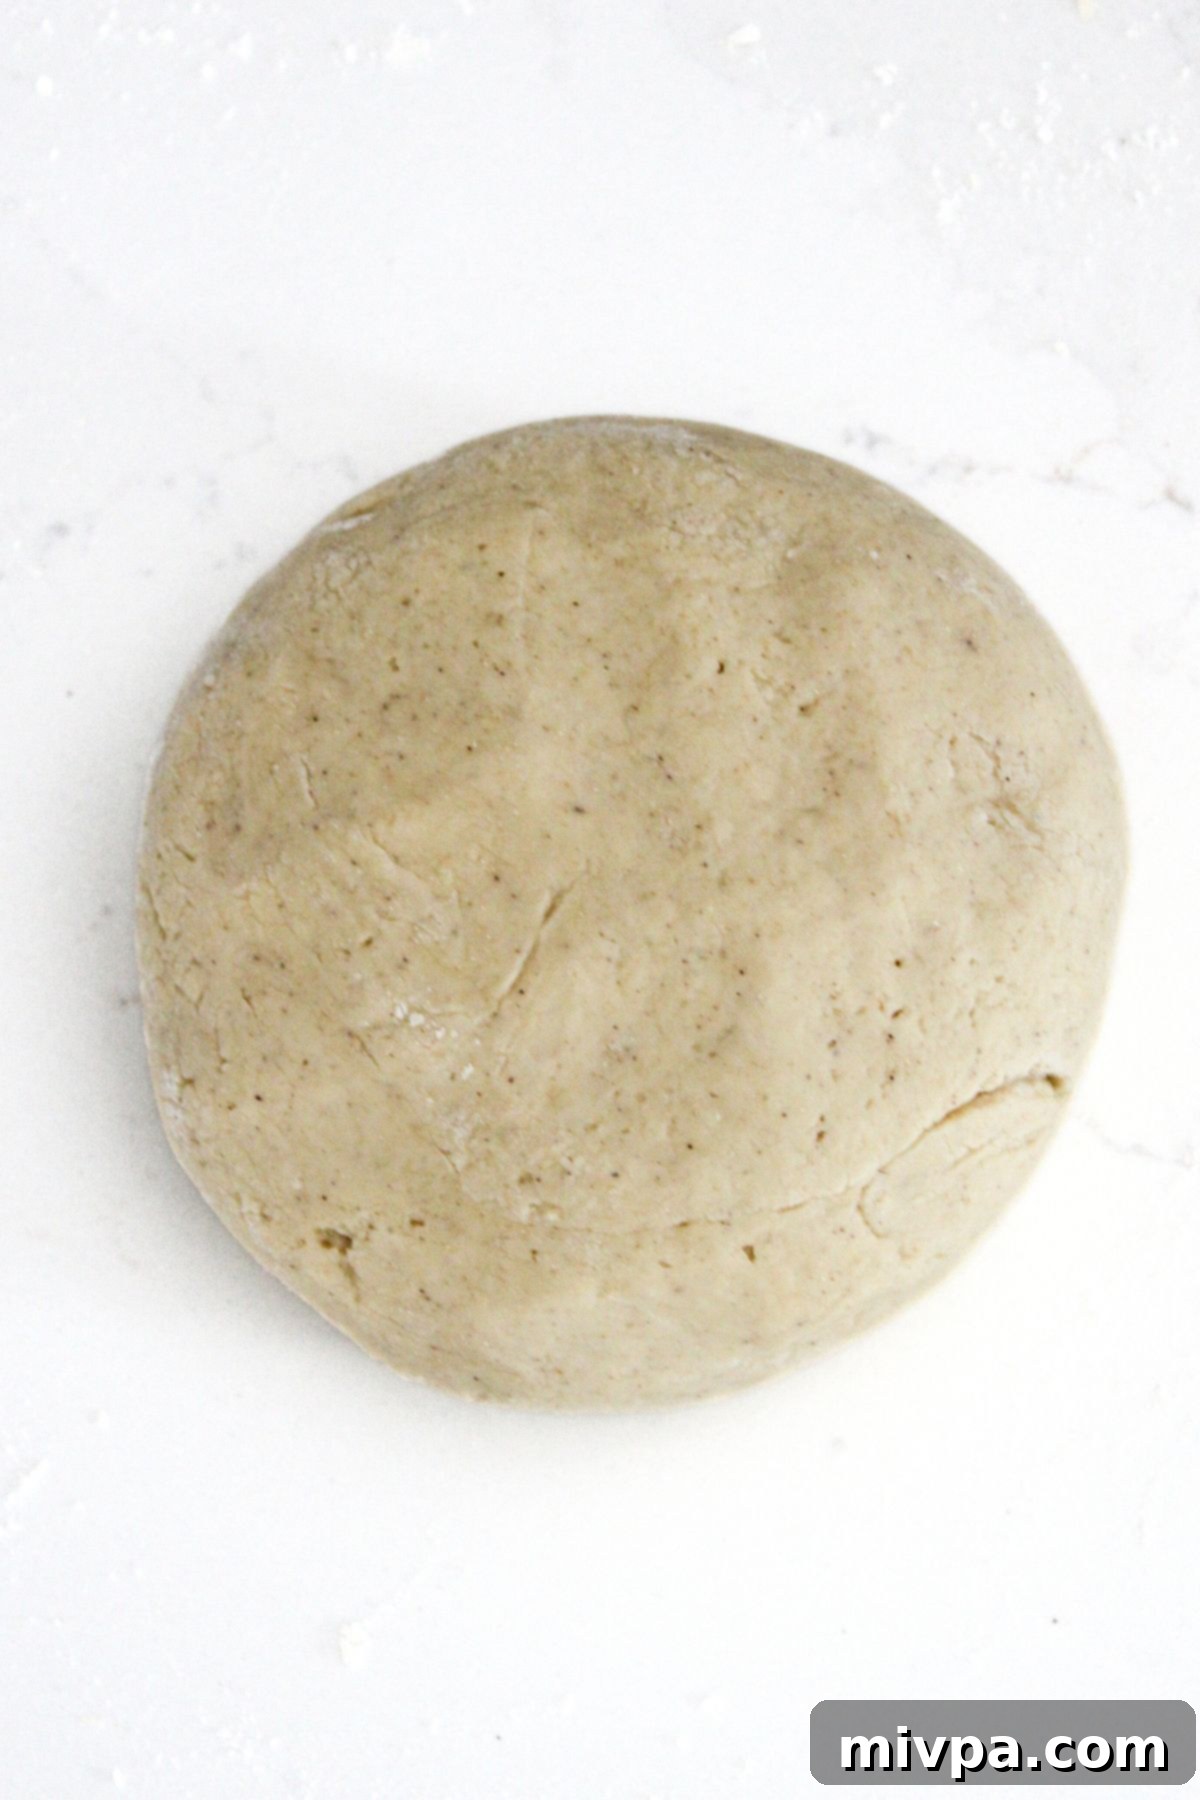
3. Let Dough Rise: Lightly grease a clean bowl with oil or cooking spray. Transfer the gluten-free dough ball into the greased bowl, then cover it tightly with plastic wrap. Place the bowl in a warm, draft-free area to rise for 1 to 2 hours. The exact rising time will depend on your room temperature and the season (e.g., 2 hours in a cooler winter environment, 1 hour in a warmer summer climate). A trick for a warm spot is to place the covered bowl in your oven with only the light turned on (do NOT turn on the heat). The dough will expand and rise, but keep in mind that gluten-free dough typically won’t double in size like traditional wheat dough.
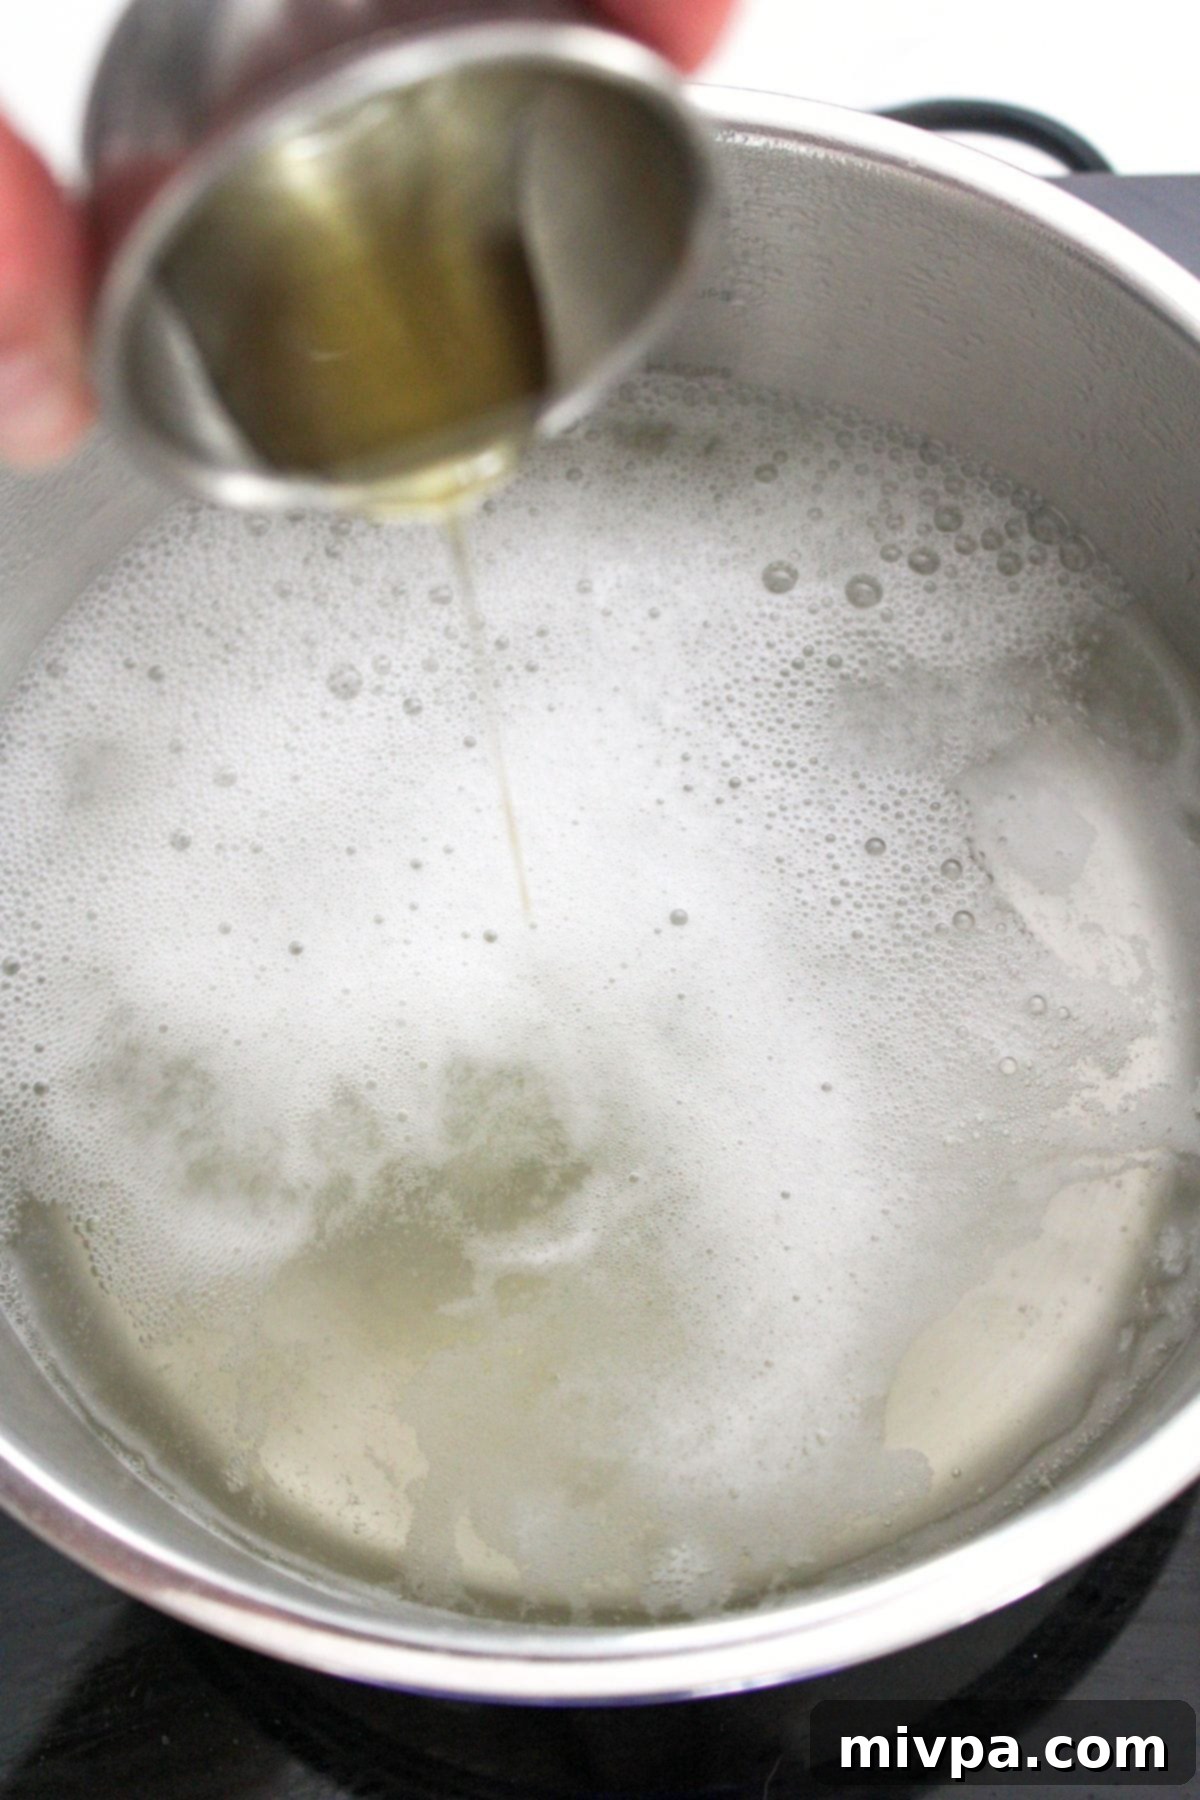
4. Prepare Soda Bath & Oven: While your dough is nearing the end of its rising time, begin preparing the baking soda bath. Pour water into a medium-sized pot and bring it to a rolling boil. In parallel, preheat your oven to 425°F (220°C). Line a large baking sheet with parchment paper, or spray it generously with nonstick cooking spray, to prevent sticking.
Phase 3: Shape & Cut the Dough
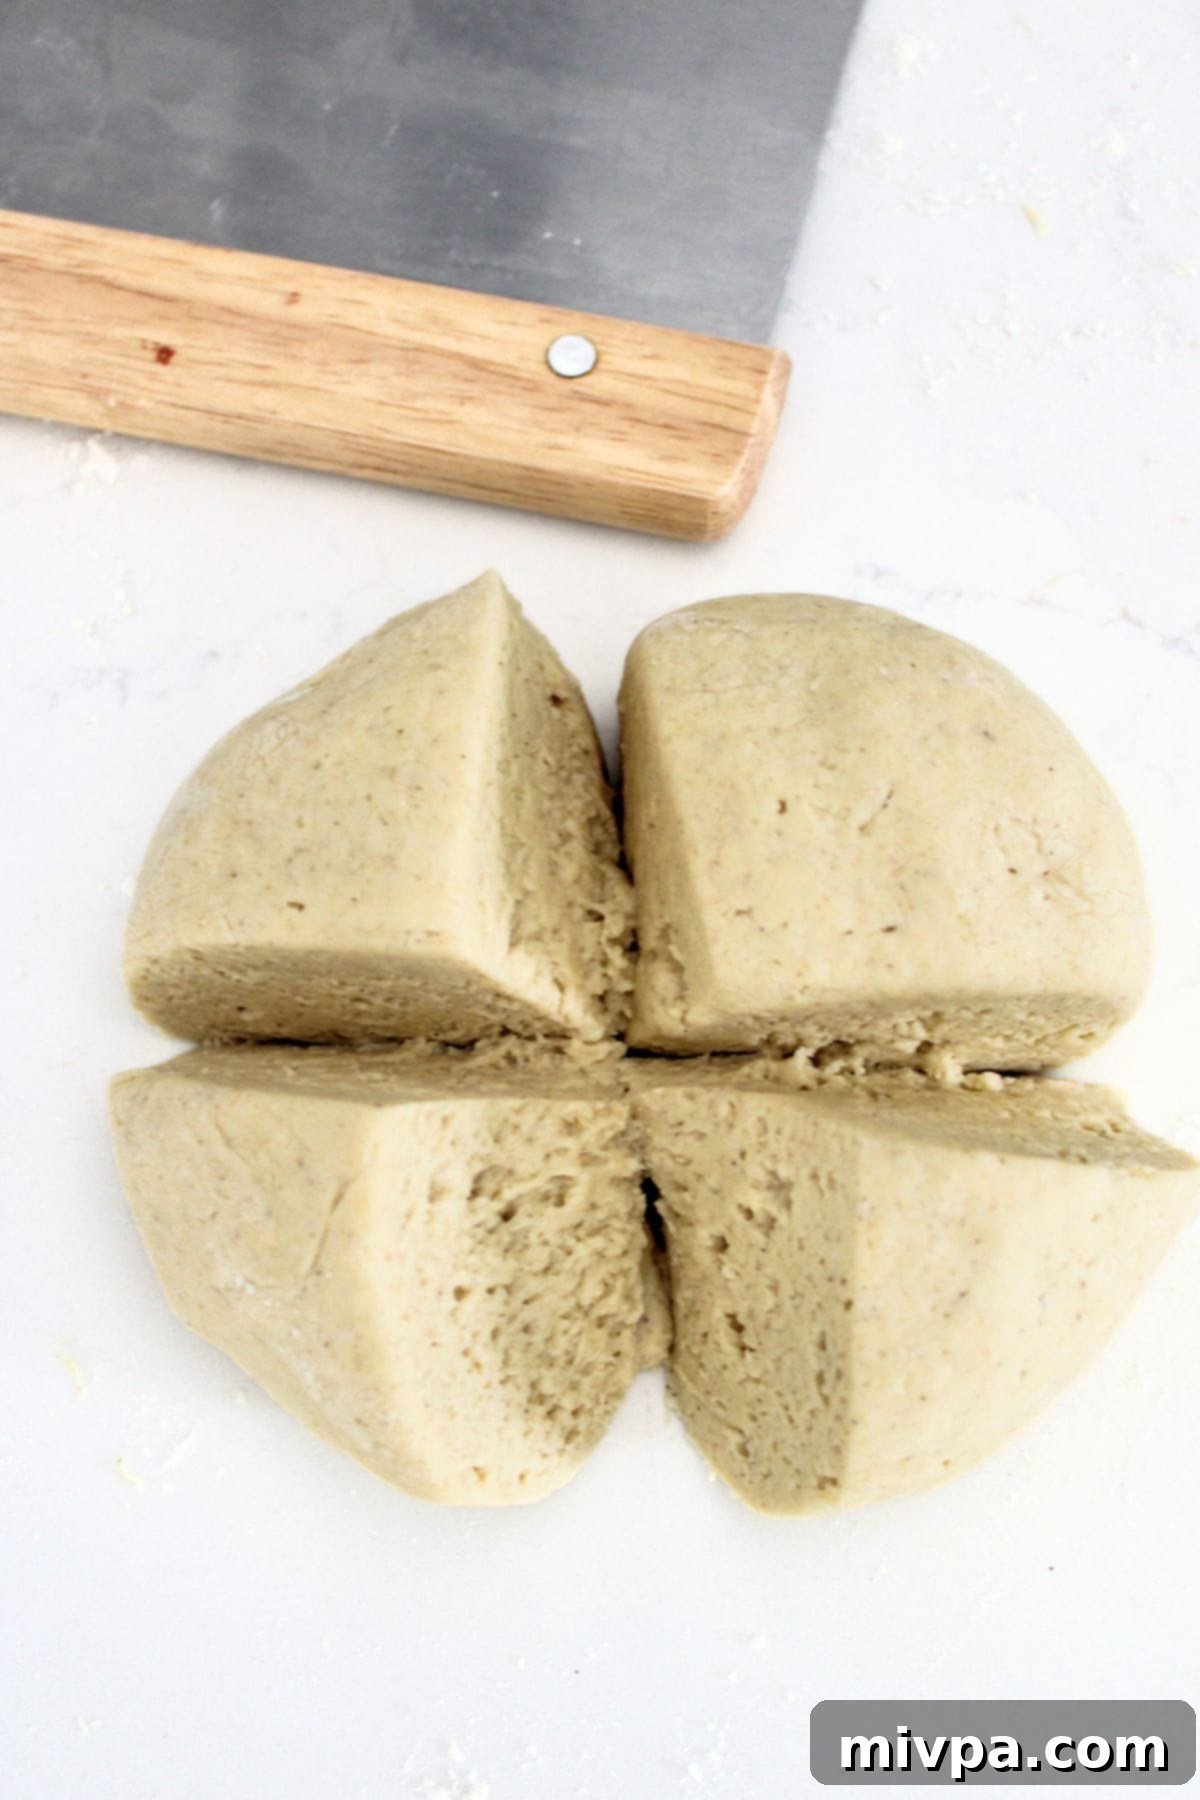
5. Divide Dough into Portions: Once the water for the soda bath is heating up, turn out your risen gluten-free soft pretzel dough onto a lightly floured surface. Using a sharp knife or bench scraper, divide the dough into 4 equal parts. This makes the rolling process more manageable.
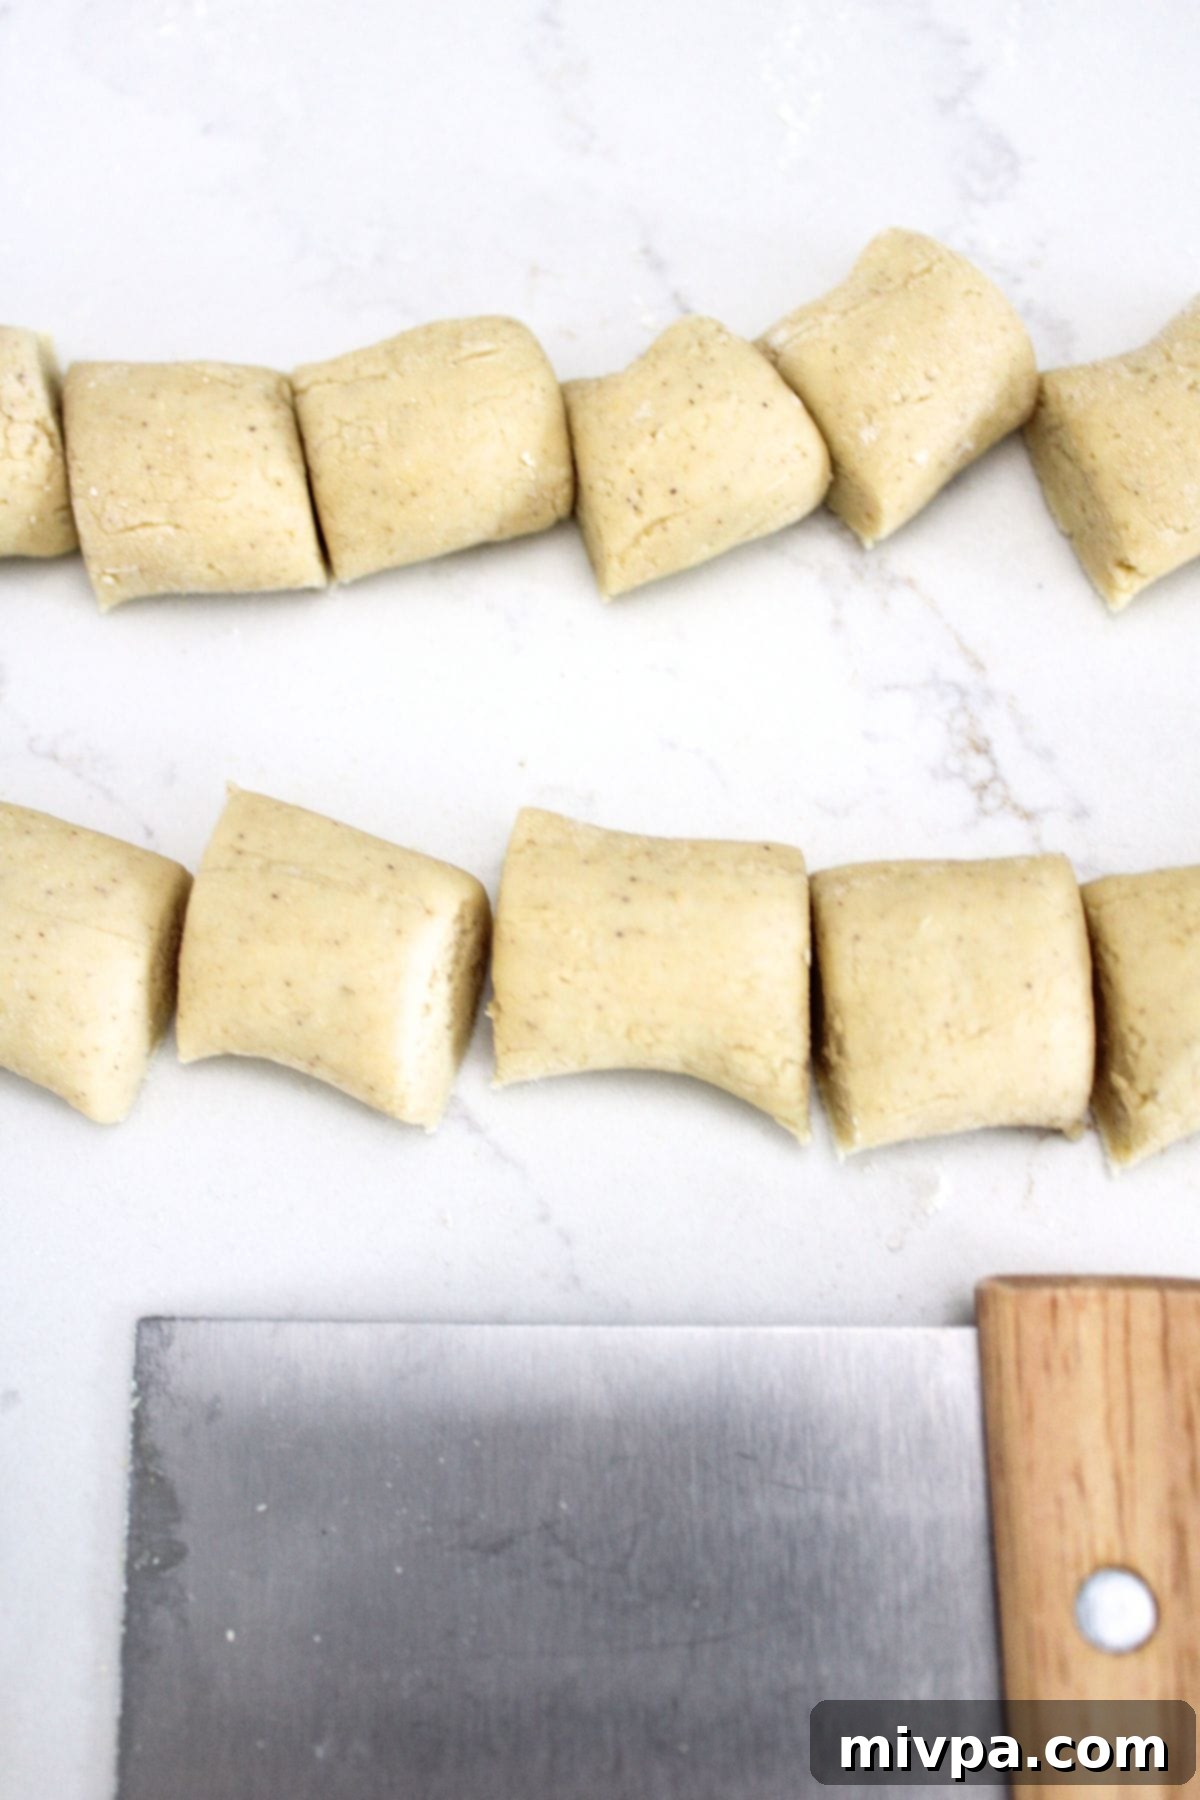
6. Roll Dough & Cut into Pieces: Take one portion of dough and, using your fingers, gently roll it back and forth on the lightly floured surface to form a long rope, approximately 1 inch thick. Aim for an even thickness across the entire rope. Once you have a consistent rope, use your knife or scraper to cut it into bite-sized pieces, about 1.5 to 2 inches long. Repeat with the remaining dough portions.
Phase 4: Boil Dough in Soda Bath
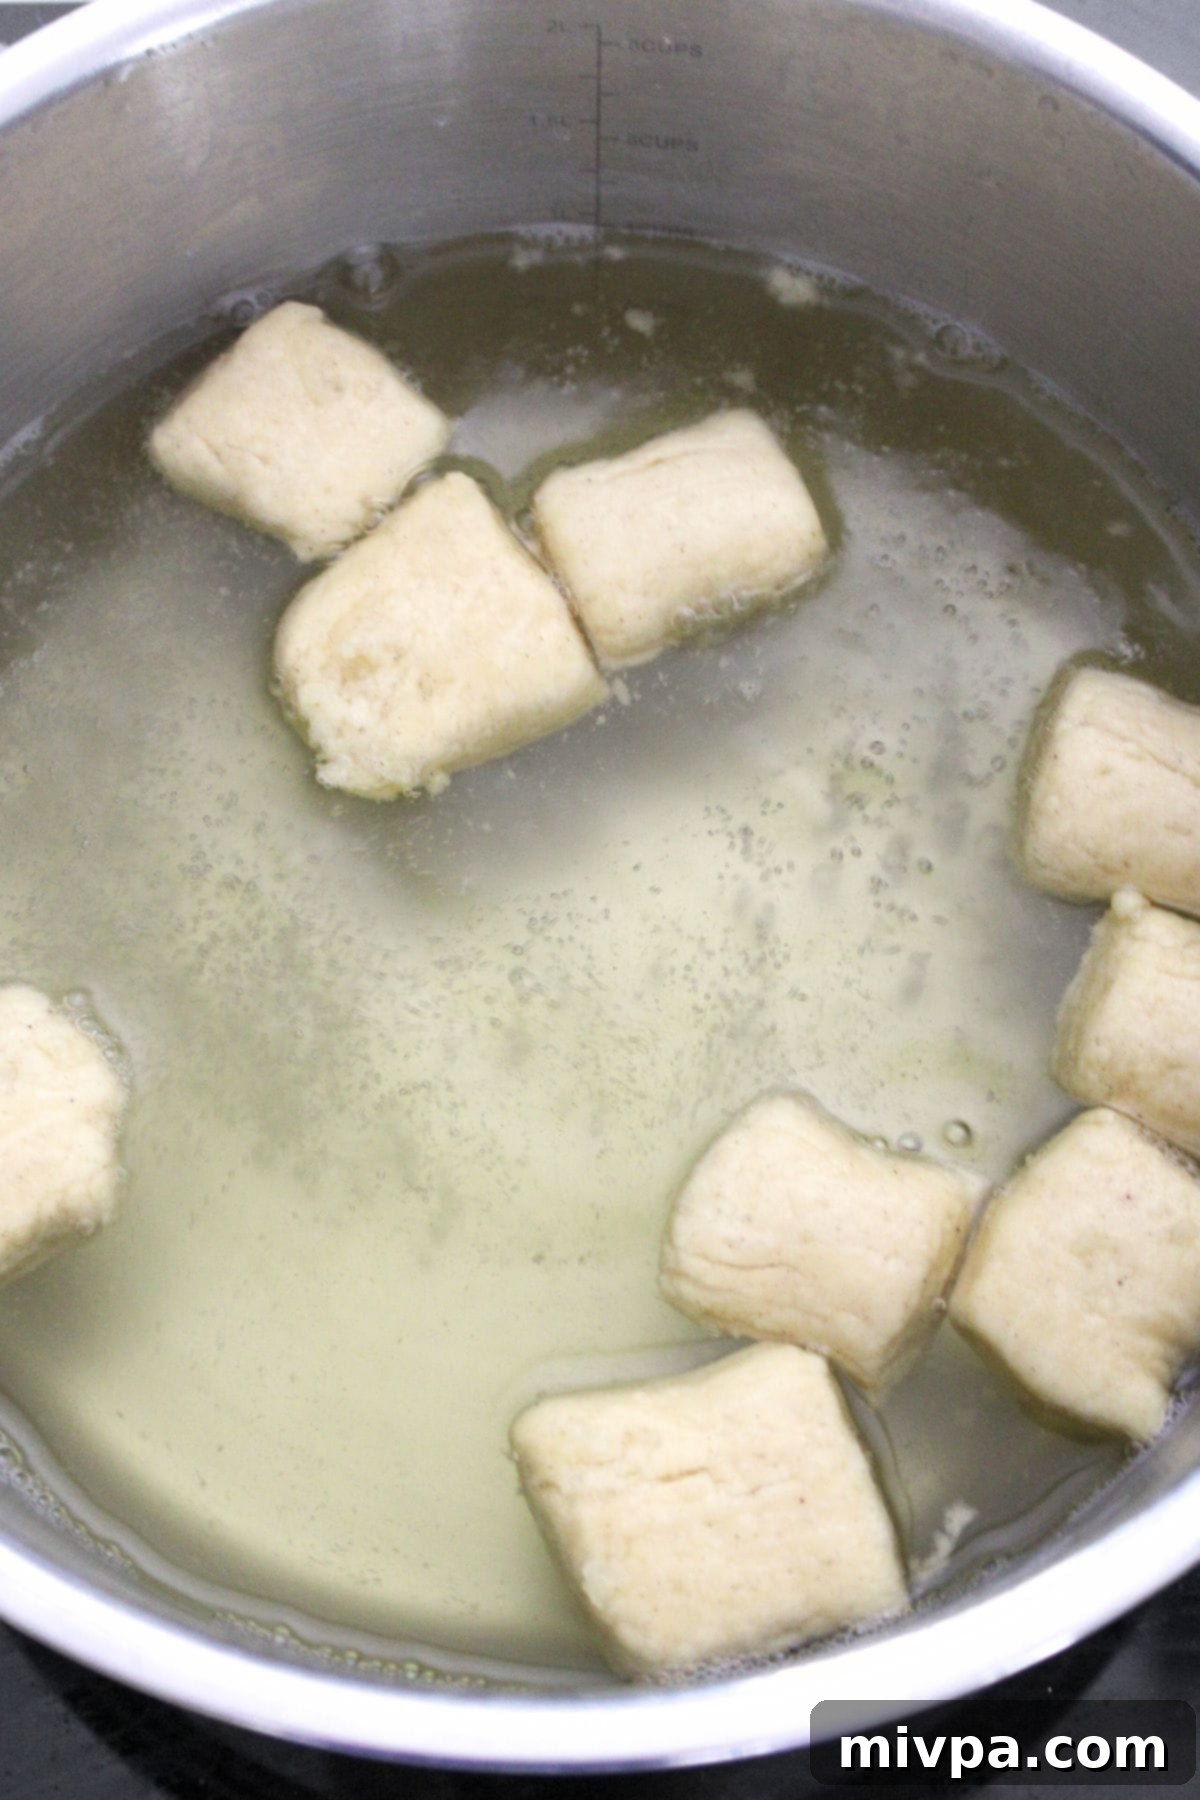
7. Boil Dough Pieces in Soda Bath: Once all your dough is cut into pieces and the water is boiling, carefully add the baking soda and honey to the boiling water. The mixture will foam up, which is normal. Reduce the heat to low so the water is gently simmering, not boiling vigorously. Using a slotted spoon or spider strainer, place as many pretzel bites as can comfortably fit without overcrowding into the simmering baking soda water. Boil each batch for a quick 10-15 seconds per side. This short bath is key to the pretzel’s unique texture and color.
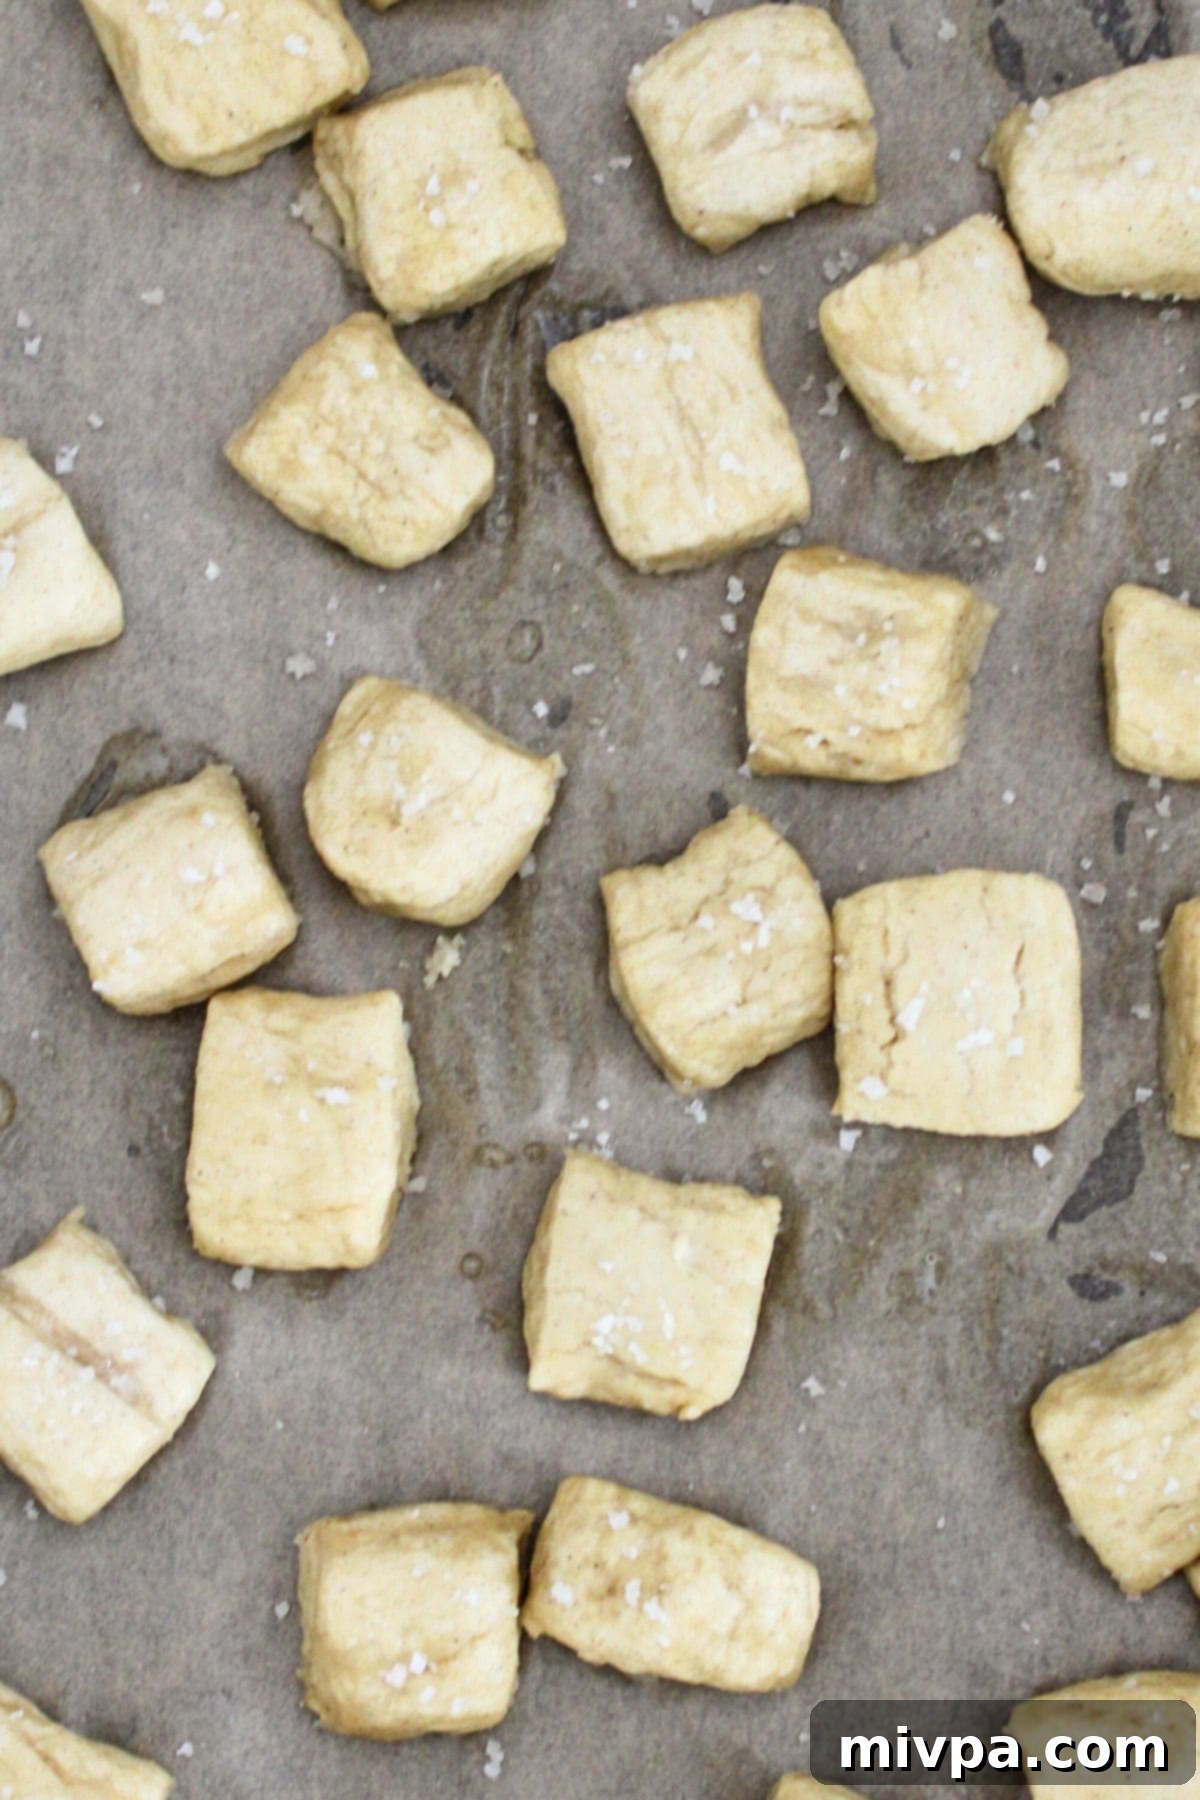
8. Transfer to Baking Sheet & Sprinkle with Salt: Carefully remove the boiled pretzel bites from the soda bath using the slotted spoon, allowing excess water to drain. Place them on your prepared baking sheet, leaving a little space between each piece. Immediately sprinkle each pretzel bite generously with coarse sea salt. This step is optional but highly recommended for that authentic pretzel flavor and texture!
Phase 5: Bake Until Golden Brown
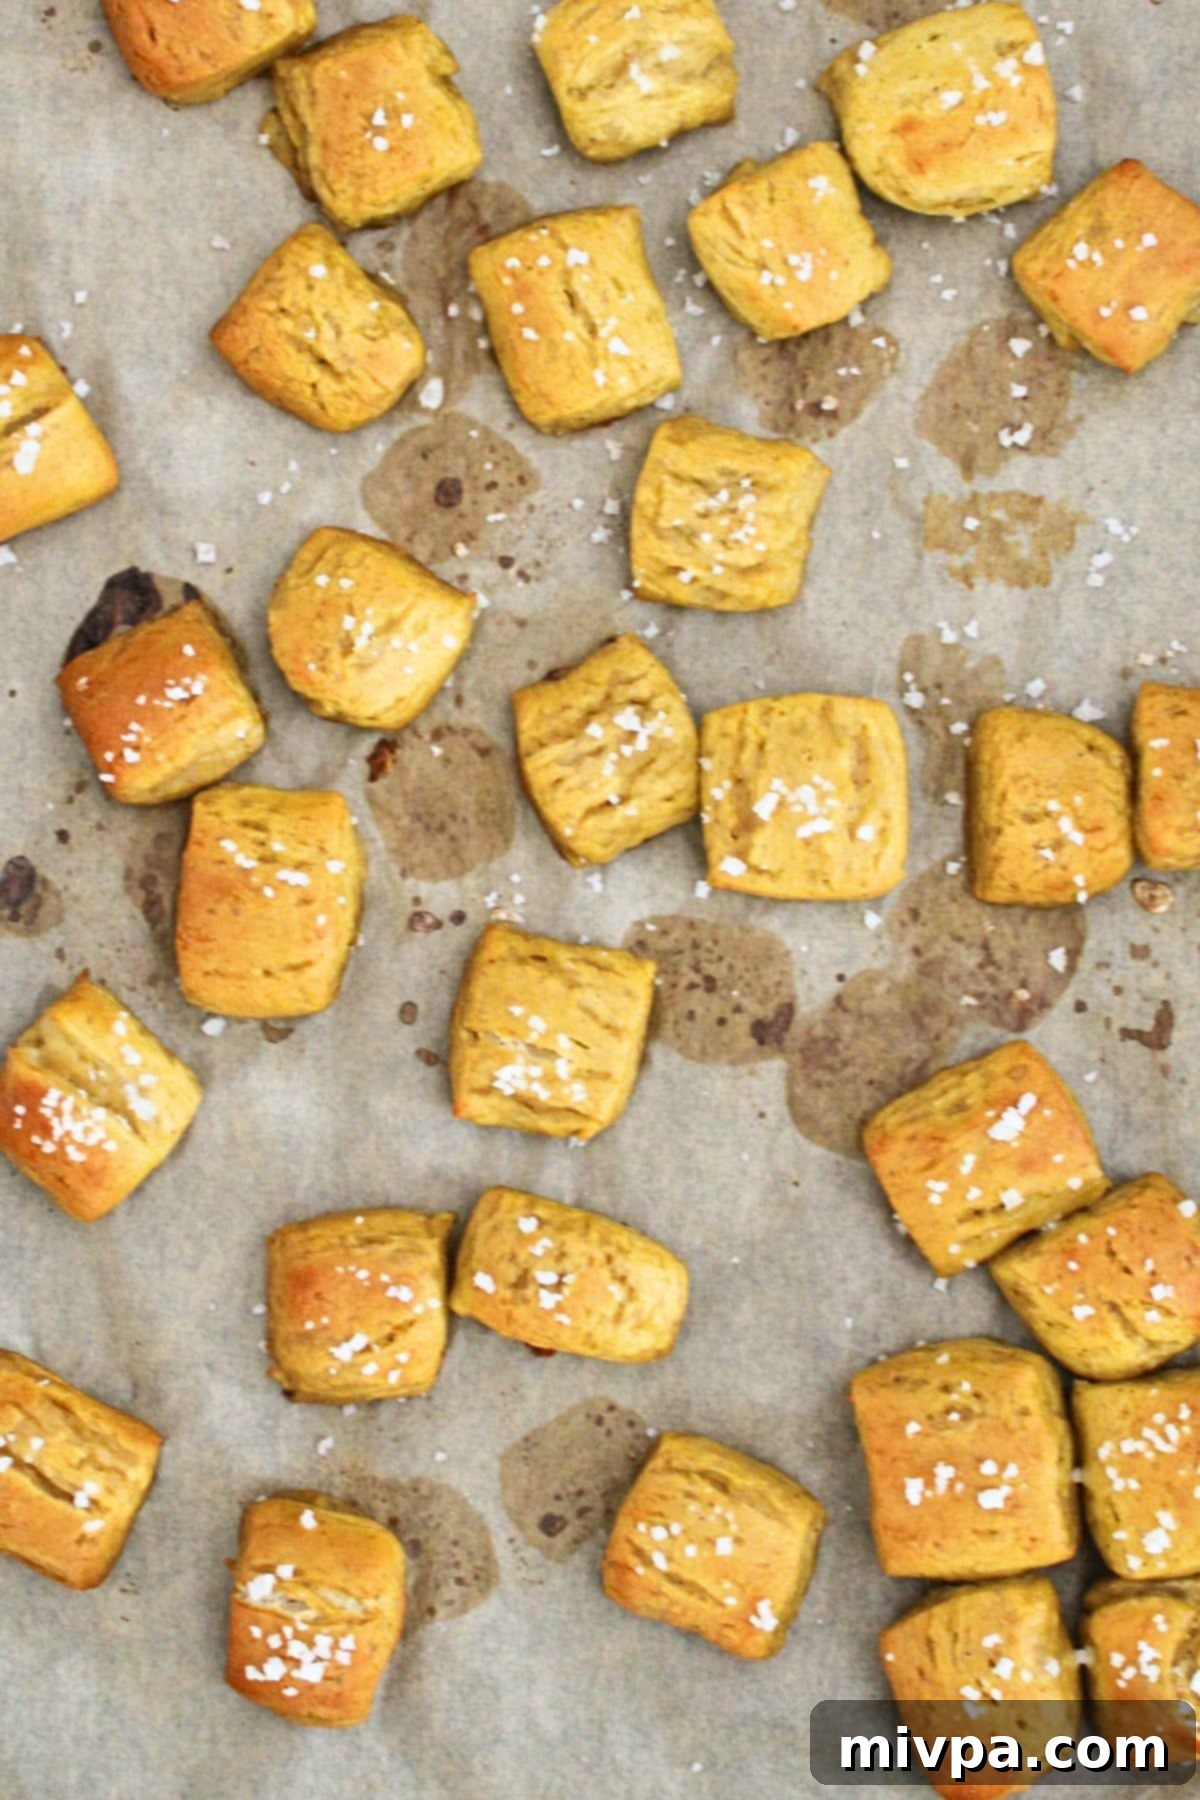
9. Bake Until Golden Brown: Place the baking sheet with the pretzel bites into your preheated oven. Bake for approximately 10 minutes, or until the pretzels are a beautiful deep golden brown. Keep an eye on them towards the end of the baking time, as oven temperatures can vary.
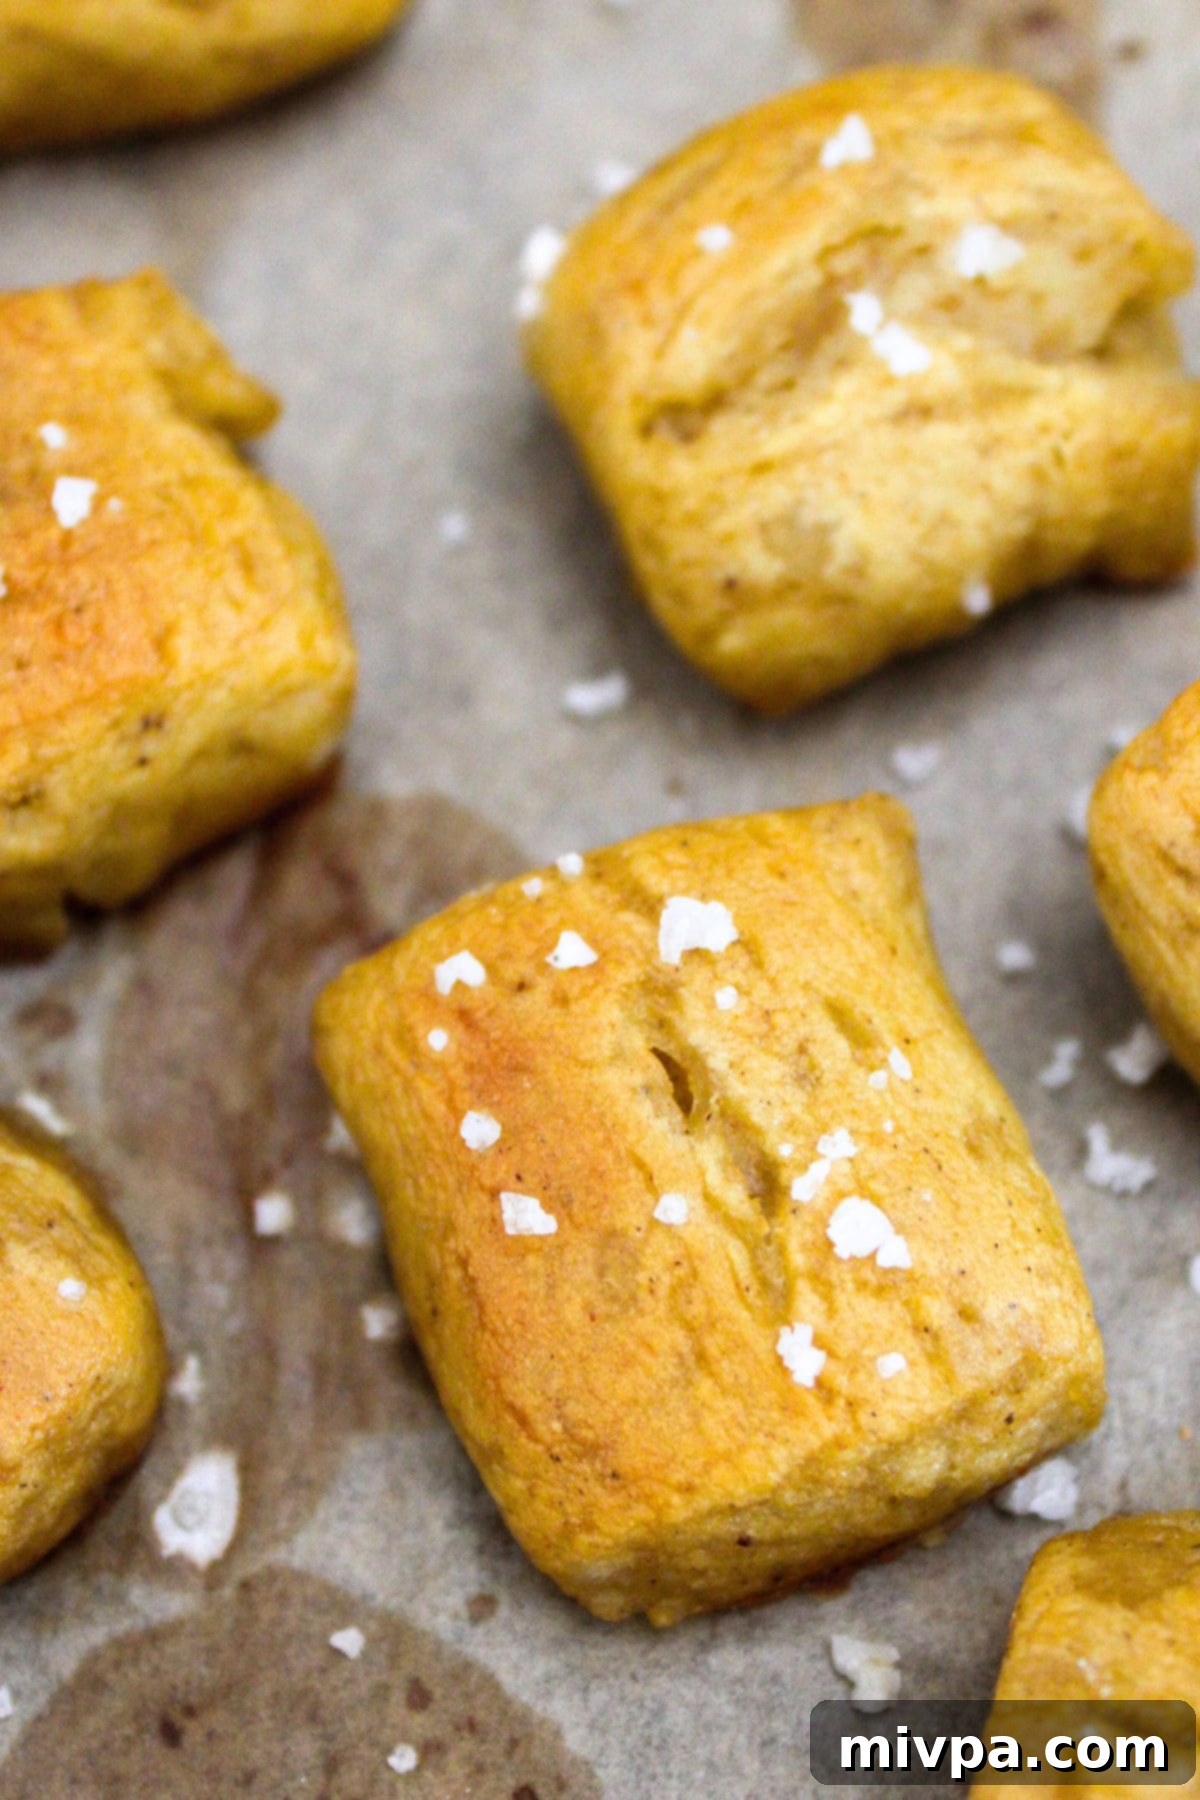
10. Cool Before Enjoying: Once baked, remove the pretzel bites from the oven. Allow them to cool on the baking sheet for about 5 minutes before transferring them to a wire rack. Serve warm with your favorite honey mustard dip, a rich cheese sauce, or any other dip you fancy!
Dish by Dish Expert Tips & Clever Tricks:
Elevate your gluten-free soft pretzel bites with these handy tips and creative variations:
- Sweet Indulgence: Make Cinnamon Sugar Pretzel Bites: If you’re a fan of sweet pretzels, reminiscent of your favorite mall treat, this variation is for you! Simply omit the coarse sea salt during step 8 of the instructions. Once the pretzel bites are freshly baked and still warm, prepare a luscious cinnamon sugar mixture: combine 1 cup of granulated sugar with 4 tablespoons of ground cinnamon. Use a pastry brush to lightly coat the tops of the warm pretzel nuggets with melted butter, then immediately roll or sprinkle them generously with the prepared cinnamon-sugar mixture. Serve warm for a truly irresistible sweet snack!
- Serving Suggestions: Beyond cheese sauce and mustard, these pretzel bites are incredibly versatile. Try them with a spicy sriracha mayo, a sweet cream cheese dip for the cinnamon sugar version, or even a classic marinara sauce. They’re also fantastic alongside chili or soup!
- Storing Leftovers: These gluten-free soft pretzel bites are truly best enjoyed fresh and warm, straight from the oven. However, if you do find yourself with leftovers, store them in an airtight container at room temperature for up to 2-3 days. To restore their delicious chewiness, reheat them in the microwave for approximately 15-20 seconds, or in a toaster oven for a few minutes until warmed through.
- Freezing for Later (Not Recommended): While many baked goods freeze well, we do NOT recommend freezing these particular gluten-free pretzel bites. Freezing and thawing can significantly alter their delicate texture, often leading to a crumbly or tough result that lacks the desirable soft and chewy quality. For the best experience, enjoy them fresh!
Frequently Asked Questions About Gluten-Free Pretzel Bites:
We’ve gathered some common questions you might have while making these pretzel bites to help ensure your success!
- Why didn’t my dough rise much? Gluten-free dough typically doesn’t double in size like traditional wheat dough, but it should still expand. Ensure your yeast is fresh and your water temperature is between 105-115°F (40-46°C). A cold environment can also inhibit rising; make sure your rising spot is warm and draft-free.
- My pretzels are too hard/dense. What went wrong? Overmixing gluten-free dough can sometimes make it tough. Also, make sure you used the correct flour blend (1:1 with lighter starches) and didn’t omit the xanthan gum. Over-baking can also lead to a harder texture, so keep an eye on them in the oven.
- Can I make these ahead of time? While best fresh, you can prepare the dough a day in advance and let it rise slowly in the refrigerator overnight. Bring it back to room temperature for about 30 minutes before shaping and boiling.
- What if I don’t have a stand mixer? You can mix the dough by hand in a large bowl. It will require more effort to achieve a smooth, slightly sticky dough, but it’s certainly doable.
Other Gluten-Free Yeast Breads You’ll Love:
If you enjoyed making these pretzel bites, you’ll love exploring more of our gluten-free yeast bread recipes, perfect for expanding your baking repertoire:
- Gluten-Free Soft Pretzels (Dairy-Free Option)
- Gluten-Free Artisan Bread (Dairy-Free, No-Knead)
- Soft, Fluffy Gluten-Free White Bread (Dairy-Free)
- Easy Gluten-Free Pizza Crust (Dairy-Free)
More Delicious Gluten-Free Snacks for Anytime:
Looking for more gluten-free treats to satisfy your cravings? Check out these fantastic recipes:
- Gluten-Free Pumpkin Banana Muffins (Dairy-Free)
- 25 Easy Gluten-Free Muffin Recipes for Anytime
- Gluten-Free Pumpkin Chocolate Chip Muffins (Dairy-Free)
- Easy Chicken Satay with Peanut Sauce (Gluten-Free, Dairy-Free)
Print

Gluten-Free Soft Pretzel Bites (Dairy-Free Option)
5 Stars
4 Stars
3 Stars
2 Stars
1 Star
No reviews
Author: Felicia Lim
Total Time: 1 hour 30 minutes
Yield: 6 servings
Diet: Gluten Free
Description
These homemade gluten-free soft pretzel bites are a convenient, bite-sized version of our favorite gluten-free pretzels! Soft, perfectly chewy, and boasting a beautiful golden-brown crust sprinkled with salt, they are an ideal snack or appetizer. Enjoy them warm with creamy cheese sauce or a zesty mustard. This recipe also includes a dairy-free option, ensuring everyone can savor these delicious pretzel nuggets.
Ingredients
Units
Scale
- 1 1/2 cups gluten-free 1:1 baking flour blend (ensure it’s made from lighter flours/starches)
- 1/2 teaspoon xanthan gum (omit if your GF flour blend already includes it)
- 1 tablespoon brown sugar (light brown sugar preferred)
- 1/2 teaspoon baking powder (certified gluten-free if needed)
- 1/2 teaspoon sea salt
- 1 teaspoon instant yeast
- 1/2 cup warm water (105-115°F / 40-46°C)
- 1 large egg
- 1/2 tablespoon softened unsalted butter (or dairy-free / vegan butter)
- Coarse sea salt, for sprinkling (optional, but highly recommended)
For the Baking Soda Bath:
- 4 cups water
- 2 tablespoons baking soda
- 1/2 tablespoon honey (optional, for extra browning and slight sweetness)
Instructions
- Combine Dry and Wet Ingredients: In a large bowl of a stand mixer, whisk together the gluten-free 1:1 baking flour, brown sugar, baking powder, sea salt, and instant yeast. Make a well in the center of the dry ingredients and add the egg, softened butter, and warm water. Start mixing on low speed using the dough hook attachment. As the mixture begins to come together, increase the speed to medium and mix for about 1 minute until a smooth, slightly sticky dough forms.
- Let Dough Rise: Lightly grease a clean bowl. Transfer the gluten-free dough ball into the greased bowl and cover it tightly with plastic wrap. Place the bowl in a warm, draft-free area (like an oven with just the light on) to rise for 1-2 hours. Note that gluten-free dough will expand but typically won’t double in size.
- Prepare Soda Bath & Oven: While the dough is rising, pour water into a medium-sized pot and bring it to a rolling boil. Preheat your oven to 425°F (220°C). Line a large baking sheet with parchment paper or spray it with nonstick cooking spray.
- Divide Dough into Portions: Once the dough is risen and the water is heating, turn the dough out onto a lightly floured surface. Divide the dough into 4 equal portions using a knife or bench scraper.
- Roll Dough into Long Ropes: Take one portion of dough. On a lightly floured surface, use your fingers to roll it into a long, even rope, approximately 1 inch thick.
- Cut into Equal Pieces: Cut each rope into bite-sized pieces, about 1.5-2 inches long. Repeat with the remaining dough portions.
- Boil Dough Pieces in Soda Bath: To the boiling water, carefully add the baking soda and honey (if using). Reduce the heat to low so the water is simmering gently. Using a slotted spoon, carefully place as many pretzel bites as will fit comfortably onto the spoon into the simmering baking soda water. Boil each batch for 10-15 seconds per side.
- Transfer to Baking Sheet and Sprinkle with Salt: Remove the boiled pretzel bites with the slotted spoon, allowing excess water to drain. Arrange them on the prepared baking sheet, leaving some space between each. Immediately sprinkle each pretzel bite generously with coarse sea salt (optional, but highly recommended).
- Bake Until Golden Brown & Serve: Bake in the preheated oven for 10 minutes, or until the pretzels are beautifully golden brown. Remove from the oven and allow them to cool on the baking sheet for 5 minutes before serving warm with your favorite mustard, cheese dip, or other desired accompaniment. Enjoy!
Notes
Gluten-Free Flour: For the best texture, I highly recommend using a good-quality gluten-free 1:1 flour blend that is specifically formulated as a substitute for regular wheat flour. Look for blends primarily made from lighter flours/starches such as rice flour, tapioca starch, corn starch, or potato starch. Avoid blends made up of heavier flours like garbanzo bean flour, as they can result in a denser or gritty texture.
Xanthan Gum: Xanthan gum is crucial for giving gluten-free dough elasticity and binding it together, mimicking the role of gluten. If your chosen gluten-free flour blend already includes xanthan gum (check the ingredients list), you can omit adding extra. Otherwise, be sure to include it.
Sugar: I used light brown sugar for its subtle sweetness and moisture. You can also use white granulated sugar, cane sugar, or dark brown sugar if you prefer. The sugar also helps to activate the yeast.
Baking Powder: Baking powder works alongside the yeast to give the pretzel dough extra lift and a slightly softer crumb. If you have Celiac disease or a gluten intolerance, ensure you use certified gluten-free baking powder.
Instant Yeast: I prefer instant yeast as it can be directly mixed with other ingredients without pre-activation. If you only have active dry yeast, combine it with the sugar and warm water (105-115°F) and let it sit for 5 minutes until foamy before adding it to the rest of the ingredients.
Warm Water: The temperature of the water is vital for activating the yeast. It should be between 105°F to 115°F (40-46°C). Water that is too cold won’t activate the yeast, while water that is too hot will kill it, preventing the dough from rising.
Egg: The egg helps to bind the ingredients, add richness, and improve the dough’s structure, contributing to the pretzel’s final texture.
Butter (Dairy-Free Option): Regular unsalted butter can be used, but for a lactose-intolerant or dairy-free option, use a good quality dairy-free butter (also known as vegan butter).
Baking Soda Bath: Do NOT skip the baking soda bath! This essential step is responsible for the characteristic chewy texture and deep golden-brown crust of pretzels. It gelatinizes the surface of the dough, preparing it for baking. The optional honey in the bath further aids in browning and adds a subtle sweetness.
Storing: These pretzel bites are best served immediately after baking for optimal freshness and texture. If you have leftovers, store them in an airtight container at room temperature for 2-3 days. Reheat in the microwave for about 15-20 seconds to restore their warmth and chewiness.
Freezing: I do NOT recommend freezing these gluten-free pretzels. The freezing and thawing process can negatively affect their delicate texture, often making them crumbly or tough rather than soft and chewy.
- Prep Time: 20 mins
- Rising Time: 1 hour
- Cook Time: 10 mins
- Category: Snacks
- Method: Baking
- Cuisine: Western
