From Failed Loaves to Fluffy Perfection: My Journey to Baking the Ultimate Homemade Ciabatta Bread
My culinary journey with homemade bread began with an optimistic spark, ignited by the alluring idea of pulling warm, fragrant loaves straight from my own oven. For countless weeks, my kitchen transformed into a relentless experimental lab. I meticulously explored various recipes, dabbled with different flour types, and even experimented with an array of yeast variations, each attempt fueled by the promise of baking the perfect loaf. Yet, despite my unwavering dedication and numerous efforts, the results consistently fell into the realm of “just okay.”
The bread I produced was always edible, certainly not akin to inedible bricks, but it perpetually lacked that special something – that ethereal texture, that rich aroma, that profound sense of accomplishment and satisfaction that truly great homemade bread evokes. Each time, a subtle disappointment lingered, a quiet reminder that I hadn’t quite hit the mark.
Perhaps it’s a touch of stubbornness, or maybe just a deep-seated determination, but I’m not one to easily abandon a challenge. While many might pragmatically decide that the convenience of store-bought bread far outweighs the hours of effort and occasional culinary frustration, I found myself repeatedly diving back into the flour-dusted fray. I lost count after the third, fourth, or even fifth attempt, driven by an unyielding desire to master the art of bread-making.
I proudly consider myself a tenacious individual, someone who doesn’t simply give up when faced with a seemingly insurmountable goal. This persistent spirit, often perceived as a touch of pig-headedness by some, became my driving force in the pursuit of baking truly exceptional homemade bread.
A Breakthrough in My Homemade Bread Quest
It brings me immense joy, and frankly, an even greater sense of relief, to share that my relentless pursuit has finally yielded success. After countless trials, numerous errors, and a fair share of disheartening outcomes, I have, at long last, discovered a homemade bread recipe that truly delivers. This isn’t just another “okay” bread; this is a keeper, a recipe that has changed my perspective on home baking entirely.
For a while, the accumulation of unsatisfactory loaves had led to a creeping disillusionment. While I never entirely surrendered the hope of one day stumbling upon a recipe I genuinely loved, I must admit, my active search had tapered off. The energy for sifting through blogs and cookbooks had waned, replaced by a quiet resignation that perhaps perfect homemade bread was simply not in my baking destiny.
The Serendipitous Discovery of a Perfect Ciabatta Recipe
Life, however, often works in mysterious and beautiful ways. Just when you ease your frantic search for something, letting go of the desperate grip of expectation, that very thing can miraculously appear before you, often in the most unexpected circumstances. And so it was with my bread-making journey.
It was a Friday afternoon, a day when my energy reserves were thoroughly depleted after a long and grueling week, that serendipity struck. Scrolling through my news feed, I stumbled upon a blog post that seemed to leap out at me. There it was, the perfect homemade ciabatta bread recipe, seemingly staring back at me from the screen. In my exhausted state, I almost questioned if it was a mere mirage, a hopeful figment of my bread-deprived imagination.
The recipe came from Michelle’s blog, a source I had grown to deeply trust over time. It turned out Michelle herself had embarked on a similar quest for the elusive perfect homemade ciabatta bread recipe. After her own series of countless failed attempts, she had finally created a loaf so stunning, so utterly perfect, that her pictures alone were enough to inspire awe and a renewed sense of hope in me. For those unfamiliar, ciabatta is a delightful Italian white bread, distinctively elongated, broad, and flat, crafted from wheat flour and yeast, and known for its many delicious regional variations.
Michelle’s recipes are renowned for their exceptional clarity and detailed instructions. She has a unique ability to make you feel as though she’s right there beside you in the kitchen, offering gentle guidance with every step. My previous success with her lemon squares recipe, which turned out absolutely phenomenal, cemented my faith in her culinary expertise. Naturally, there was no hesitation; I immediately printed out the ciabatta recipe, eager to transform flour and water into something truly magical at the earliest opportunity.
Embracing the Sticky Challenge: The Start of the Ciabatta Dough
That very night, despite a lingering physical exhaustion from the week and the ominous first signs of a looming flu, an irresistible pull drew me back into the kitchen. My previous bread failures seemed to fade into the background as I found myself, once again, elbow-deep in a concoction of flour, water, aromatic olive oil, and active yeast, embarking on this promising new recipe.
Had anyone witnessed me in that moment, they likely would have erupted in laughter. My hands were thoroughly coated in a strangely off-white, incredibly sticky bread dough – a substance that, at first glance, bore a far greater resemblance to thick, creamy glue than to anything that could possibly transform into delicious bread. A wave of panic began to rise within me; the absolute last thing I needed after such a demanding week was to end up with nearly half a kilo of unusable, glue-like dough destined for the bin. The memory of past disappointments loomed large.
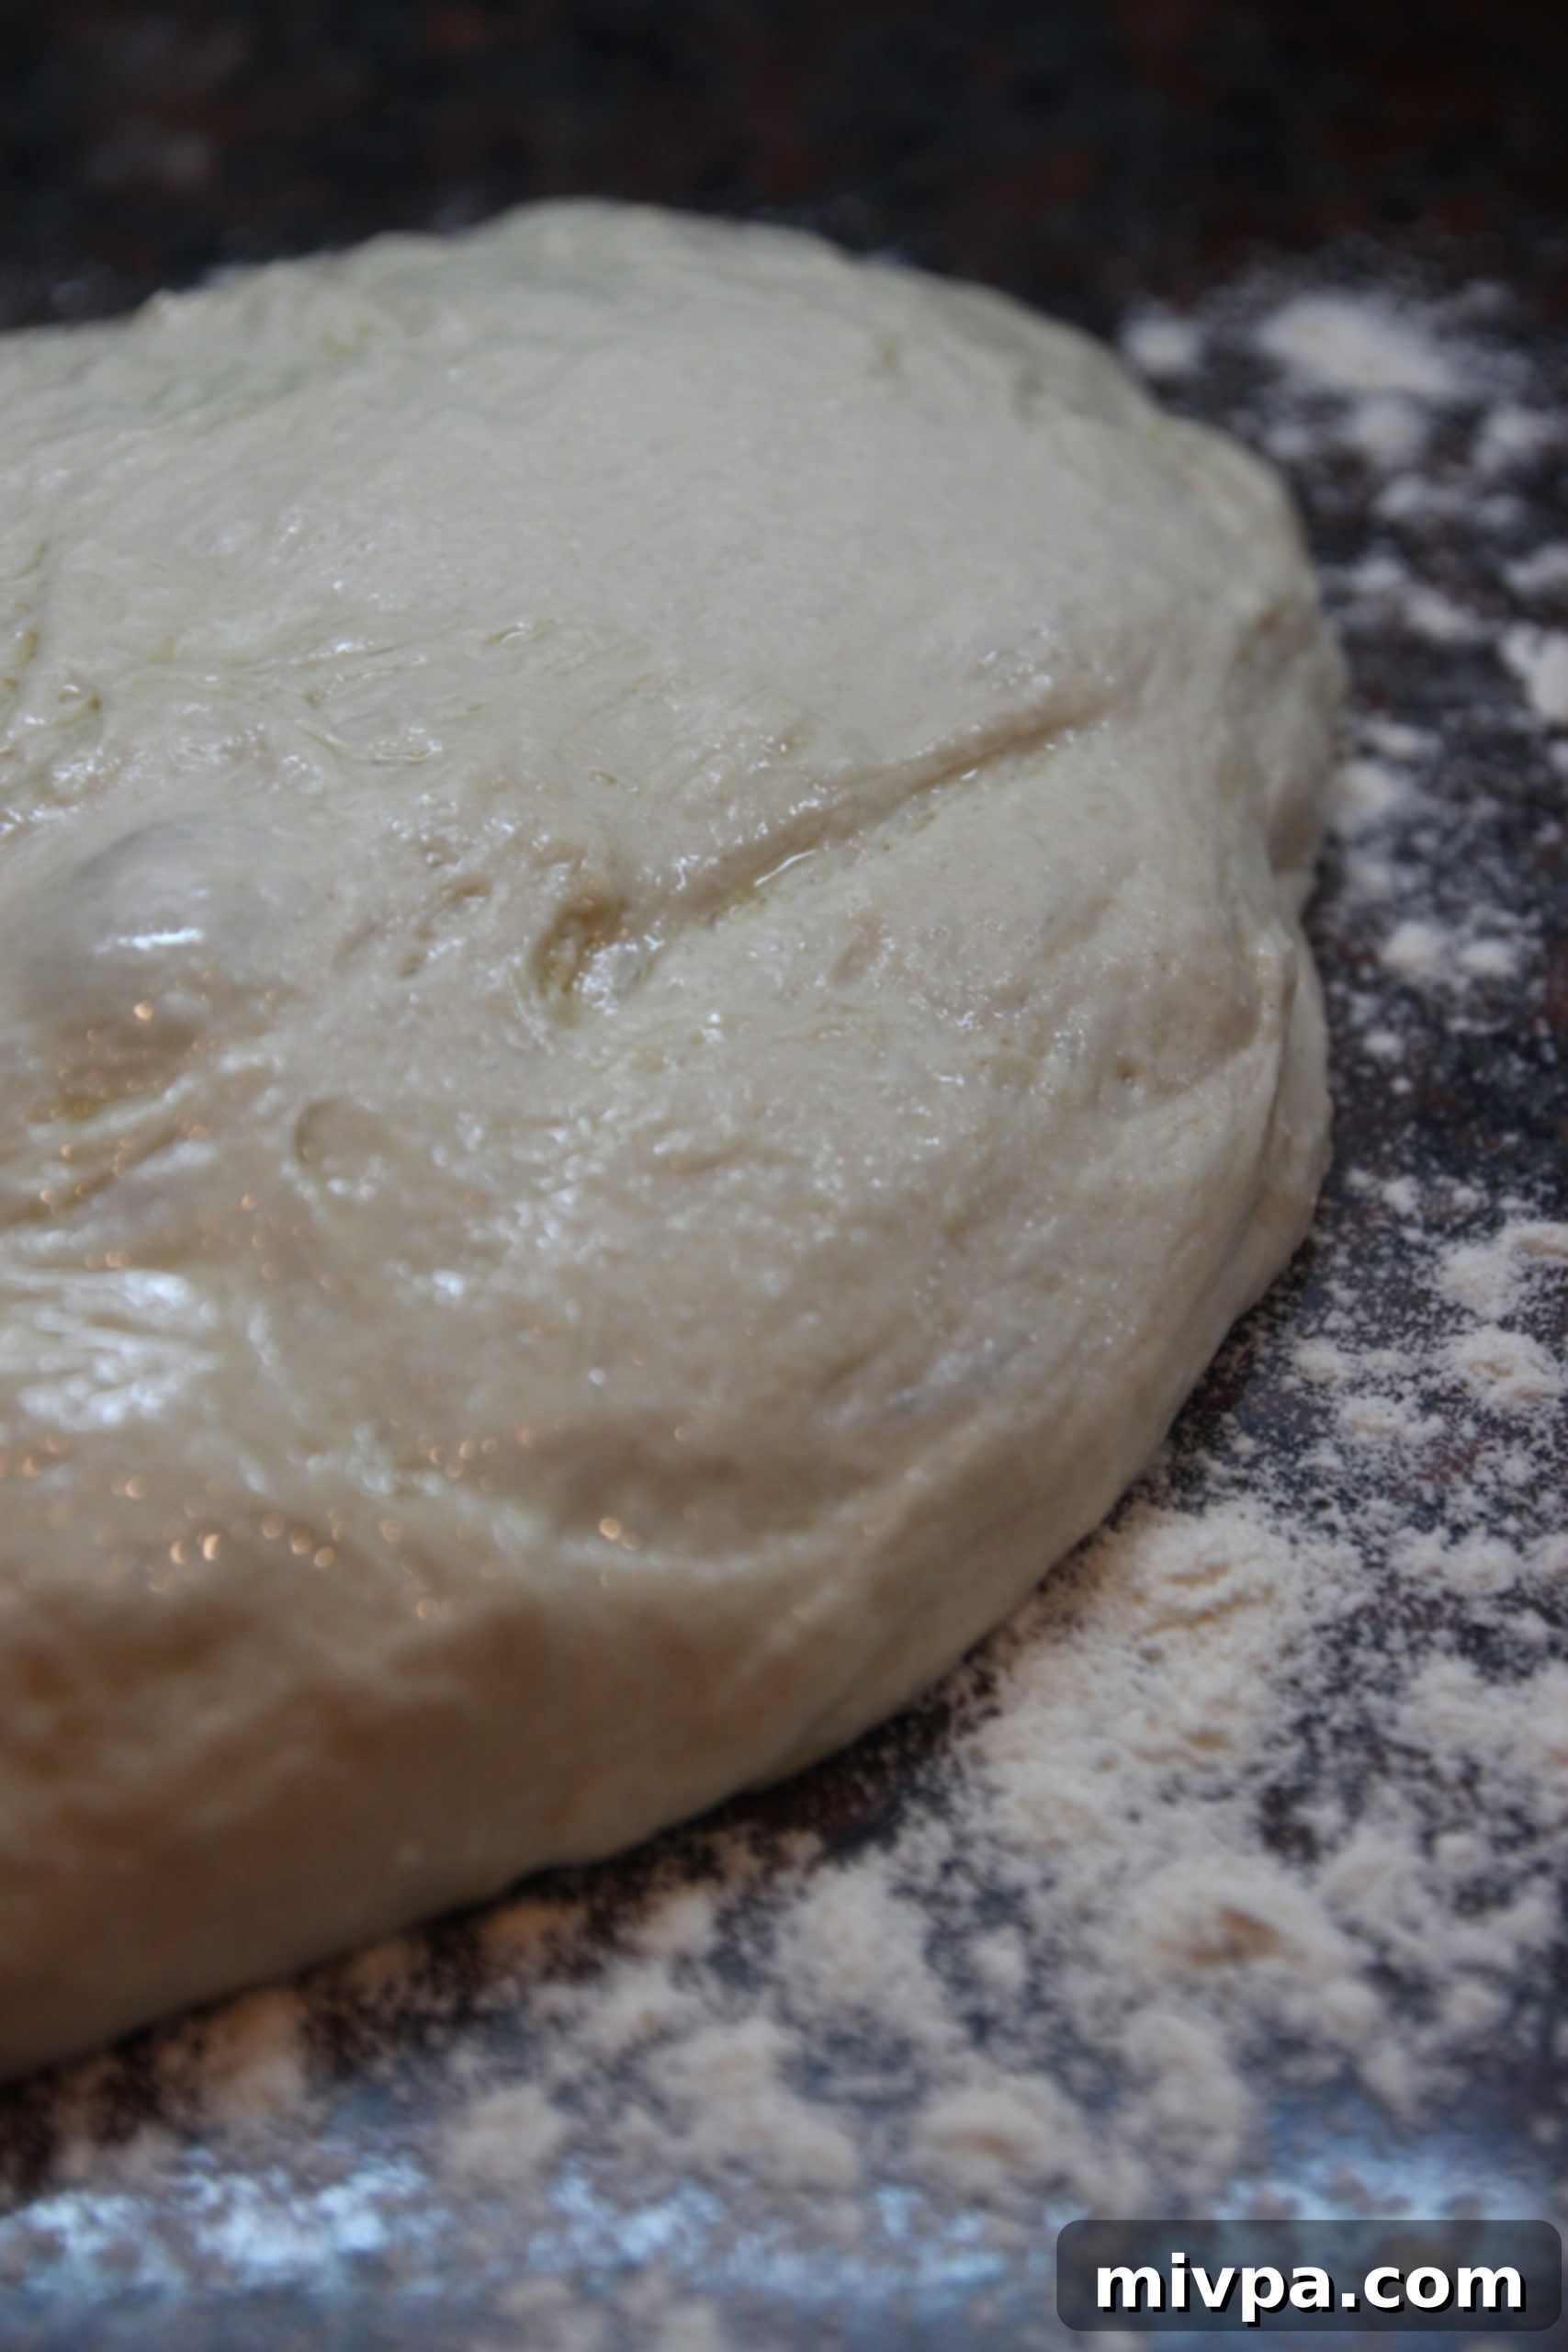
Yet, a crucial detail in Michelle’s recipe provided an immediate lifeline. She had explicitly forewarned that the extreme stickiness, though undeniably uncomfortable and perhaps alarming, was not only to be expected but was a sign that the dough was developing correctly. Her calm, almost motherly reassurance that I would not regret persevering through this stage was exactly what I needed to quell my rising anxieties. Buoyed by her words, I continued kneading, the exceptionally wet and tacky dough clinging stubbornly to every finger. For a whimsical moment, I imagined myself as a dough-covered Spiderman, albeit a slightly less agile one.
The Agonizing Wait: Watching the Ciabatta Dough Rise
Once the relentless kneading was complete, and the exceptionally sticky dough was finally tucked away for its crucial rising period, a new form of torment began: the wait. I found myself pacing restlessly around the house, a bundle of nervous anticipation. My partner, Juan, often teases me about my inherent impatience, and in this instance, I couldn’t fault his observation. I am, by nature, the kind of baker who compulsively checks the oven window every two minutes for any sign of a cake being done, and then opens the oven every five minutes to poke a toothpick into the batter. Consequently, the prospect of waiting nearly two hours for the ciabatta dough to double in size felt like an exercise in exquisite torture for someone with my particular brand of “patience issues.”
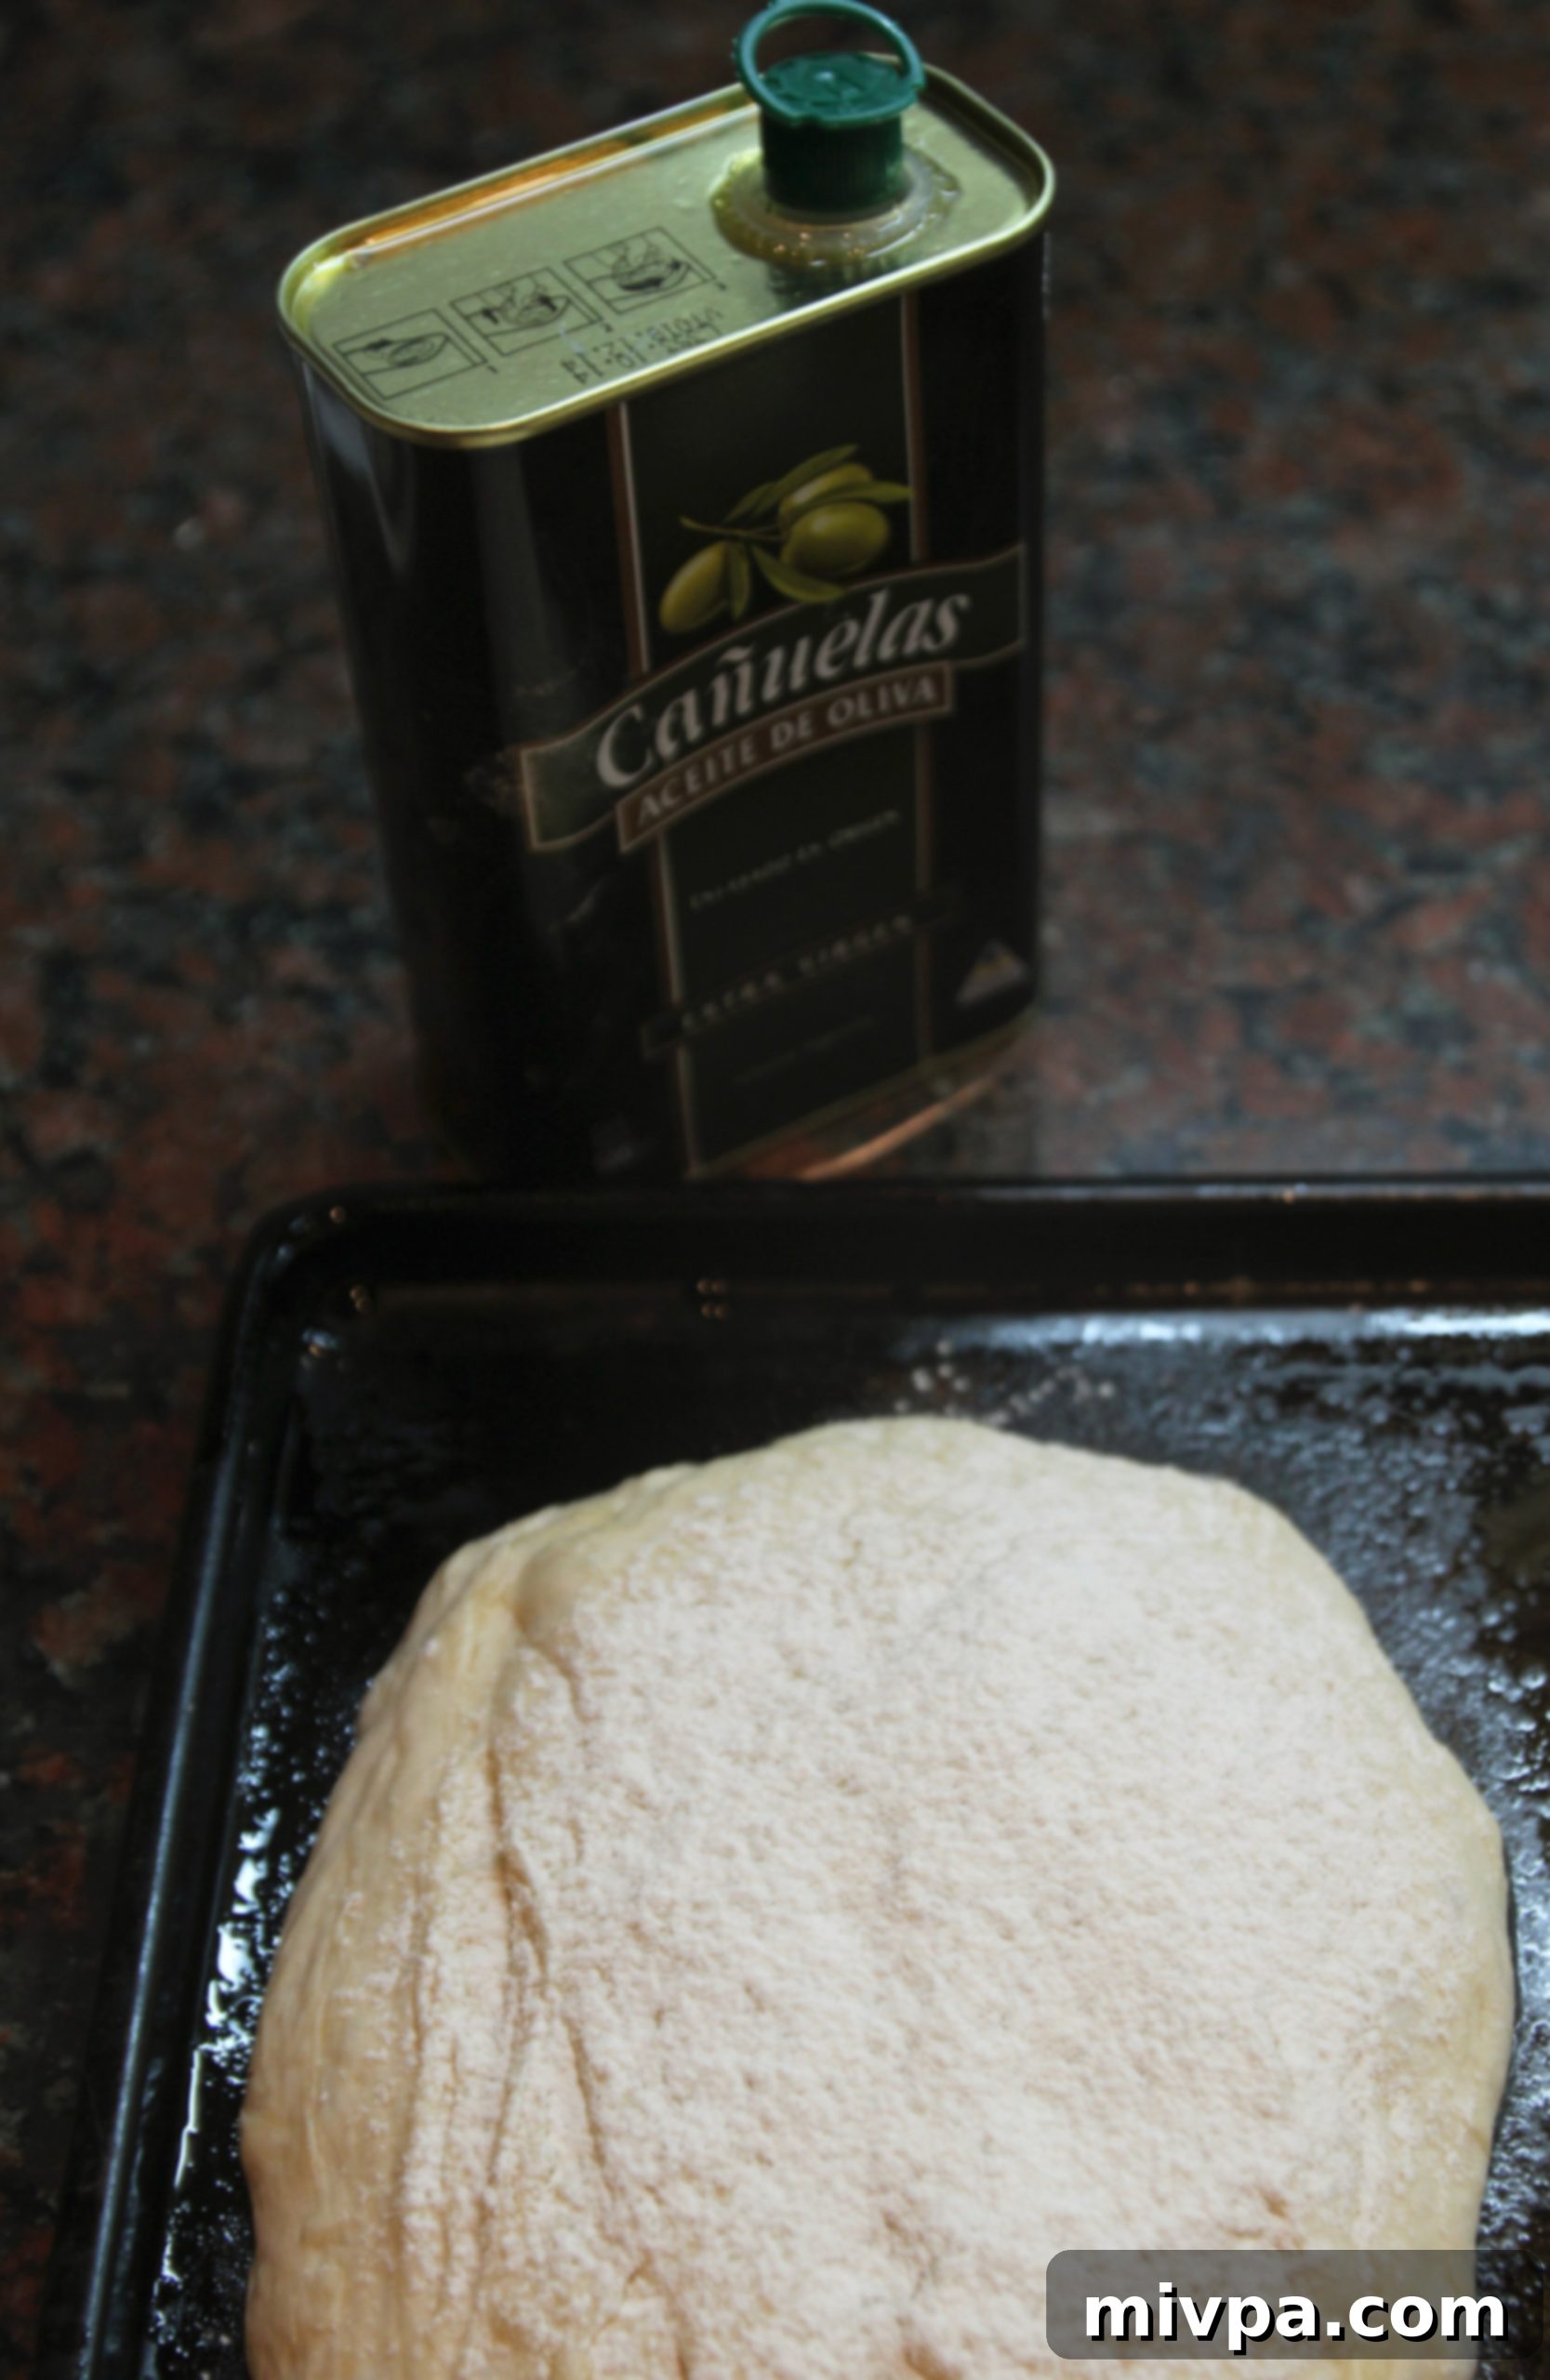
Finally, the moment arrived. The dough, which had started as a dense, sticky mass, had miraculously transformed. It had gracefully doubled in size, becoming a magnificent, fluffy, pale white orb, teeming with air bubbles and promise. Carefully, I transferred the buoyant mass onto my trusty, well-seasoned baking tray – a veteran of countless baking endeavors, now boasting a beautiful bronze-brown patina.
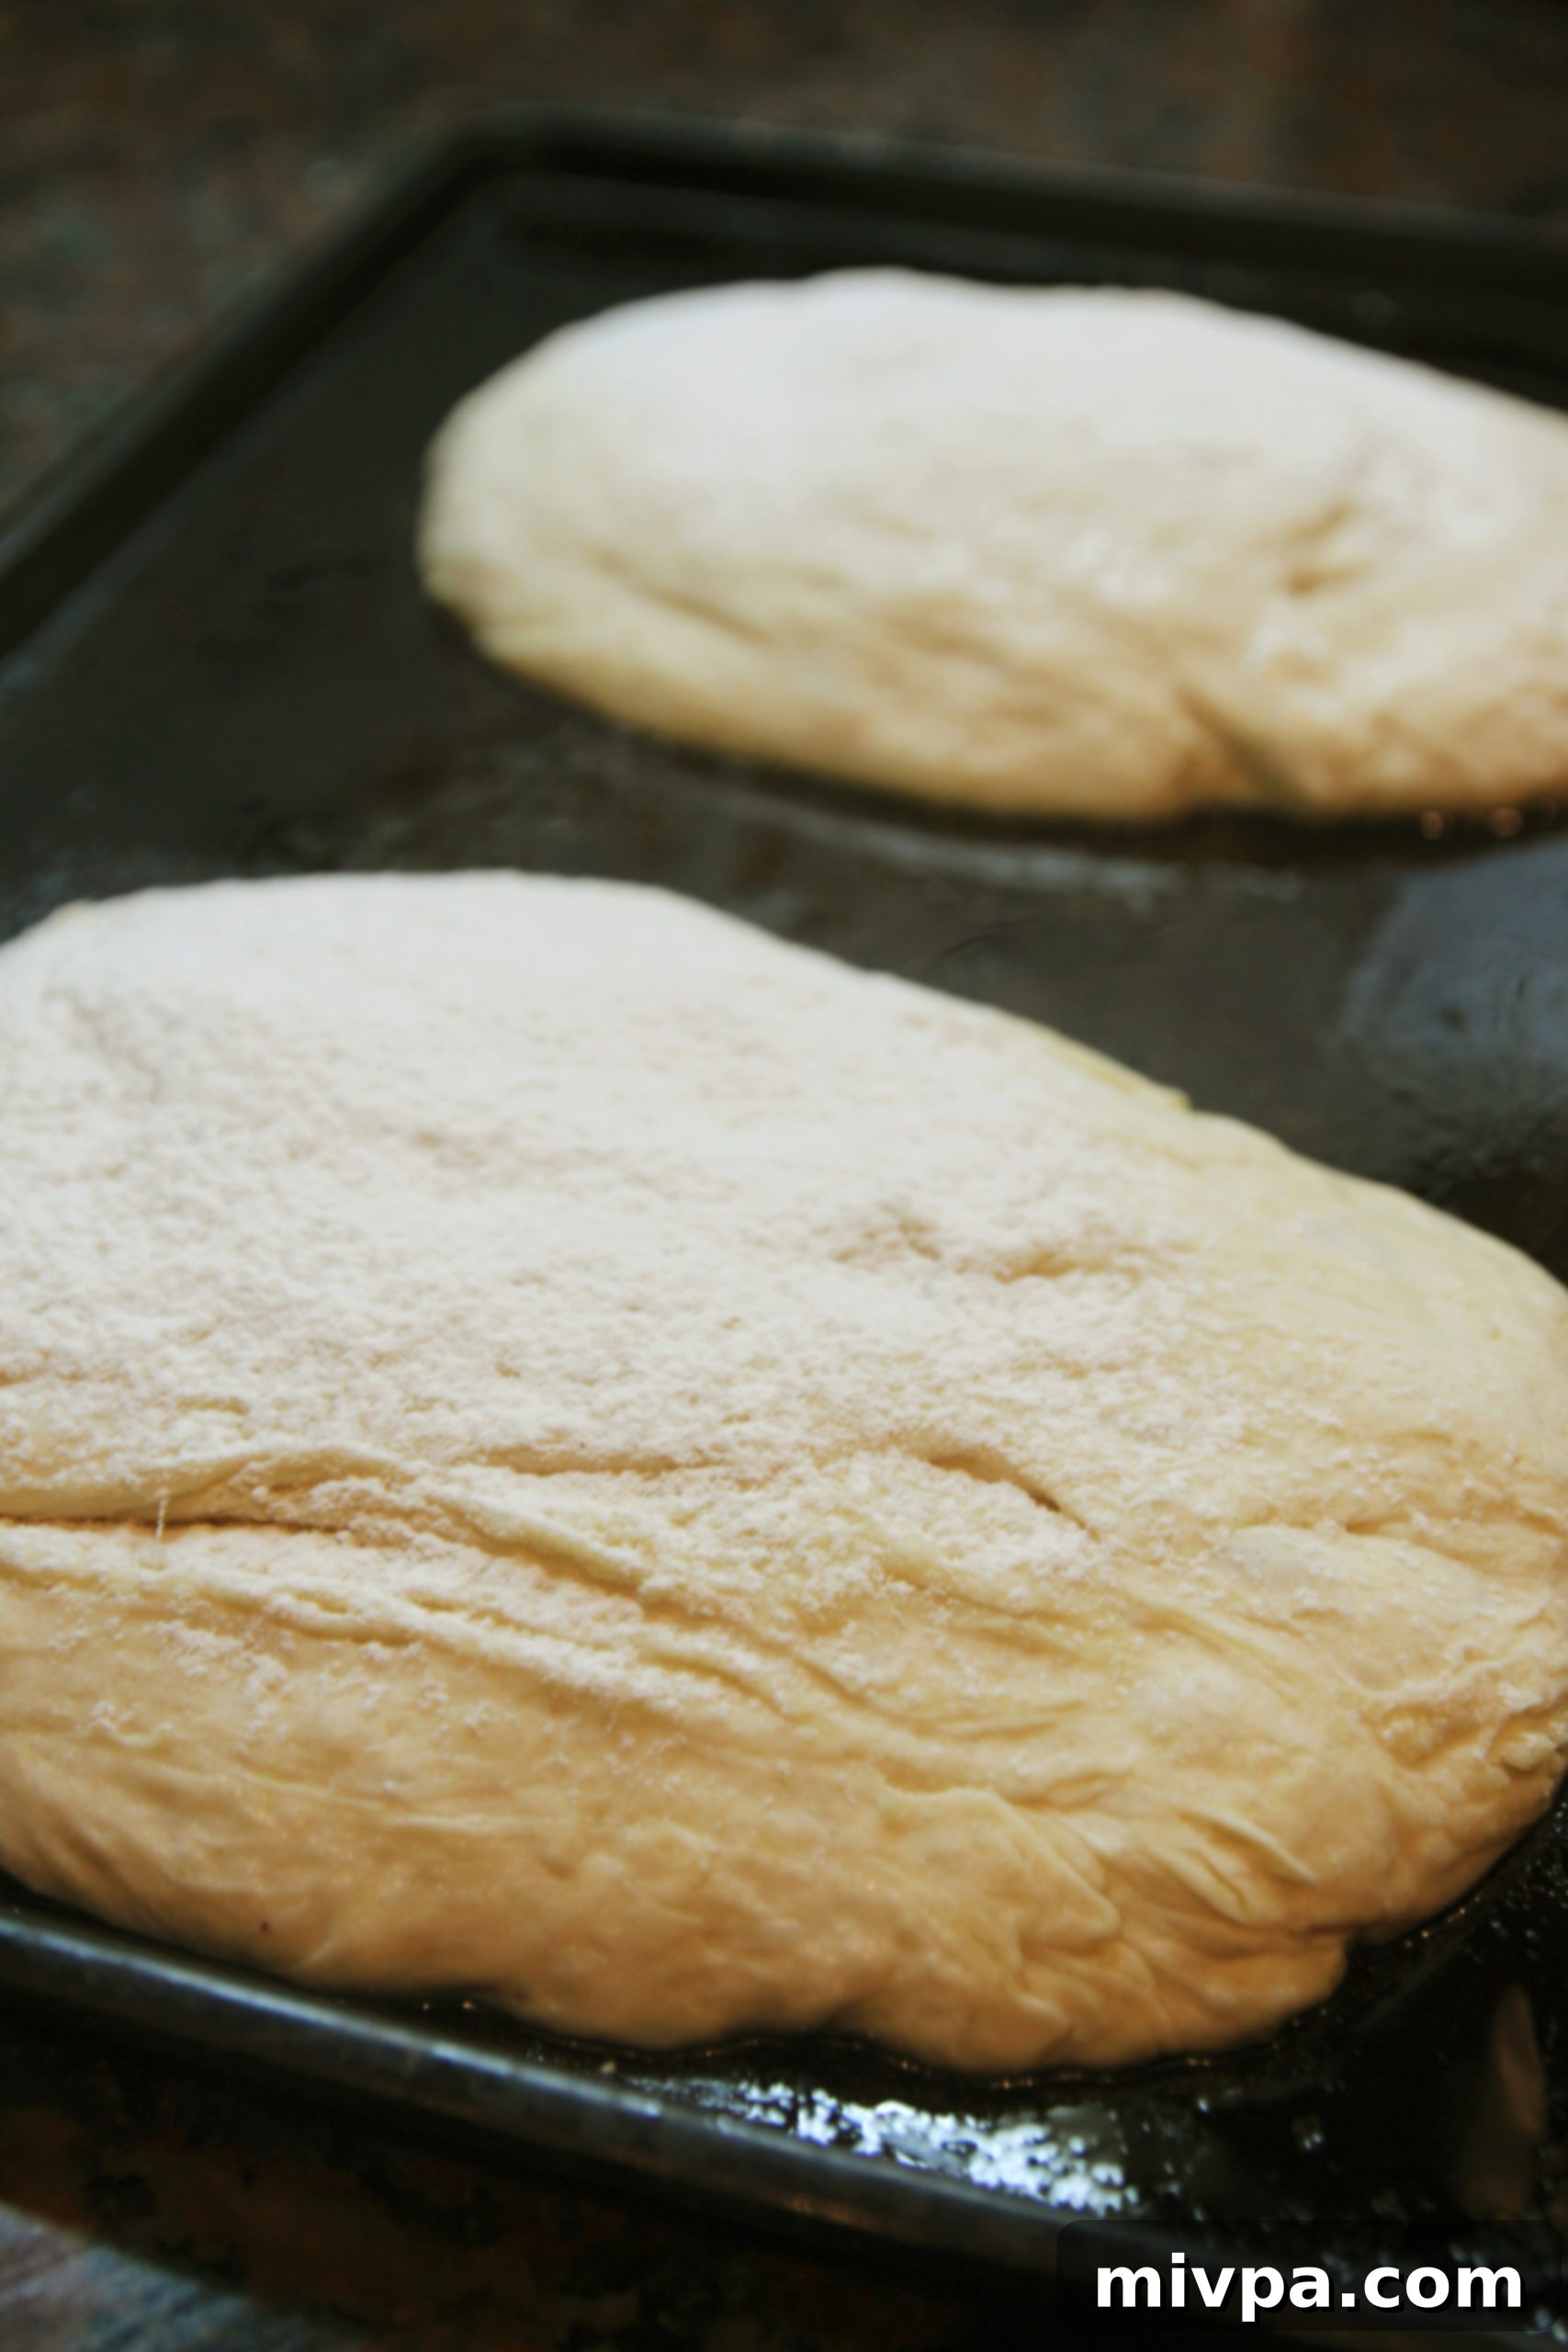
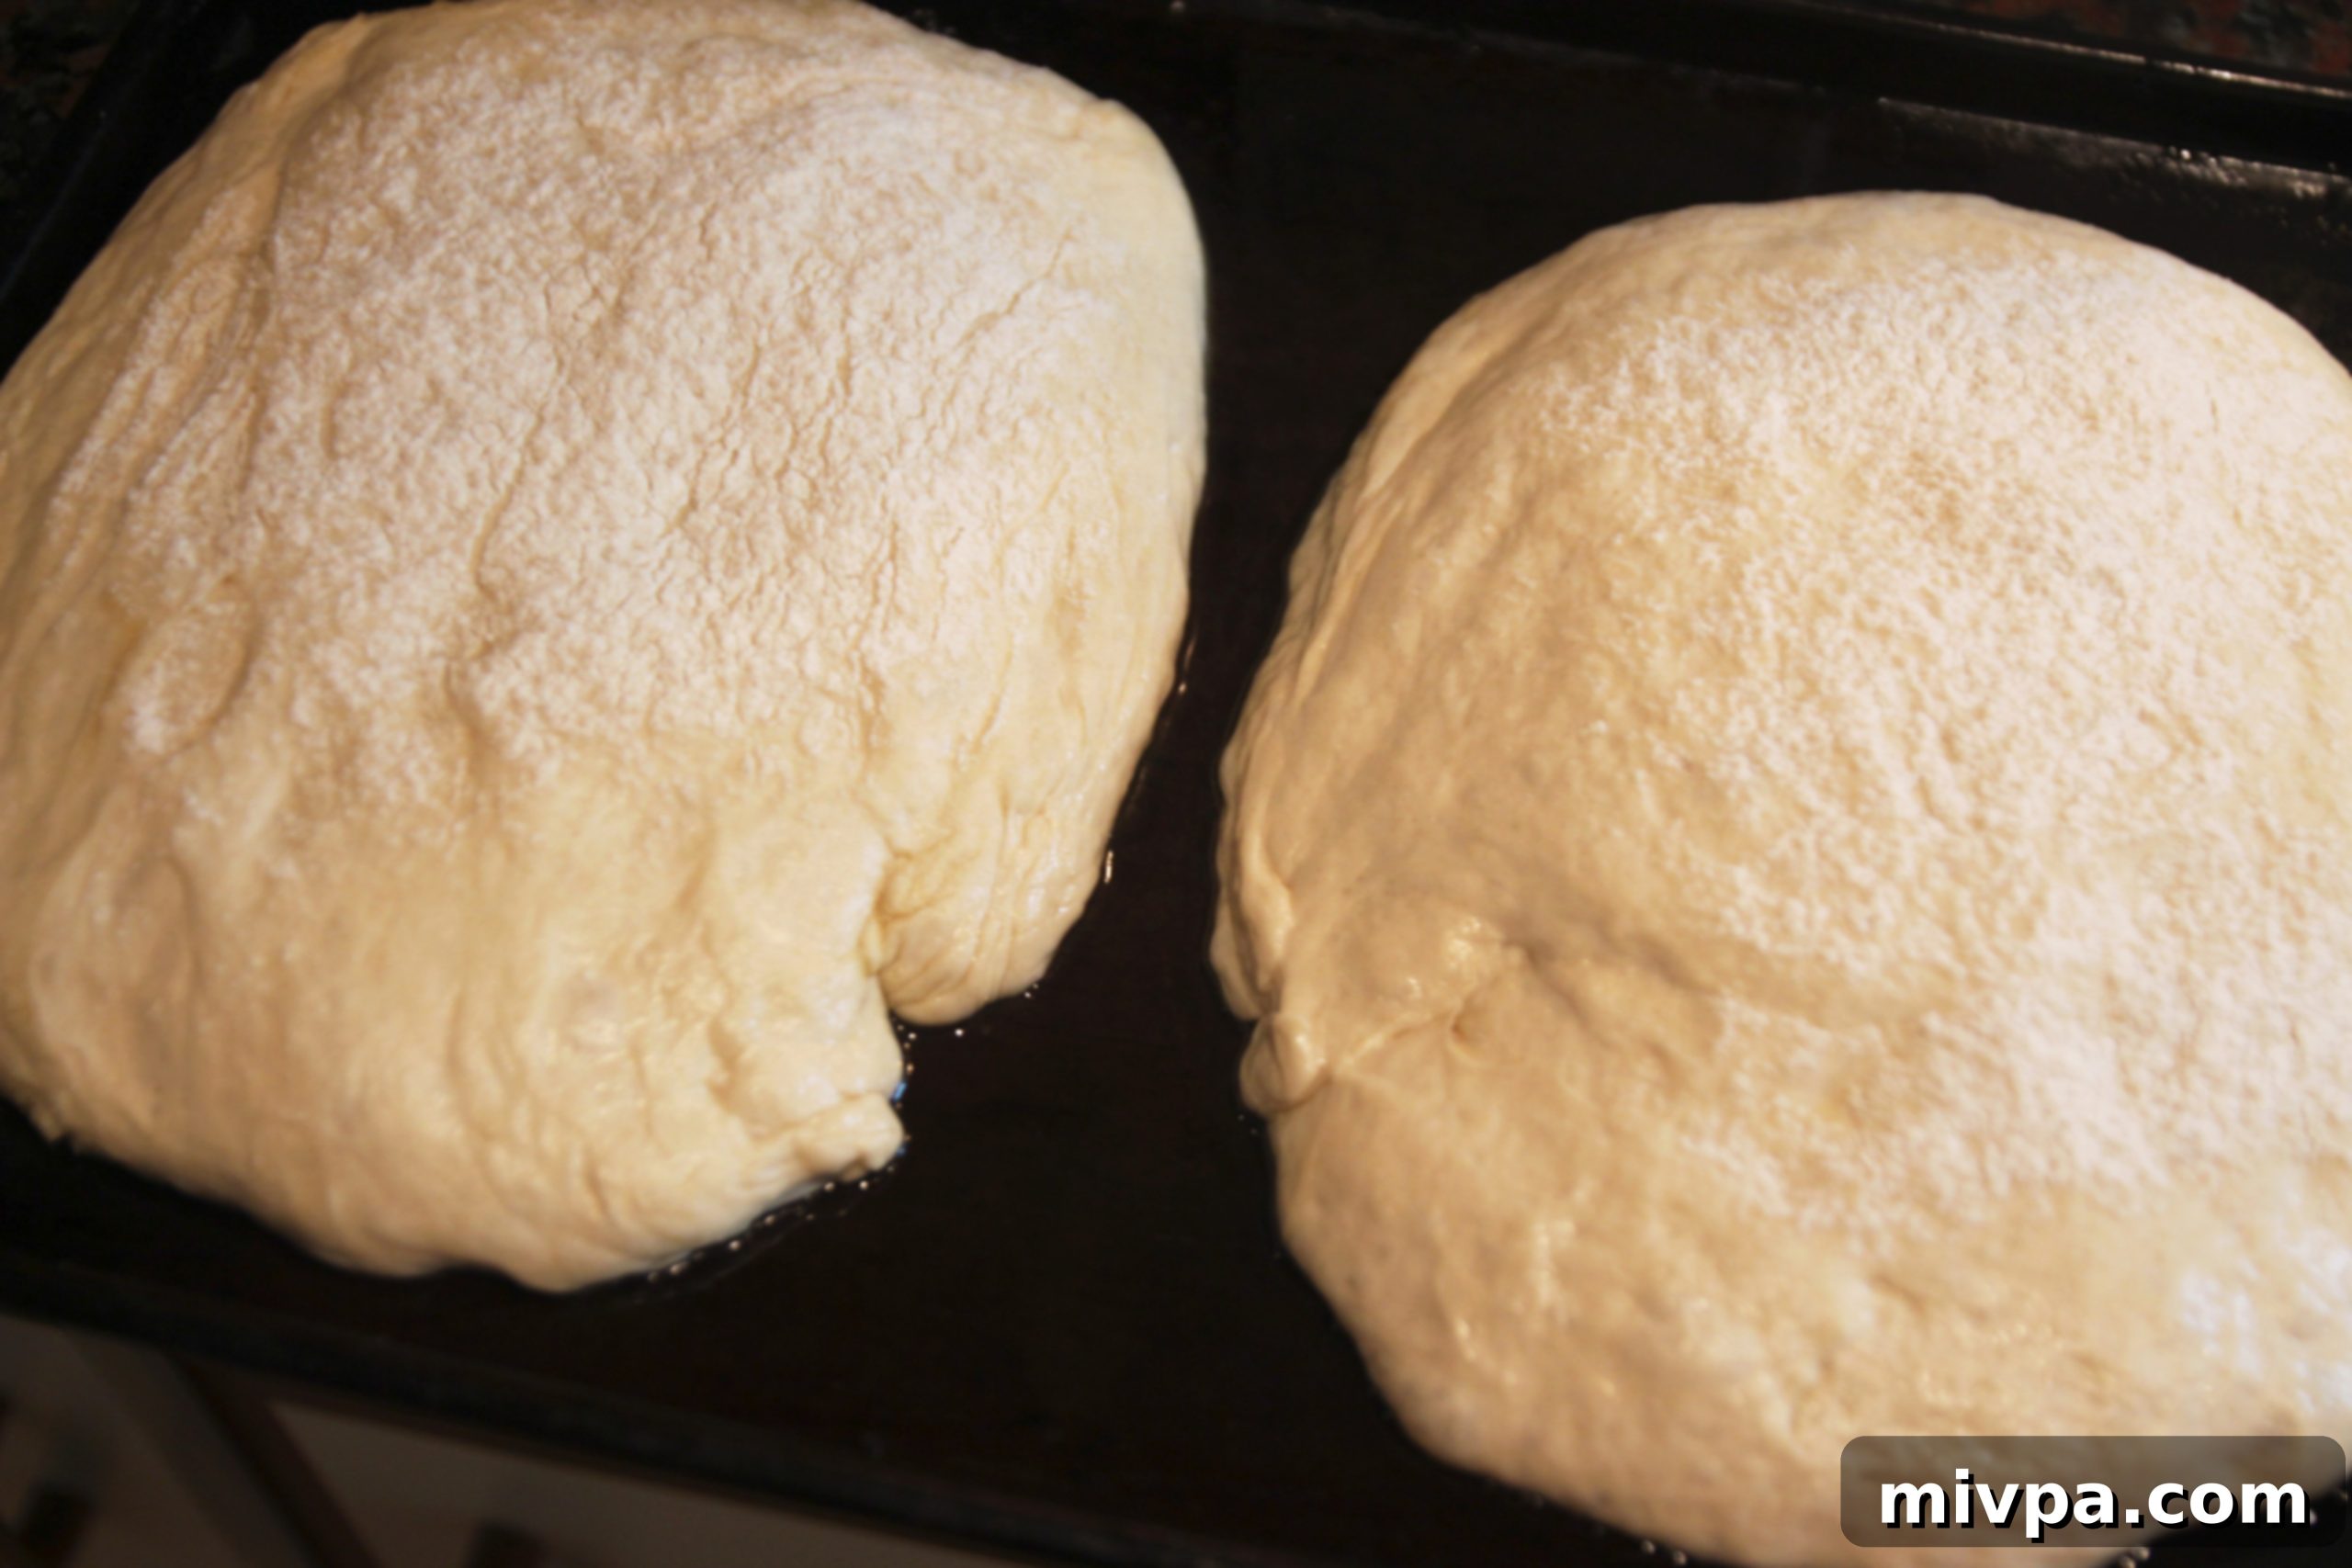
With a gentle touch, I divided the cloud-like dough into two roughly equal portions. A light dusting of flour settled over their surfaces before I laid them down to rest and undergo their final proof. These two nascent loaves, now resembling soft, rounded rectangles, embarked on their last rise, expanding once again to nearly twice their original volume. My heart thrummed with a cautious optimism as I eagerly slid the baking tray into the pre-heated oven, feeling the warmth of potential success radiating through me.
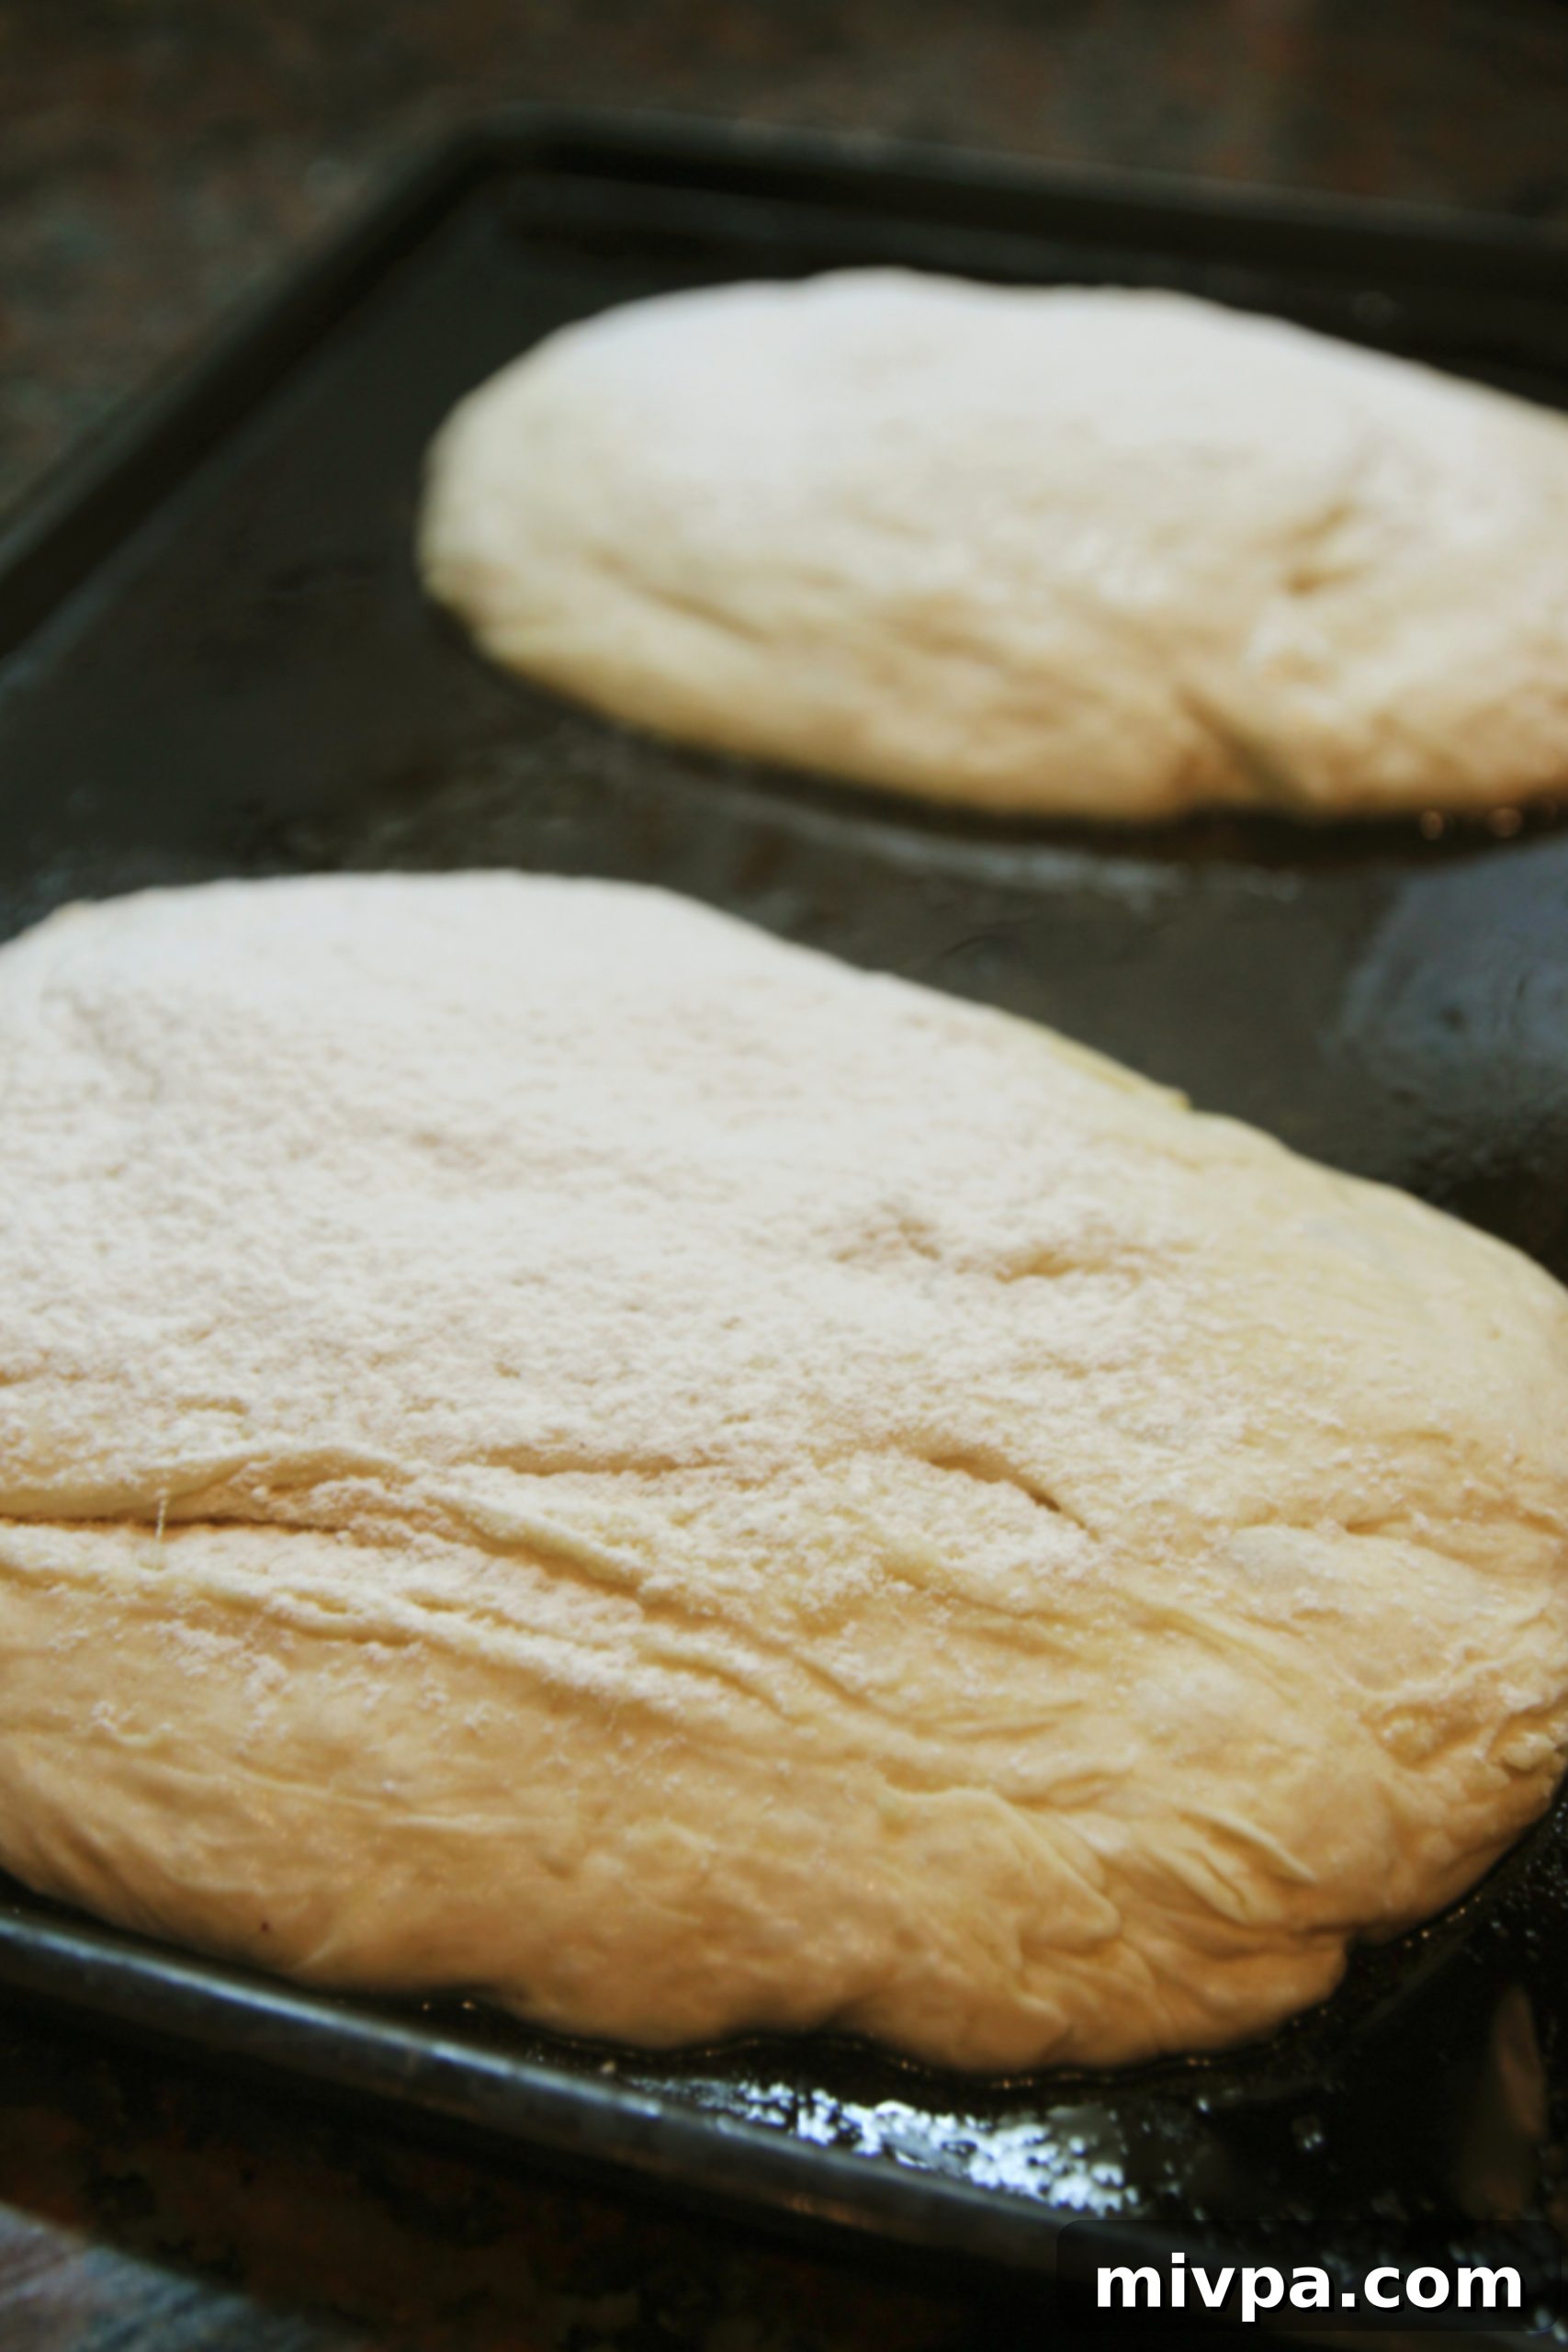
The Golden Reveal: Perfect Ciabatta Fresh from the Oven
Approximately thirty anxious minutes later – a period I spent relentlessly pacing the kitchen, hands clasped tightly, silently begging the recipe to succeed – I finally mustered the courage to nervously open the oven door and peer inside. What greeted me was a sight that instantly banished all doubts and previous disappointments.
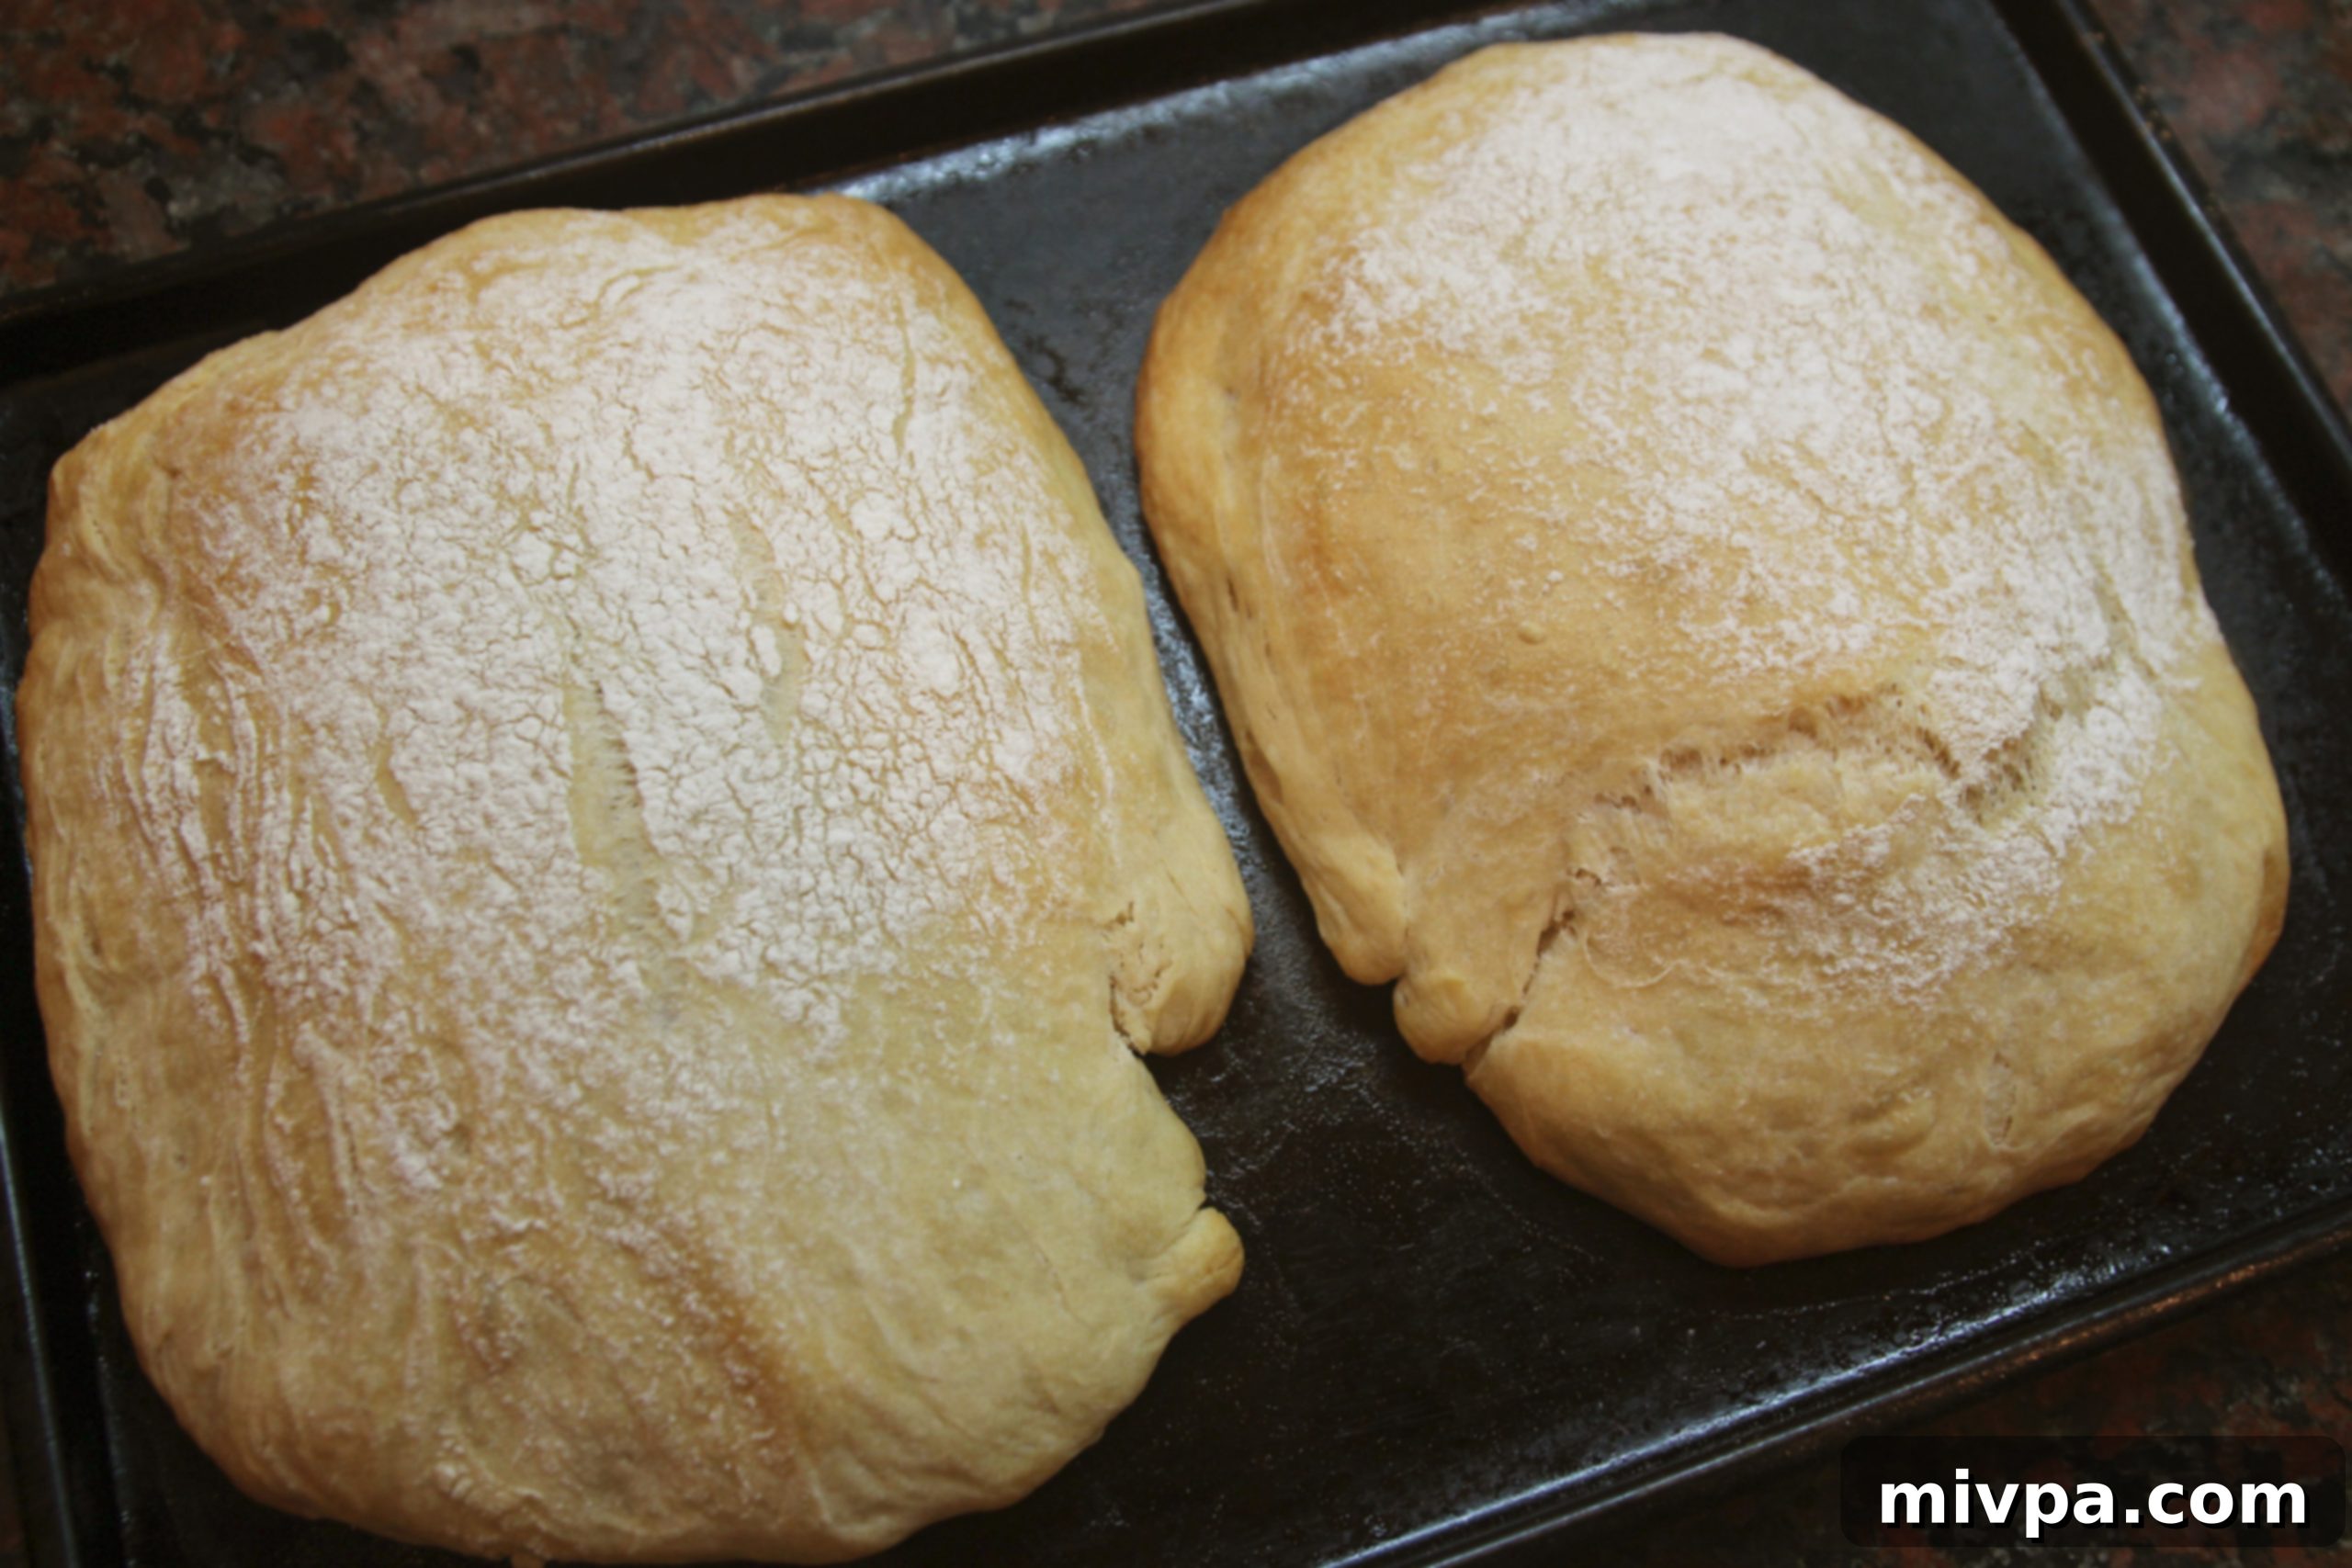
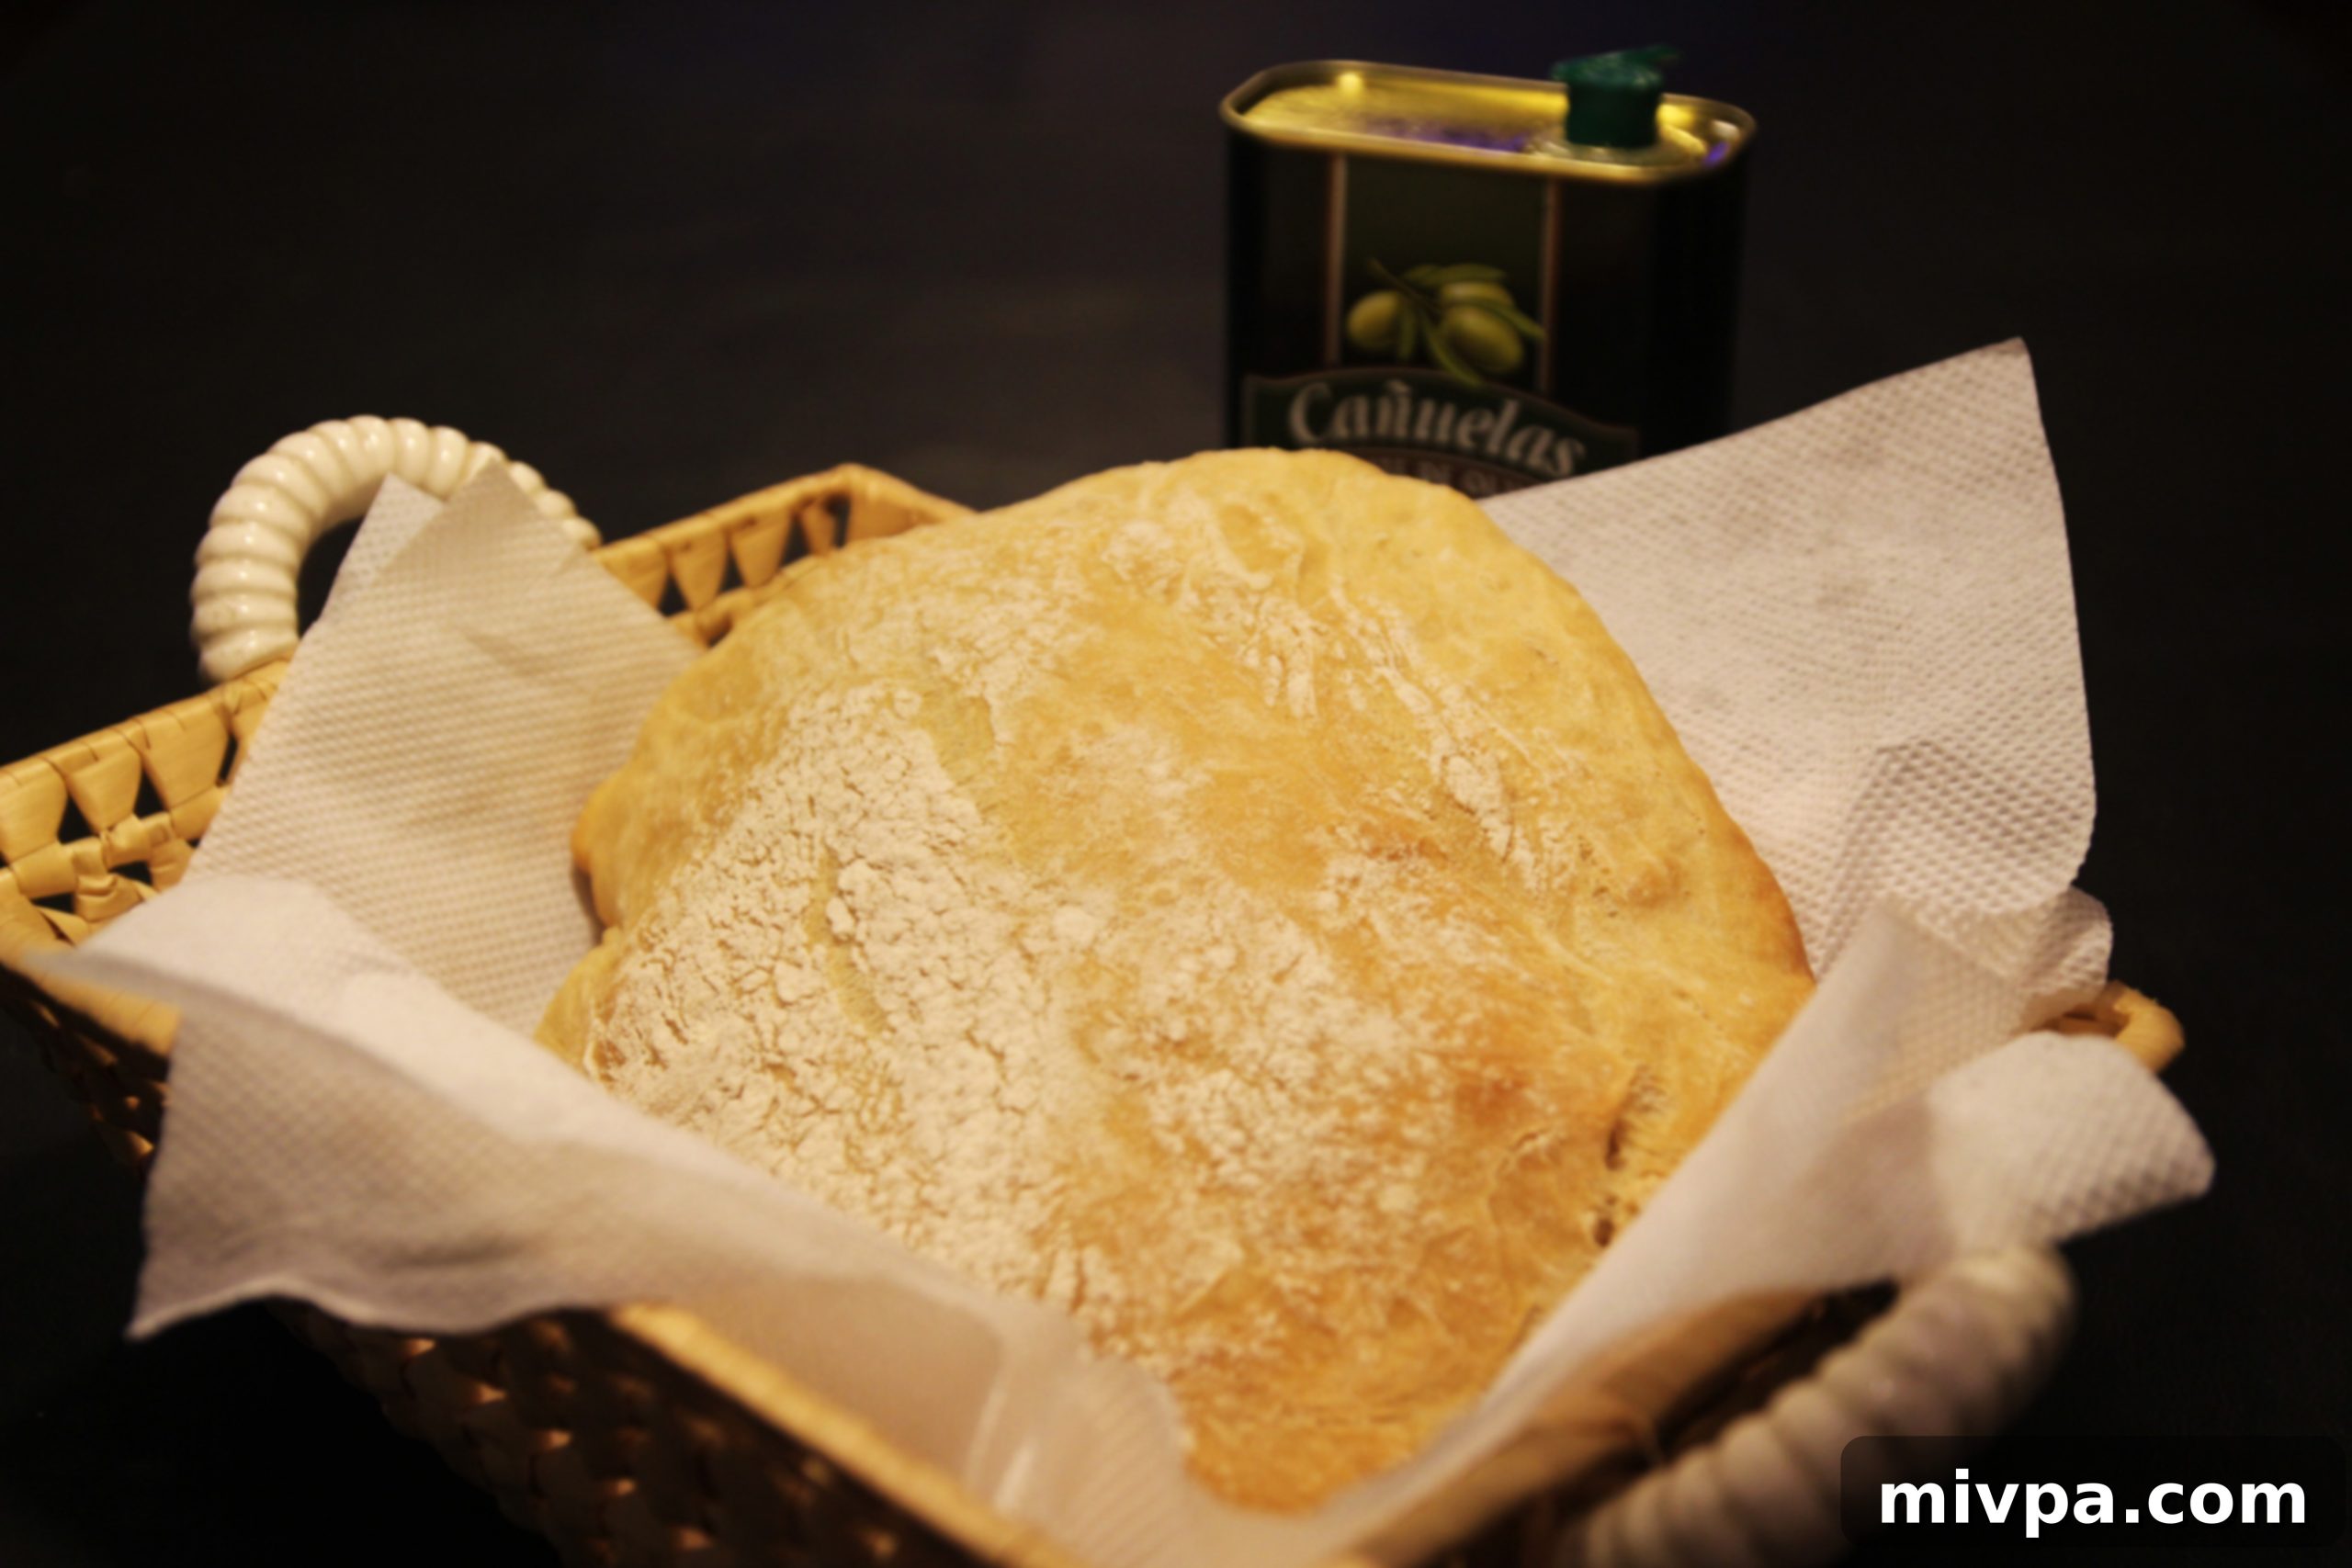
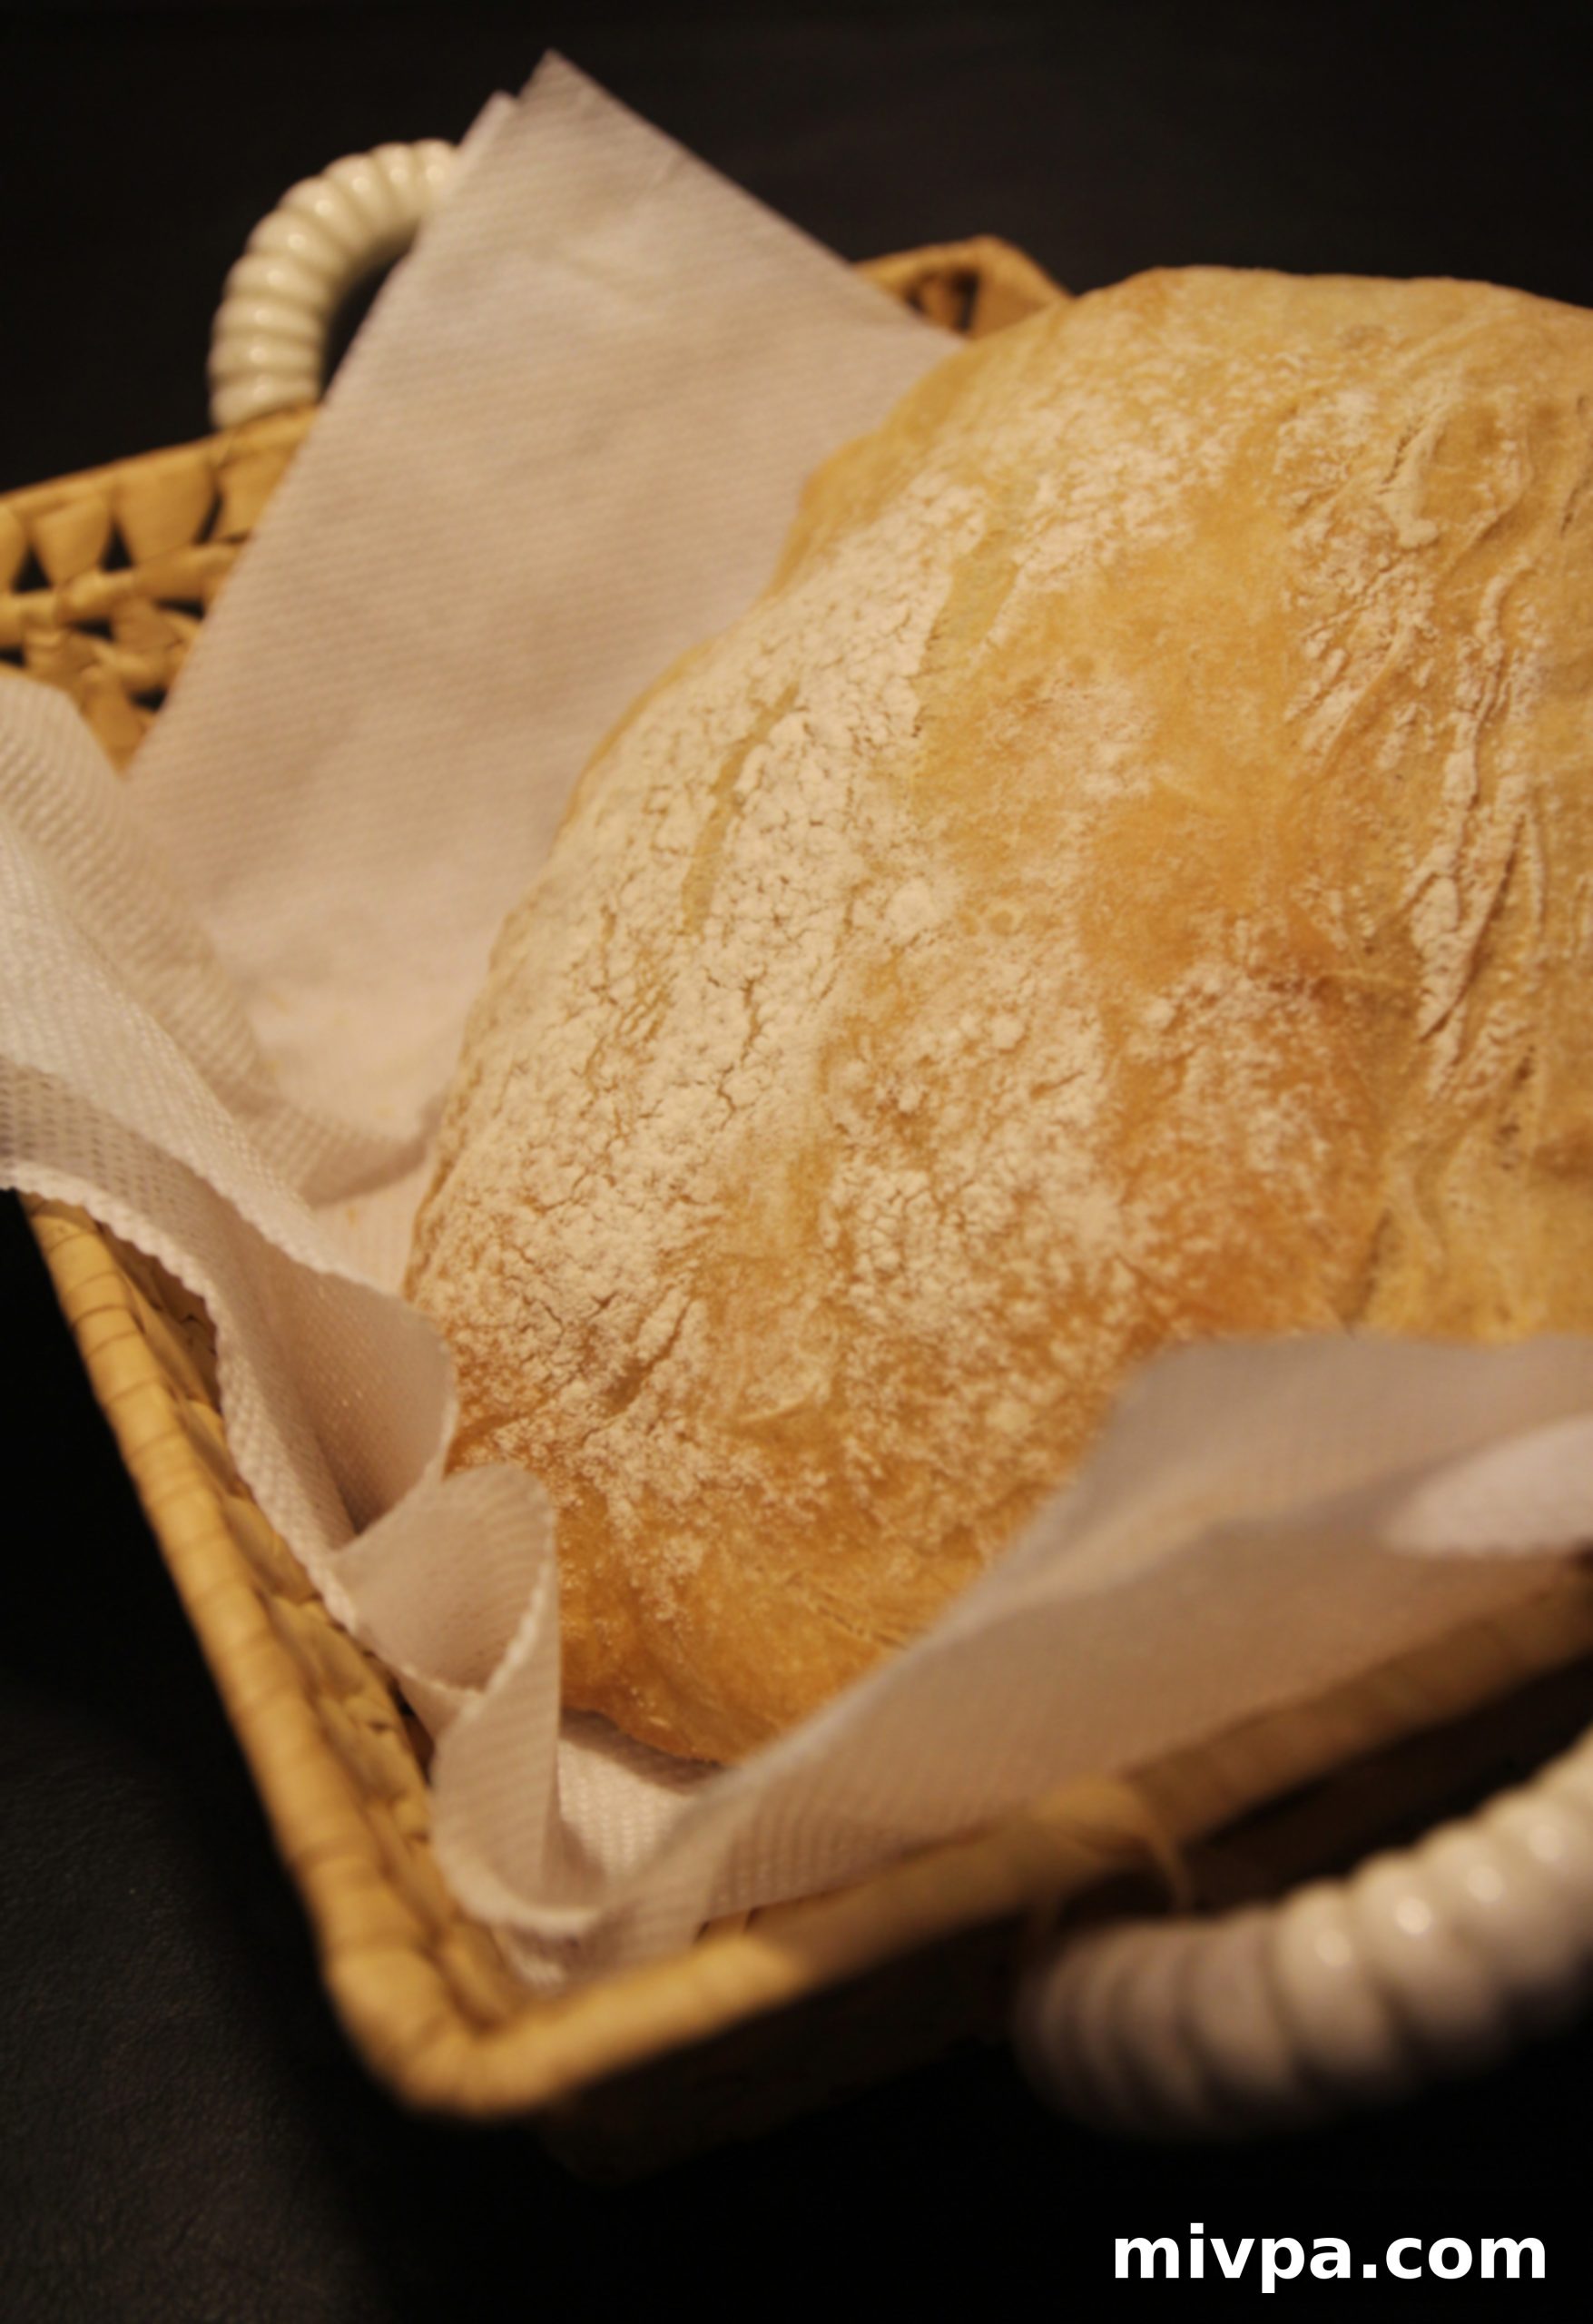
There, perfectly baked, lay two utterly beautiful, golden-brown loaves of homemade ciabatta bread. The rich, wholesome aroma that billowed from the oven was nothing short of intoxicating, filling my kitchen with the comforting, unmistakable scent of a professional bakery. It was a moment of pure, unadulterated triumph.
The sight was almost too good to be true. My skeptical mind, still scarred by a litany of past baking failures, struggled to process the perfection before me. Could these truly be my creations? The loaves boasted a gorgeous, rustic crust and an inviting shape that spoke volumes of their quality. They were, in a word, magnificent.
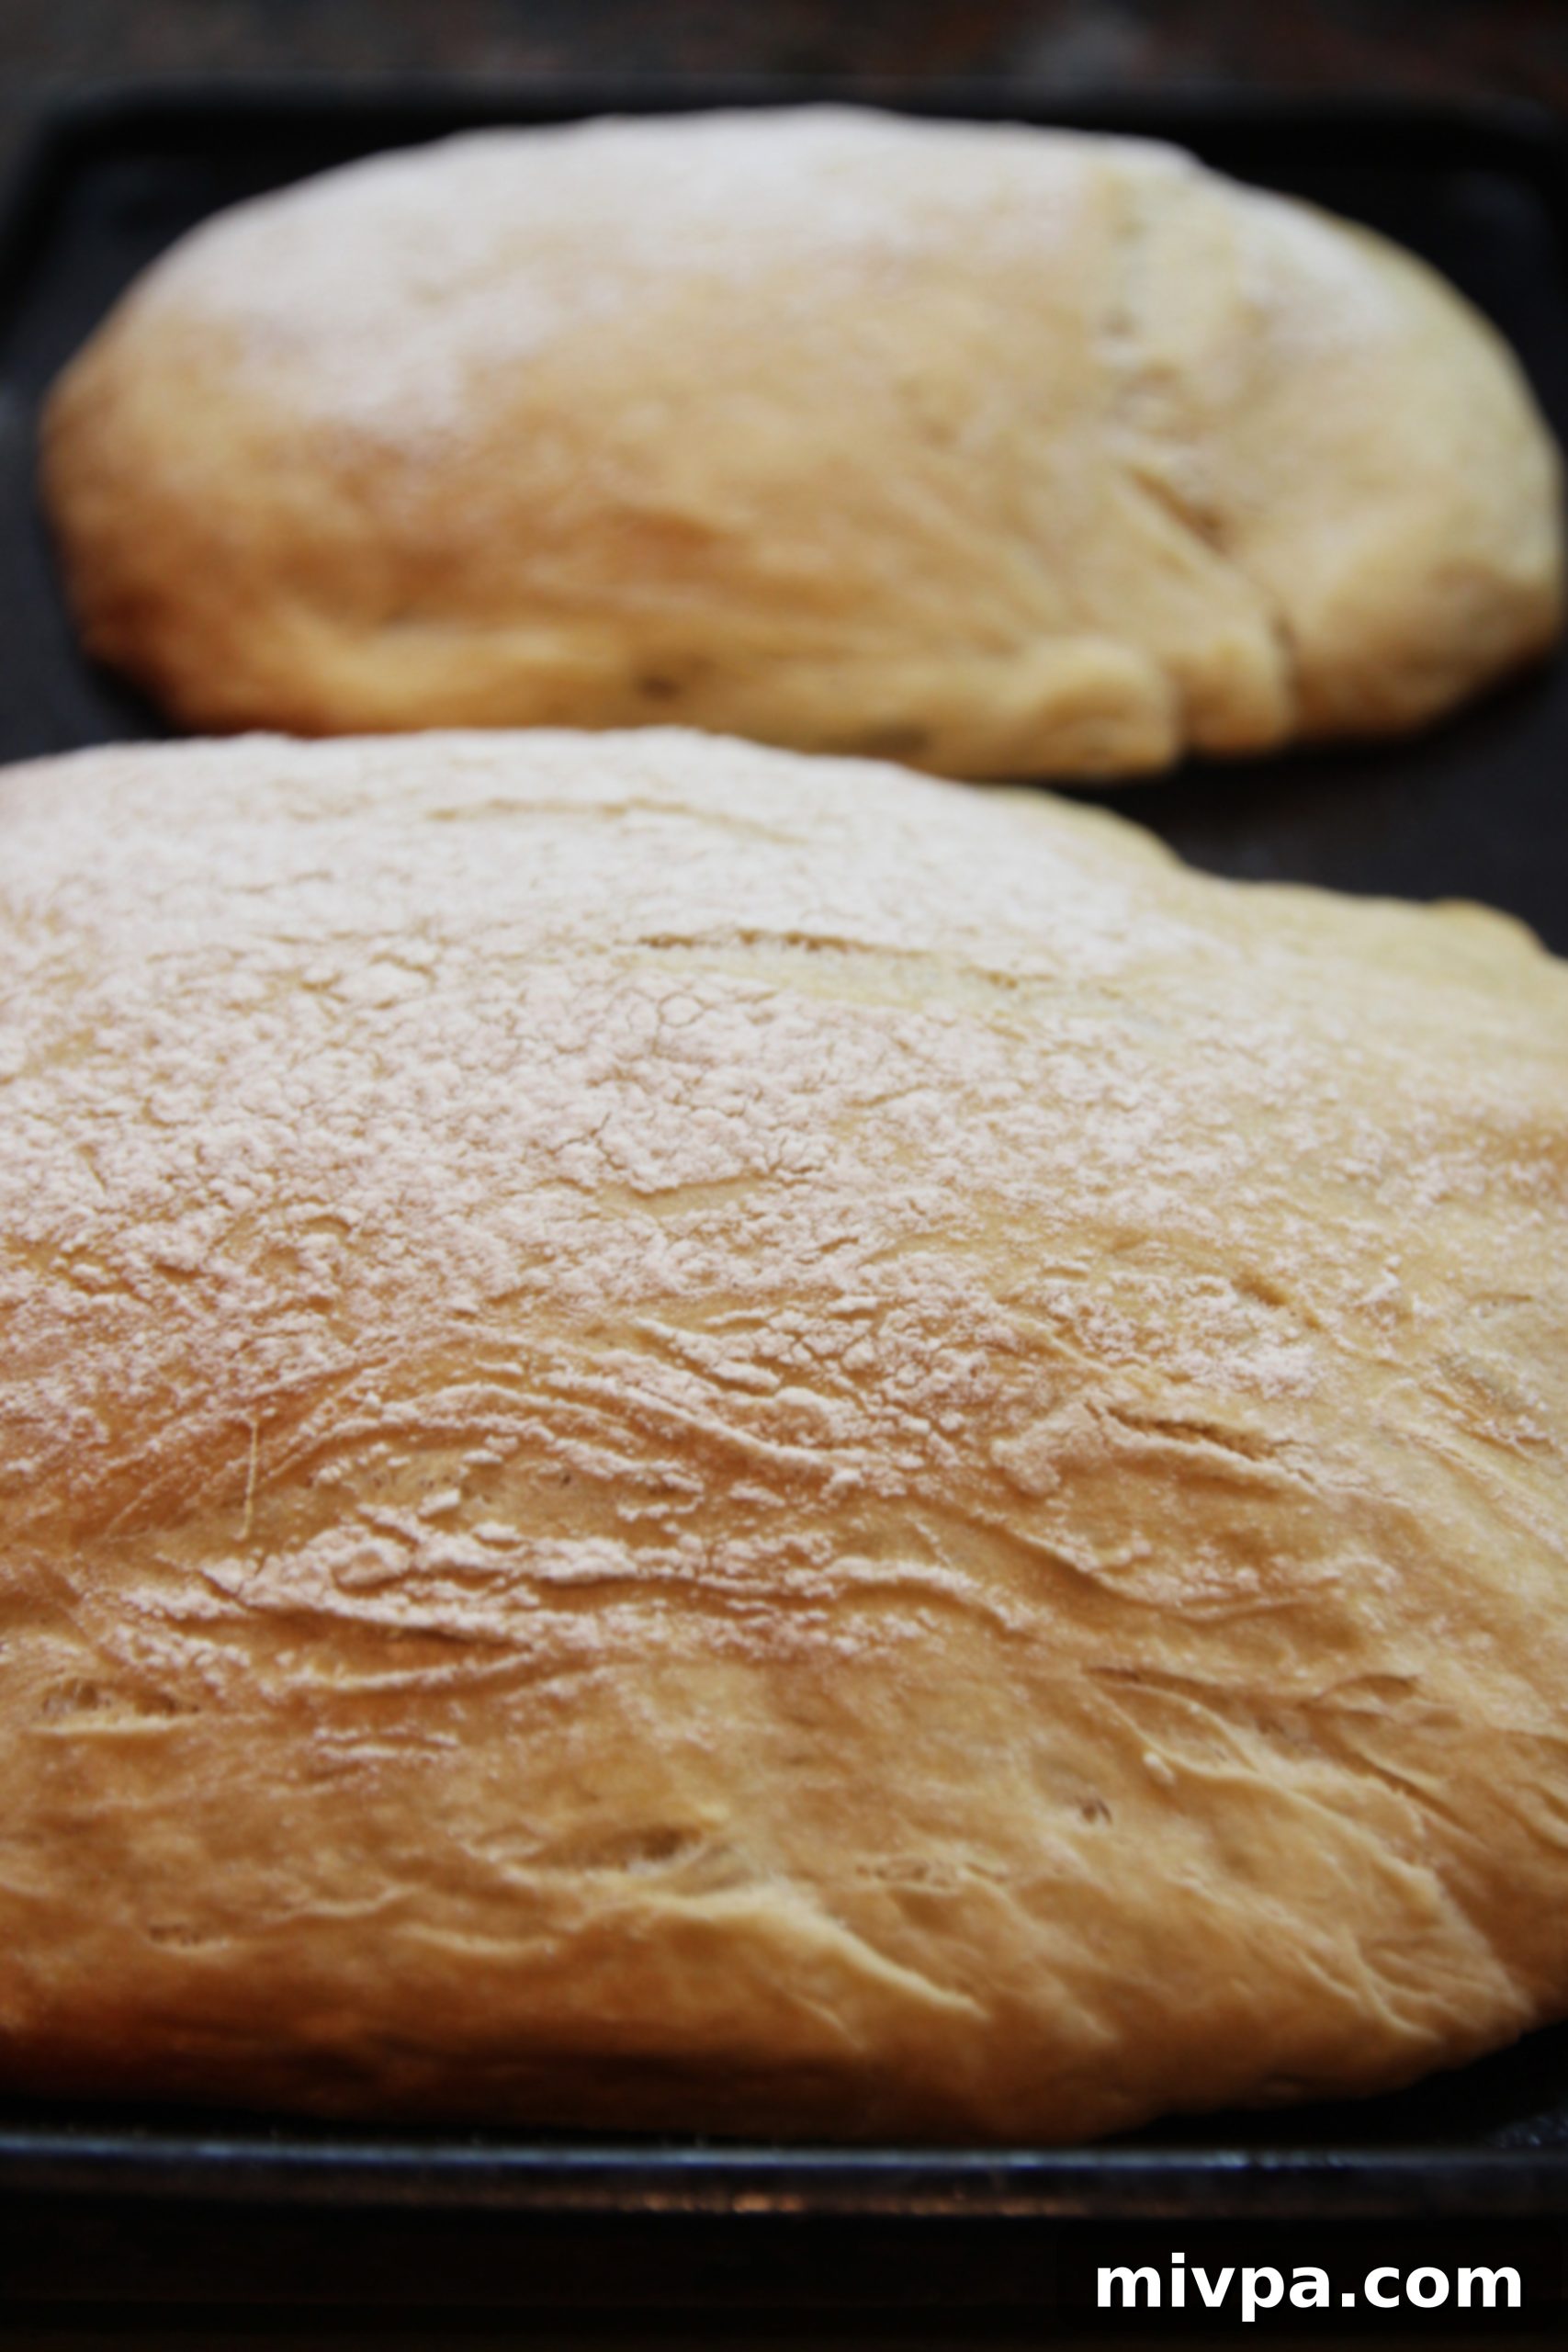
Following the recipe’s instructions, I used a spatula to gently tap the bottom of each loaf. The distinct, hollow sound that reverberated back was the definitive confirmation: they were perfectly baked, done, and finally ready for the ultimate test – a taste test that I now approached with eager anticipation rather than trepidation.
The First Slice: A Taste of Homemade Heaven
Still warm from the oven, dusted lightly with flour, and radiating an irresistible freshness, the golden ciabatta loaves were gently transferred to the cutting board. With a satisfying crunch of the crust, I sliced into them, producing thick, chunky pieces that promised a delightful experience. The interior revealed a beautiful, open crumb structure, characteristic of a well-made ciabatta.
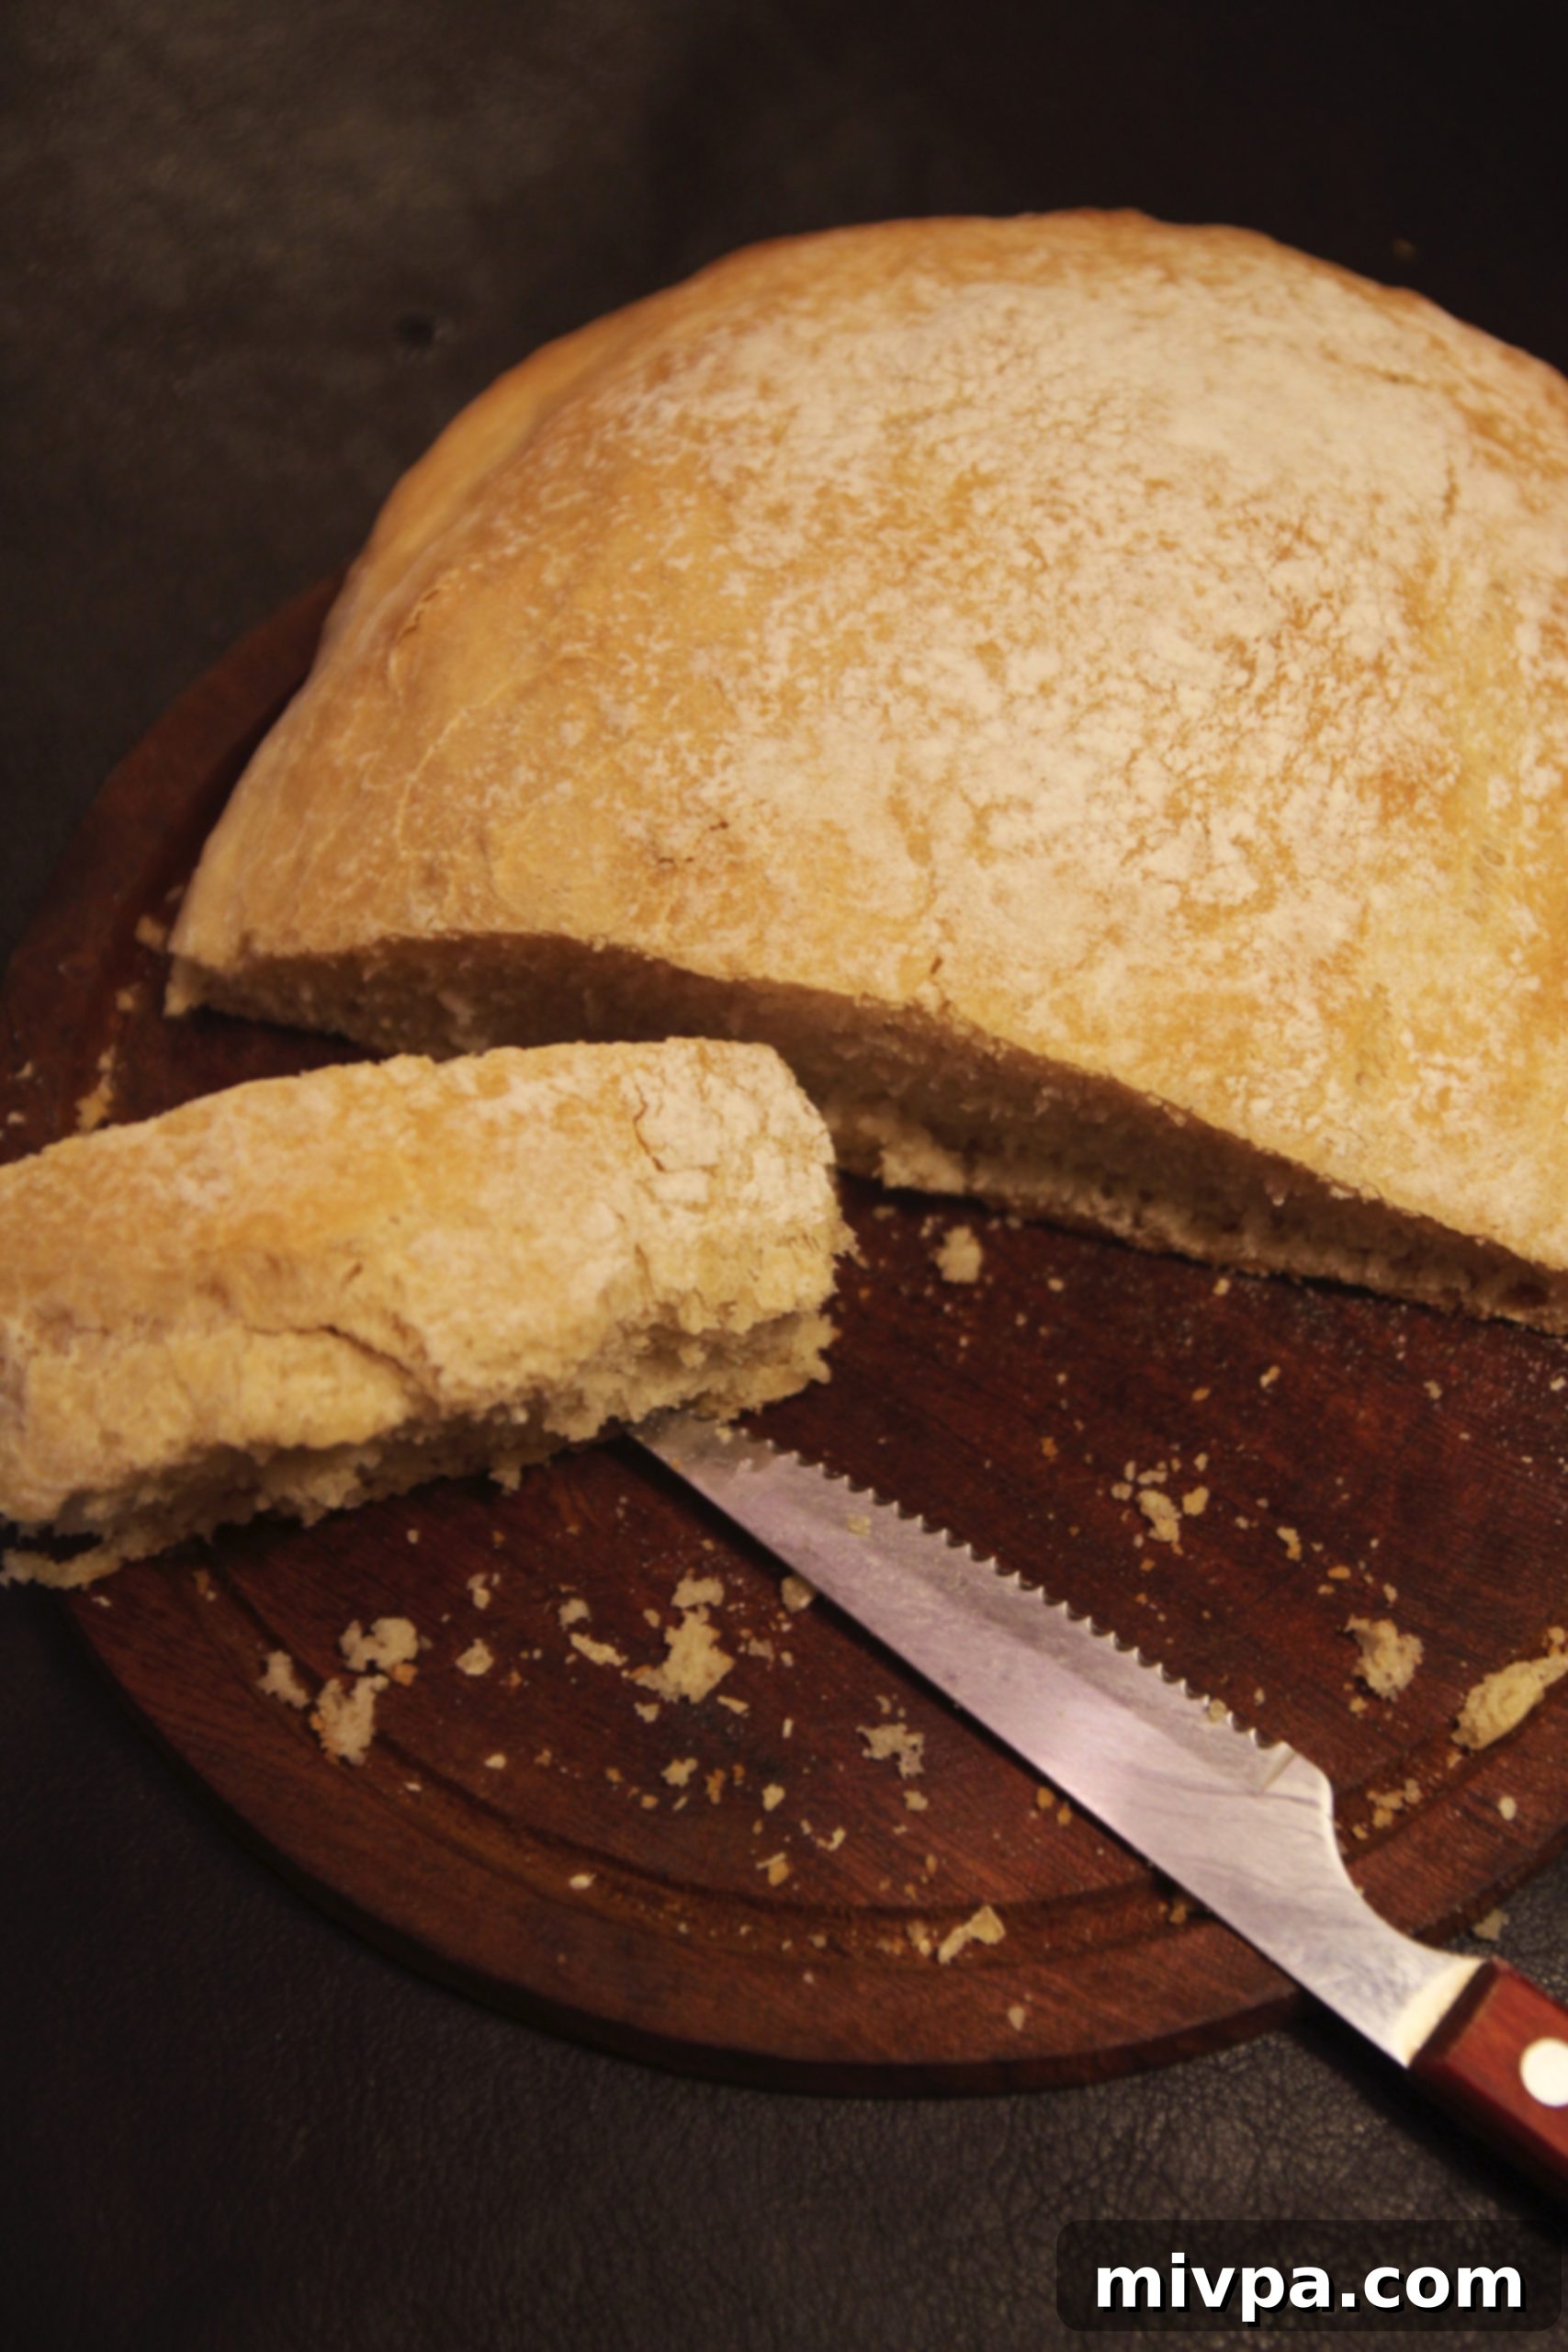
Biting into the first slice was nothing short of a revelation. The bread was wonderfully airy and incredibly light, possessing that perfect chewiness I had always dreamed of achieving. This was precisely how I envisioned homemade bread should be – a delightful contrast to the dense, heavy loaves of my past attempts. Its texture was a testament to the meticulous care and the perfect balance of ingredients.
Beyond its impeccable texture, the taste itself was profound. It carried the simple, honest flavors of wholesome ingredients, a true taste of nature and everything wonderful about homemade goodness. Each bite transported me back to a cherished memory: a farm in New Zealand, years ago, where I savored my very first piece of truly homemade bread with my family. This ciabatta evoked that same profound sense of comfort and nostalgia.
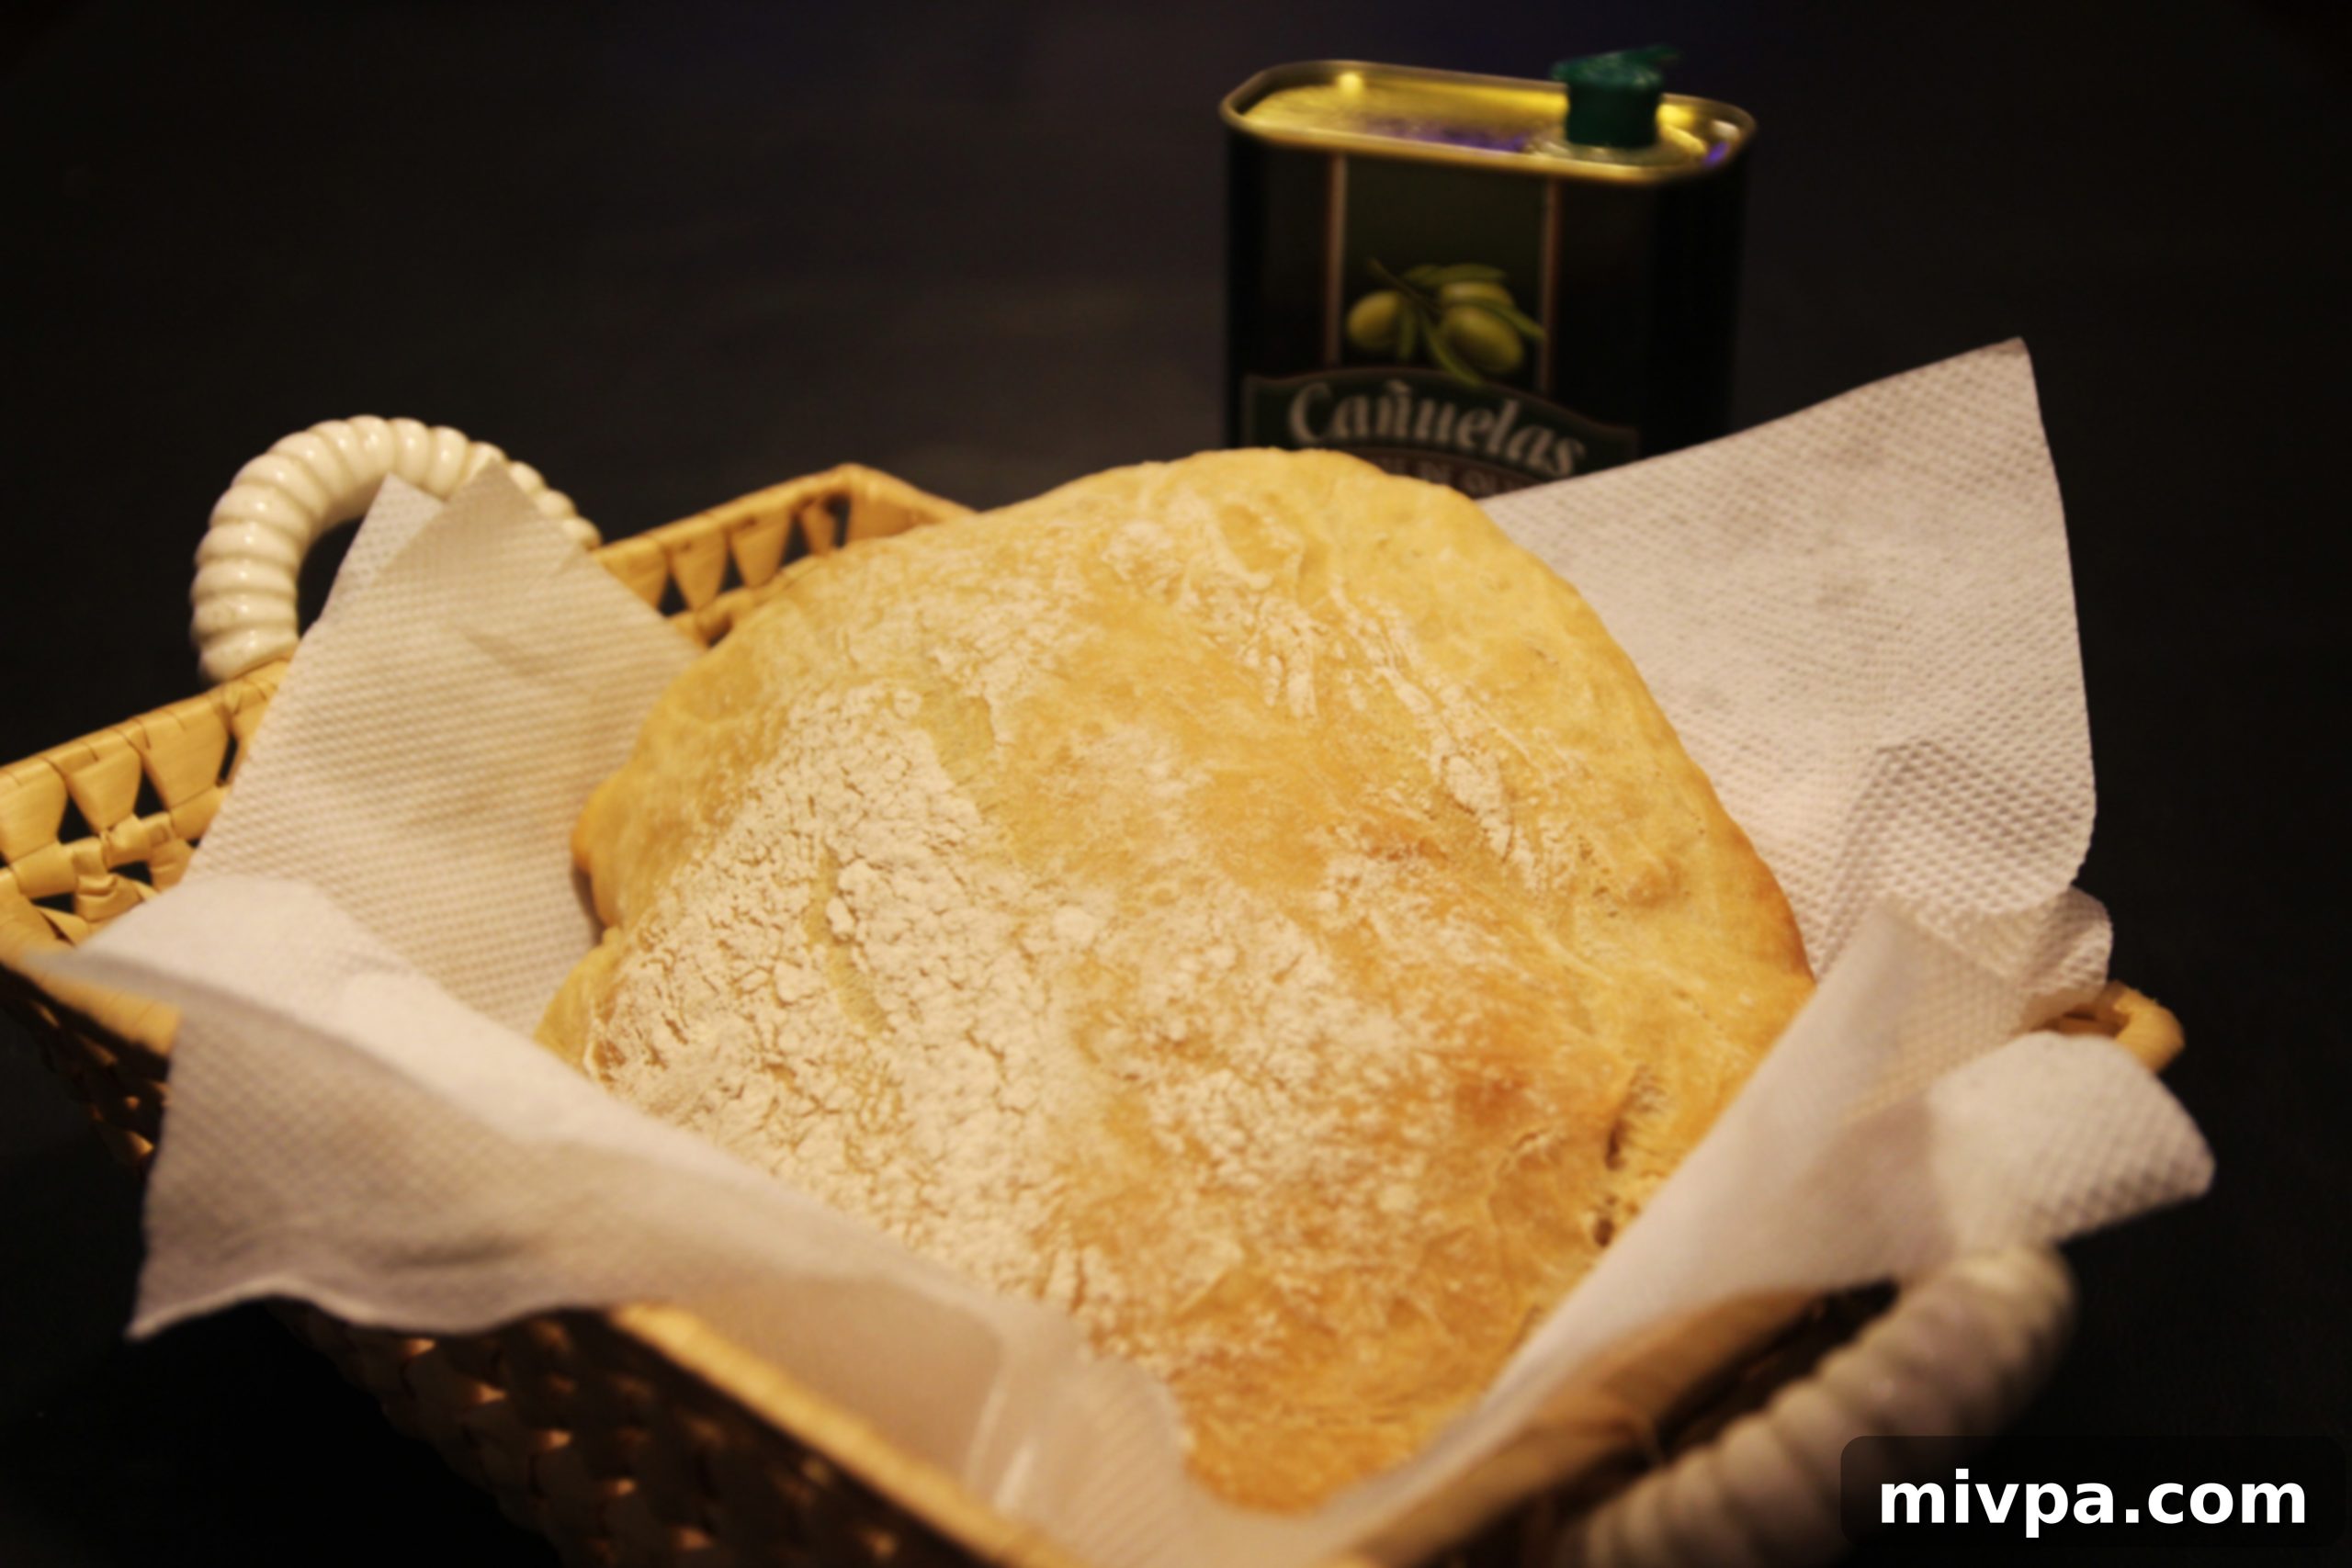
It was, unequivocally, heaven in bread form. This was the moment all those frustrating, sticky attempts had been leading to. This was the perfect homemade ciabatta, a culinary dream finally realized.
My journey from persistent frustration to this ultimate culinary triumph serves as a powerful reminder that perseverance truly pays off, especially when it comes to the simple, profound joys of baking. This ciabatta recipe is more than just instructions; it’s a testament to patience, learning, and the unexpected miracles that happen when you least expect them. It’s now my go-to recipe, and I’m thrilled to share it so you can experience this homemade heaven too.
The Recipe for Perfect Homemade Ciabatta Bread
Here it is, the highly anticipated recipe that finally brought my homemade bread-making dreams to life! This recipe yields two generous loaves of airy, delicious ciabatta, perfect for sandwiches, dipping in olive oil, or simply enjoying on its own.
Adapted from Betty Crocker New Addition Cook Book via Bite by Michelle
Ingredients:
- 2 scant tablespoons of active dry yeast
- 375g of warm water (around 105-115°F / 40-46°C)
- 400g of all-purpose flour
- 1 teaspoon of salt (or 2 teaspoons if you prefer your bread a bit saltier)
- 1 tablespoon of olive oil, plus extra for coating
Instructions:
- Combine the warm water and yeast in a bowl, mix thoroughly, and allow the yeast to bloom and soften for 10 minutes until frothy.
- In a separate, larger bowl, whisk together the flour and salt. This ensures even distribution of the salt throughout the dough.
- Once the yeast mixture is soft and visibly frothy, indicating activation, stir in the olive oil. This adds flavor and elasticity.
- Gradually add the flour and salt mixture to the yeast mixture, combining until just incorporated into a shaggy dough.
- Knead the dough for a full 10 minutes. At this stage, the dough will be notably soft and sticky – this is absolutely normal and desired for ciabatta!
- Pour enough olive oil into a clean bowl to generously coat the bottom and sides. This prevents sticking during the rise.
- Transfer the kneaded bread dough into the oiled bowl, turning it over once to ensure all surfaces are thoroughly coated with oil.
- Cover the bowl tightly with a clean tea towel or plastic wrap and allow the dough to rise in a warm place for 1 hour, or until nearly doubled in size.
- After the first rise, gently ‘punch down’ the dough to release the accumulated air, turn it over, cover it again, and allow it to rise for an additional 40 minutes.
- Once the second rise is complete, carefully turn the dough out onto a generously floured surface. Gently divide the dough into two roughly equal pieces.
- Lightly shape each piece into a rustic loaf, resembling an elongated rectangle. Sift additional flour over the tops of the shaped loaves. Place them on a prepared baking sheet and allow them to rise again until they have visibly doubled in bulk.
- Pre-heat your oven to 190°C (approximately 375°F).
- When the loaves have beautifully doubled in size, carefully transfer them to the pre-heated oven and bake for about 30 minutes, or until they achieve a gorgeous golden-brown crust and produce a distinct hollow sound when tapped on the bottom.
* Note: Do not be alarmed if your dough feels exceedingly sticky throughout this process. For authentic ciabatta, a very high hydration dough is essential, and stickiness is a key characteristic. Trust the process!
Step-by-Step Visual Guide:
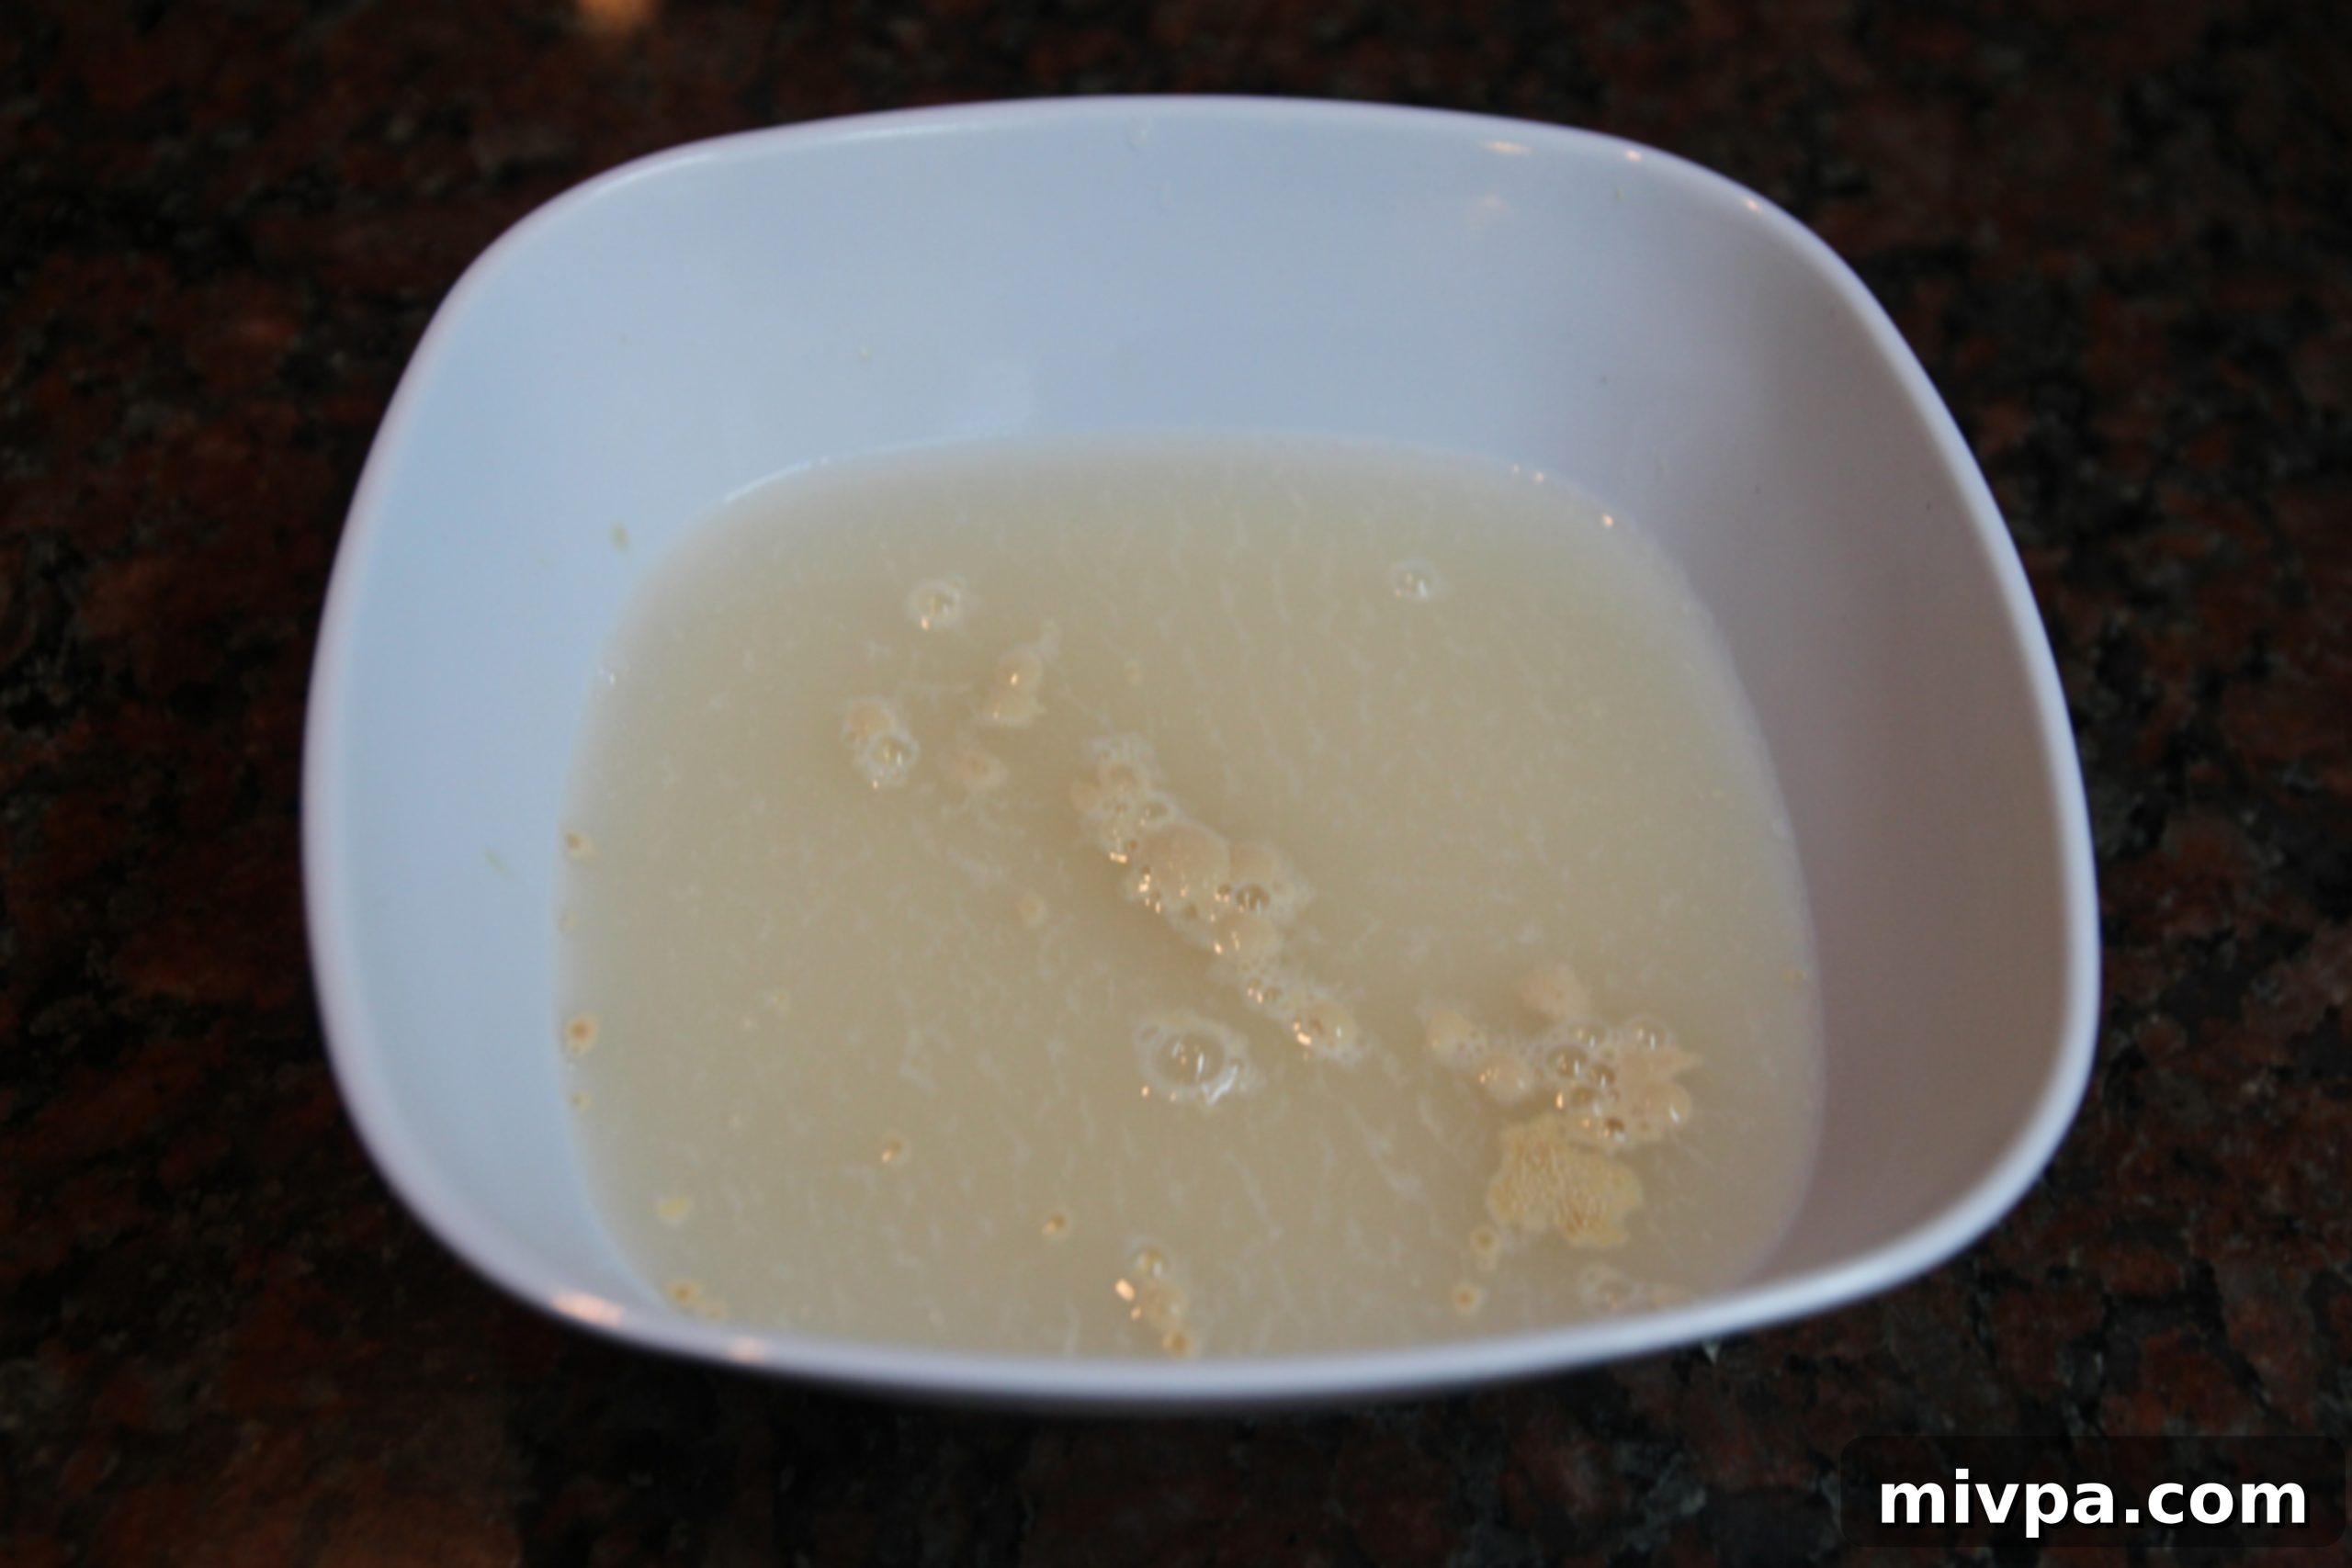
1. Activating the Yeast:
Combine warm water with active dry yeast, stir well, and let it sit for about 10 minutes until a foamy, frothy layer forms on top, indicating the yeast is alive and ready to work.
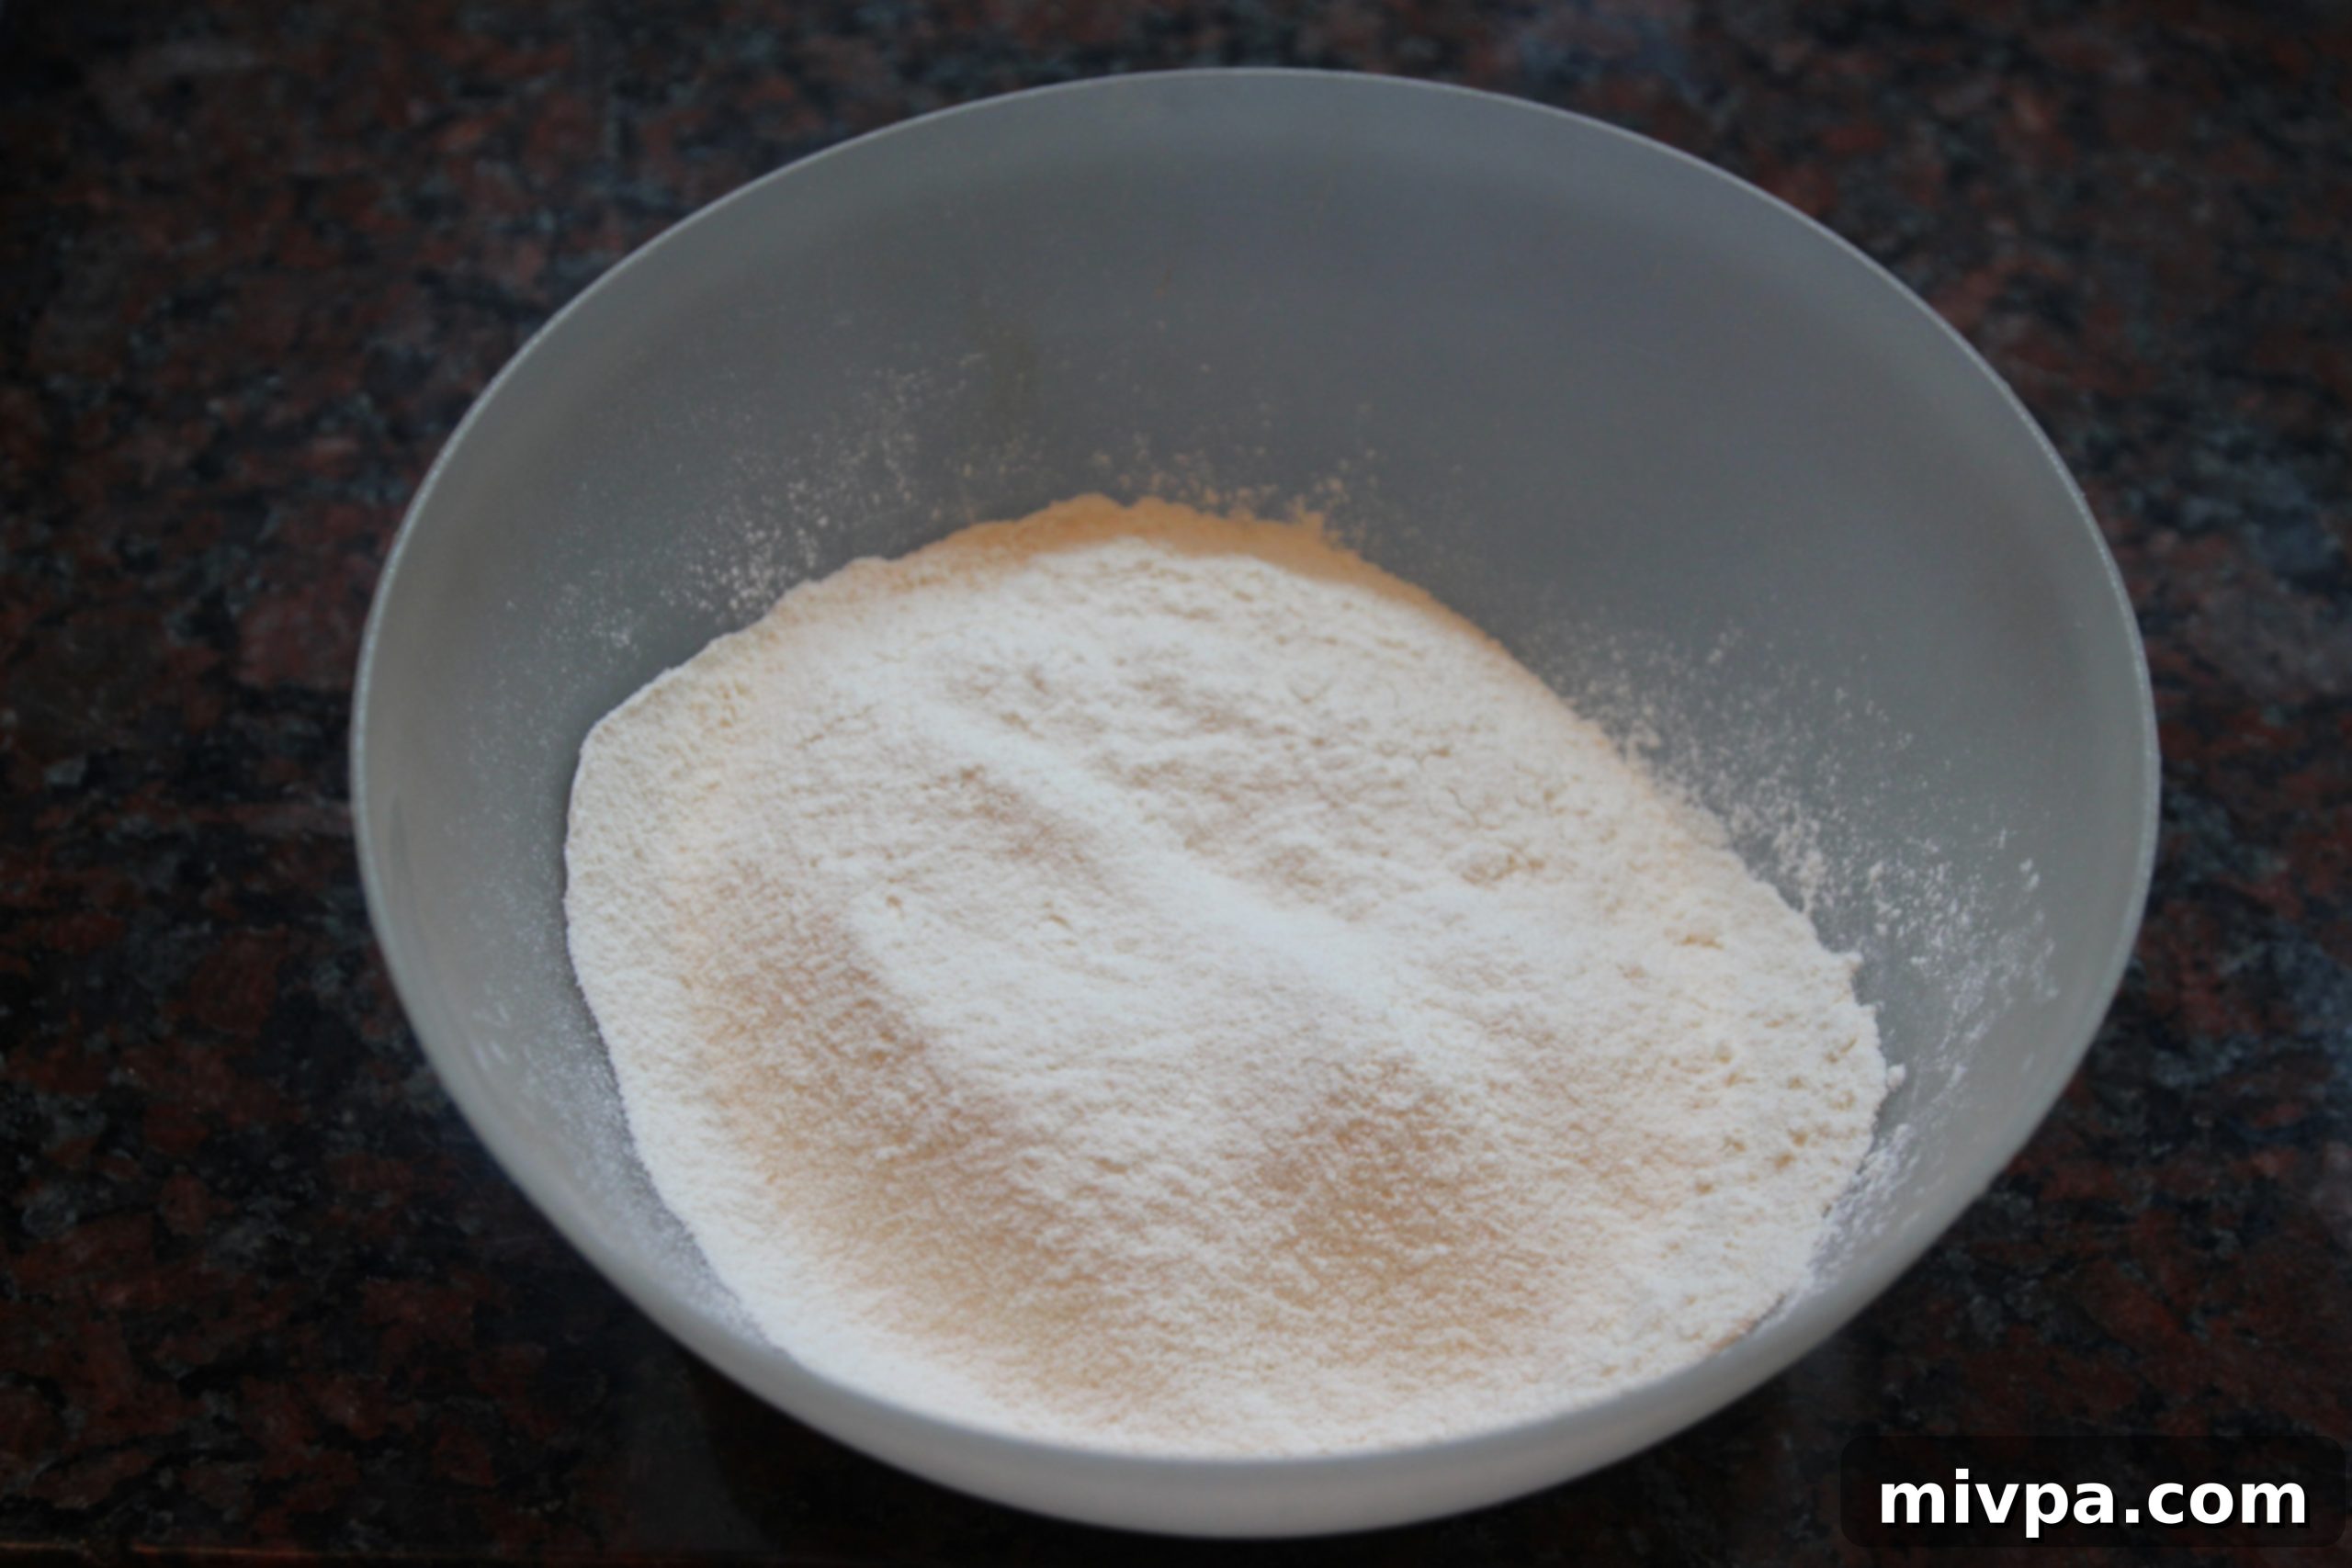
2. Preparing Dry Ingredients:
In a separate mixing bowl, thoroughly combine the all-purpose flour and salt. This crucial step ensures an even distribution of the salt throughout the dough, preventing overly salty or bland spots.
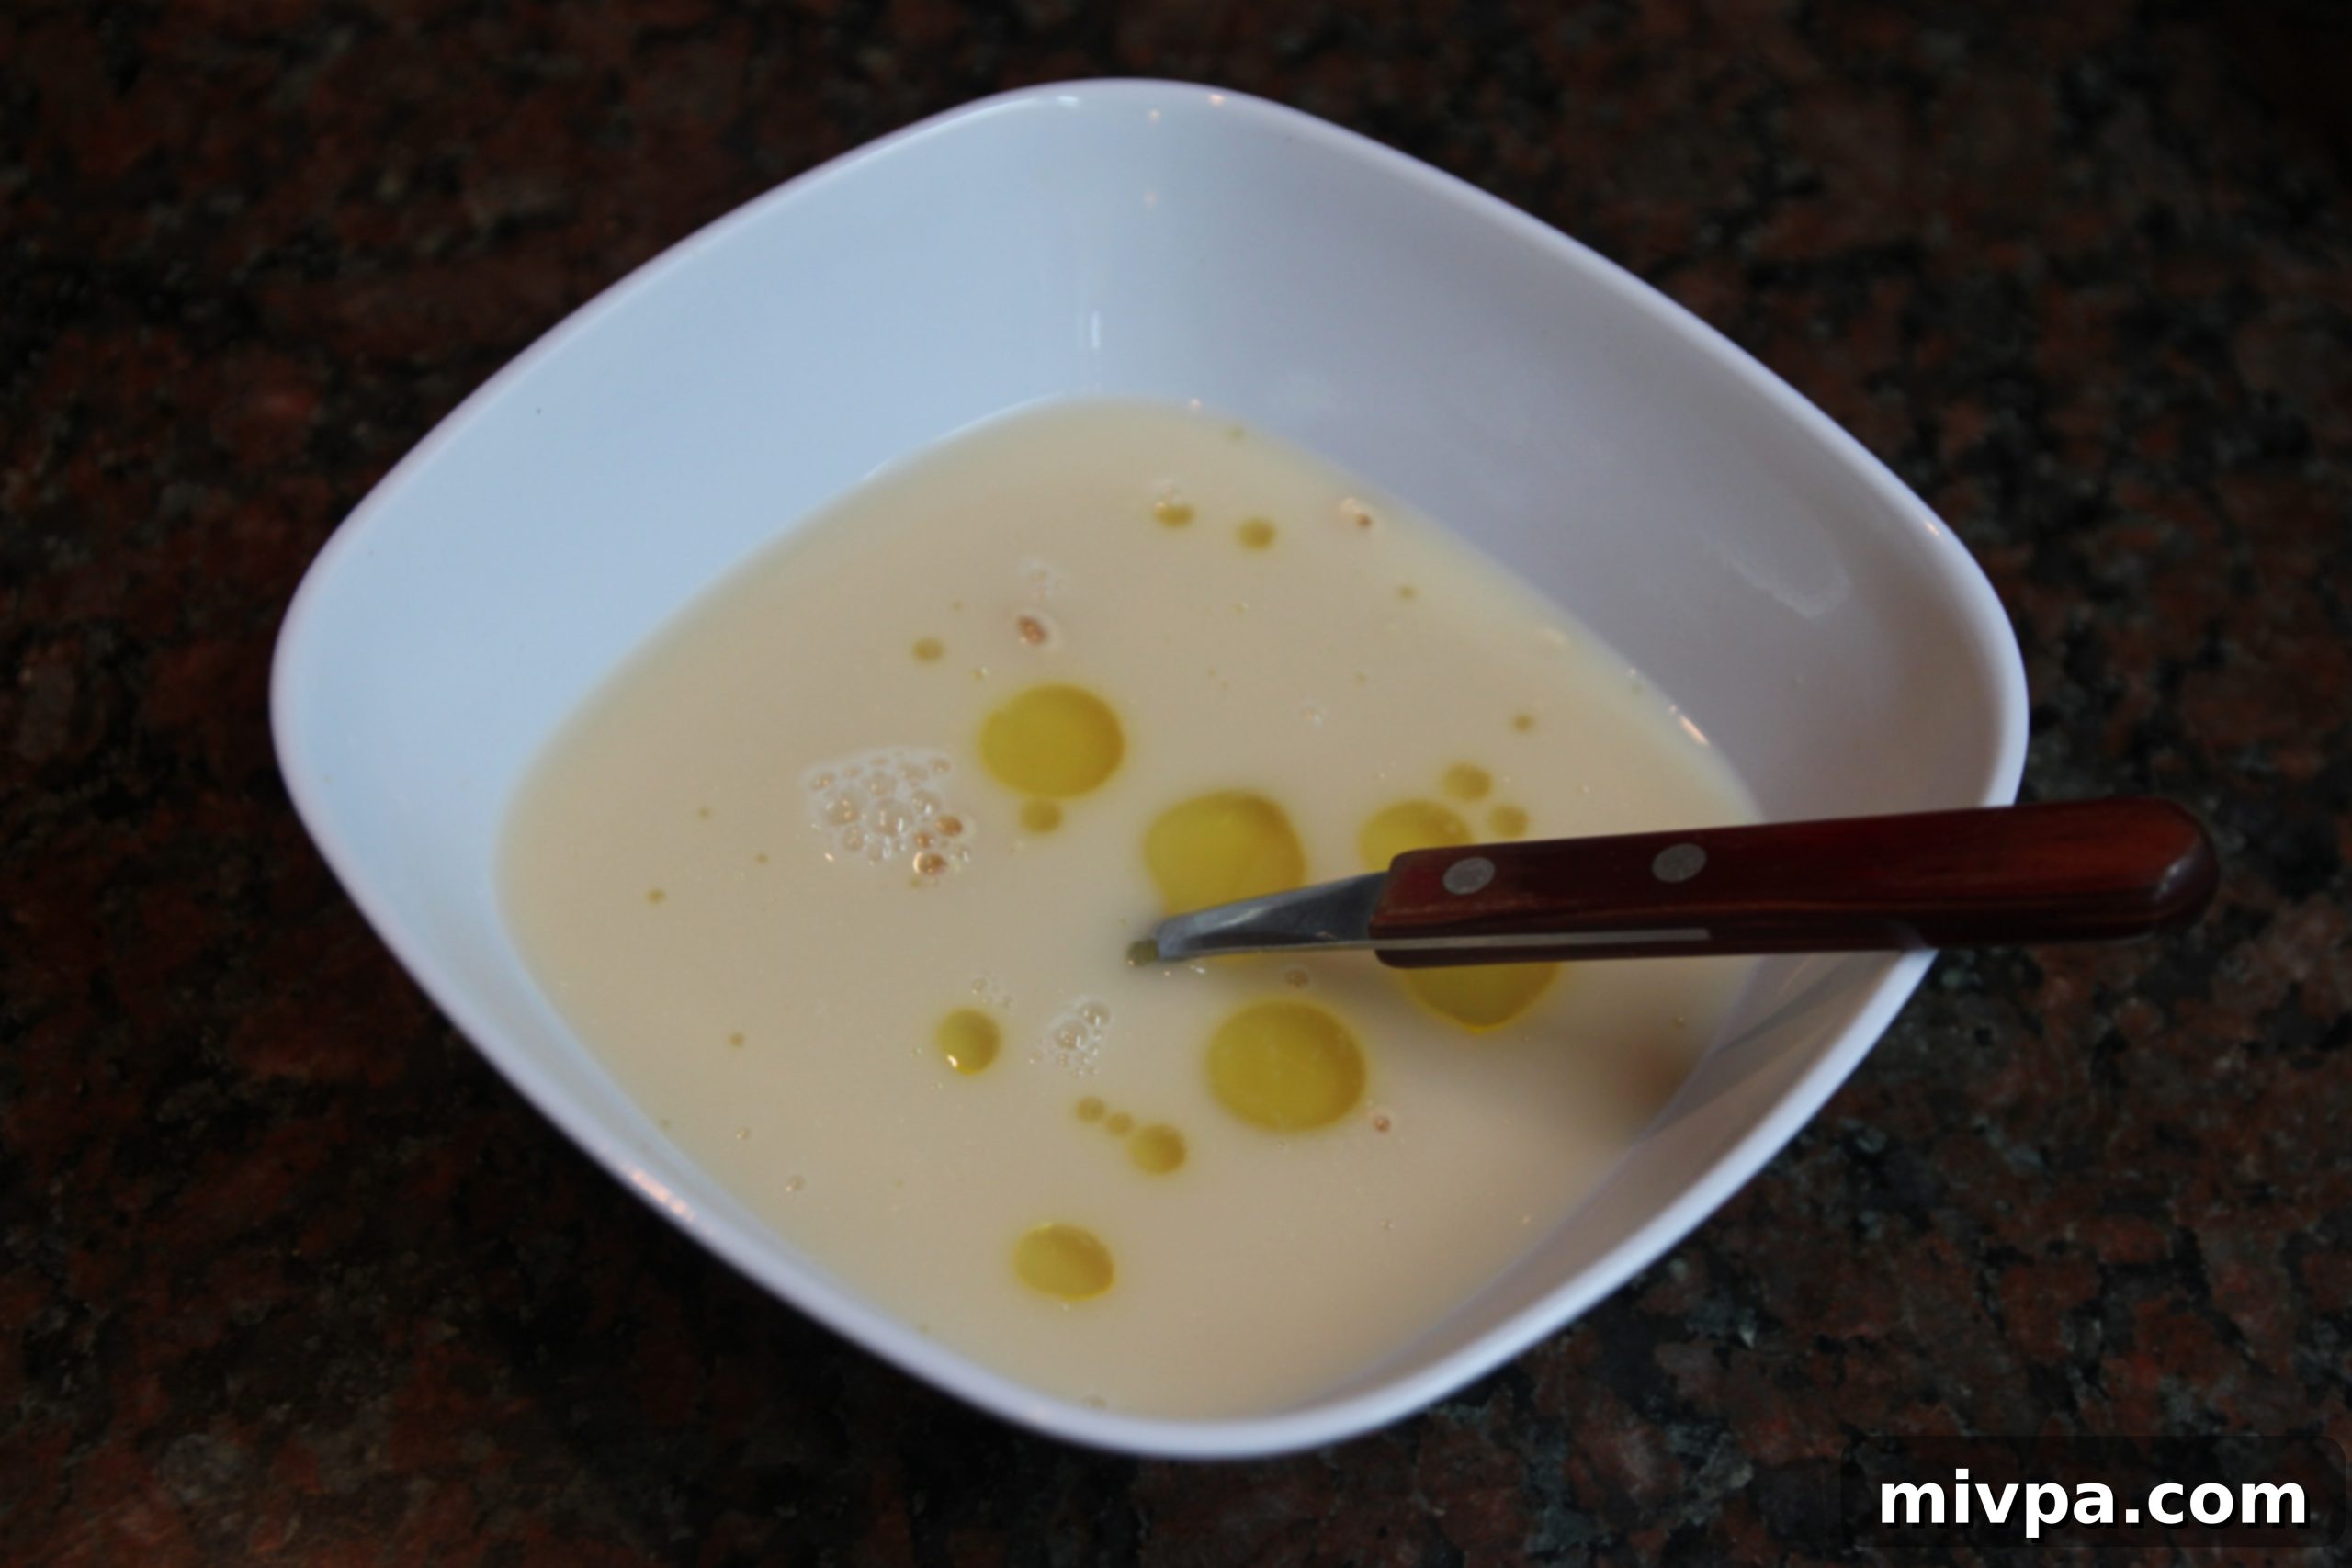
3. Adding Olive Oil to Yeast:
Once your yeast mixture is soft and actively frothing, indicating full activation, gently stir in the tablespoon of olive oil. This not only enhances the flavor but also contributes to the dough’s elasticity and texture.
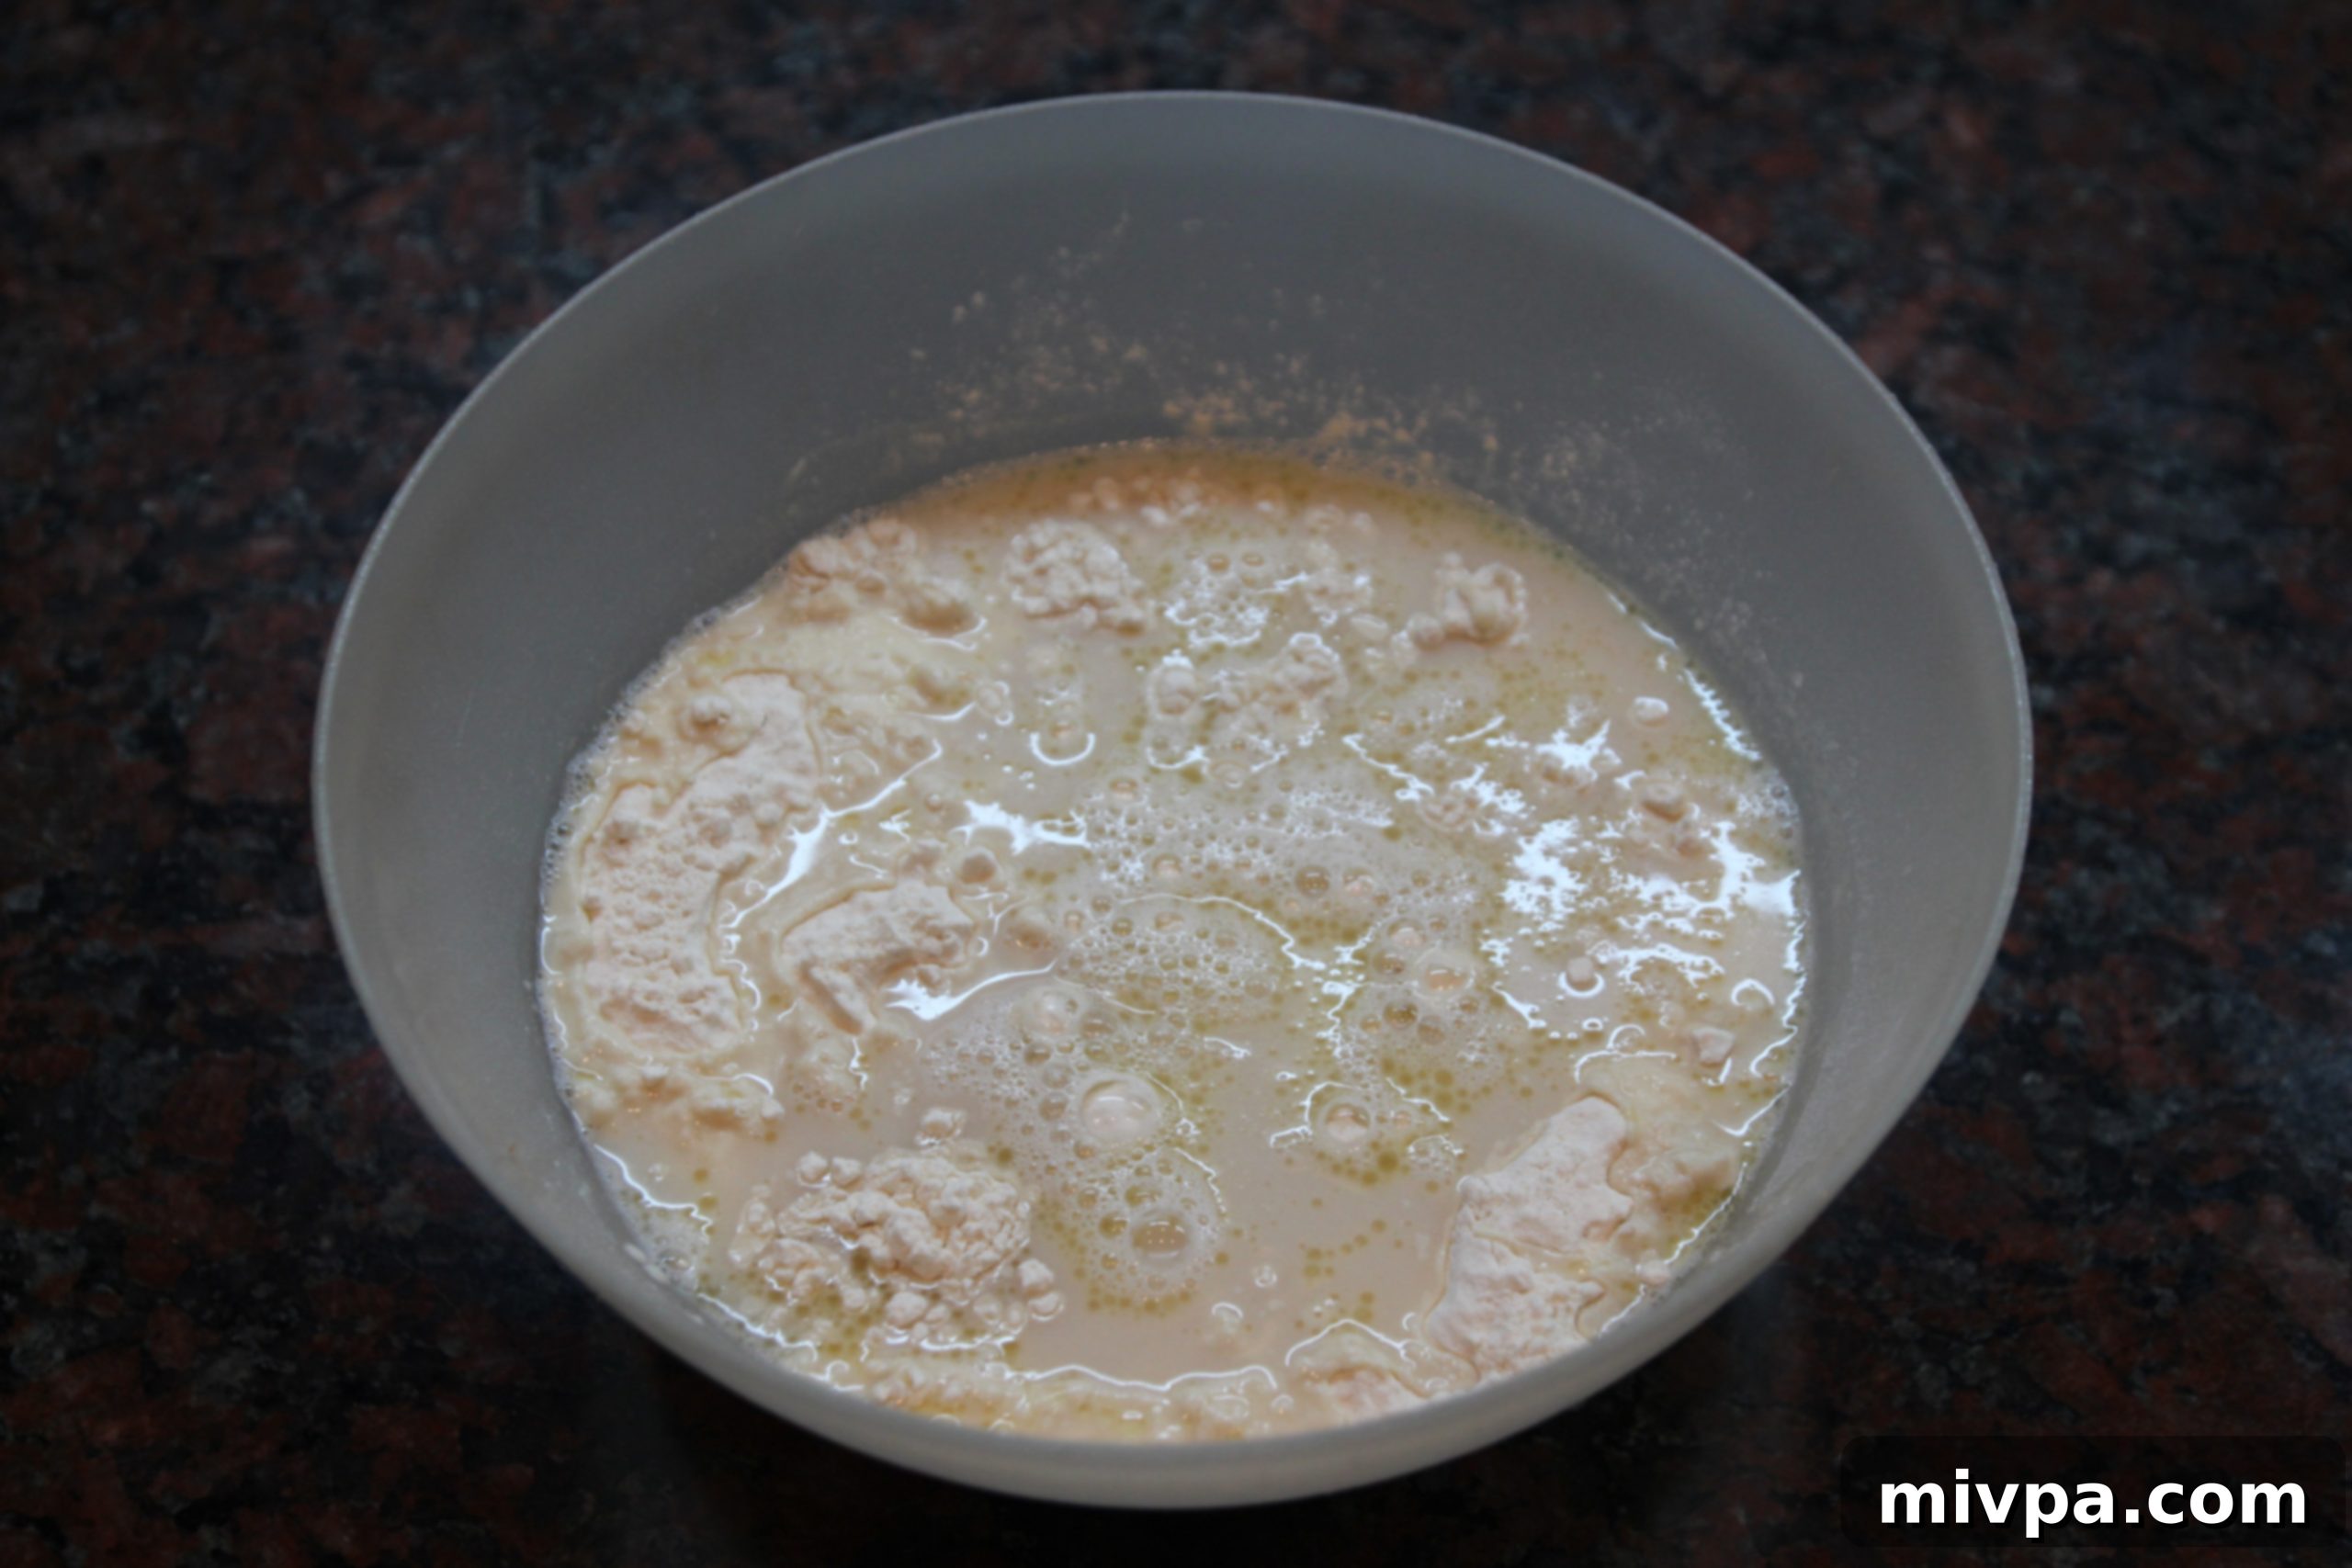
4. Combining Wet and Dry Mixtures:
Pour the activated yeast and olive oil mixture into the bowl containing the flour and salt. Mix gently with a spoon or your hands until the ingredients are just combined into a shaggy, wet dough.
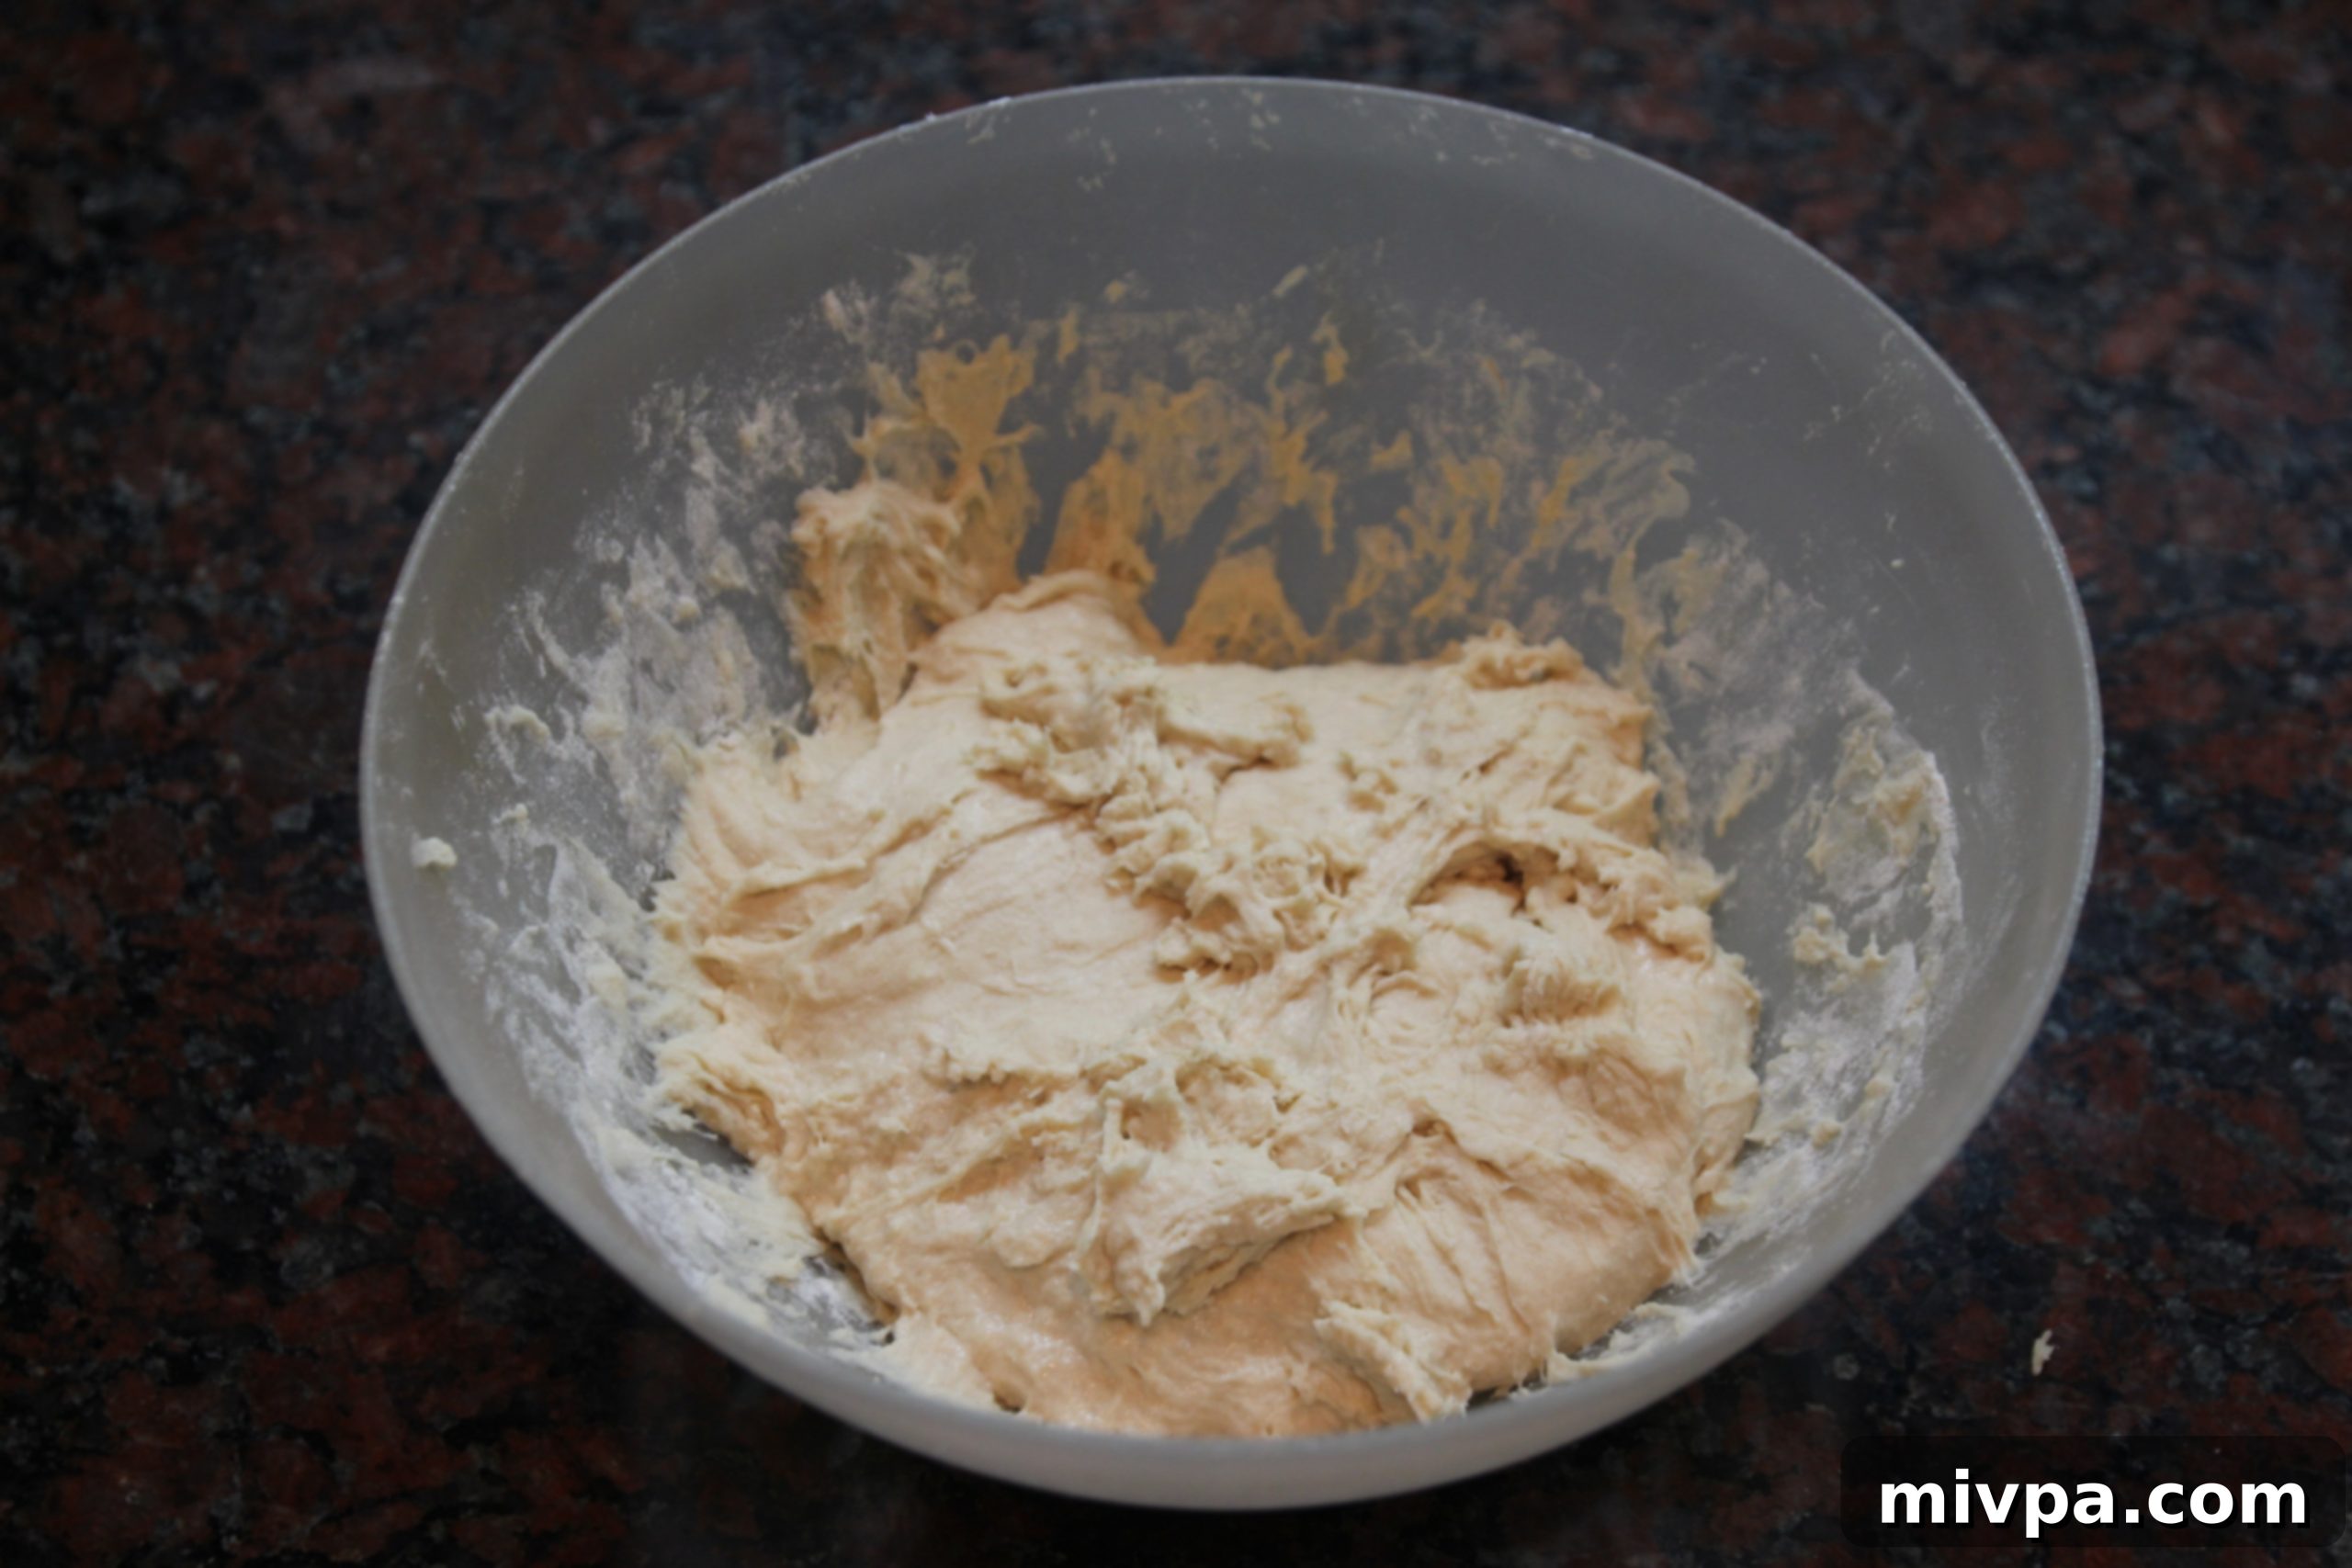
5. Kneading the Sticky Dough:
Knead the dough for approximately 10 minutes. Do not be concerned by its extreme stickiness; a very soft and sticky, high-hydration dough is absolutely crucial for achieving the characteristic airy texture and open crumb of authentic ciabatta.
6. Oiling the Bowl for First Rise:
Generously coat the bottom and sides of a clean bowl with additional olive oil. This essential step prevents the sticky dough from adhering to the bowl during its expansion, making it easier to handle later.
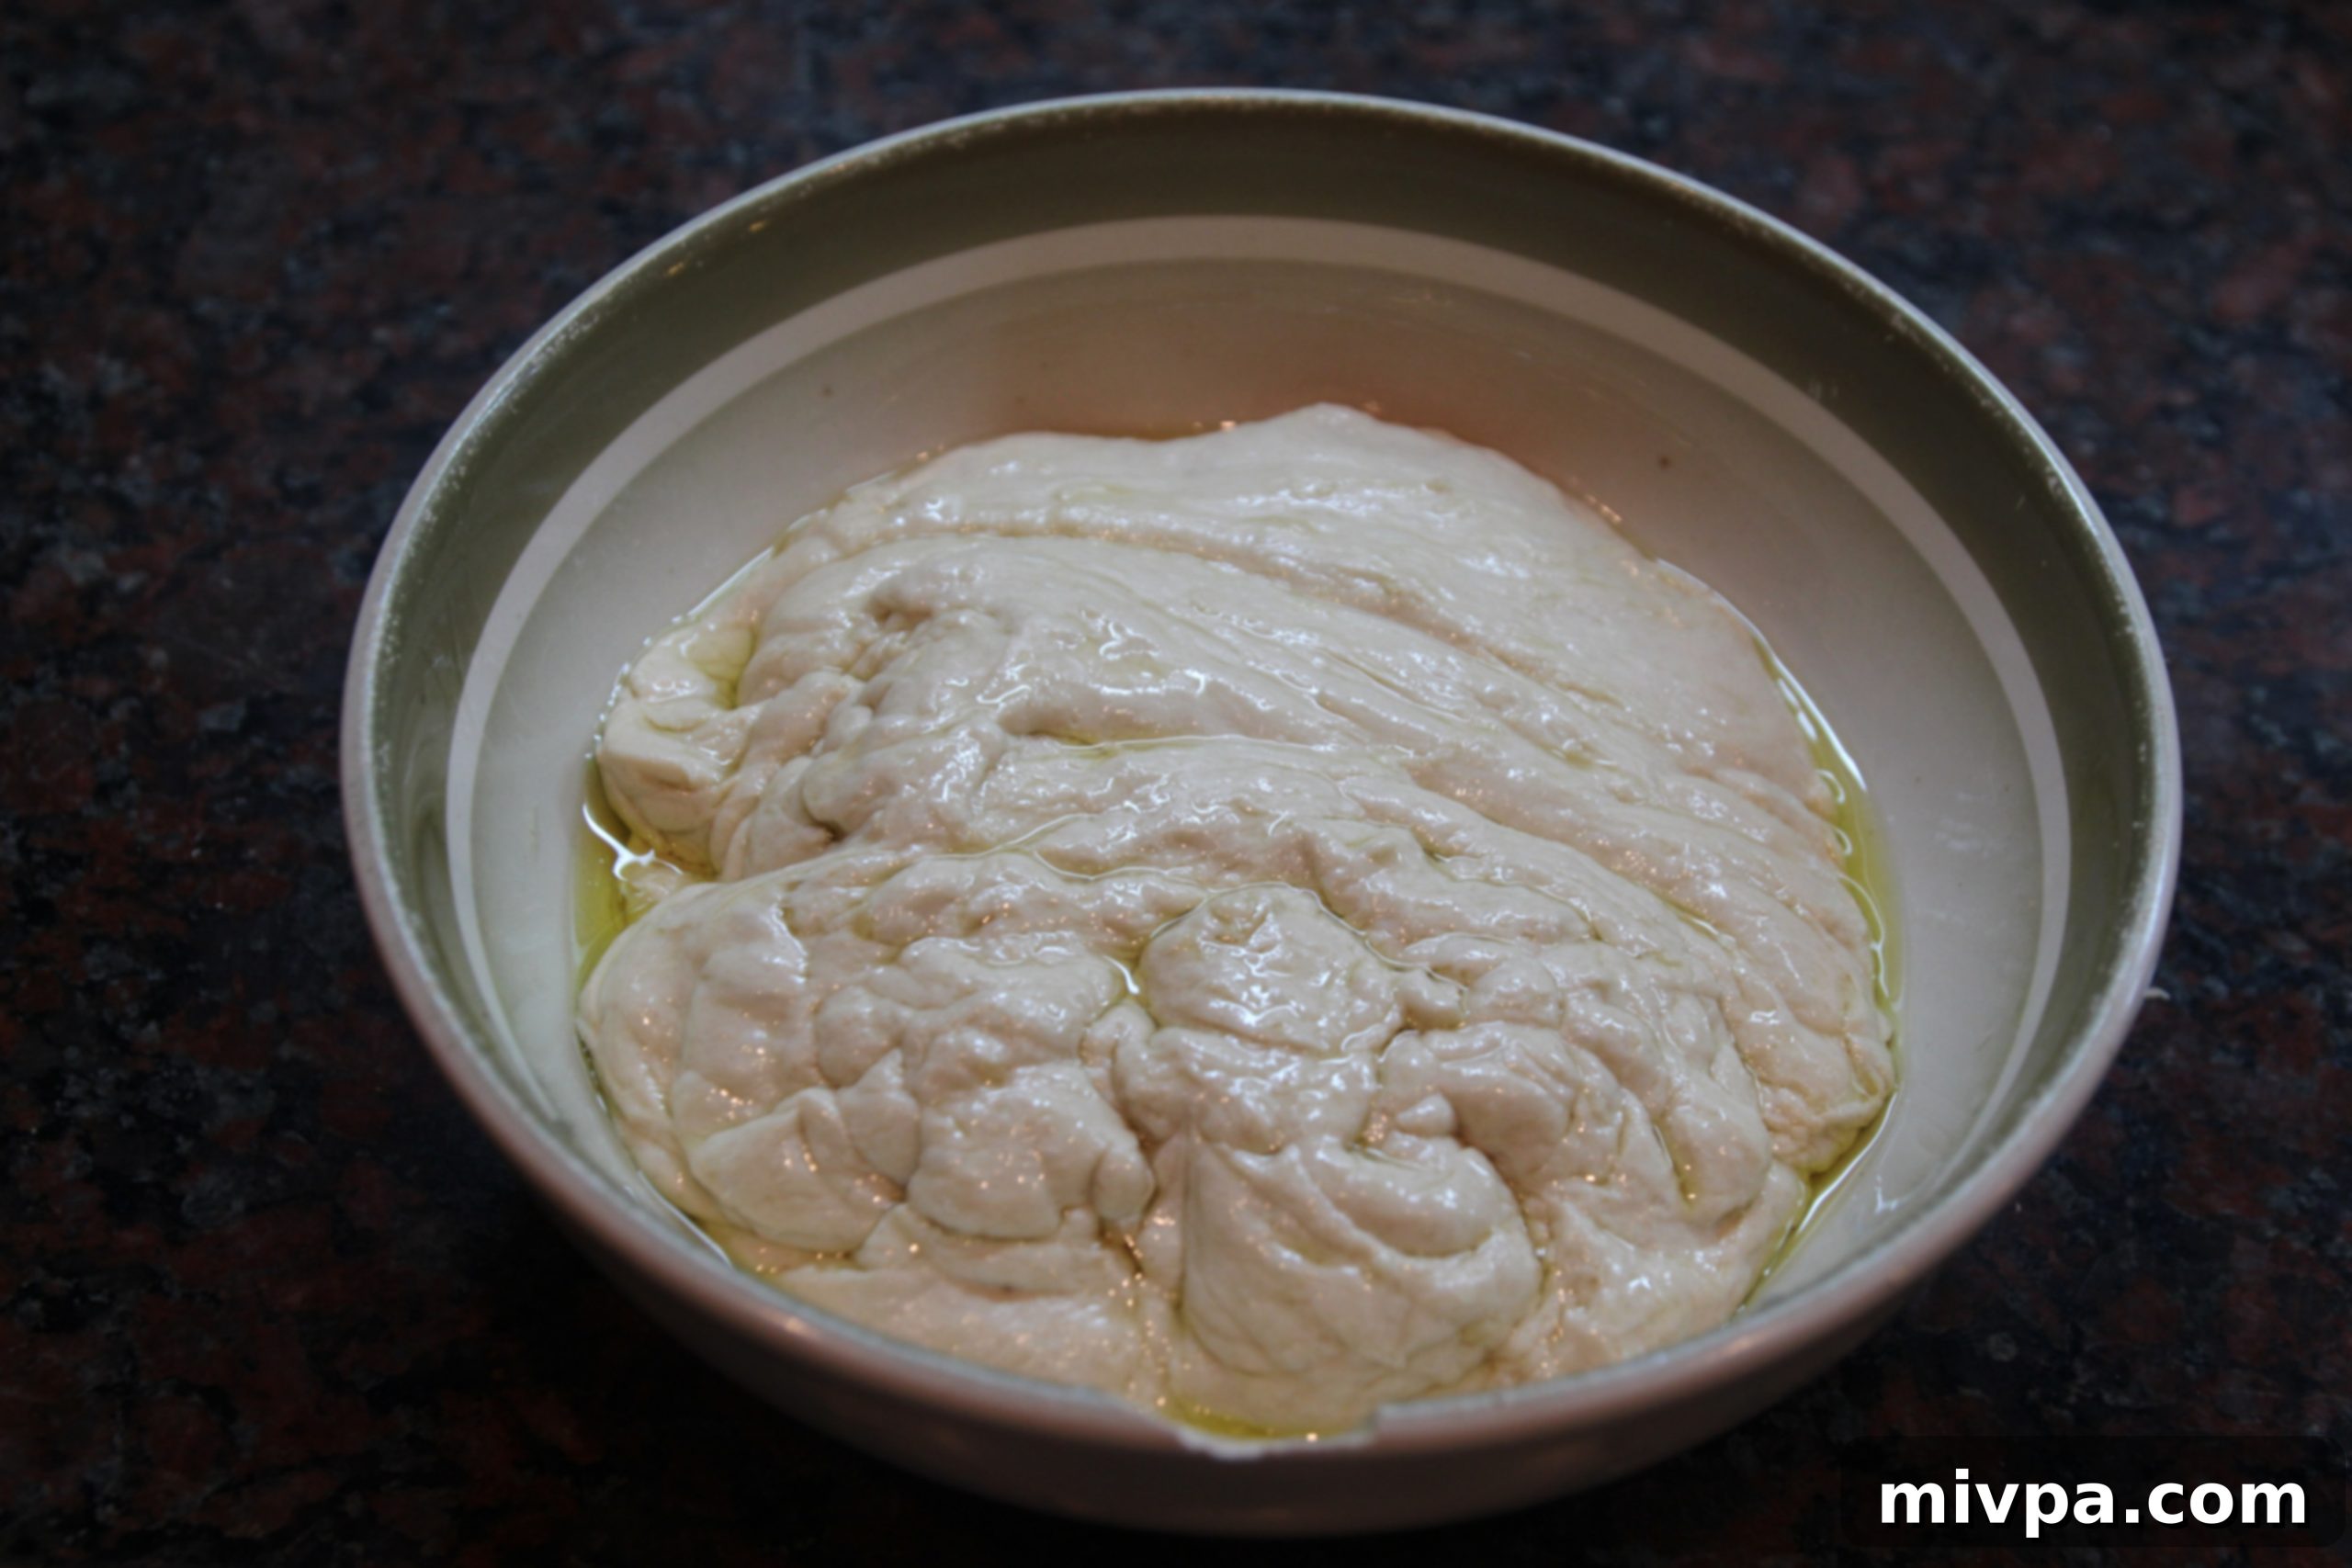
7. First Rise Under a Tea Towel:
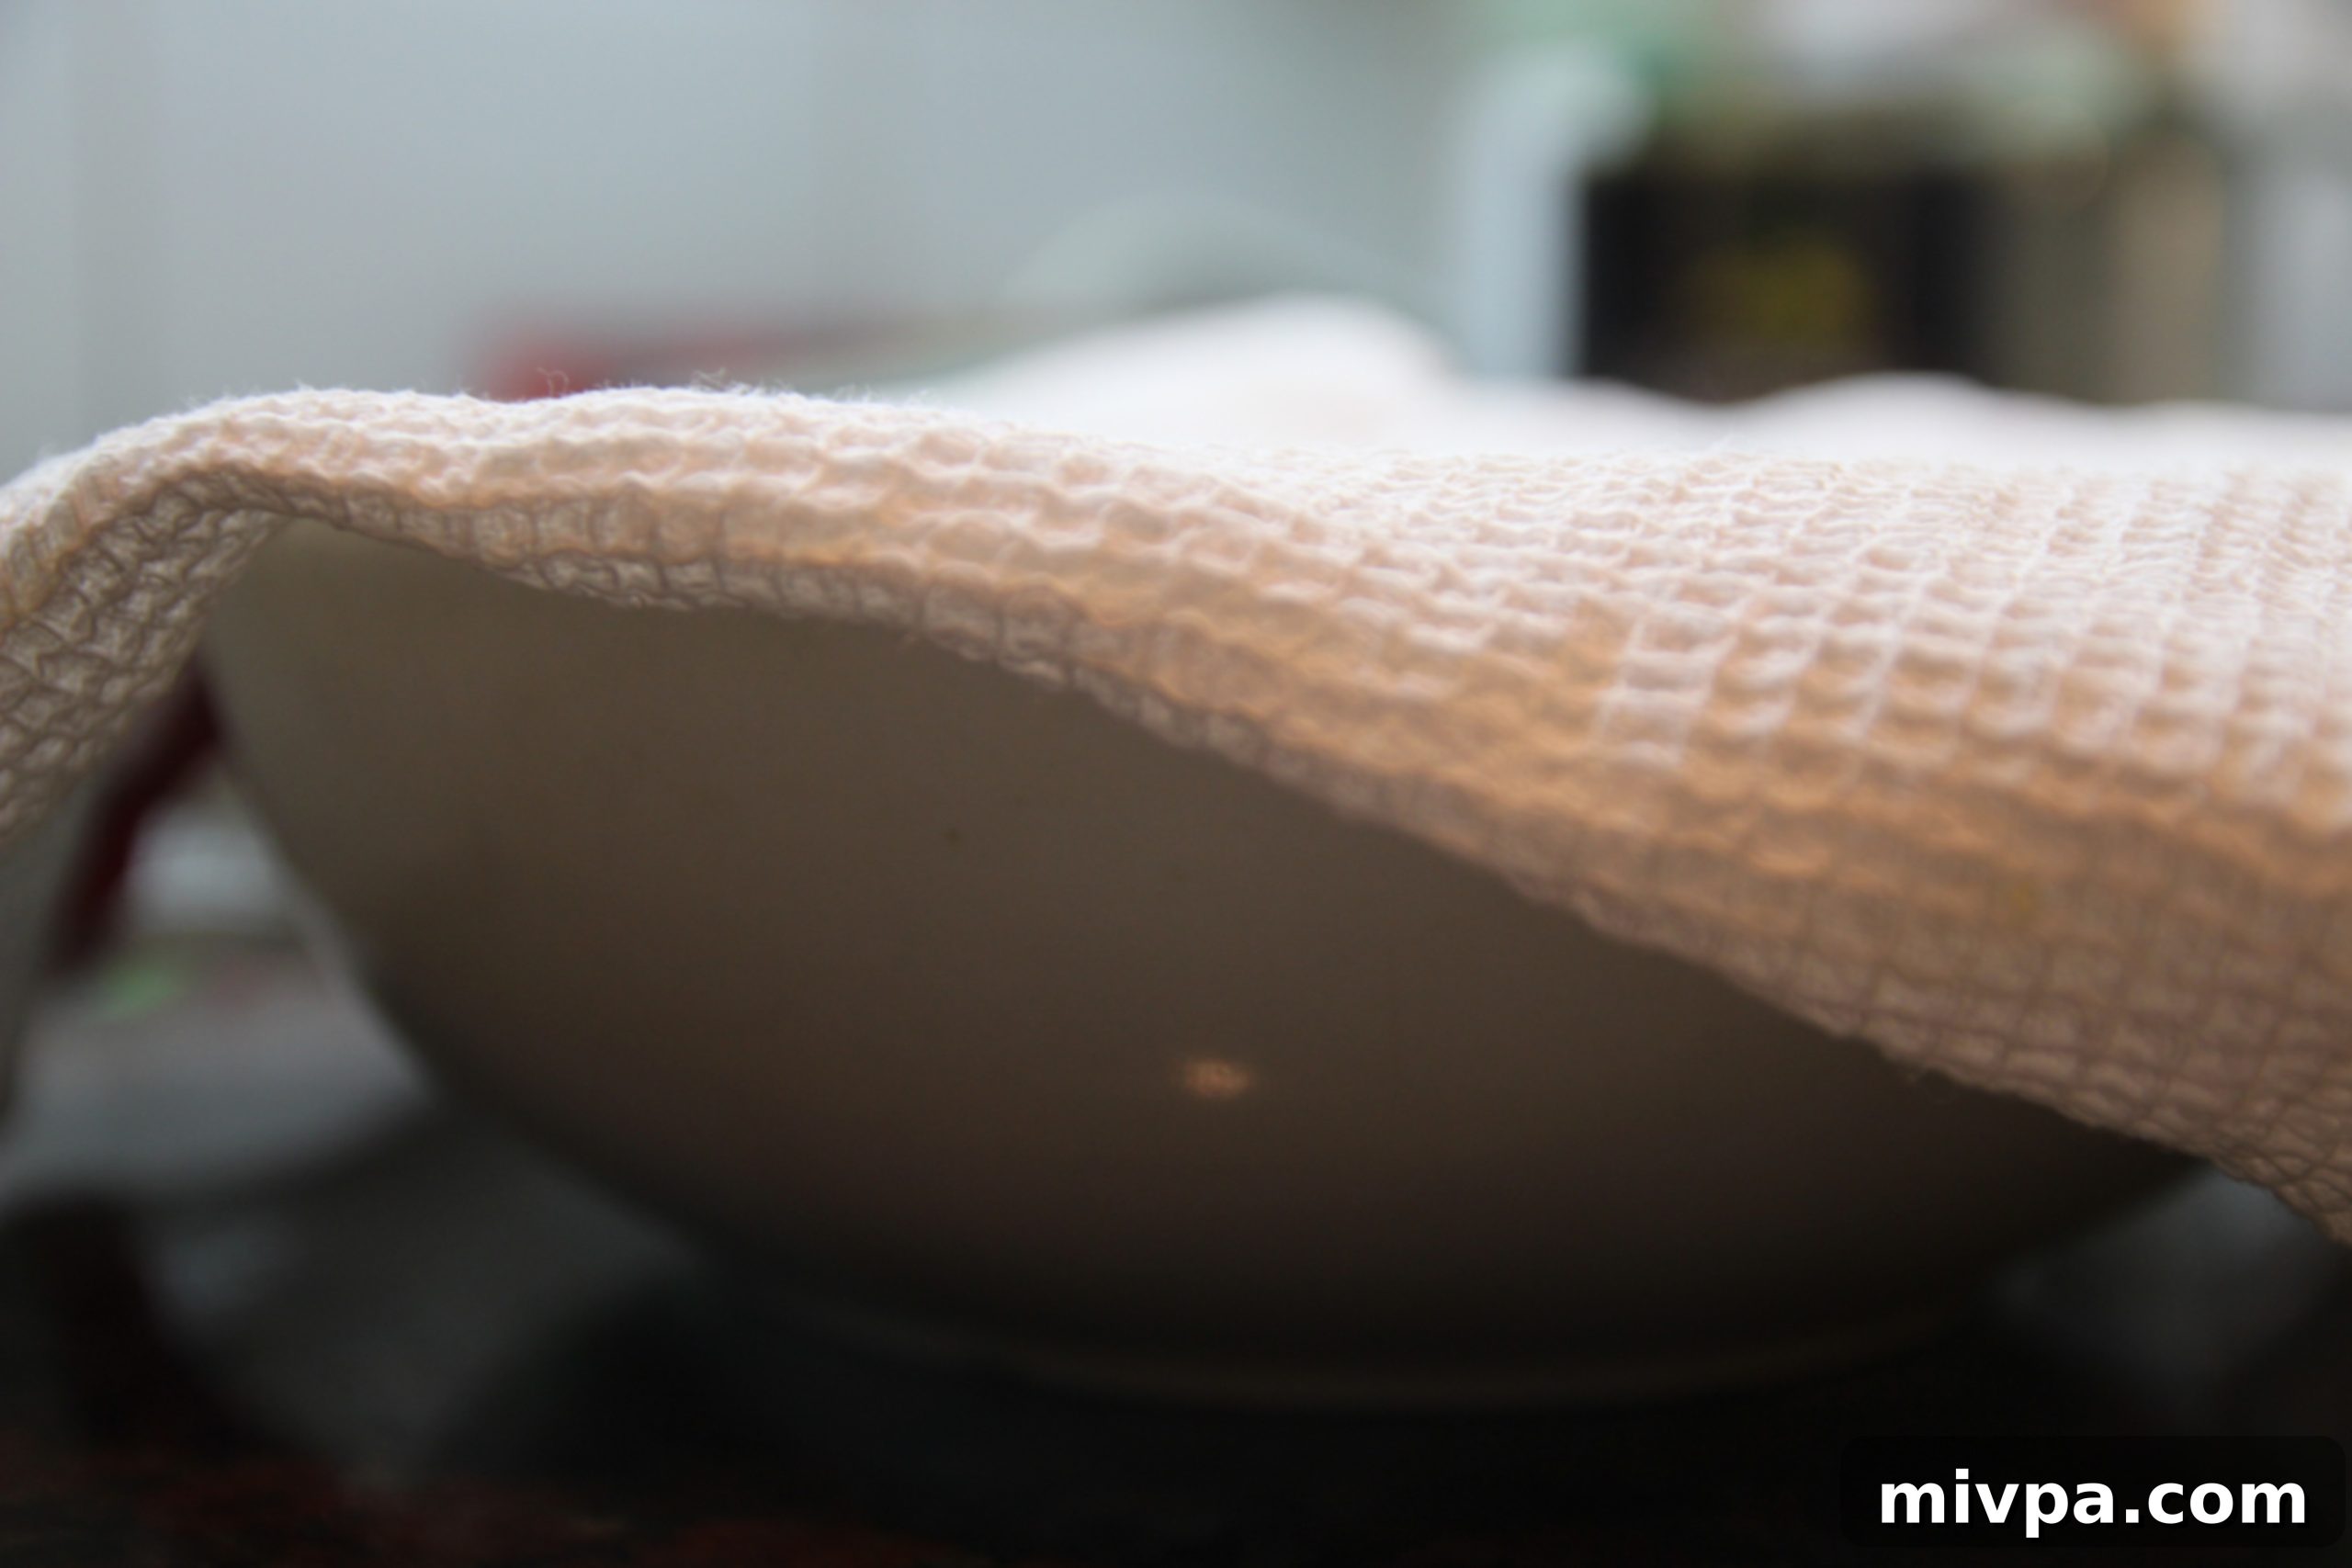
Place the oiled dough into the prepared bowl, turning it over to ensure all sides are thoroughly coated. Cover the bowl securely with a clean tea towel and allow it to rise in a warm spot for 1 hour.
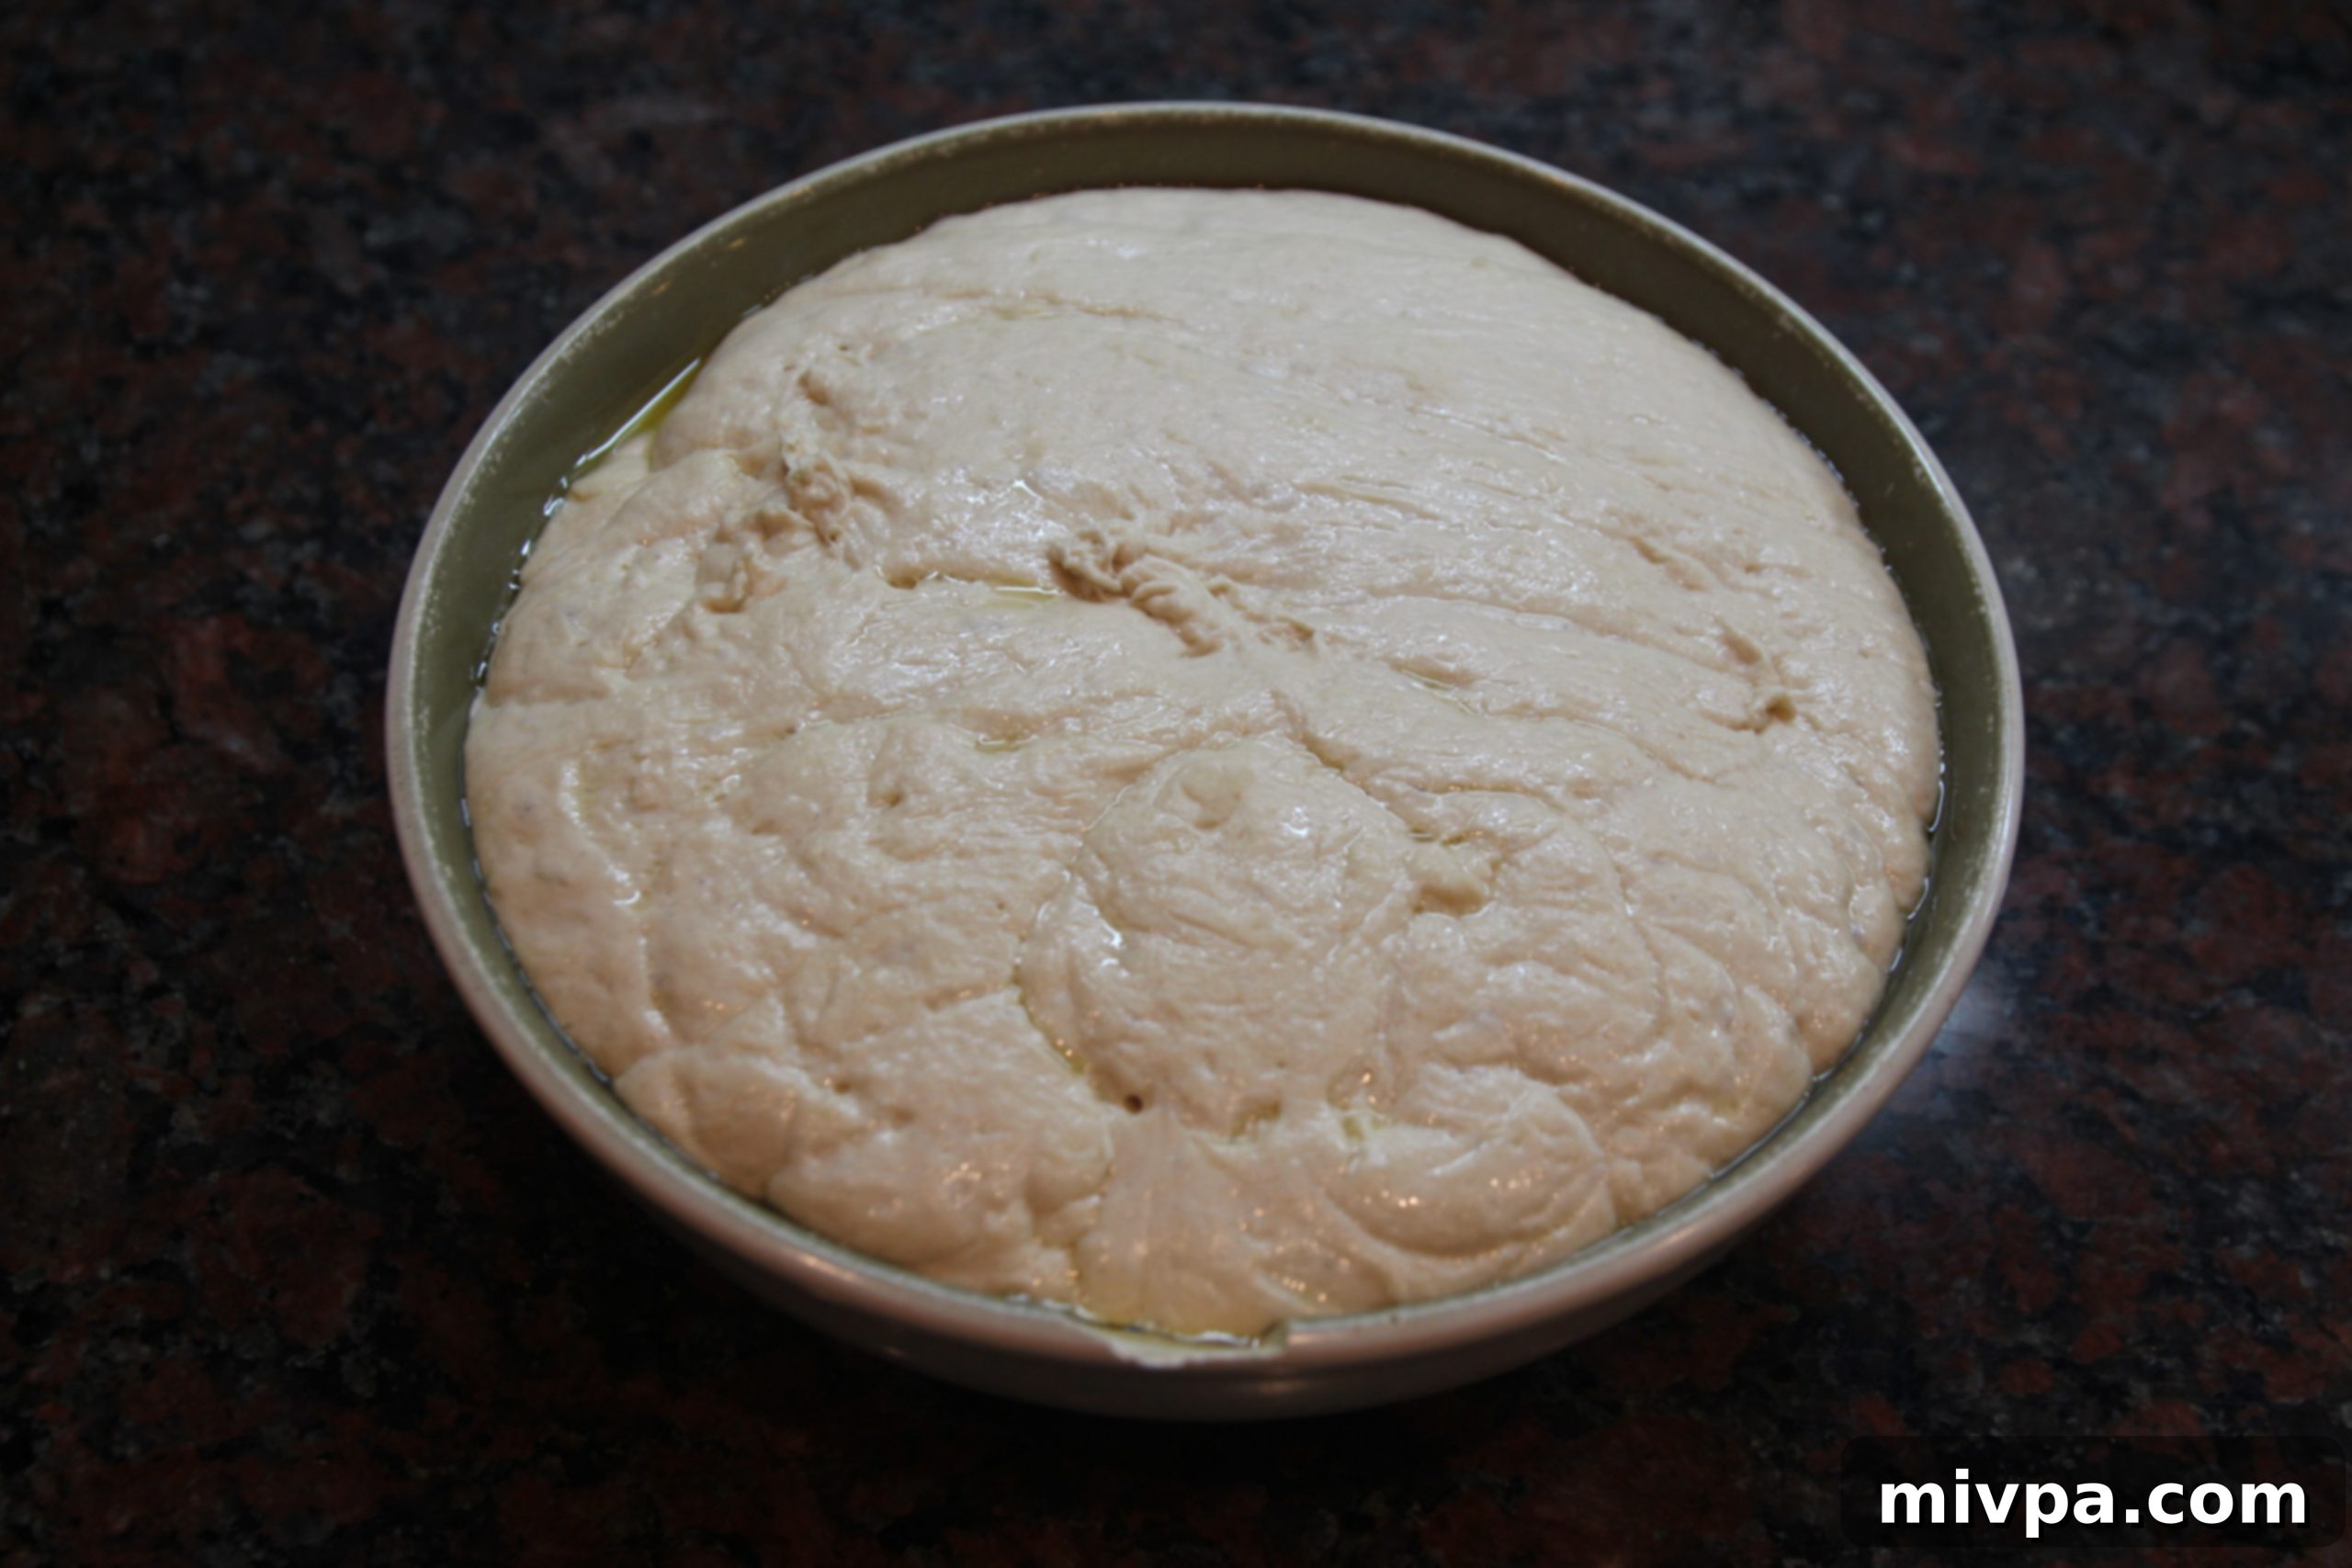
8. Dough After First Rise:
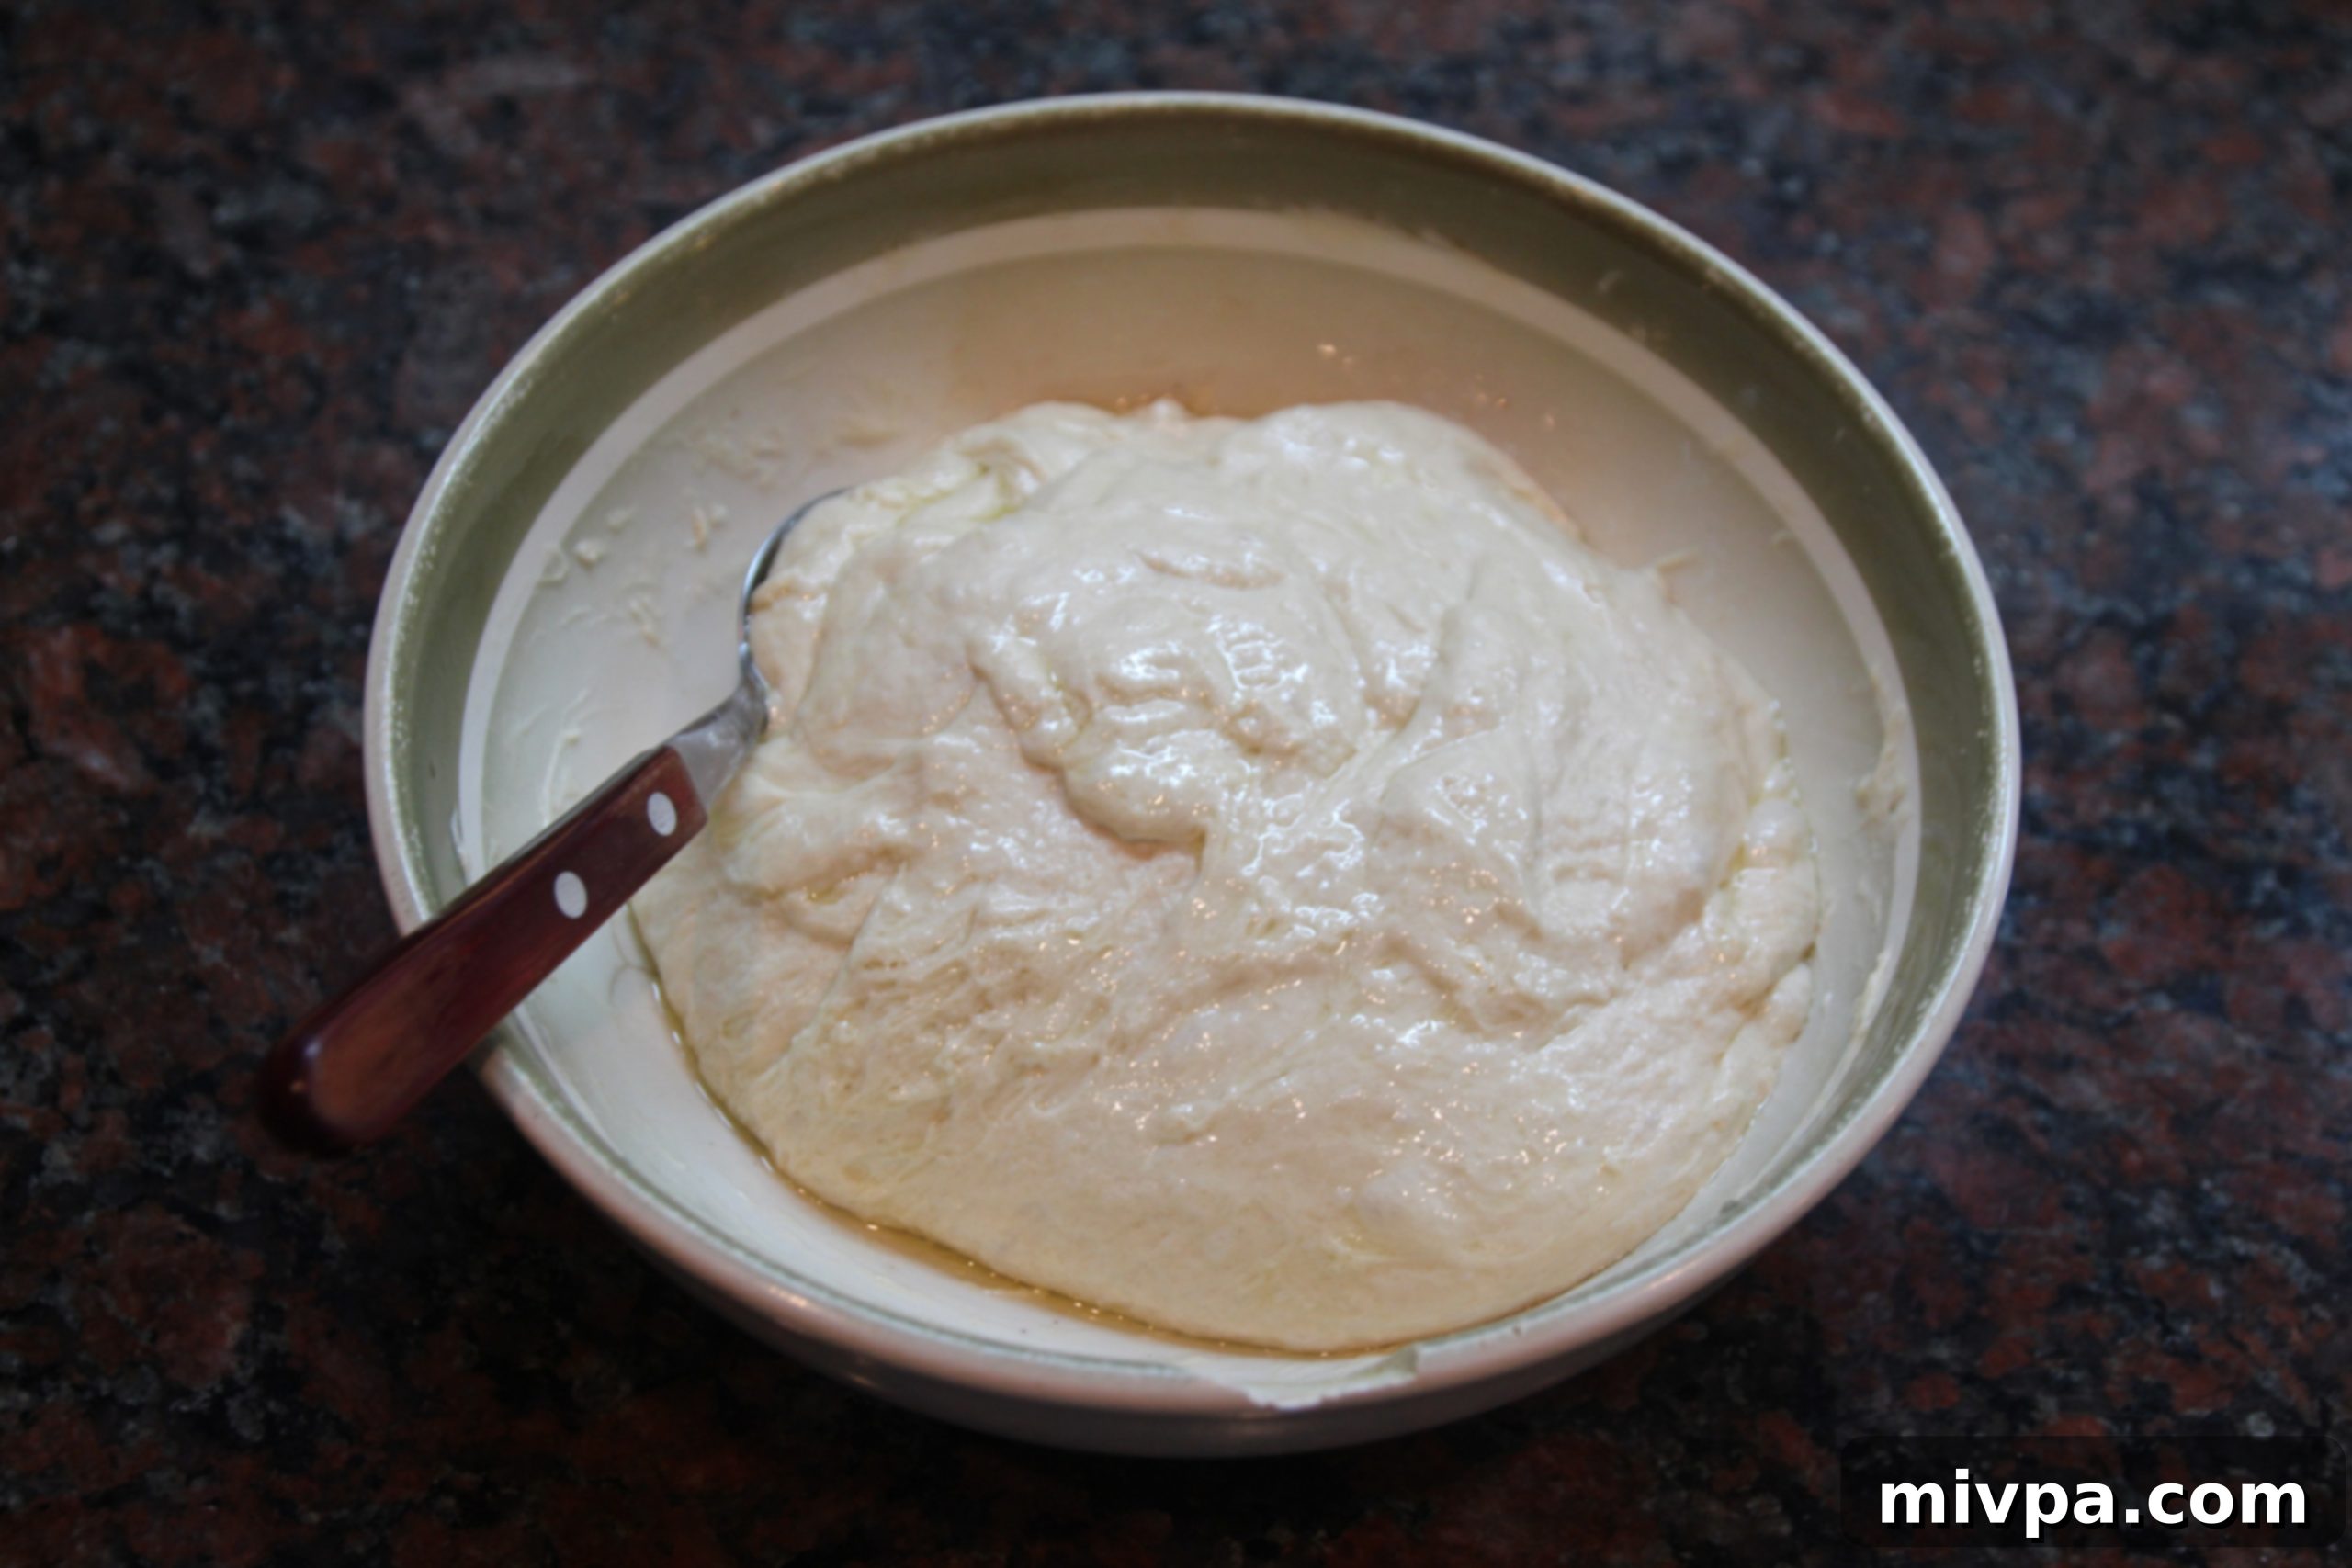
After the initial hour, observe how the dough has almost doubled in size, becoming visibly lighter and more airy. This impressive expansion is a clear indicator of the yeast’s activity and a good sign for the final loaf.
9. Second Rise After Punching Down:
Gently ‘punch down’ the dough to release the accumulated gases, turn it over, re-cover the bowl, and let it rise for another 40 minutes. This second rise further develops the dough’s flavor and texture.
10. Shaping the Loaves for Final Proof:
Turn the fully risen dough onto a generously floured surface, divide it into two equal pieces, and gently shape each into a rustic ciabatta loaf. Sift additional flour over the tops, then place them on a prepared baking sheet and allow them to double in bulk for their final proof before baking.
11. Baking to Golden Perfection:
Bake the beautifully doubled loaves in a pre-heated oven for about 30 minutes, or until they achieve a gorgeous golden-brown crust. The ultimate test for doneness is tapping the bottom of a loaf; it should produce a distinct hollow sound, indicating it’s perfectly cooked through.
