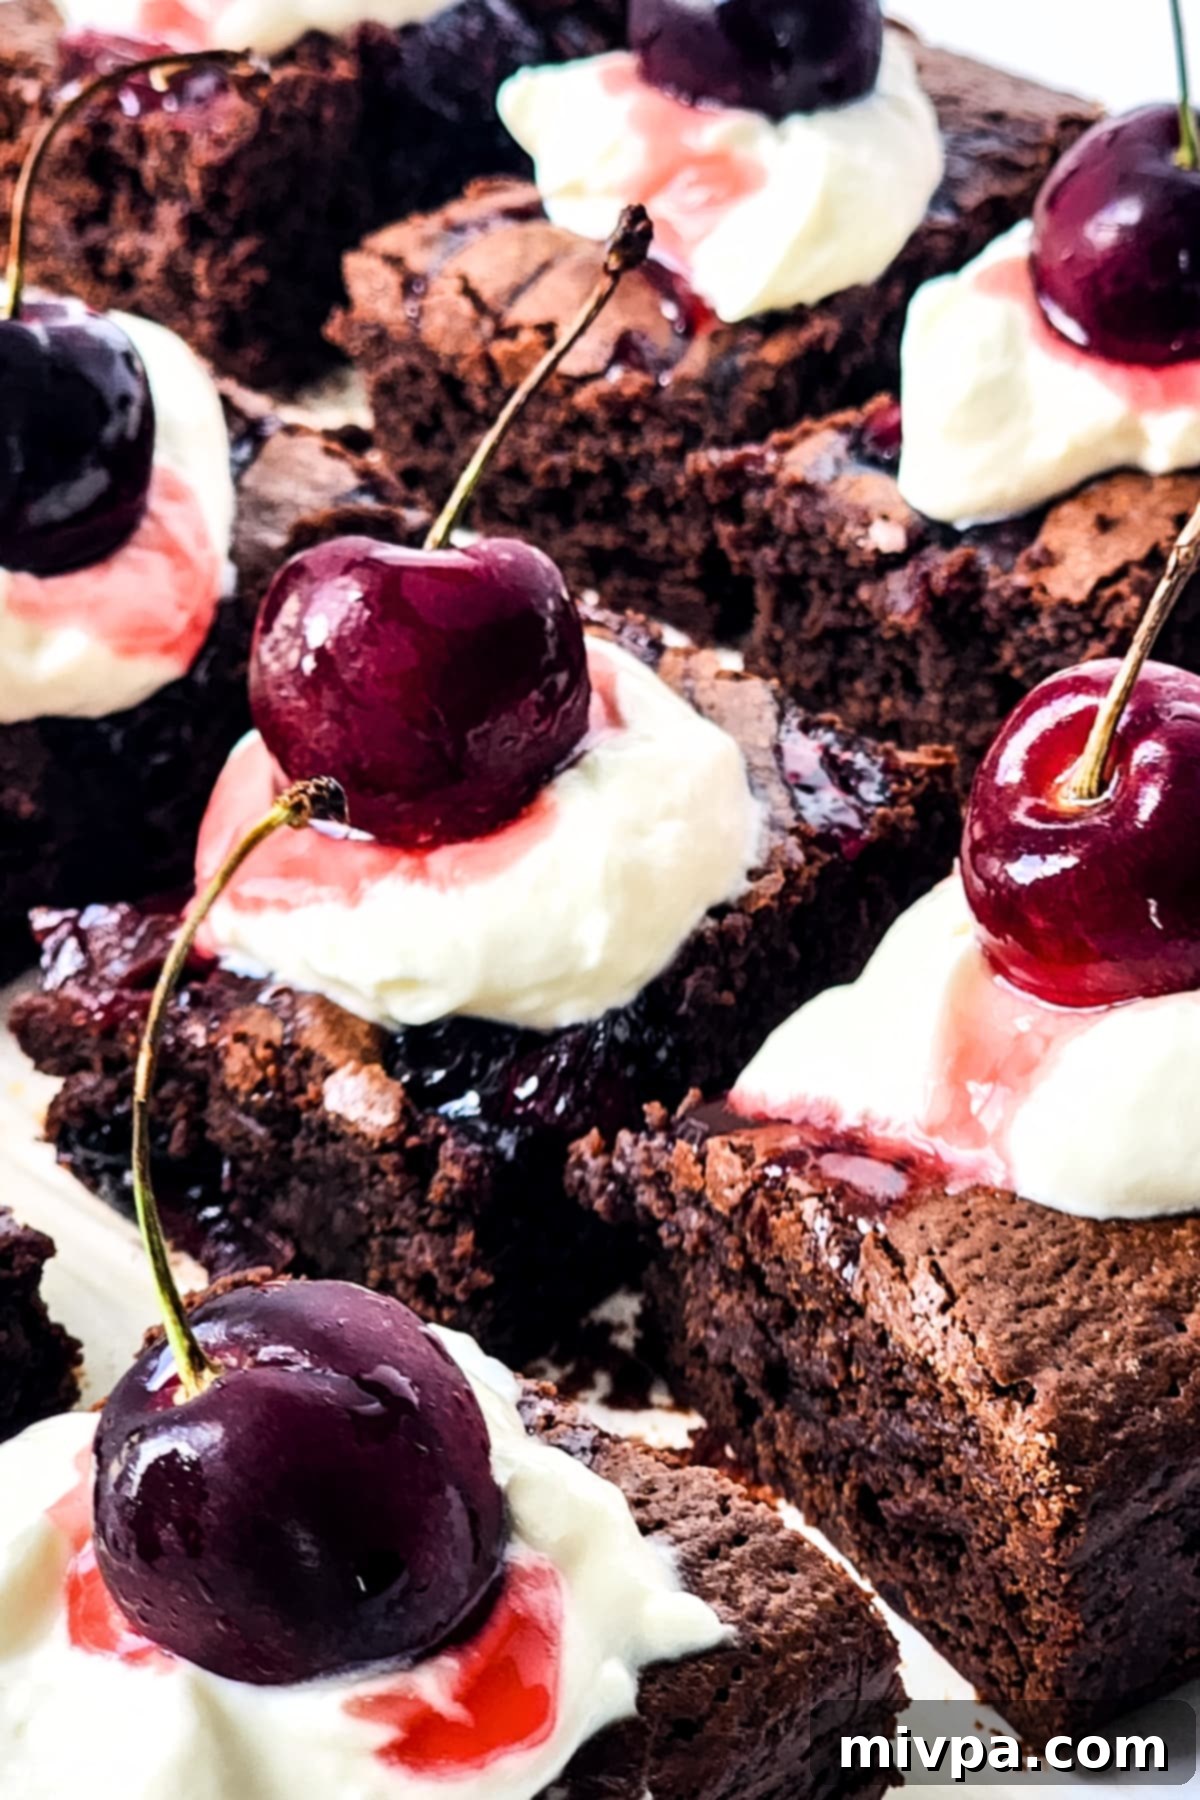
Irresistibly Fudgy Gluten-Free Dairy-Free Black Forest Brownies: A Decadent Delight
Prepare to indulge in the ultimate dessert experience with these fudgy Black Forest Brownies. Each bite delivers a rich cherry flavor, perfectly balanced with deep chocolate notes, and crowned with a dollop of luscious whipped cream. Ideal for any special occasion or simply to treat yourself, this recipe is a game-changer for those seeking a luxurious yet approachable treat. The best part? They are entirely gluten-free and dairy-free, ensuring everyone can enjoy this classic flavor combination without compromise.
[feast_advanced_jump_to]
What are Black Forest Brownies?
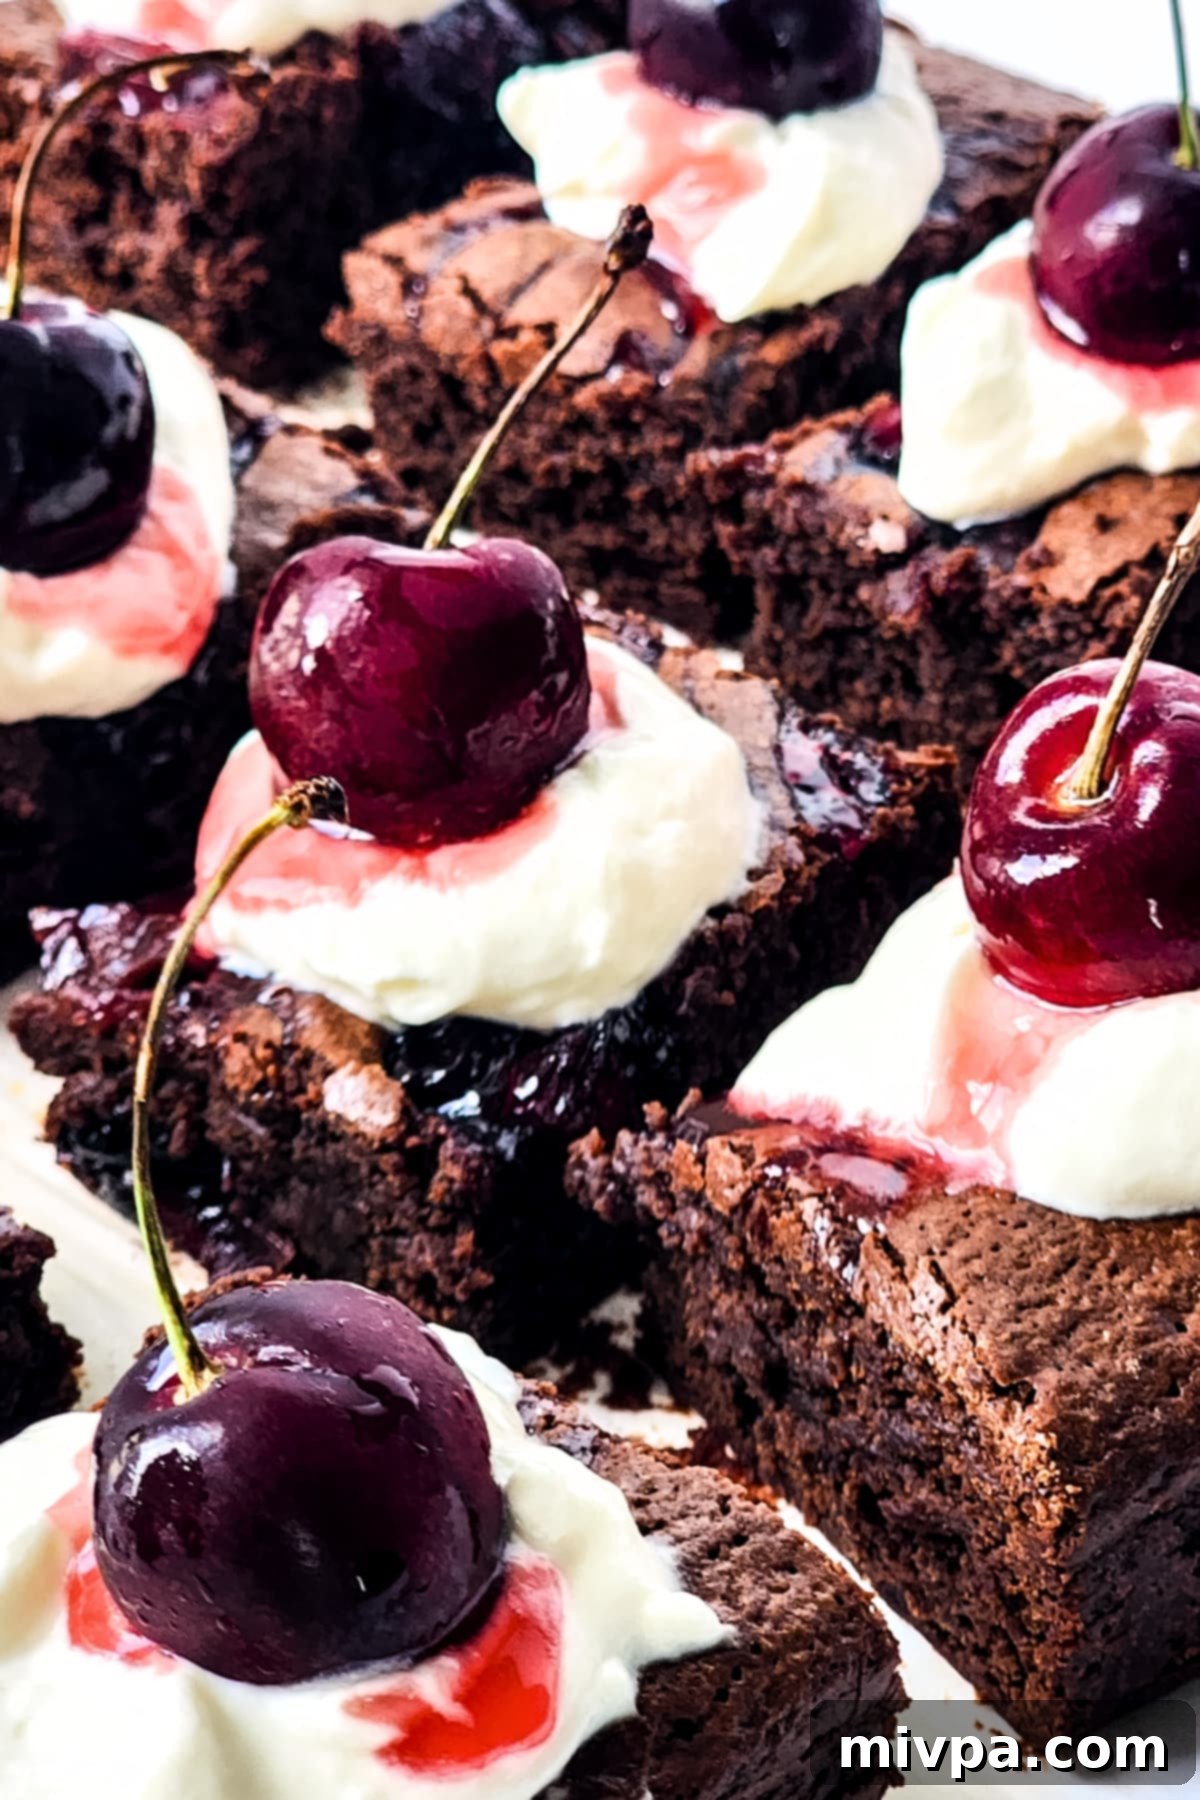
Black Forest Brownies are a sublime fusion dessert, masterfully blending the intensely fudgy texture of traditional brownies with the iconic flavors of the beloved German Black Forest Cake. Imagine the deep, rich cocoa of a classic brownie meeting the tart sweetness of cherries and a hint of luxurious cream. This hybrid dessert captures the best of both worlds, offering a decadent experience in a convenient, portable square.
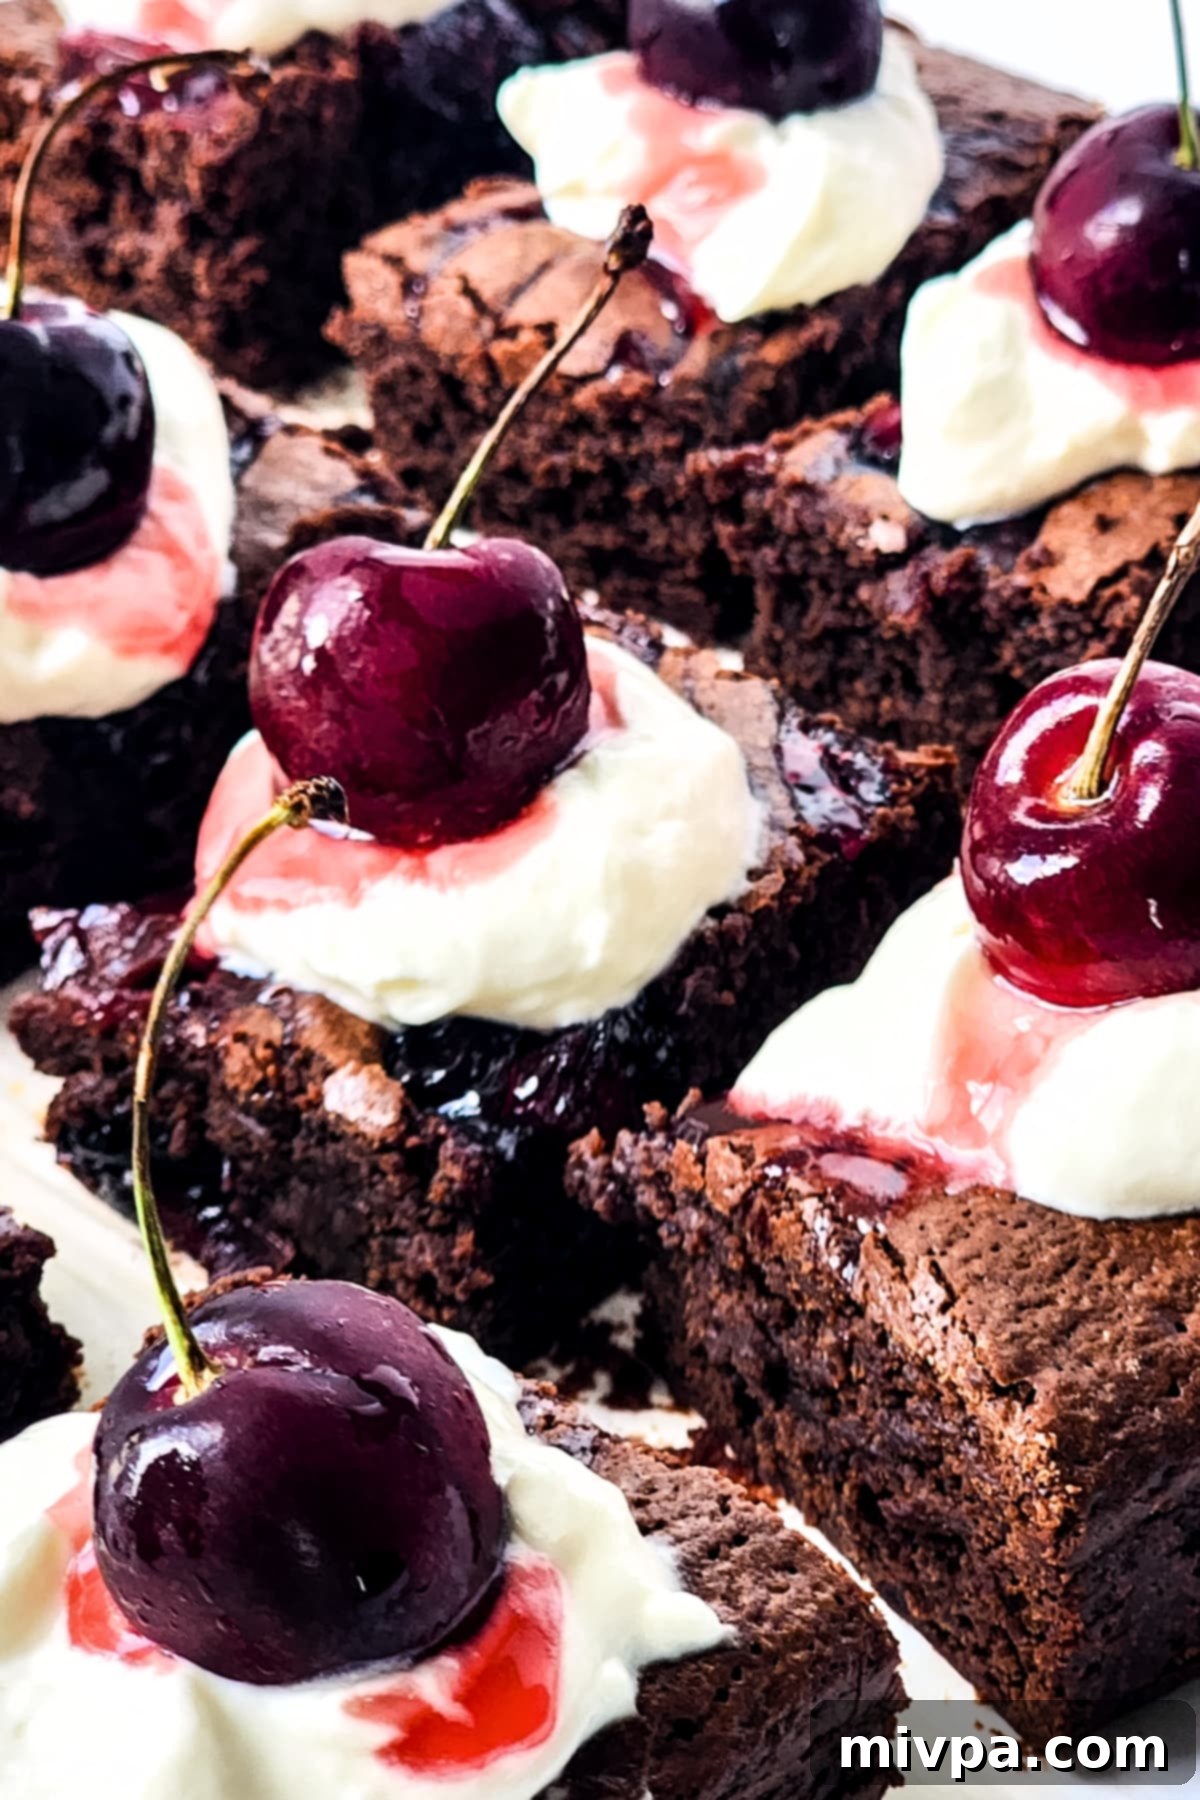
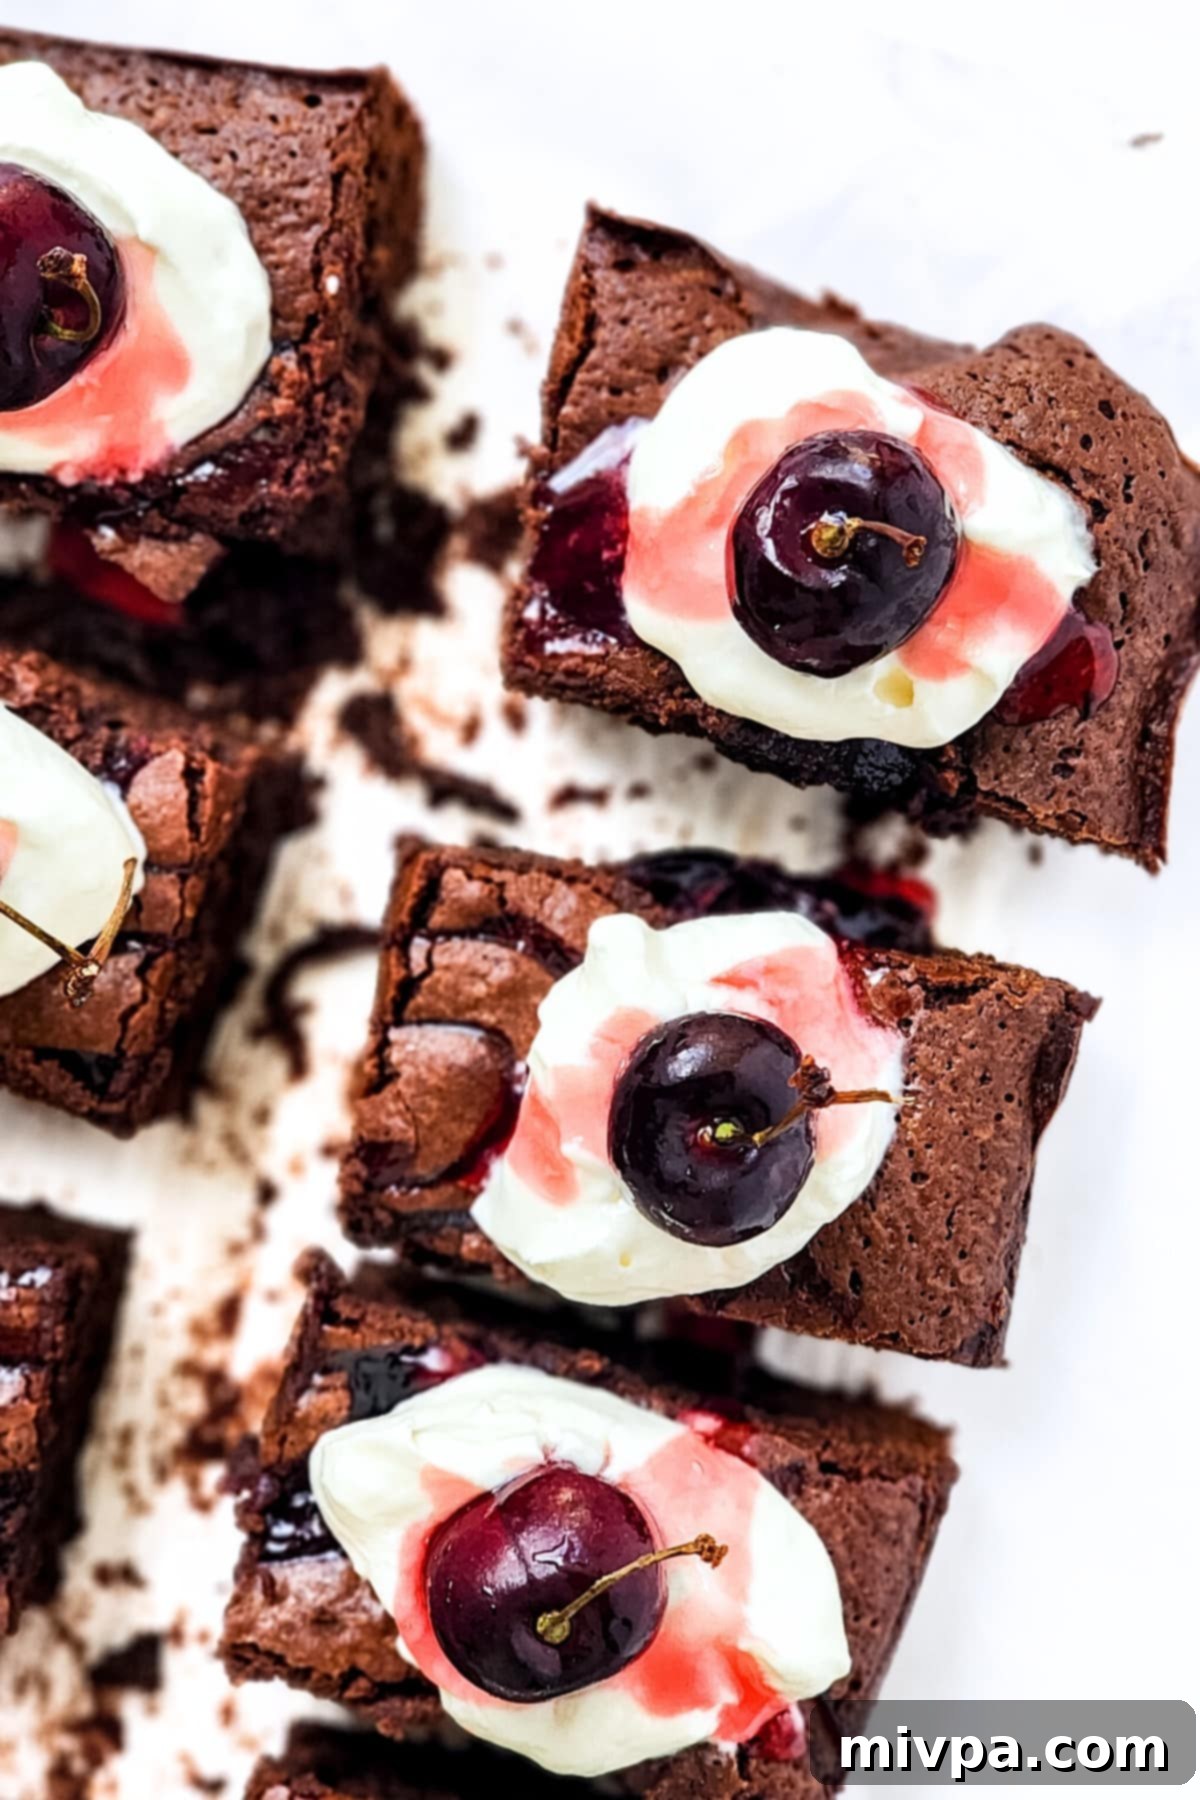
The essence of this treat lies in its layered flavor profile. Whole or chopped cherries are carefully folded into the dense chocolate brownie batter, creating delightful bursts of fruity tang and sweetness with every bite. These aren’t just brownies with a cherry on top; the cherry flavor is integrated directly into the heart of the brownie, often complemented by a touch of cherry syrup or liqueur. To complete the homage to the Black Forest Cake, these brownies are typically adorned with a cloud of airy whipped cream and a glistening fresh or maraschino cherry, making them as visually appealing as they are delicious. They’re a truly special dessert that’s perfect for celebrations or when you simply crave something extraordinary.
Why This Gluten-Free & Dairy-Free Recipe Works So Well:
- Effortlessly Simple Ingredients: You don’t need exotic or hard-to-find components for these brownies. All the ingredients are readily available at your local grocery store, making this a stress-free baking project. We focus on common pantry staples and easily accessible fresh produce to create a truly spectacular dessert.
- Surprisingly Easy to Make: Despite their sophisticated appearance and gourmet taste, these cherry chocolate brownies are remarkably straightforward to prepare. The steps are simple and intuitive, making them perfect for bakers of all skill levels. Whether you’re whipping them up for a spontaneous craving or a grand celebration, you’ll find the process enjoyable and the results impressive.
- Completely Gluten-Free & Dairy-Free: This is where this recipe truly shines! We’ve meticulously crafted these Black Forest Brownies to be 100% gluten-free and dairy-free. This means individuals with Celiac disease, gluten sensitivities, or lactose intolerance can indulge in these rich, fudgy treats without any concerns. We use specific ingredient choices that mimic the texture and flavor of traditional brownies, ensuring no one misses out on this delightful dessert. It’s a truly inclusive recipe designed for maximum enjoyment.
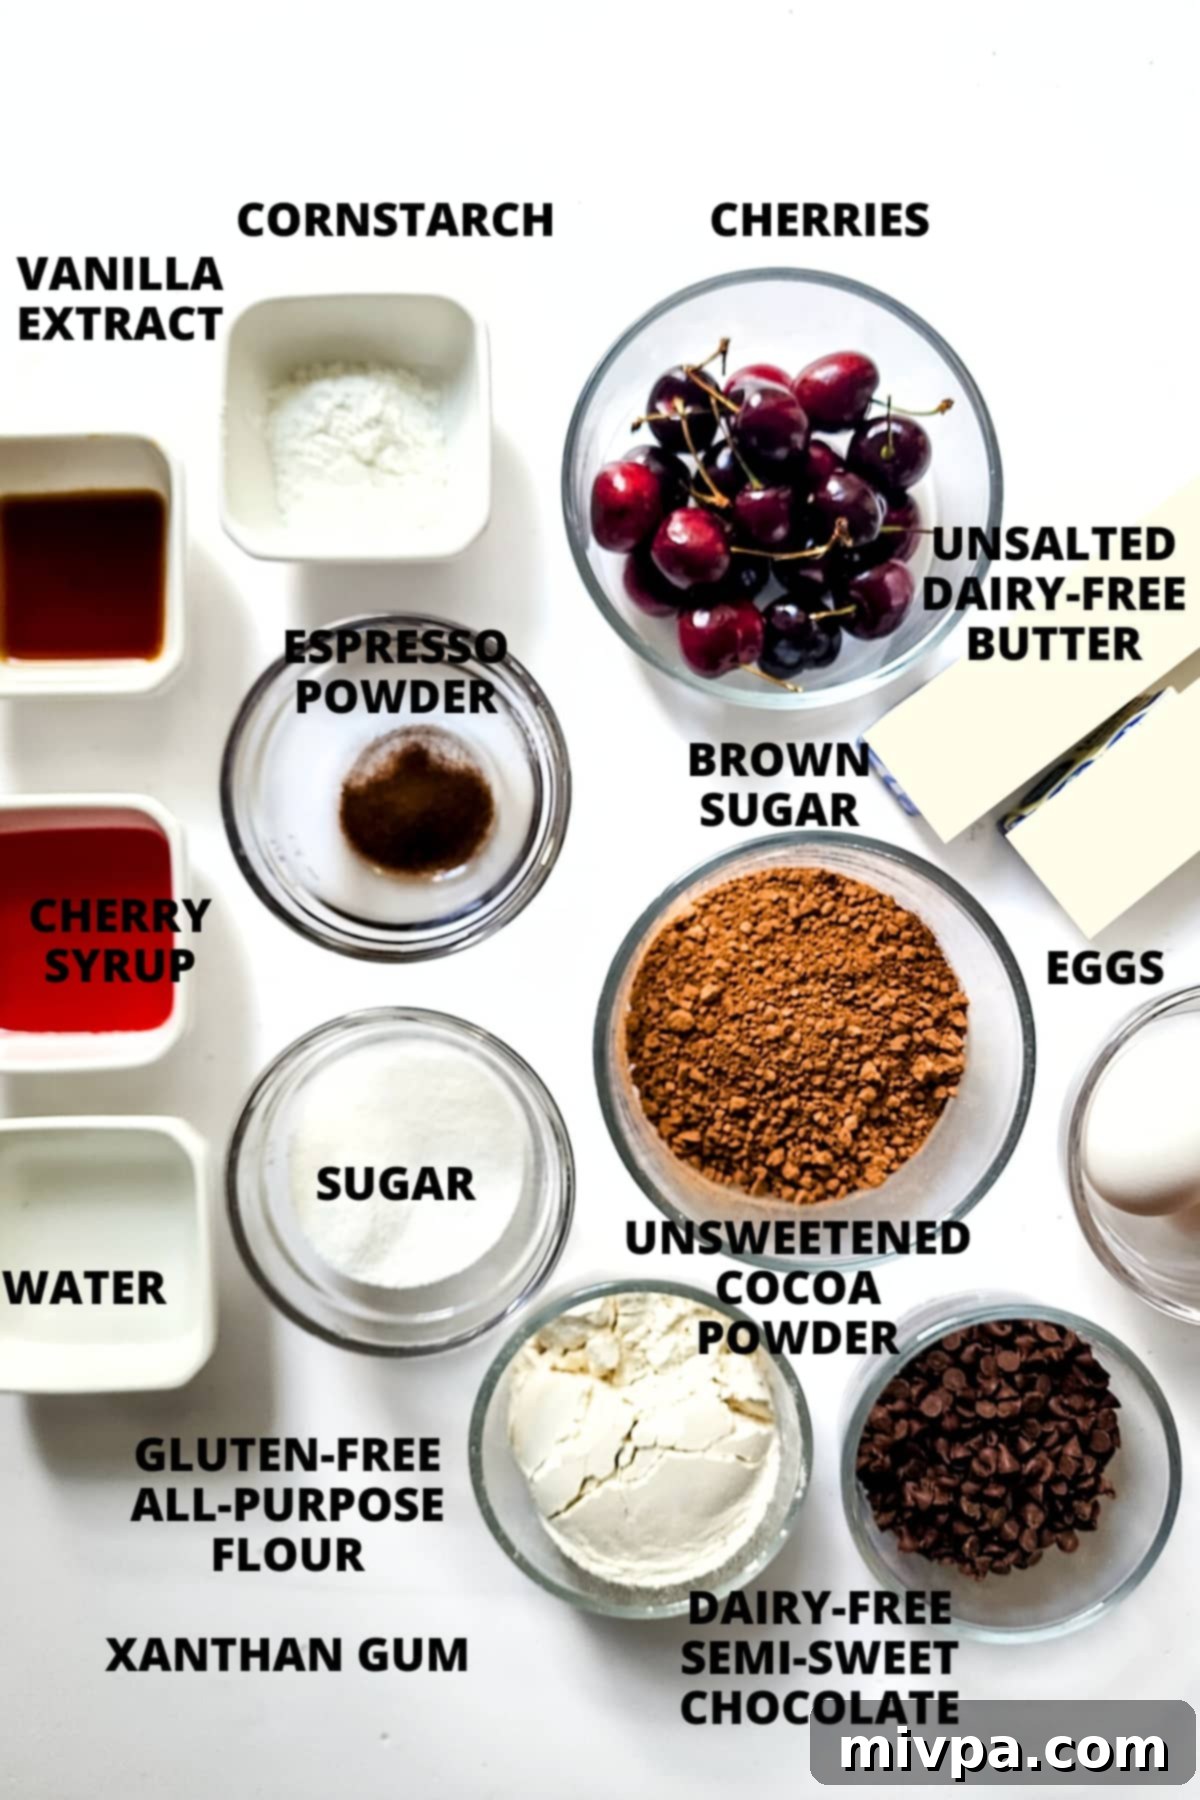
Essential Ingredients for Your Black Forest Brownies:
Crafting these delectable Black Forest Brownies begins with selecting the right components. While the full list with precise measurements is available in the printable recipe card at the bottom of this post, here’s a visual overview of the key ingredients that bring this delightful dessert to life. Each ingredient plays a crucial role in achieving the perfect balance of fudgy texture and rich cherry-chocolate flavor.
Recipe Notes & Smart Substitutions:
To ensure your Black Forest Brownies turn out perfectly every time, and to cater to various dietary needs or ingredient availability, here are some detailed notes and substitution suggestions for key components:
- Cherries: For the most vibrant flavor, I highly recommend using fresh, juicy cherries, especially when they are in season. However, high-quality frozen cherries work equally well and are a fantastic option year-round. Remember to always remove the stalks and pits from both fresh and frozen cherries before incorporating them into your sauce or batter.
- White Sugar: Standard granulated white sugar is used here, providing a clean sweetness. If you prefer, cane sugar can be used as a direct 1:1 substitute. For those managing blood sugar levels, such as individuals with diabetes or insulin resistance, granulated monk fruit sweetener is an excellent alternative. It offers a 1:1 sweetness ratio, has a zero glycemic index, and will not impact blood sugar levels.
- Cherry Syrup: This ingredient boosts the authentic cherry flavor. If you have Celiac disease or are gluten-intolerant, it’s crucial to select a gluten-free cherry syrup to ensure the recipe remains safe for you. For an adult-friendly twist and an even deeper flavor, you can substitute cherry liqueur for the syrup.
- Cornstarch: This acts as a vital thickening agent, giving our homemade cherry sauce that perfect, luscious consistency. If you have a corn allergy, don’t worry! You can easily substitute with either tapioca starch or arrowroot starch in the same quantities.
- Butter: To maintain the dairy-free integrity of this recipe, I’ve opted for unsalted dairy-free butter. This imparts a rich, creamy texture without any dairy. Alternatively, various vegetable oils such as sunflower, canola, avocado, olive, or melted coconut oil can be used. If dairy is not an issue for you, feel free to use regular unsalted butter for a classic flavor.
- Chocolate: For a dairy-free recipe, semisweet dairy-free chocolate (chips or chopped bars) is essential. Its robust flavor is key to the brownie’s richness. If you don’t require a dairy-free option, any good quality semi-sweet chocolate or dark chocolate chips will work beautifully.
- Brown Sugar: I prefer dark brown sugar for its rich molasses notes that complement the chocolate. However, light brown sugar or coconut sugar can be used interchangeably. For those monitoring sugar intake, golden granulated monk fruit sweetener serves as an excellent 1:1 brown sugar substitute, offering a similar flavor profile without affecting blood glucose.
- Eggs: Eggs are crucial binders in this recipe, providing structure and moisture. I strongly advise against omitting them. If you have an egg allergy or prefer a vegan recipe, options like acquafaba (the liquid from a can of chickpeas) or a commercial egg replacer can be used to achieve similar binding properties.
- Vanilla Extract: A splash of vanilla extract is added for an extra layer of aromatic complexity, enhancing the overall flavor of the brownies. Don’t skip this!
- Gluten-Free Flour Blend: The success of gluten-free baking heavily relies on the flour blend. I recommend using a high-quality gluten-free all-purpose flour blend that predominantly features lighter flours and starches, such as rice flour, tapioca starch, corn starch, or potato starch. Avoid blends heavy in ingredients like garbanzo bean flour, which can lead to a denser texture and distinct flavor in brownies.
- Xanthan Gum: This is a vital ingredient in gluten-free baking as it mimics the elasticity and binding properties of gluten. If your chosen gluten-free flour blend does not already list xanthan gum as an ingredient, make sure to add the specified amount of xanthan gum to your dry ingredients.
- Cocoa Powder: Always opt for unsweetened cocoa powder for these brownies. We’re already adding sugars to achieve the desired sweetness, and unsweetened cocoa allows for better control over the final flavor balance.
- Espresso Powder: This secret ingredient is truly transformative! Adding espresso powder or instant coffee powder doesn’t make the brownies taste like coffee; instead, it deepens and intensifies the chocolate flavor, making it incredibly rich and complex. It’s a small addition with a huge impact, so I definitely recommend including it.
- Whipped Cream: To keep these brownies completely dairy-free, I use dairy-free whipped cream for topping. There are many excellent plant-based options available that provide a light, fluffy contrast to the fudgy brownies. If dairy isn’t a concern for you, traditional whipped cream is perfectly fine. This topping is optional, but highly recommended for the full Black Forest experience.
How to Make Perfect Black Forest Brownies (Step by Step Guide):
Creating these delightful Black Forest Brownies is a rewarding process. Follow these detailed steps to achieve a perfectly fudgy and flavorful dessert:
1. Craft the Velvety Cherry Sauce
Begin by preparing the luscious cherry sauce. In a medium saucepan, combine the fresh or frozen cherries, granulated sugar, and cherry syrup. Heat this mixture over medium heat, stirring occasionally, until the cherries begin to soften and break down, releasing their vibrant juices. In a separate small bowl, whisk together the cornstarch and water until the cornstarch is completely dissolved, forming a slurry. Pour this cornstarch mixture into the simmering saucepan with the cherries. Continue heating and stirring constantly until the sauce thickens considerably and coats the back of a spoon, indicating it’s reached the desired consistency. This rich, sweet-tart sauce is the heart of the Black Forest flavor.
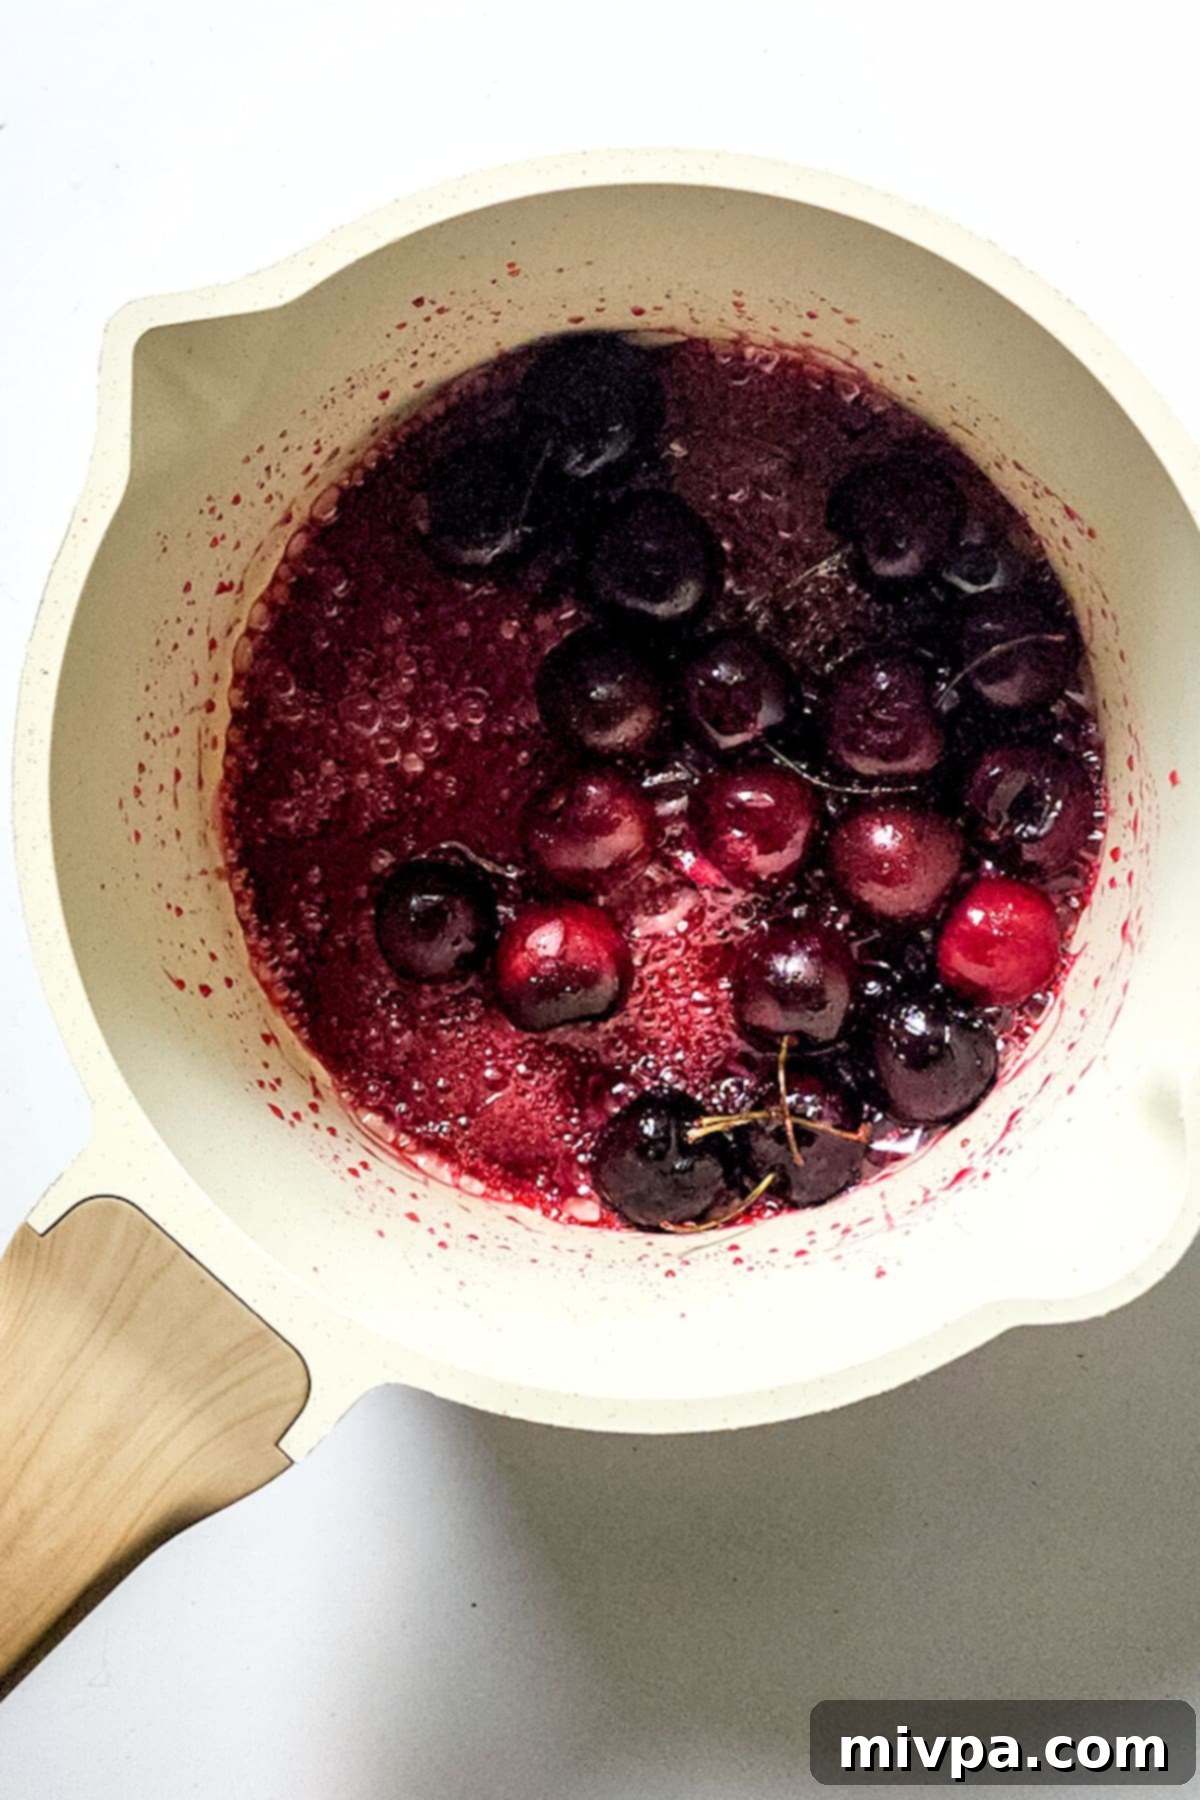
2. Cool the Sauce to Perfection
Once your cherry sauce has thickened, remove it from the heat immediately. Set aside approximately ¼ cup of the sauce in a small bowl; this portion will be reserved for drizzling over the finished brownies as a garnish. Allow the remaining cherry sauce to cool completely at room temperature. Cooling is crucial as it prevents the sauce from thinning out the brownie batter later on and ensures the swirls hold their shape during baking.
3. Preheat Your Oven and Prepare the Pan
Before you start on the brownie batter, preheat your oven to 350°F (175°C). Next, prepare a 9″x9″ square baking pan. Line the pan with parchment paper, leaving an overhang on two sides. This parchment paper sling will make it incredibly easy to lift the baked brownies out of the pan for clean slicing.
4. Brown the Dairy-Free Butter for Depth of Flavor
In a heavy-bottomed pot, melt the unsalted dairy-free butter over medium heat. Continue to cook, stirring continuously with a whisk or rubber spatula. The butter will first melt, then foam, and eventually, golden brown bits will begin to form at the bottom of the pot. A rich, nutty aroma will fill your kitchen – this is the sign that your butter is perfectly browned, adding a complex, toffee-like flavor to your brownies. Be careful not to burn it.
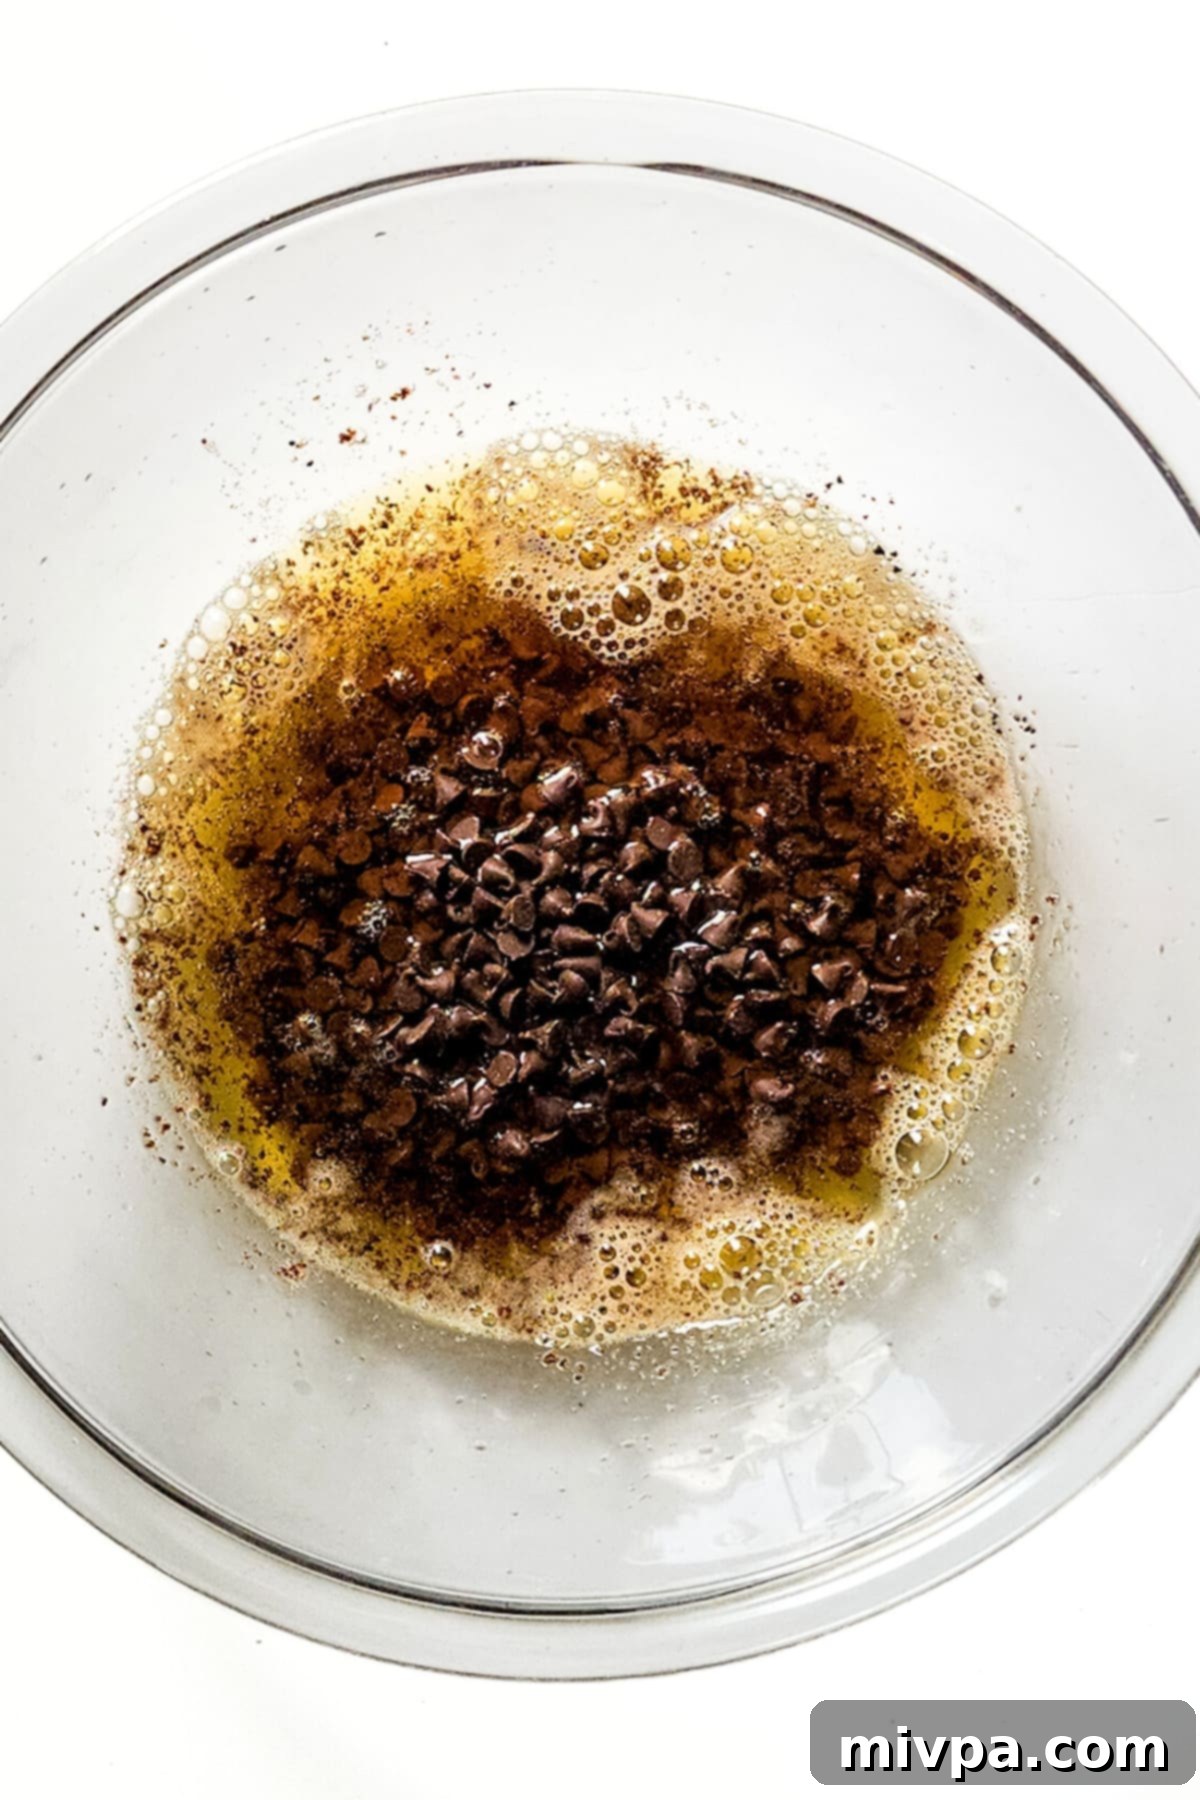
5. Incorporate Chocolate into the Hot Butter
As soon as the butter is browned and removed from the heat, immediately add the chopped semi-sweet dairy-free chocolate (or chocolate chips) to the hot butter in the pot. The residual heat from the butter will gently melt the chocolate. Stir vigorously until the chocolate is completely melted and the mixture is smooth, glossy, and well combined. This creates the foundational rich chocolate base for your brownies. Once fully melted, remove the pot from the heat to prevent scorching.
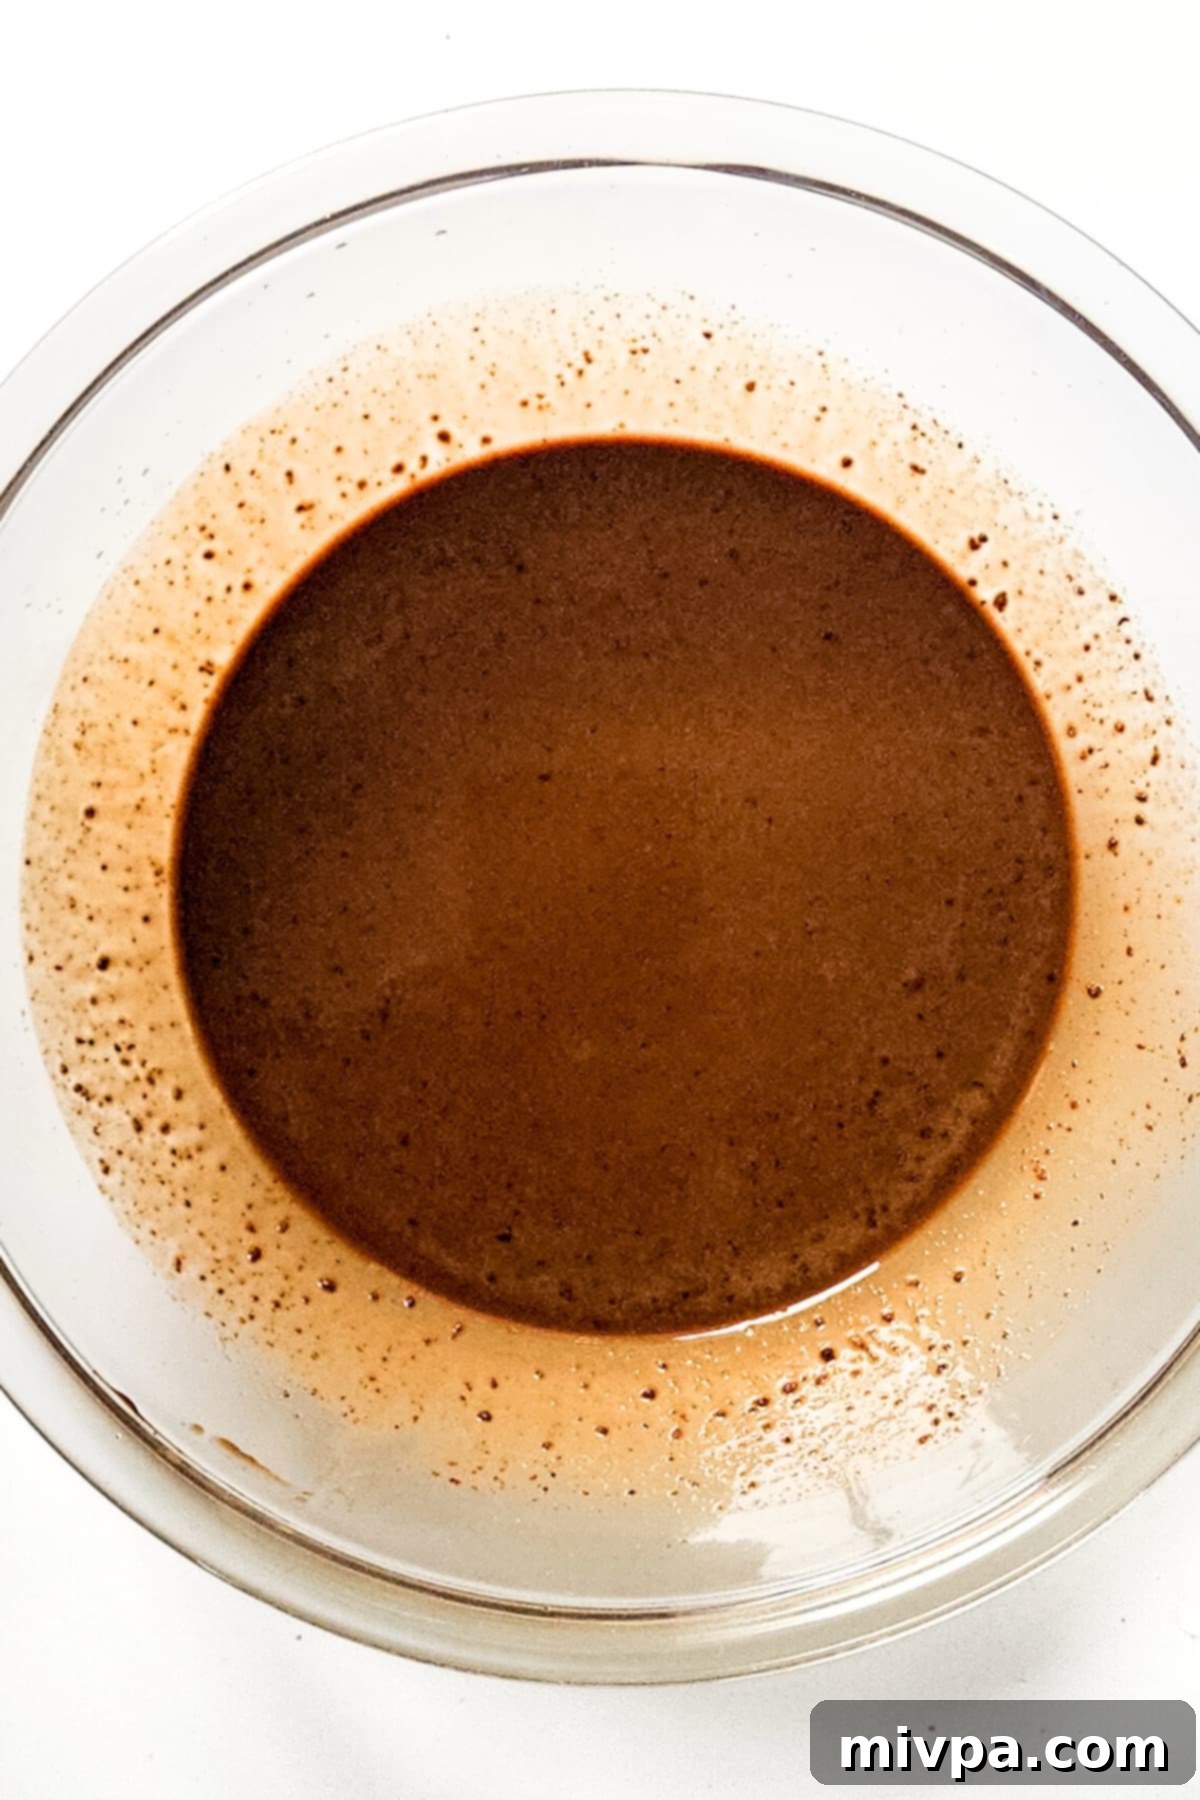
6. Create a Fluffy Sugar and Egg Base
In a separate large mixing bowl, combine the granulated white sugar, brown sugar, eggs, vanilla extract, and two tablespoons of cherry syrup. Using a hand mixer is highly recommended for this step, as it helps incorporate air efficiently. Beat the mixture on medium-high speed until it becomes noticeably thick, pale, and fluffy. If you don’t have a hand mixer, a whisk can still achieve good results with a bit more elbow grease. You’ll observe a significant lightening in the color of the mixture and an increase in volume, indicating that enough air has been incorporated for a perfectly fudgy brownie texture.
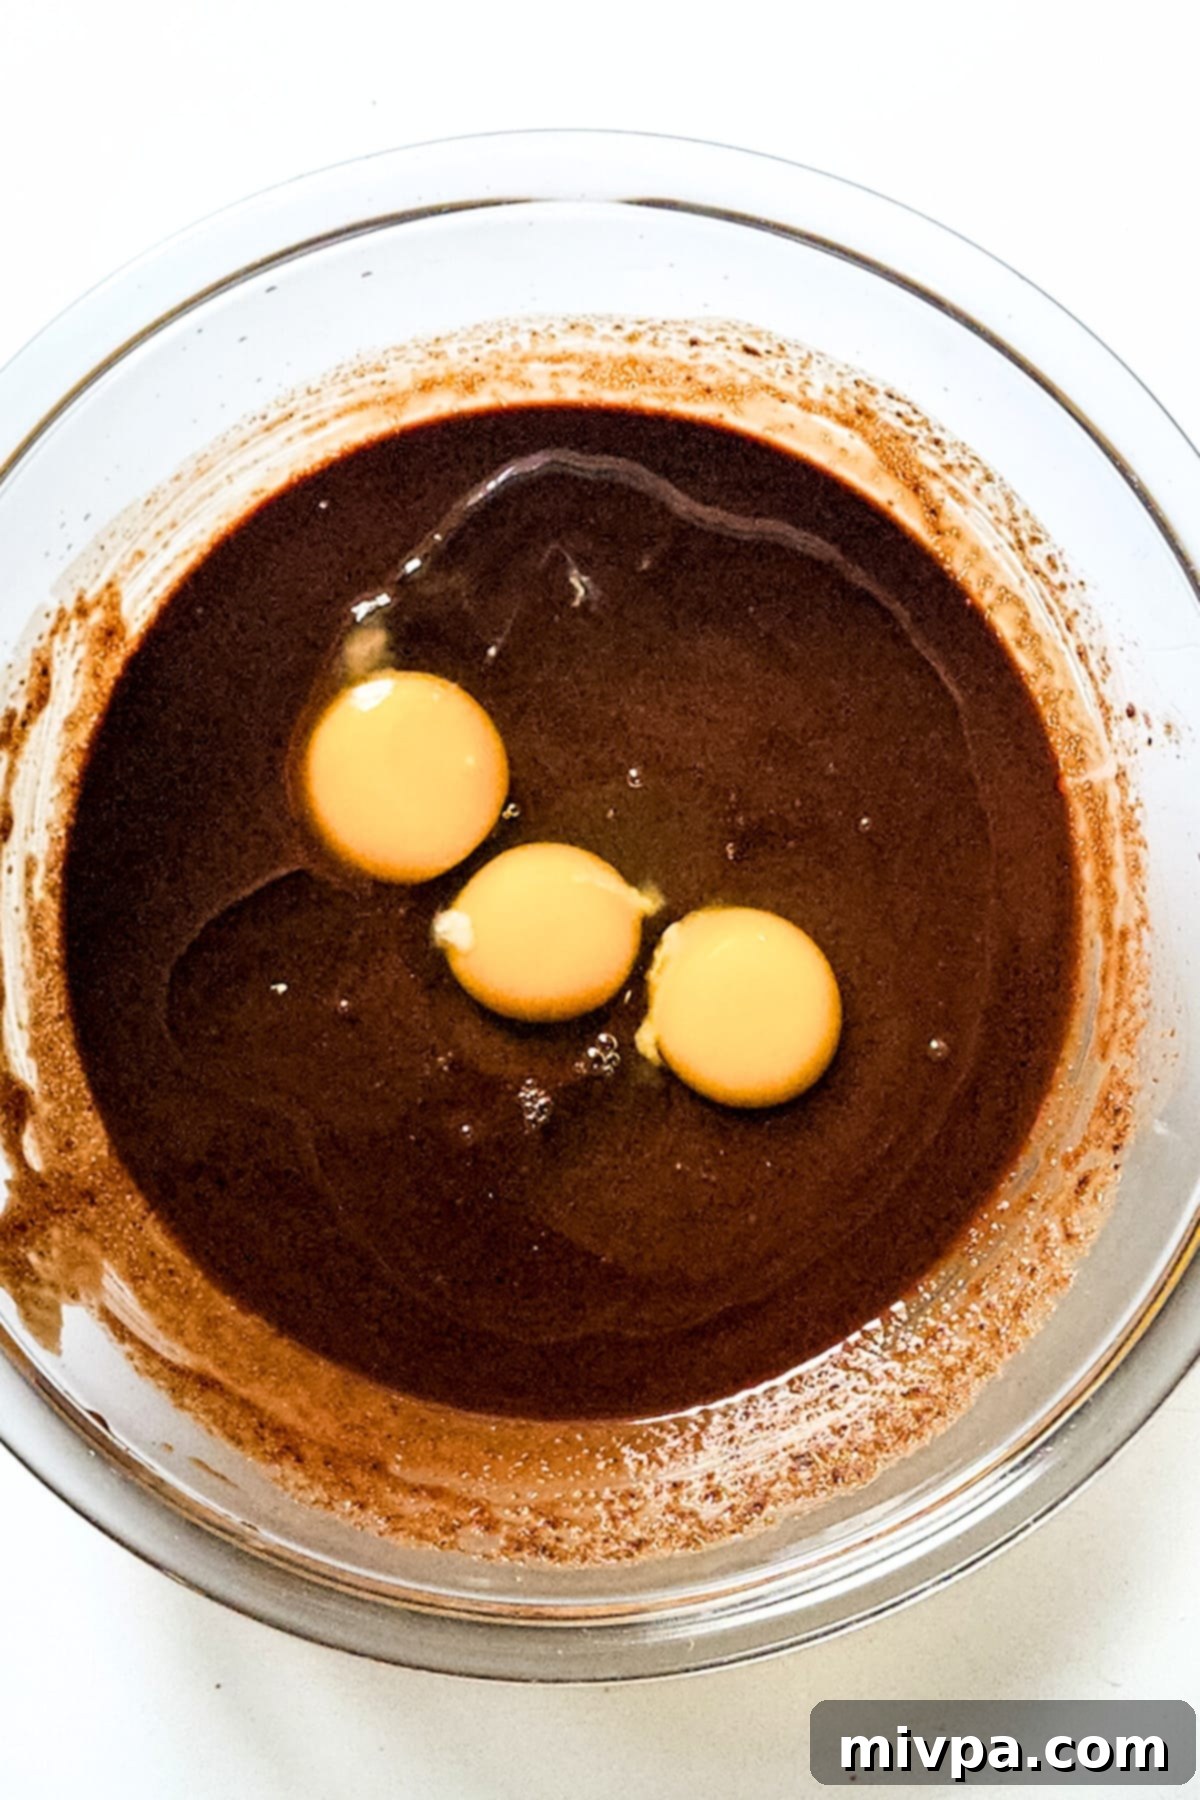
7. Fold in the Rich Chocolate-Butter Blend
Carefully pour the cooled, browned butter and melted chocolate mixture into the fluffy sugar and egg base. Mix on low speed with your hand mixer or gently fold with a whisk until just combined. Be careful not to overmix at this stage; you want to maintain the airiness created in the previous step. The mixture should be homogenous and beautifully dark.
8. Incorporate Dry Ingredients for Structure and Flavor
Now, it’s time to add the dry ingredients. Sift or gently fold in the gluten-free all-purpose flour, xanthan gum (if your flour blend doesn’t already contain it), unsweetened cocoa powder, and espresso powder into the wet mixture. Use a rubber spatula to fold these ingredients in just until no streaks of flour remain. Overmixing gluten-free flour can sometimes lead to a tougher texture, so a light hand is best here. The espresso powder will deepen the chocolate flavor, while the cocoa powder and flour provide structure.
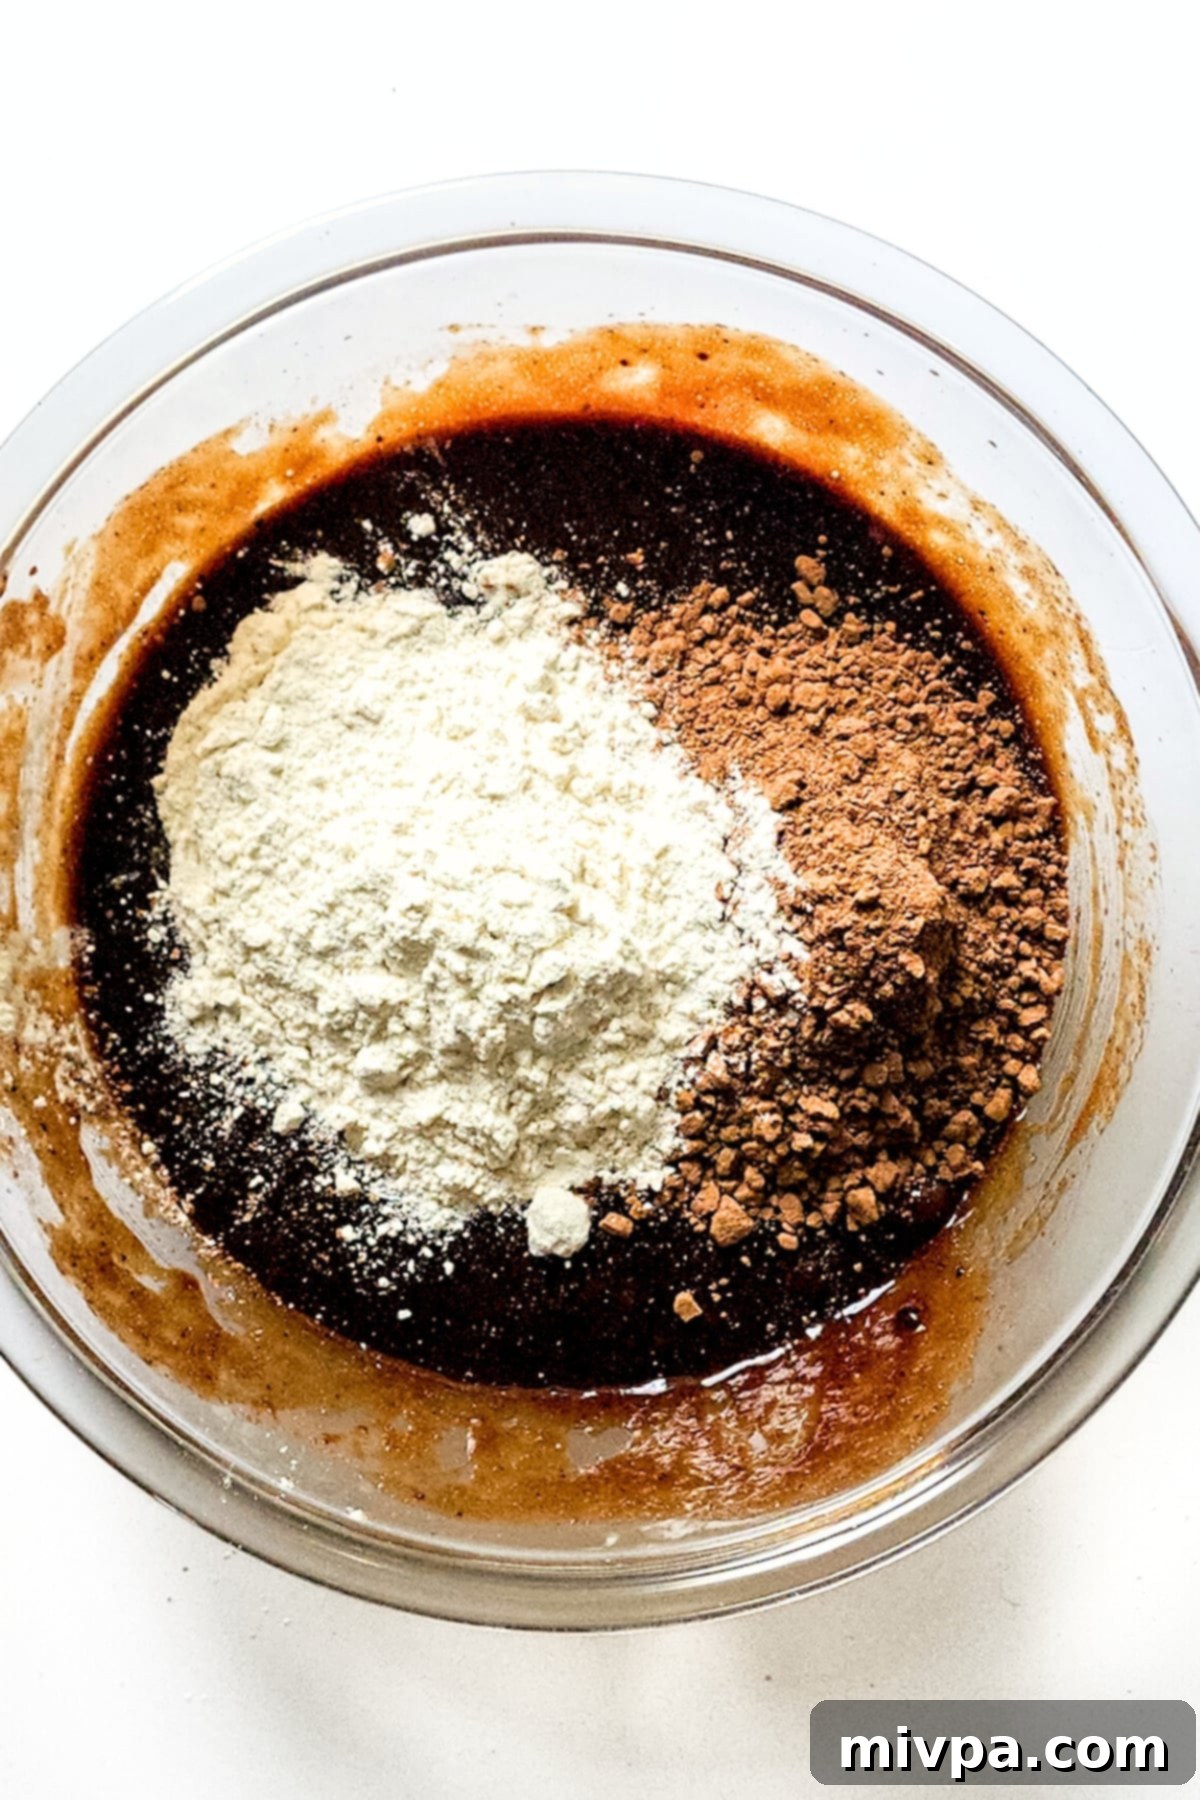
9. Fill the Pan with Brownie Batter
Once your rich, glossy brownie batter is perfectly mixed, pour it evenly into the prepared 9″x9″ baking pan. Use your rubber spatula to spread the batter from edge to edge, ensuring it’s level for even baking. Give the pan a gentle tap on the counter a few times to release any trapped air bubbles.
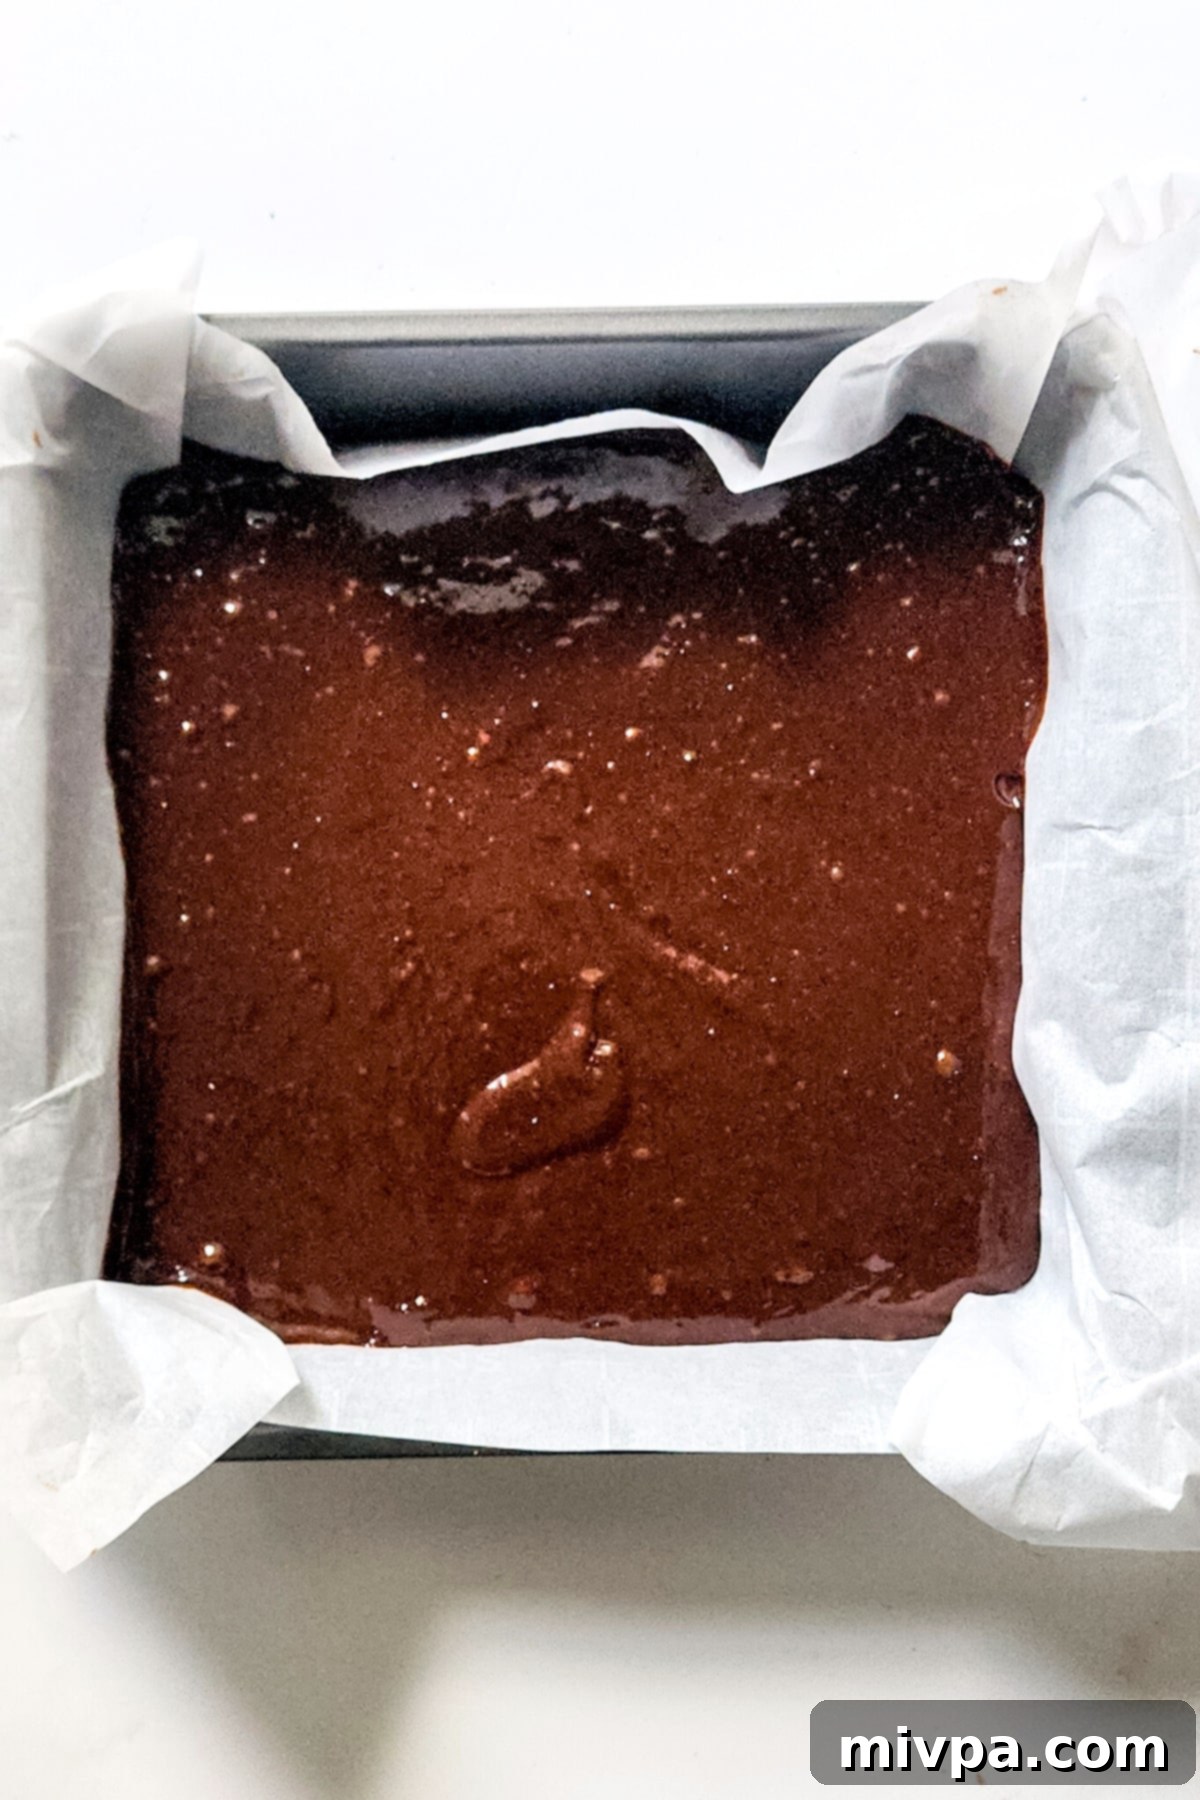
10. Create Elegant Cherry Sauce Swirls
Retrieve the cooled cherry sauce (the larger portion). Take spoonfuls of this vibrant sauce and dollop them strategically across the top of the brownie batter in the pan. Don’t be too neat; uneven dollops create more interesting swirls. Then, using a knife or a toothpick, gently swirl the cherry sauce into the chocolate batter. Create beautiful, marbled patterns, being careful not to overmix, as you want distinct streaks of cherry. This step not only adds visual appeal but ensures that delightful cherry flavor in every bite.
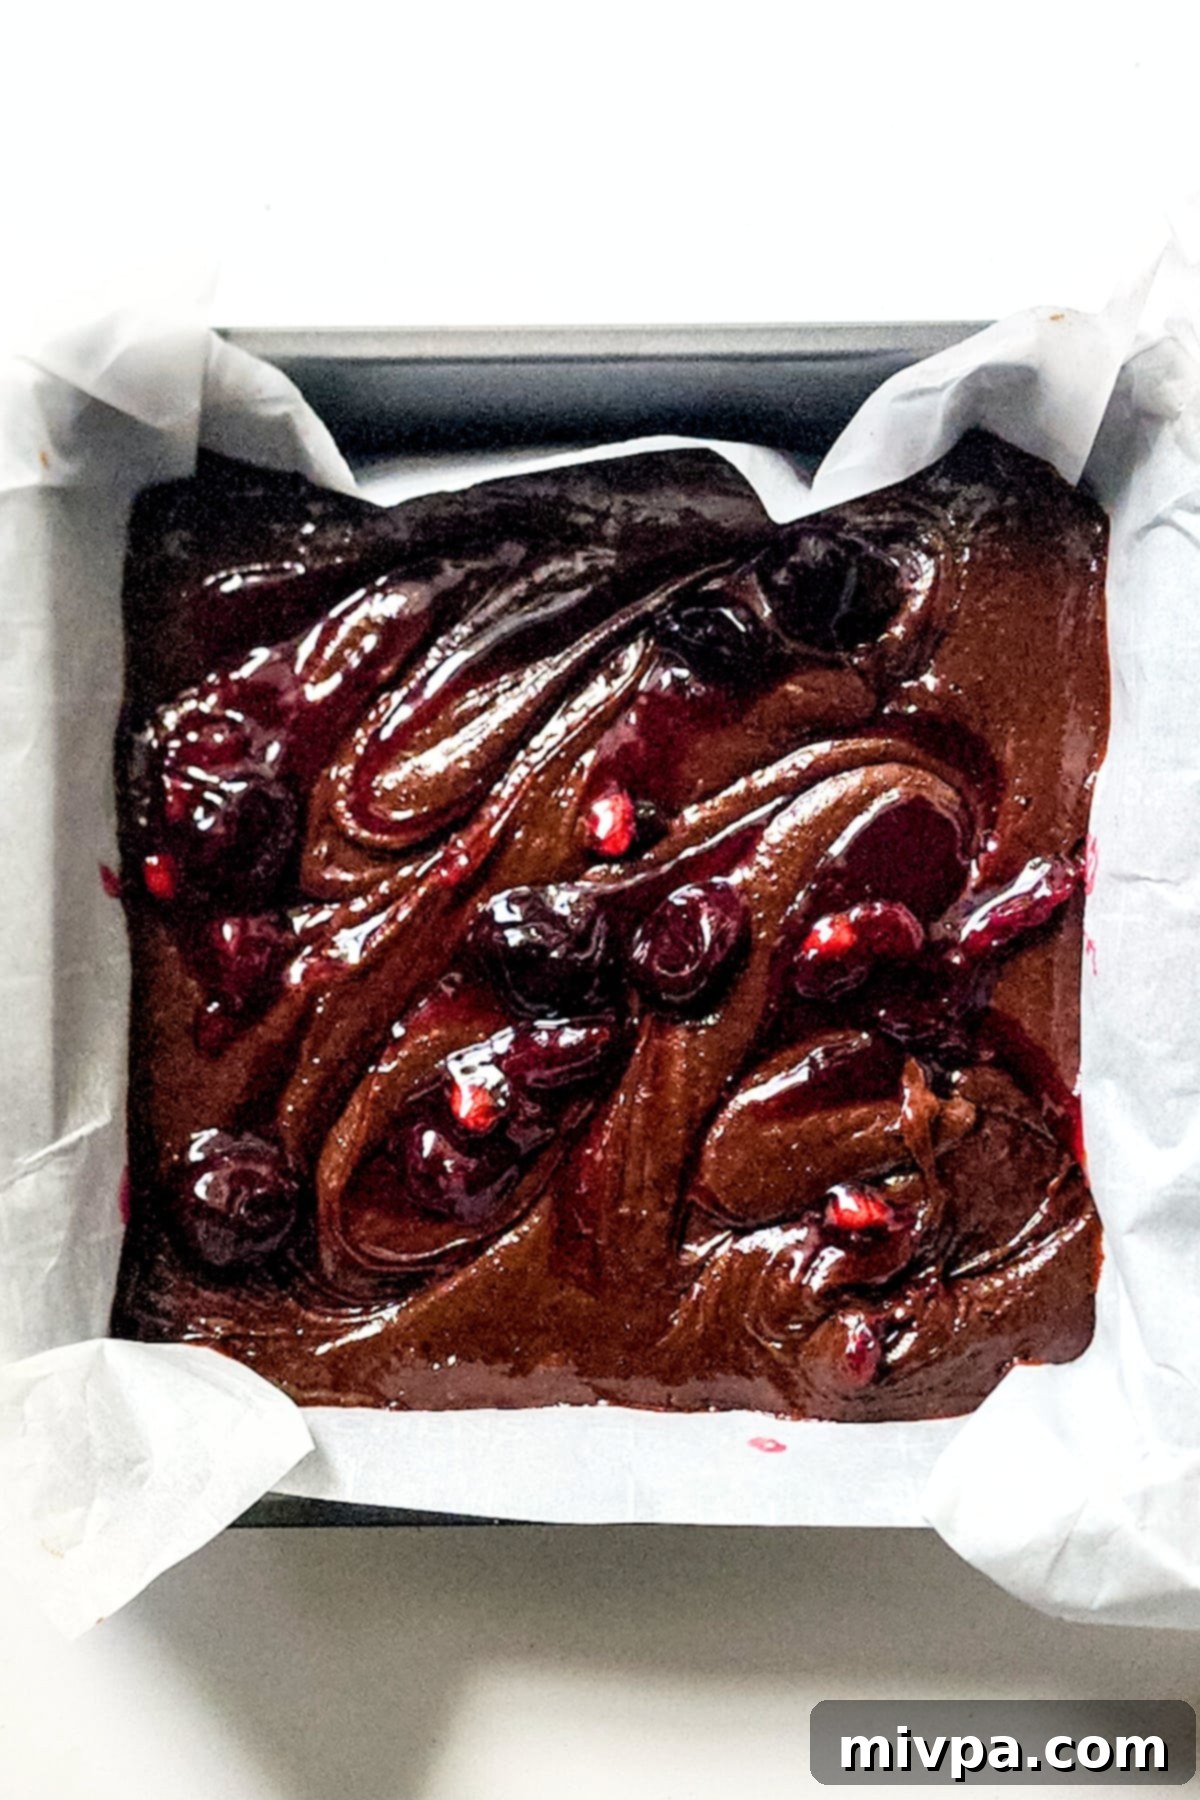
11. Bake to Fudgy Perfection
Carefully transfer your pan of swirled brownie batter to the preheated oven. Bake for approximately 35-40 minutes. To test for doneness, insert a toothpick into the center of the brownies. It should come out with moist crumbs, but not wet batter. Overbaking can lead to dry brownies, so err on the side of slightly underbaked for that coveted fudgy texture. The edges should be set, and the center still slightly soft.
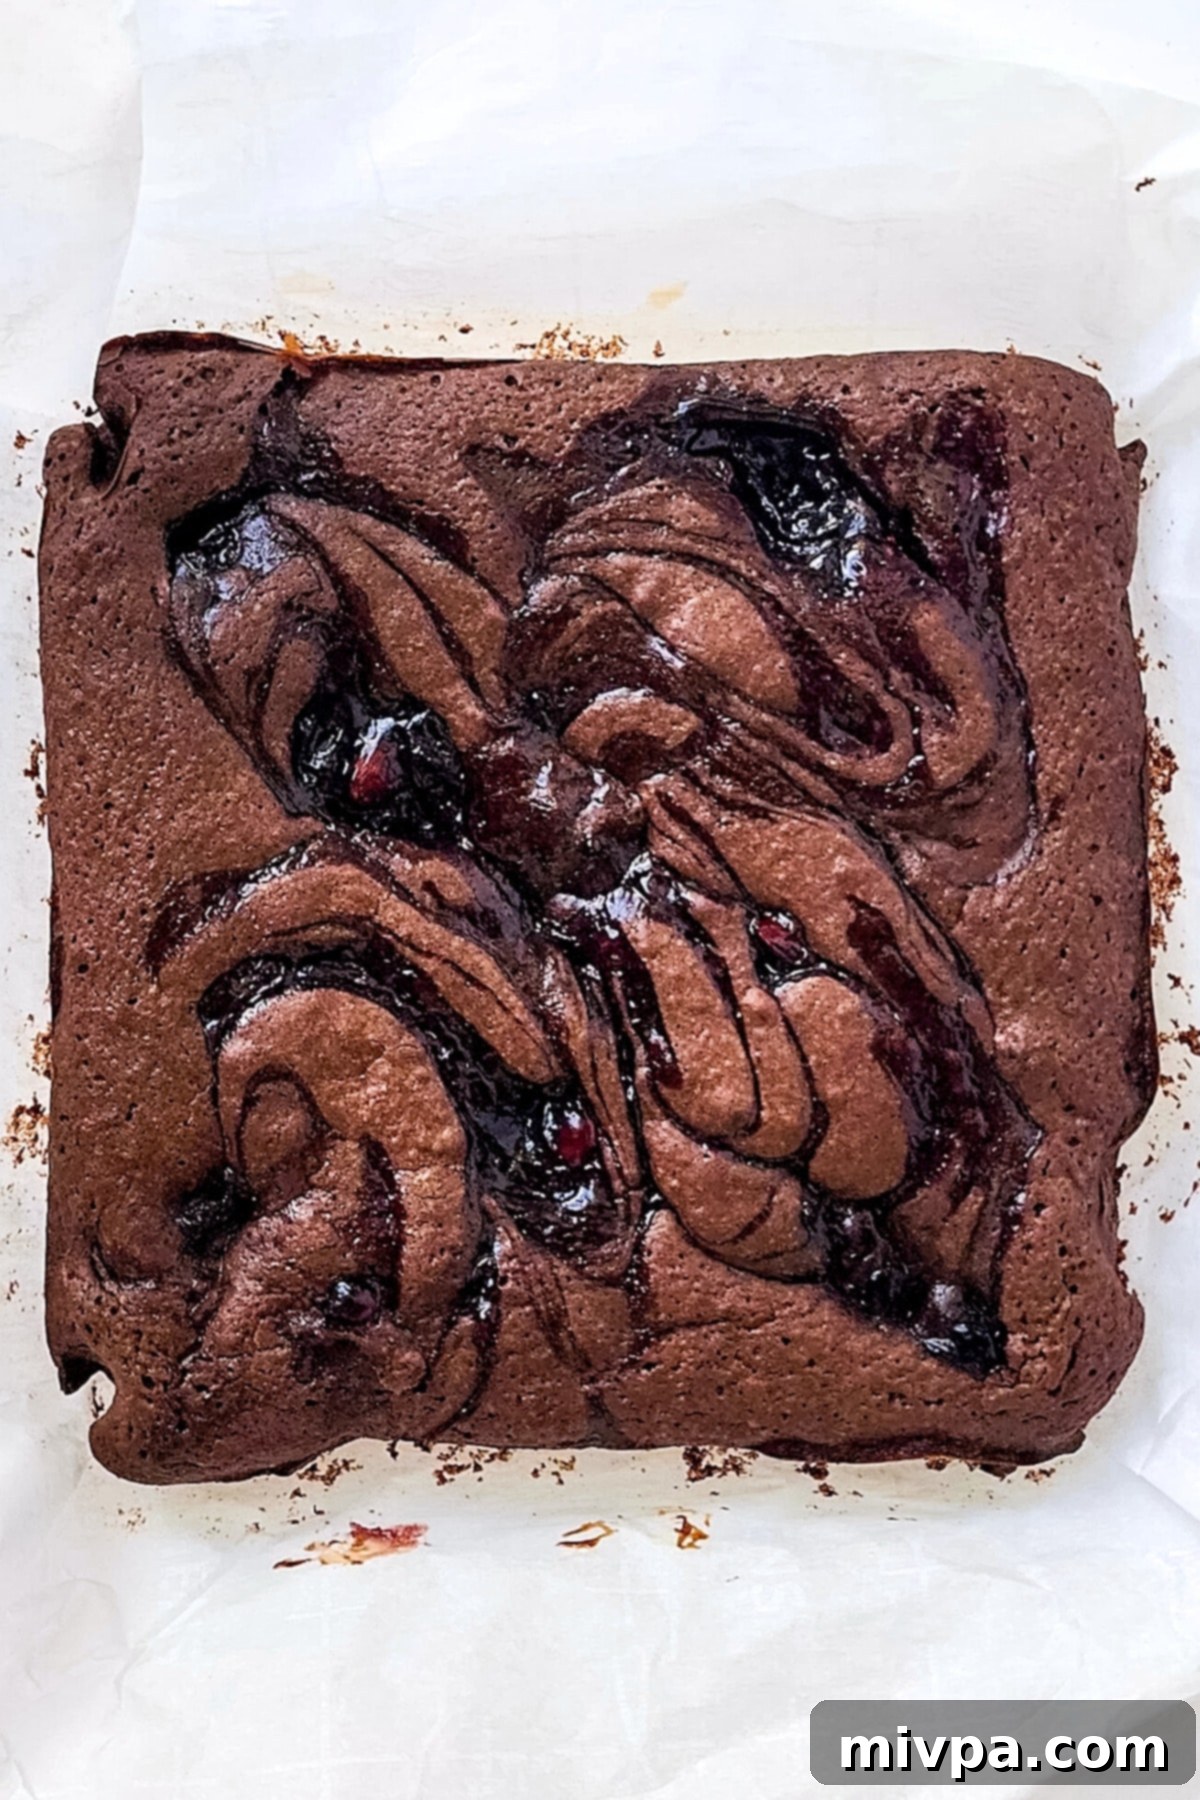
12. Allow to Cool Fully
Once the brownies are baked, remove the pan from the oven and place it on a wire rack. It is absolutely essential to let the brownies cool completely in the pan before attempting to cut them. This cooling period allows the brownies to set fully, firm up, and become truly fudgy, preventing them from crumbling when sliced. Patience here will be rewarded!
13. Remove and Slice into Servings
Once completely cooled, use the parchment paper overhang as handles to carefully lift the entire slab of brownies out of the baking pan and transfer it to a cutting board. Using a sharp knife, cut the brownies into neat squares or rectangles of your desired size. For cleaner cuts, wipe the knife clean after each slice. These fudgy squares are now ready for their delightful toppings.
14. Garnish and Serve Your Decadent Black Forest Brownies
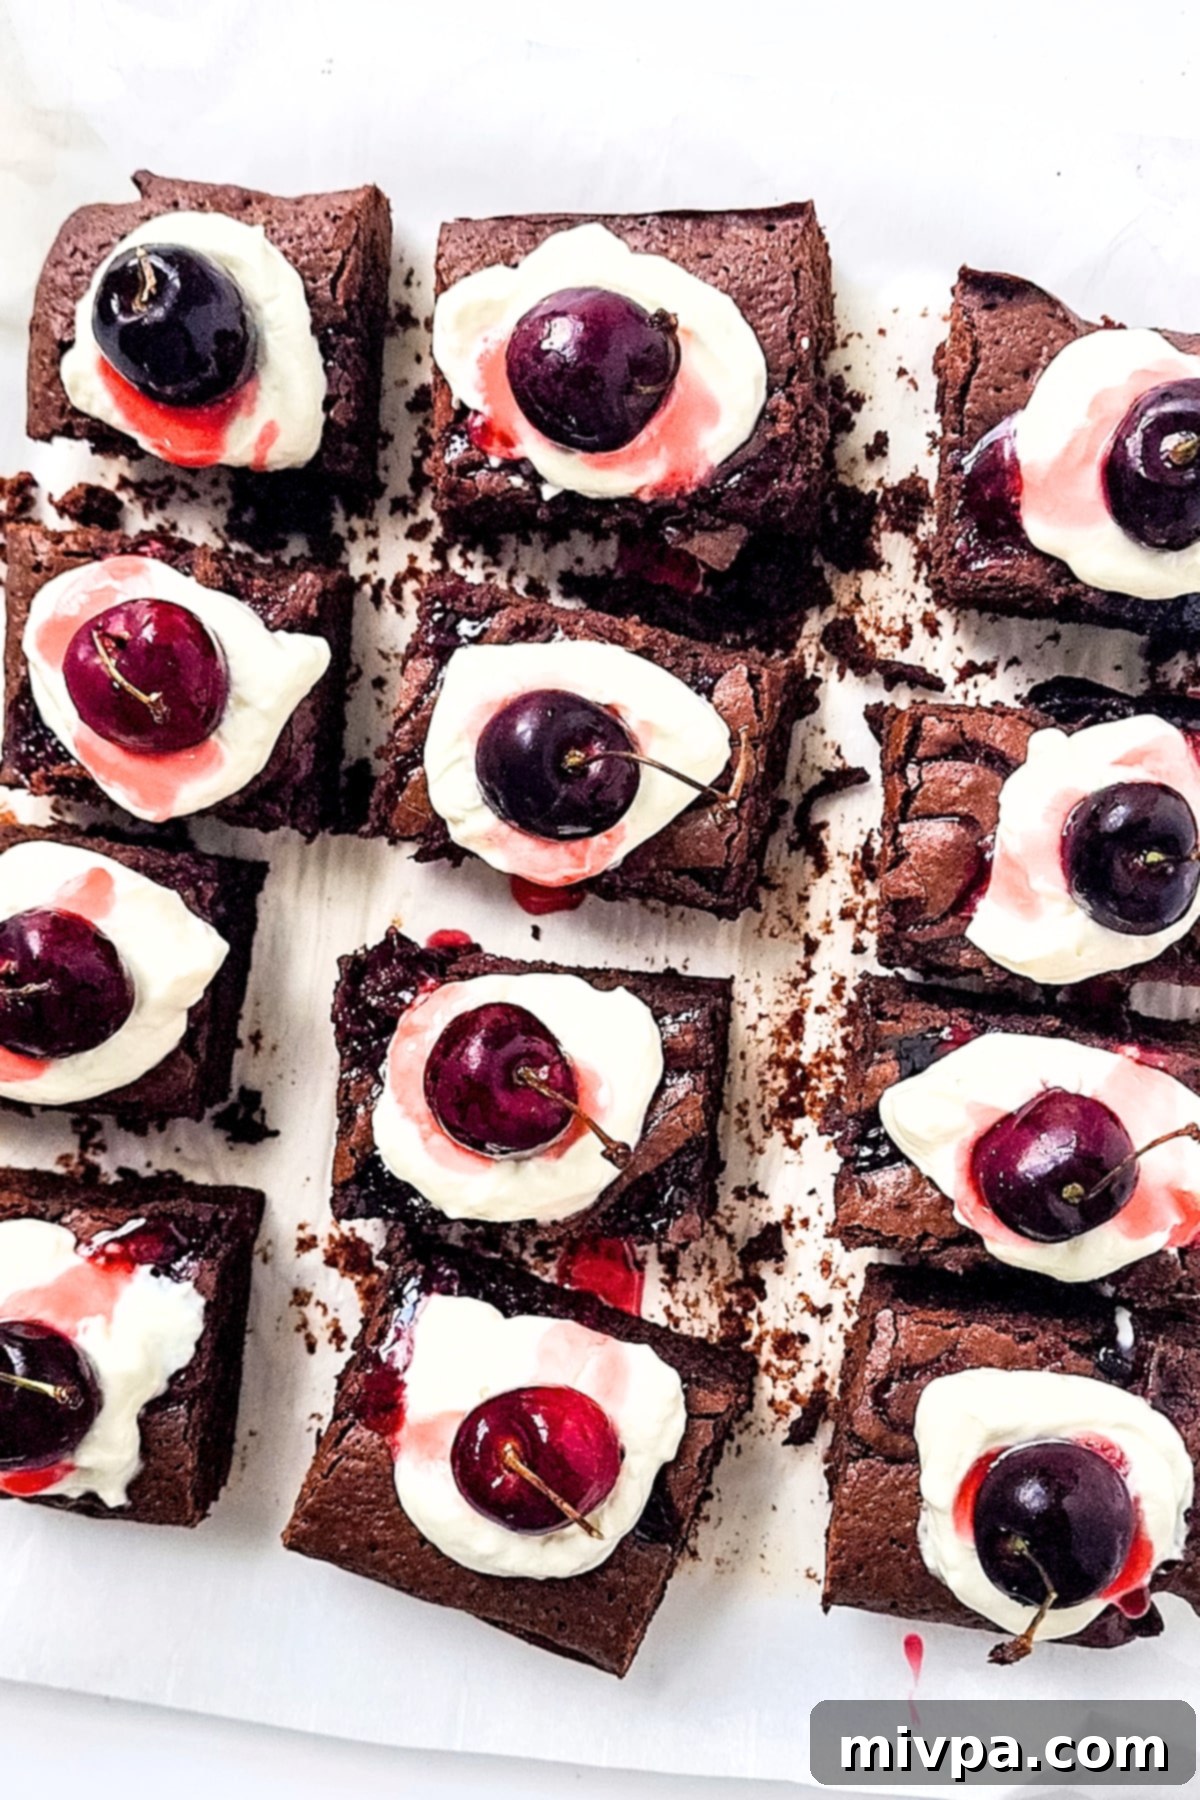
To serve these homemade brownies in true Black Forest style, dollop a generous spoonful of your prepared dairy-free whipped cream onto each square. Follow this with a delicate drizzle of the reserved cherry sauce from earlier, adding an extra layer of visual appeal and tart-sweetness. Finally, crown each brownie with a fresh cherry or a vibrant maraschino cherry. For an extra touch of indulgence, consider serving these brownies warm with a scoop of dairy-free vanilla bean ice cream. Enjoy your homemade, delightful creation!
Black Forest Brownie Recipe FAQs:
To maintain optimal freshness and texture, it’s best to store your Black Forest Brownies without the whipped cream topping. Place them in an airtight container or wrap them tightly in plastic wrap. They will stay perfectly moist and delicious in the refrigerator for up to 4 days. Add the whipped cream and fresh cherries just before serving.
Absolutely! These Black Forest Cherry Brownies freeze beautifully. To freeze, ensure they are completely cooled and stored without any whipped cream topping. Place them in a freezer-safe container, separating layers with parchment paper if stacking, or wrap each brownie individually in plastic wrap and then aluminum foil for extra protection. They can be frozen for up to 2 months. Thaw at room temperature or in the refrigerator before serving and topping.
Several factors contribute to ultra-fudgy brownies! Using a high ratio of chocolate and butter to flour, not overmixing the batter (which can develop gluten, even in gluten-free flours), and most importantly, not overbaking. Removing the brownies from the oven when a toothpick inserted in the center comes out with moist crumbs (rather than completely clean) will ensure that perfect gooey, fudgy texture.
While fresh or frozen cherries are recommended for the best flavor and texture, you can use canned tart cherries (like Montmorency) that are packed in water or light syrup. Be sure to drain them very well and reduce the amount of added sugar in the cherry sauce if your canned cherries are already sweetened. The texture might be slightly softer, but the flavor will still be delicious.
Dish by Dish Pro Tips & Creative Tricks:
- Experiment with Other Berries: If cherries aren’t in season or you’re not a fan, feel free to get creative! This recipe is incredibly adaptable. You can easily swap out the cherries for other berries like tart raspberries, plump blackberries, or even a mix of forest berries. Adjust the sweetness of the sauce slightly based on the tartness of your chosen fruit.
- Transform into a Decadent Cake: Prefer a cake over individual brownies? This recipe can easily be adapted! Instead of slicing the baked batter into squares, simply leave it as a whole cake. While a square pan works, an 8-inch round cake pan can also be used for a more traditional cake presentation. Once cooled, generously spread whipped cream directly over the entire cake, pour the reserved cherry sauce artistically over the top, and finish with a cascade of fresh cherries. It makes for an impressive centerpiece!
- For a Quick & Convenient Version: Short on time or not keen on baking completely from scratch? No problem! You can significantly speed up the process by using a store-bought gluten-free brownie mix for the base. For the cherry element, opt for a high-quality, ready-made cherry pie filling instead of making the sauce from scratch. This convenient approach still delivers delicious Black Forest flavors with minimal effort.
More Delightful Cherry Recipes to Explore:
- Exquisite Cherry Macarons (Gluten-Free, Dairy-Free)
- Rustic Cherry Clafoutis (Gluten-Free, Dairy-Free)
Other Decadent Chocolate Recipes You’ll Adore:
- Crunchy Chocolate Coconut Granola (Gluten-Free, Vegan)
- 4th of July Chocolate-Covered Strawberries (Gluten-Free)
- Tahini Chocolate Chip Cookies (Gluten-Free, Dairy-Free)
- Easy Chocolate Quinoa Crisps (Gluten-Free)
P.S. If you’ve been inspired to try this incredible recipe, I would absolutely love for you to leave a star rating below and/or a thoughtful review in the comment section further down the page. Your feedback is invaluable and helps other bakers discover delicious gluten-free and dairy-free treats. Don’t forget to explore my entire Recipe Index for a treasure trove of delightful creations on the blog. You can also connect with me on Pinterest, Facebook or Instagram for daily inspiration and behind-the-scenes glimpses. And for a weekly dose of fresh, mouth-watering recipes delivered directly to your inbox, make sure to sign up for my Email List!
Print Recipe

Black Forest Brownies (Gluten-Free, Dairy-Free)
5 Stars 4 Stars 3 Stars 2 Stars 1 Star
No reviews
Author: Felicia Lim
Total Time: 50 minutes
Yield: 9 decadent brownies
Diet: Gluten-Free, Dairy-Free
Description
Indulge in these incredibly fudgy Black Forest Brownies, packed with luscious cherry flavor and exquisitely topped with light, airy whipped cream. They are the quintessential dessert for any celebration or a delightful everyday treat. This particular recipe stands out because it’s completely gluten-free and dairy-free, making it accessible and enjoyable for everyone without sacrificing taste or texture. Prepare for a rich, satisfying, and utterly delicious experience!
Ingredients
Units
Scale
For the Rich Cherry Sauce:
- 1 cup cherries (fresh or frozen), ensure stalks and seeds are removed
- 1/4 cup granulated white sugar
- 2 tablespoons gluten-free cherry syrup
- 1 tablespoon cornstarch (or tapioca/arrowroot starch)
- 2 tablespoons cold water
For the Fudgy Brownies:
- 1 1/2 sticks (170g) unsalted dairy-free butter, browned
- 4 ounces (113g) semisweet dairy-free chocolate, chopped or chips
- 1/2 cup granulated white sugar
- 1/2 cup (108g) dark brown sugar, packed
- 3 large eggs
- 1 teaspoon pure vanilla extract
- 2 tablespoons gluten-free cherry syrup
- 1/2 cup (60g) good-quality gluten-free all-purpose flour blend
- 1/4 teaspoon xanthan gum (omit if your GF flour blend already includes it)
- 1/2 cup (48g) unsweetened cocoa powder
- 1/2 teaspoon espresso powder (or instant coffee powder)
For the Decadent Topping (Optional, but highly recommended):
- Dairy-free whipped cream or regular whipped cream
- Fresh cherries or maraschino cherries
Instructions
- Prepare Cherry Sauce: In a medium saucepan, combine cherries, white sugar, and 2 tablespoons of cherry syrup. Heat over medium heat, stirring, until cherries soften and break down. In a separate small bowl, dissolve cornstarch in 2 tablespoons of water. Pour this mixture into the saucepan and continue heating, stirring, until the sauce thickens and coats the back of a spoon.
- Remove Sauce from Heat and Cool: Take the saucepan off the heat. Scoop out ¼ cup of the cherry sauce and set it aside for later garnishing. Allow the remaining cherry sauce in the saucepan to cool completely to room temperature.
- Preheat and Line: Preheat your oven to 350°F (175°C). Line a 9″x9″ baking pan with parchment paper, leaving an overhang on two sides for easy removal.
- Brown Butter: In a pot, brown the dairy-free butter over medium heat, stirring continuously. Cook until golden bits form at the bottom and a nutty aroma develops. Remove from heat immediately.
- Melt Chocolate in Butter: Add the chopped semi-sweet dairy-free chocolate to the hot browned butter. Stir until the chocolate is completely melted and the mixture is smooth and glossy. Set aside to cool slightly.
- Combine Sugar, Eggs, Vanilla and Syrup: In a large bowl, whisk together white sugar, brown sugar, eggs, vanilla extract, and 2 tablespoons of cherry syrup. Beat with a hand mixer (or whisk vigorously) until the mixture becomes thick, pale, and fluffy, and lightened in color.
- Add Chocolate-Butter Mixture: Pour the slightly cooled browned butter and melted chocolate mixture into the egg mixture. Mix on low speed or whisk gently until just combined, ensuring not to overmix.
- Fold in Dry Ingredients: Gently fold in the gluten-free all-purpose flour, xanthan gum (if using), unsweetened cocoa powder, and espresso powder. Use a rubber spatula to mix until just combined, being careful not to overmix.
- Transfer Brownie Batter to Pan: Pour the brownie batter into the prepared baking pan and spread it evenly with a spatula.
- Swirl Cherry Sauce into Brownie Batter: Dollop spoonfuls of the cooled cherry sauce (the larger portion) over the brownie batter. Using a knife or toothpick, gently swirl the cherry sauce into the batter to create a marbled effect.
- Bake Until Ready: Bake for 35-40 minutes, or until a toothpick inserted into the center comes out with moist crumbs (not wet batter).
- Cool Completely: Remove the pan from the oven and place it on a wire rack. Let the brownies cool completely in the pan before handling. This step is crucial for fudgy texture and clean slices.
- Remove and Slice: Once fully cooled, use the parchment paper overhang to lift the brownies out of the pan. Transfer to a cutting board and slice into 9 squares.
- Garnish and Serve: Just before serving, dollop each brownie with dairy-free whipped cream. Drizzle with the ¼ cup of reserved cherry sauce and top with a fresh cherry. Serve immediately and enjoy!
Notes
Cherries: Fresh cherries are preferred when in season for their vibrant flavor, but frozen cherries work just as well. Always ensure stalks and seeds are removed before use. For canned cherries, drain thoroughly and adjust sugar if they are pre-sweetened.
White Sugar: Granulated white sugar is standard. Cane sugar is a fine alternative. For sugar-free options, use granulated monk fruit sweetener at a 1:1 ratio, which is zero glycemic index.
Cherry Syrup: Ensure you use gluten-free cherry syrup if you have sensitivities. Cherry liqueur can be substituted for an adult twist.
Cornstarch: Acts as a thickener for the cherry sauce. If allergic to corn, tapioca starch or arrowroot starch are excellent 1:1 substitutes.
Butter: This recipe uses unsalted dairy-free butter. Regular unsalted butter can be used if not dairy-intolerant. Vegetable oils like sunflower, canola, avocado, olive, or melted coconut oil are also viable alternatives.
Chocolate: Use semisweet dairy-free chocolate for a fully dairy-free result. Otherwise, any good quality semi-sweet or dark chocolate will do.
Brown Sugar: Dark brown sugar adds rich flavor, but light brown sugar or coconut sugar can be used. Golden granulated monk fruit sweetener is a 1:1 brown sugar substitute for low-glycemic diets.
Eggs: Essential for binding. For egg-free or vegan versions, use acquafaba or a commercial egg-replacer.
Vanilla Extract: A key flavor enhancer. Don’t omit vanilla extract for that extra aromatic depth.
Gluten-Free Flour Blend: Opt for a high-quality blend with lighter starches (rice, tapioca, corn, potato). Avoid blends heavy in bean flours for the best texture in brownies.
Xanthan Gum: If your chosen gluten-free flour blend does not contain it, add xanthan gum as specified to replicate gluten’s binding properties.
Cocoa Powder: Always use unsweetened cocoa powder to control the sweetness and achieve deep chocolate flavor.
Espresso Powder: This ingredient (espresso powder or instant coffee) significantly enhances the chocolate flavor without adding a coffee taste. Highly recommended!
Whipped Cream: For dairy-free brownies, use dairy-free whipped cream. Regular whipped cream is fine if dairy is not a concern. This topping is optional but completes the Black Forest experience.
Storing/Freezer: Store brownies (without whipped cream) in an airtight container or wrapped in plastic wrap in the fridge for up to 4 days. For longer storage, freeze in a freezer-safe container or wrapped tightly for up to 2 months. Thaw before serving.
- Prep Time: 10 mins
- Cook Time: 40 mins
- Category: Desserts
- Method: Baking
- Cuisine: American
