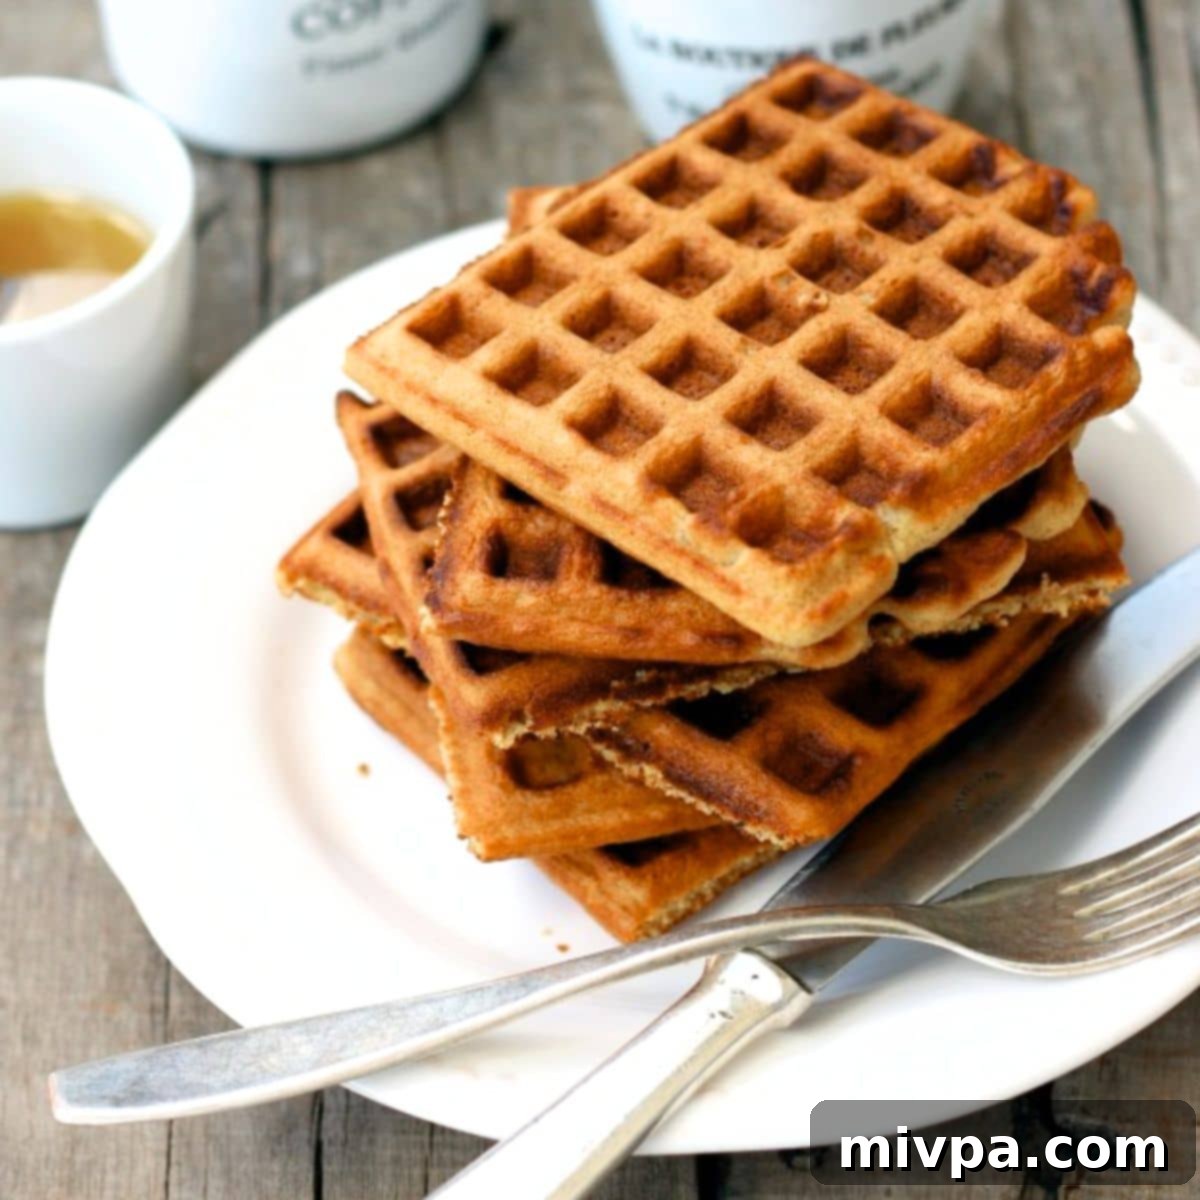
Crispy Gluten-Free Oat Flour Waffles: Easy, Dairy-Free Breakfast Perfection
Prepare to transform your mornings with these incredibly easy, delightfully crispy, and perfectly golden-brown oat flour waffles! Crafted from finely ground oats instead of traditional wheat flour, these waffles are not just a treat for your taste buds but also a fantastic option for anyone following a gluten-free and dairy-free diet. Whether you’re planning a luxurious weekend breakfast, a special Mother’s Day brunch, a birthday celebration, or simply craving a wholesome, delicious start to your day, this recipe is your ticket to waffle happiness.
Elevate Your Mornings with Irresistible Oat Flour Waffles
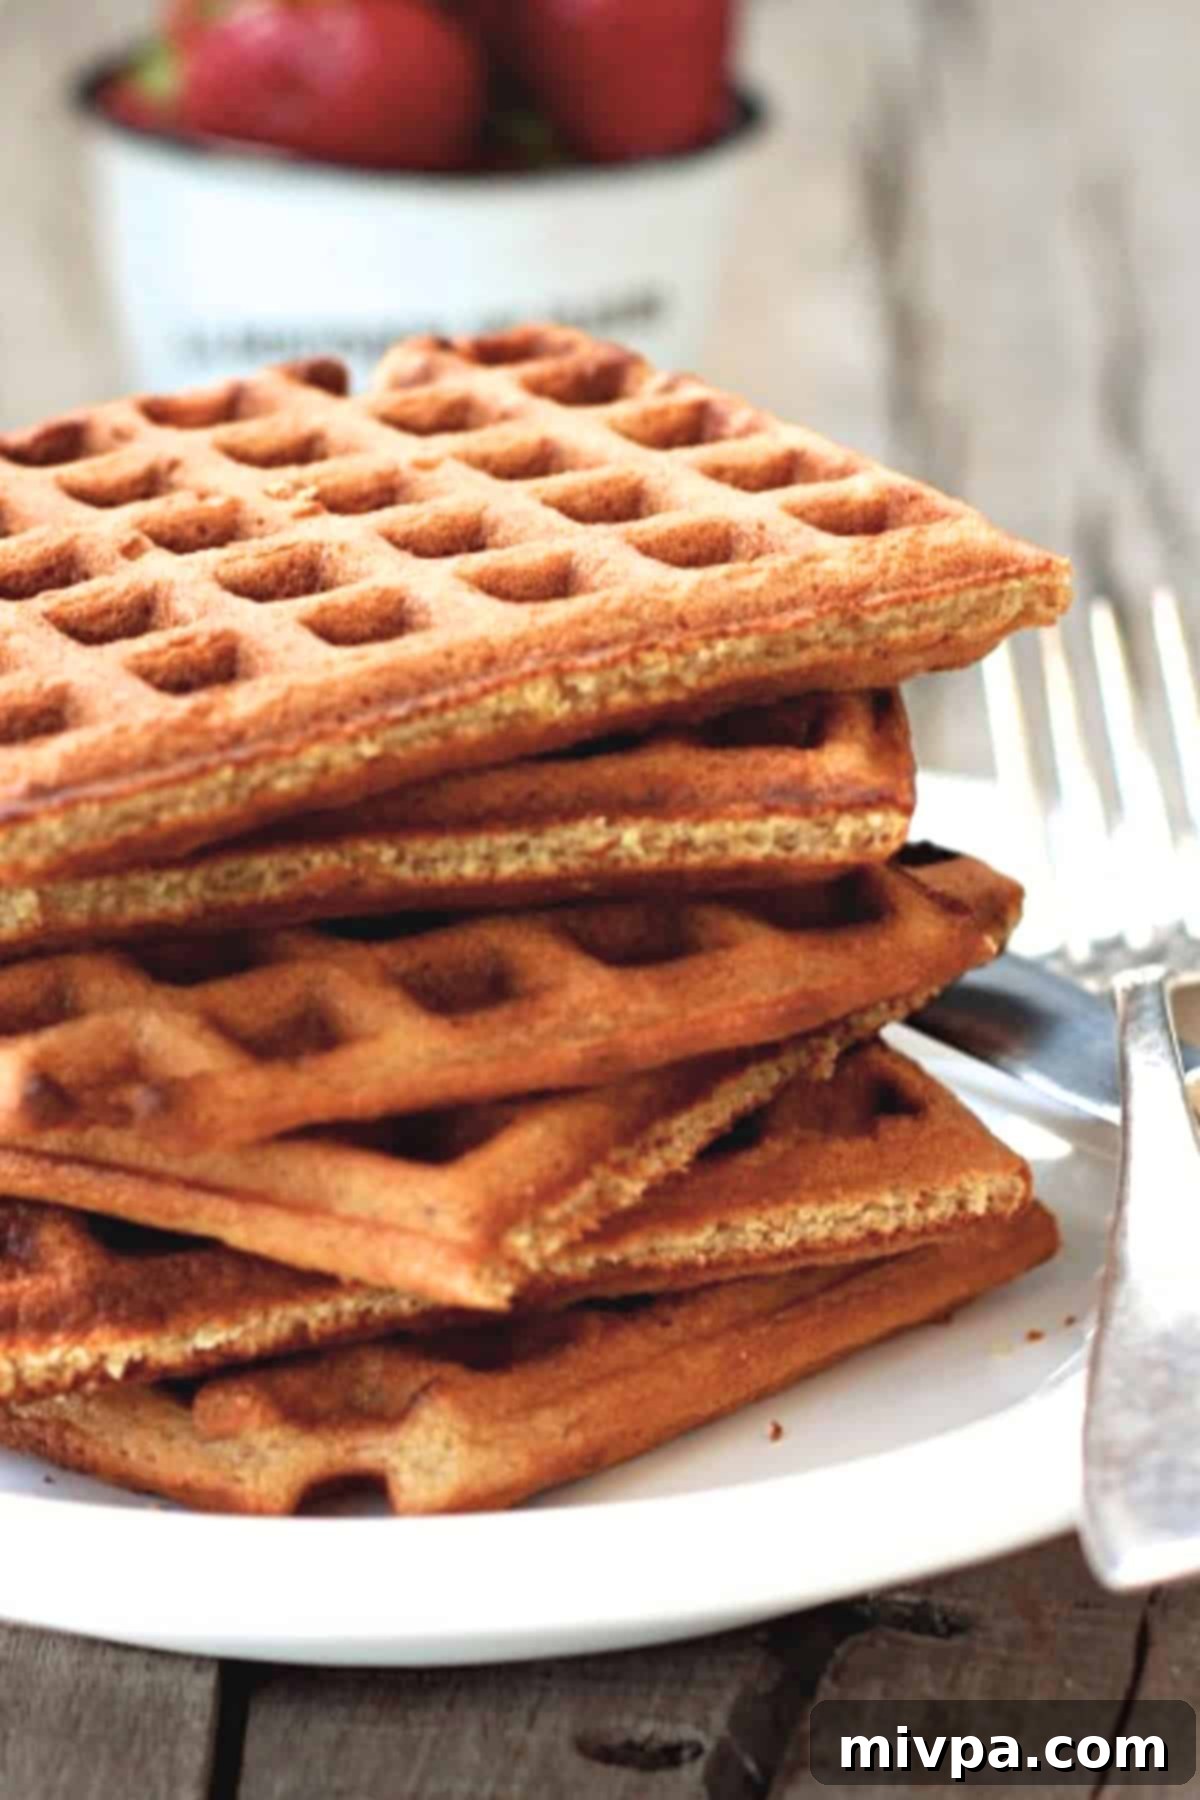
There’s something inherently special about waffles. Much like their pancake cousins, waffles have a magical ability to elevate any ordinary day into an extraordinary one. For me, the simple act of taking the time to whip up a batch of homemade waffles and savoring each bite is a celebration in itself.
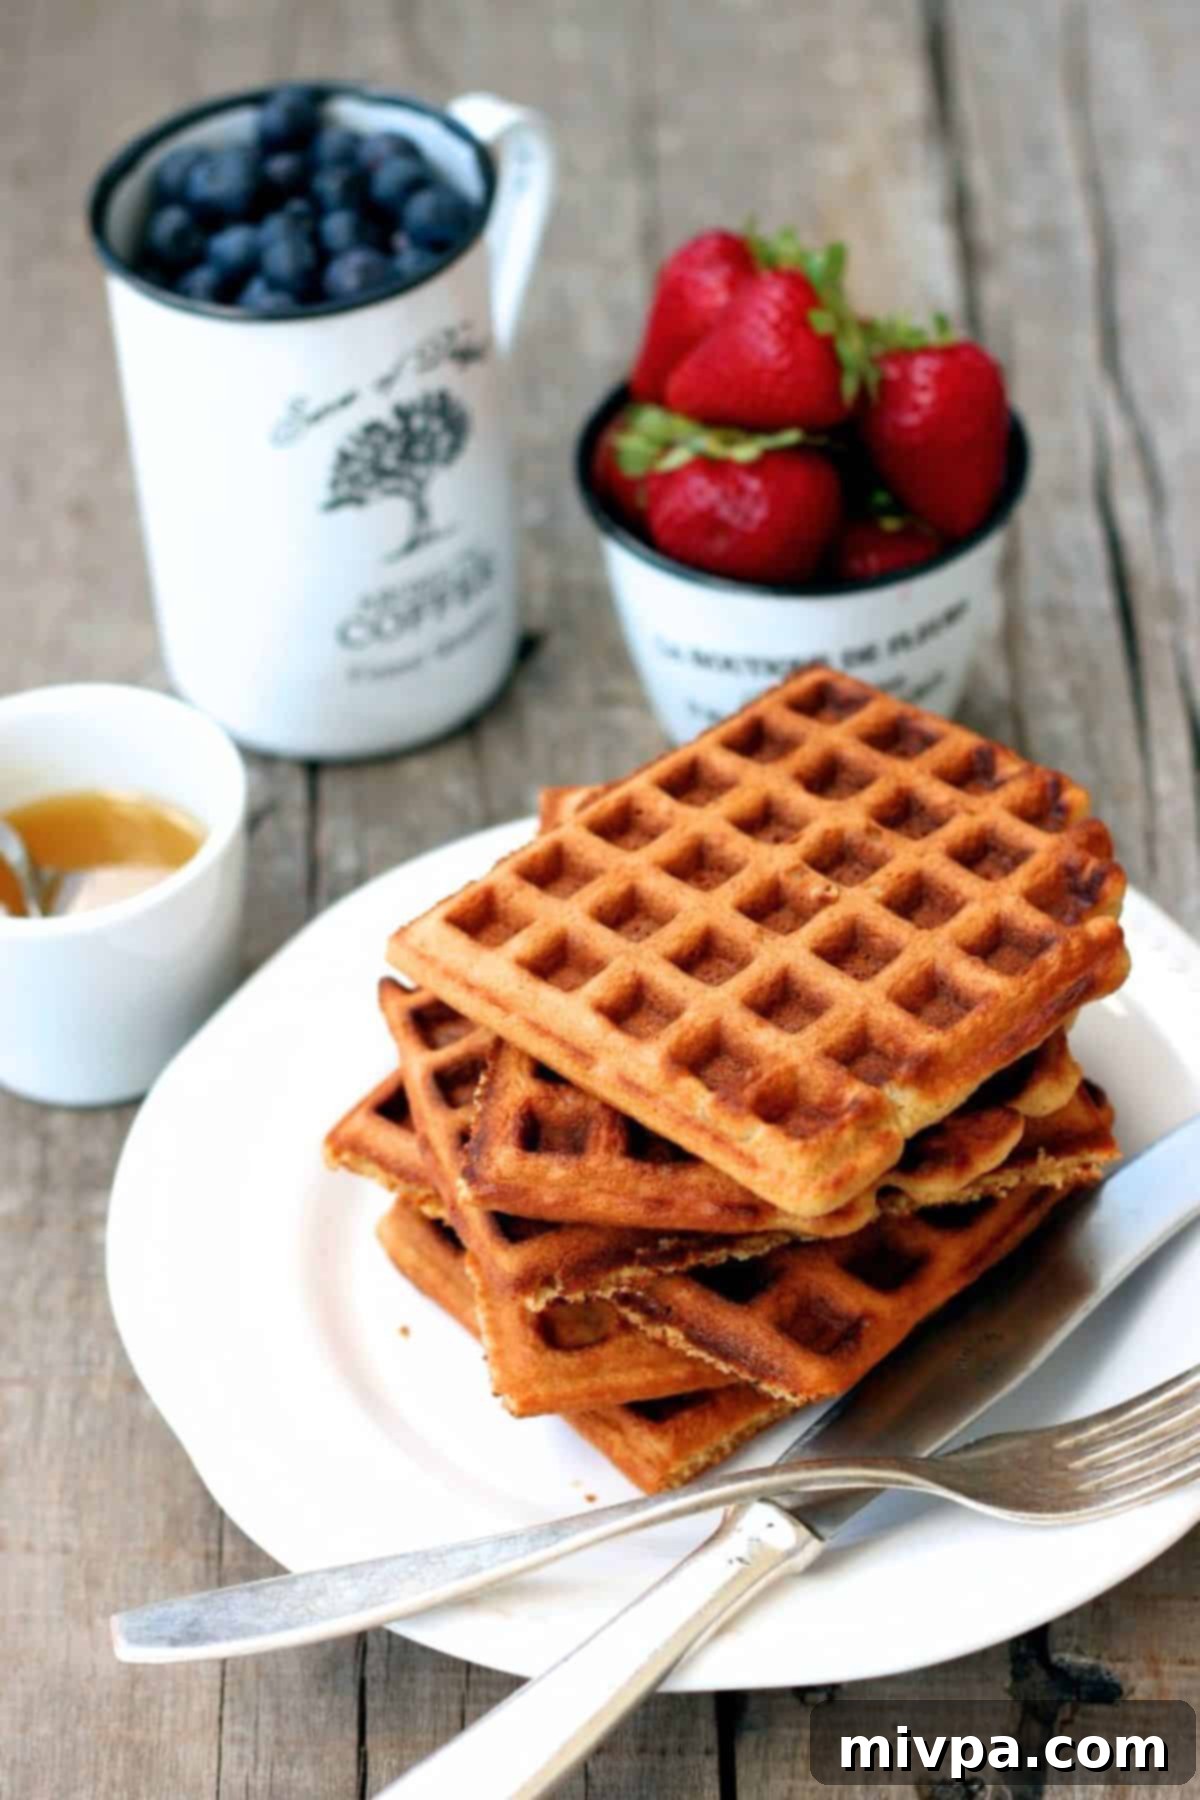
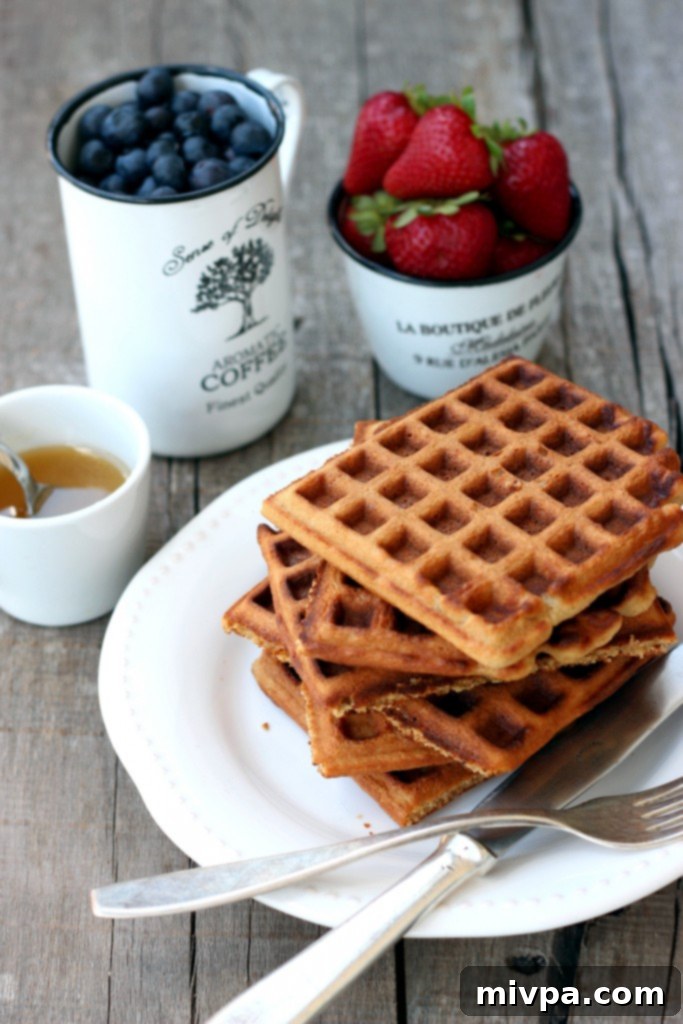
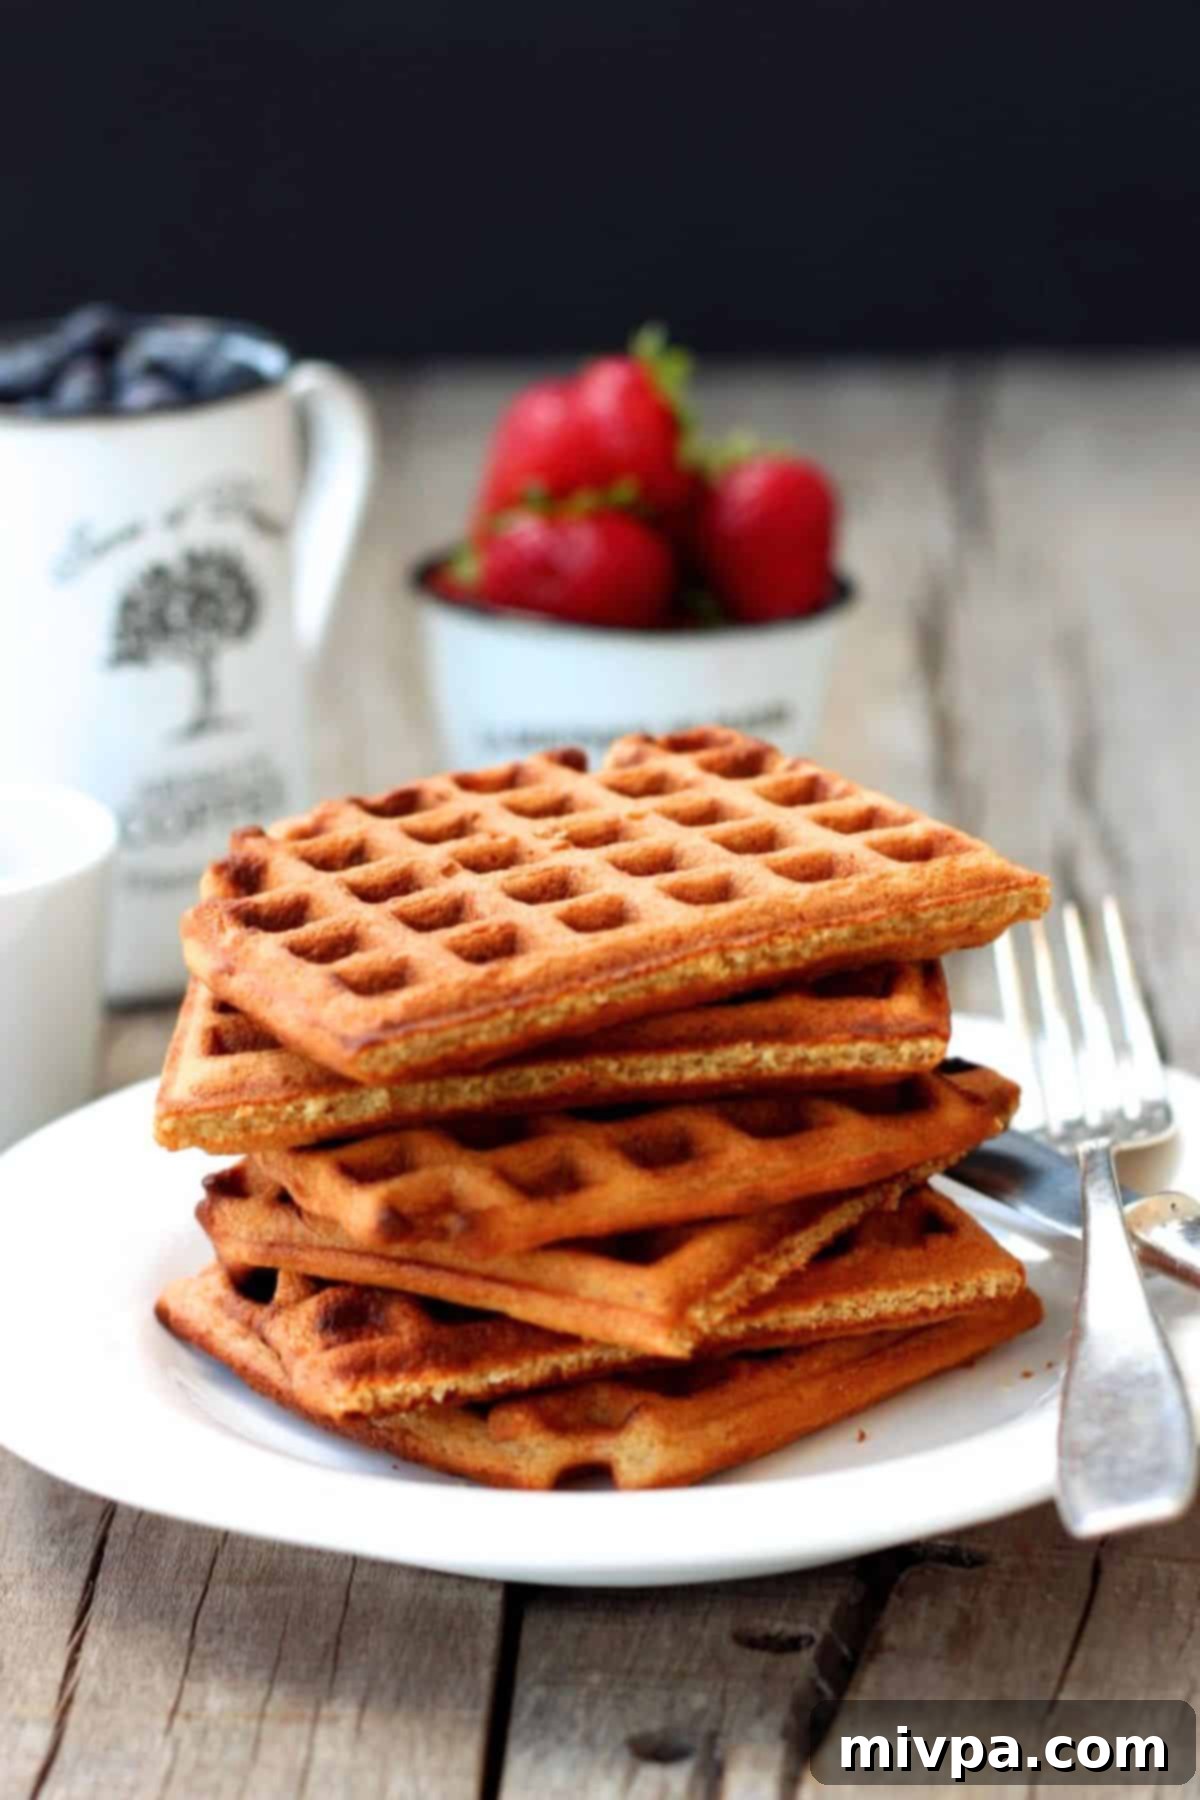
Today, I’m thrilled to share this amazing oat flour waffle recipe with you! Imagine sinking your teeth into a waffle that’s perfectly crispy on the outside, yet wonderfully light and airy on the inside. Drizzle it generously with your favorite maple syrup, add a vibrant scattering of fresh fruit, and you have a breakfast masterpiece that will make you feel like you’re dining at a five-star brunch spot, right in your own home. These aren’t just any waffles; they’re an experience waiting to happen.
Why You’ll Love This Oat Flour Waffle Recipe: The Perfect Choice for Everyone
This oat flour waffle recipe isn’t just delicious; it’s designed for convenience, dietary inclusivity, and incredible results. Here’s why it’s poised to become a staple in your recipe collection:
- Effortlessly Simple Ingredients: Forget specialty stores and hard-to-find items. The core ingredients for these gluten-free oat waffles are commonly available at any local grocery store. Chances are, you already have most, if not all, of them stocked in your pantry and fridge, making spontaneous waffle-making a breeze!
- Beginner-Friendly and Easy to Make: Don’t let the idea of homemade waffles intimidate you. The batter for this oat flour waffle recipe comes together in mere minutes with minimal effort. Once your batter is ready, your trusty waffle maker does the heavy lifting, transforming it into golden, fluffy perfection. It’s a truly foolproof process that guarantees success, even for novice bakers.
- Completely Gluten-Free & Dairy-Free: This is where this recipe truly shines! Made with 100% gluten-free oat flour and dairy-free alternatives, these waffles are a dream come true for those with celiac disease (who can tolerate oats), gluten intolerance, or dairy sensitivities. You can indulge in these delightful waffles without any worries, enjoying all the flavor and none of the discomfort. We’ll discuss the importance of certified gluten-free oats in the ingredients section to ensure maximum safety.
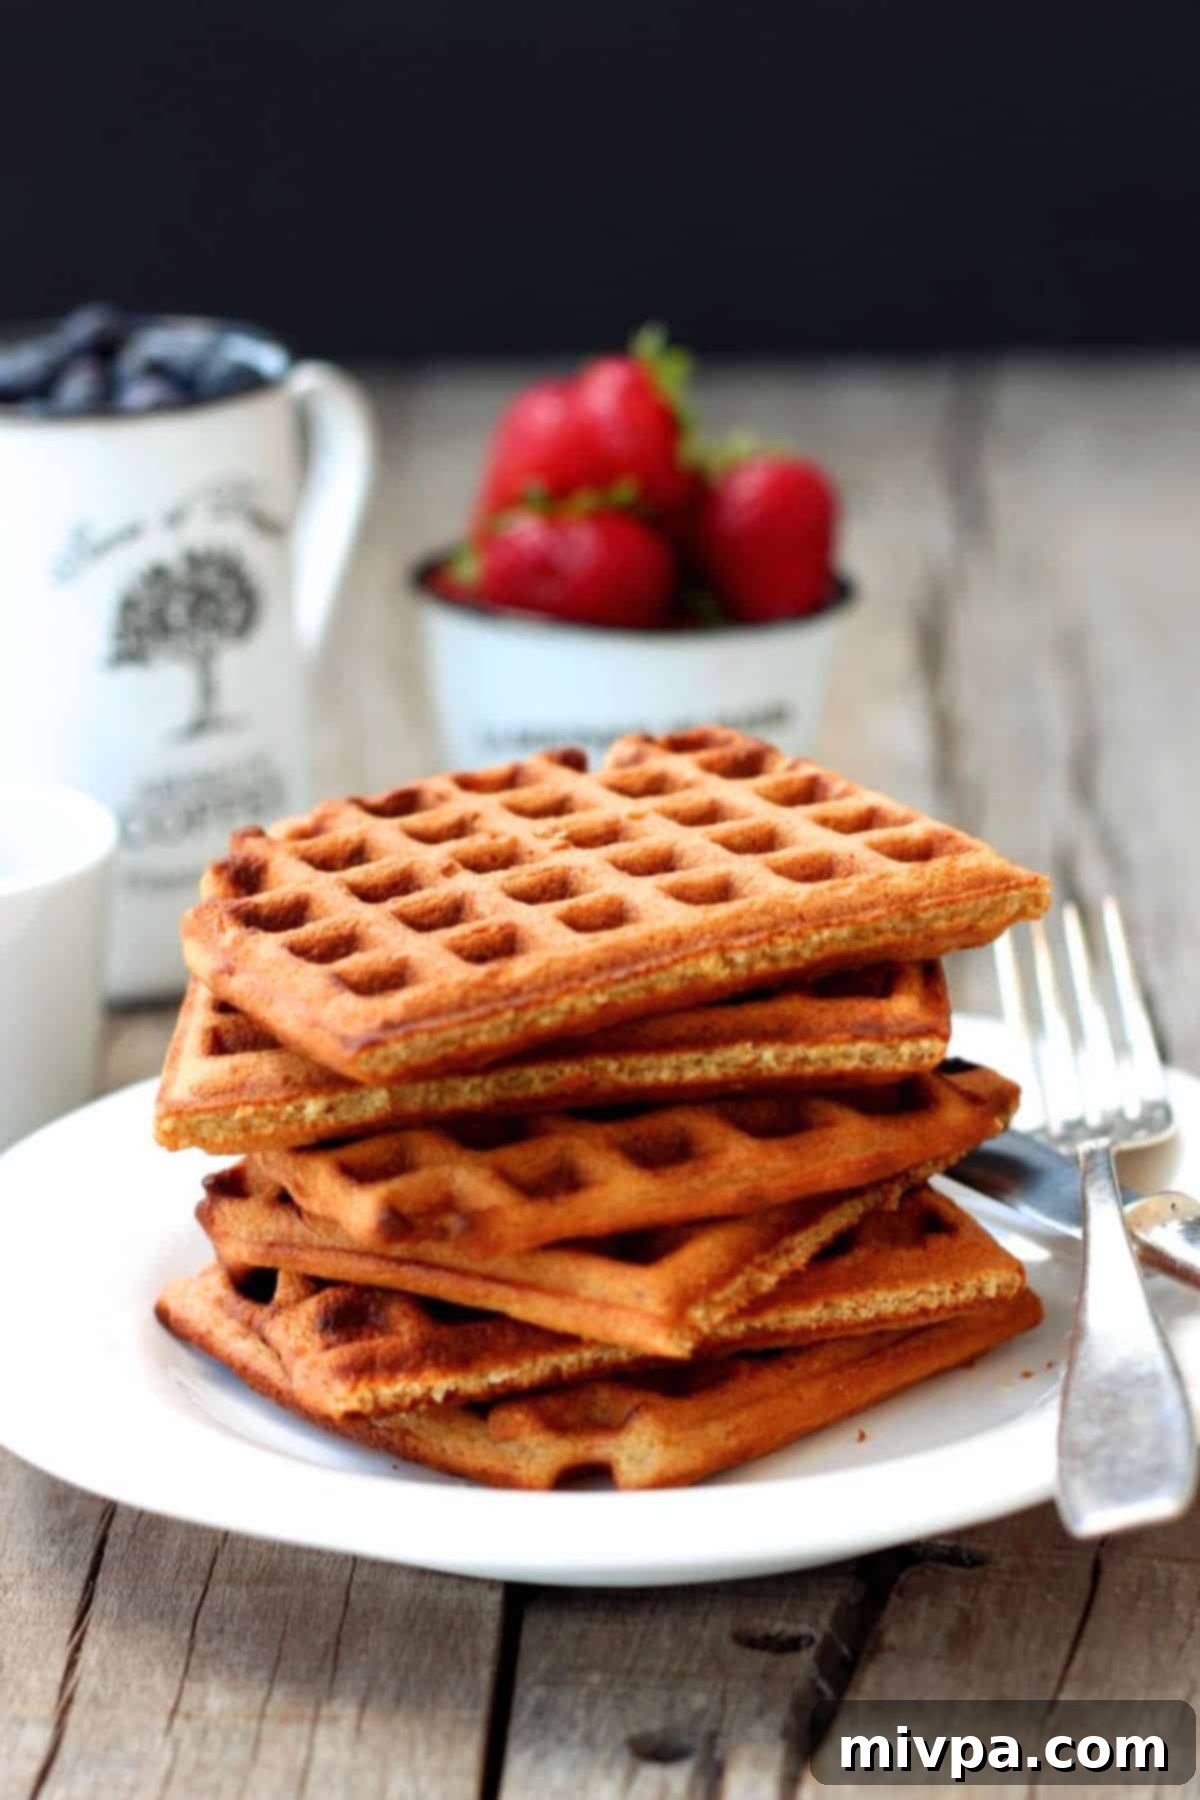
- Incredible Texture and Flavor: The unique properties of oat flour lend these waffles an amazing texture – a satisfying crispness on the outside gives way to a tender, slightly chewy interior. The subtle, wholesome flavor of oats pairs beautifully with various toppings, making these waffles versatile for both sweet and savory cravings.
Essential Ingredients for Your Oat Flour Waffles + Expert Tips & Substitutions
Crafting these delectable gluten-free oat flour waffles requires a handful of common ingredients. Below is a comprehensive overview, along with helpful notes and substitution ideas to tailor the recipe to your preferences and dietary needs.
(For precise measurements, kindly refer to the detailed **printable recipe card** located at the conclusion of this article.)
- Oat Flour: This is the star of our recipe! You have two convenient options:
- Store-Bought: Opt for readily available certified gluten-free oat flour. This ensures that the oats have been processed in facilities free from cross-contamination with wheat or other gluten-containing grains, crucial for those with celiac disease or severe gluten intolerance.
- Homemade: If you prefer, you can easily make your own oat flour. Simply grind 1 1/2 cups of certified gluten-free rolled oats in a food processor or high-speed blender until they reach a super-fine, flour-like consistency. For the smoothest texture, it’s recommended to pass the ground flour through a fine-mesh sieve to remove any larger pieces.
- Baking Powder: This essential leavening agent is responsible for creating those wonderfully light and airy waffles. For optimal results, I recommend using aluminum-free baking powder. If you are celiac or highly gluten-intolerant, always double-check to ensure you use certified gluten-free baking powder.
- Ground Cinnamon: A pinch of ground cinnamon adds a warm, inviting flavor that complements the oats beautifully. While I love it, feel free to omit it if cinnamon isn’t your preferred spice. You could also experiment with a tiny pinch of nutmeg or cardamom for a different twist!
- Almond Milk: I typically use an unsweetened version of my quick 5-minute homemade almond milk for a fresh taste. However, this recipe is highly versatile, and you can substitute with any other dairy-free milk you prefer, such as cashew milk, tigernut milk, rice milk, macadamia milk, oat milk, or coconut milk (from a carton, not canned). If dairy is not a concern for you, regular cow’s milk can be used as a direct substitute.
- Vegan Butter: To keep these waffles strictly dairy-free, I opt for melted vegan butter. Another excellent dairy-free alternative is melted coconut oil. If using coconut oil, I highly recommend refined coconut oil, as it has a more neutral flavor profile. Extra virgin coconut oil has a distinct coconut aroma and taste that might alter the waffle’s flavor. For those who consume dairy, regular melted butter or ghee can be used interchangeably.
- Eggs: Eggs play a crucial role in binding the ingredients together and adding structure to the waffles. I haven’t personally tested this recipe without eggs, so I cannot guarantee the results of egg substitutes. However, if you have an egg allergy, you might try using flax eggs (1 tbsp ground flaxseed + 3 tbsp water per egg, let sit for 5 minutes) or a commercial egg-replacer. If you experiment with an egg substitute, please share your experience in the comments – I’d love to hear how it turns out!
- Vanilla Extract: A touch of pure vanilla extract enhances the overall flavor of the waffles, adding a hint of sweetness and warmth. If you don’t have it on hand or aren’t a fan of vanilla, it can be omitted without significantly impacting the recipe.
- Maple Syrup: Maple syrup functions as our natural sweetener in this recipe, lending a subtle, rich sweetness. You can also use agave nectar or honey if those are your preferred sweeteners. For those managing blood sugar levels, I highly recommend exploring maple-flavored monk fruit syrup sweetener, a low-glycemic option that provides sweetness without a significant impact on blood sugar.
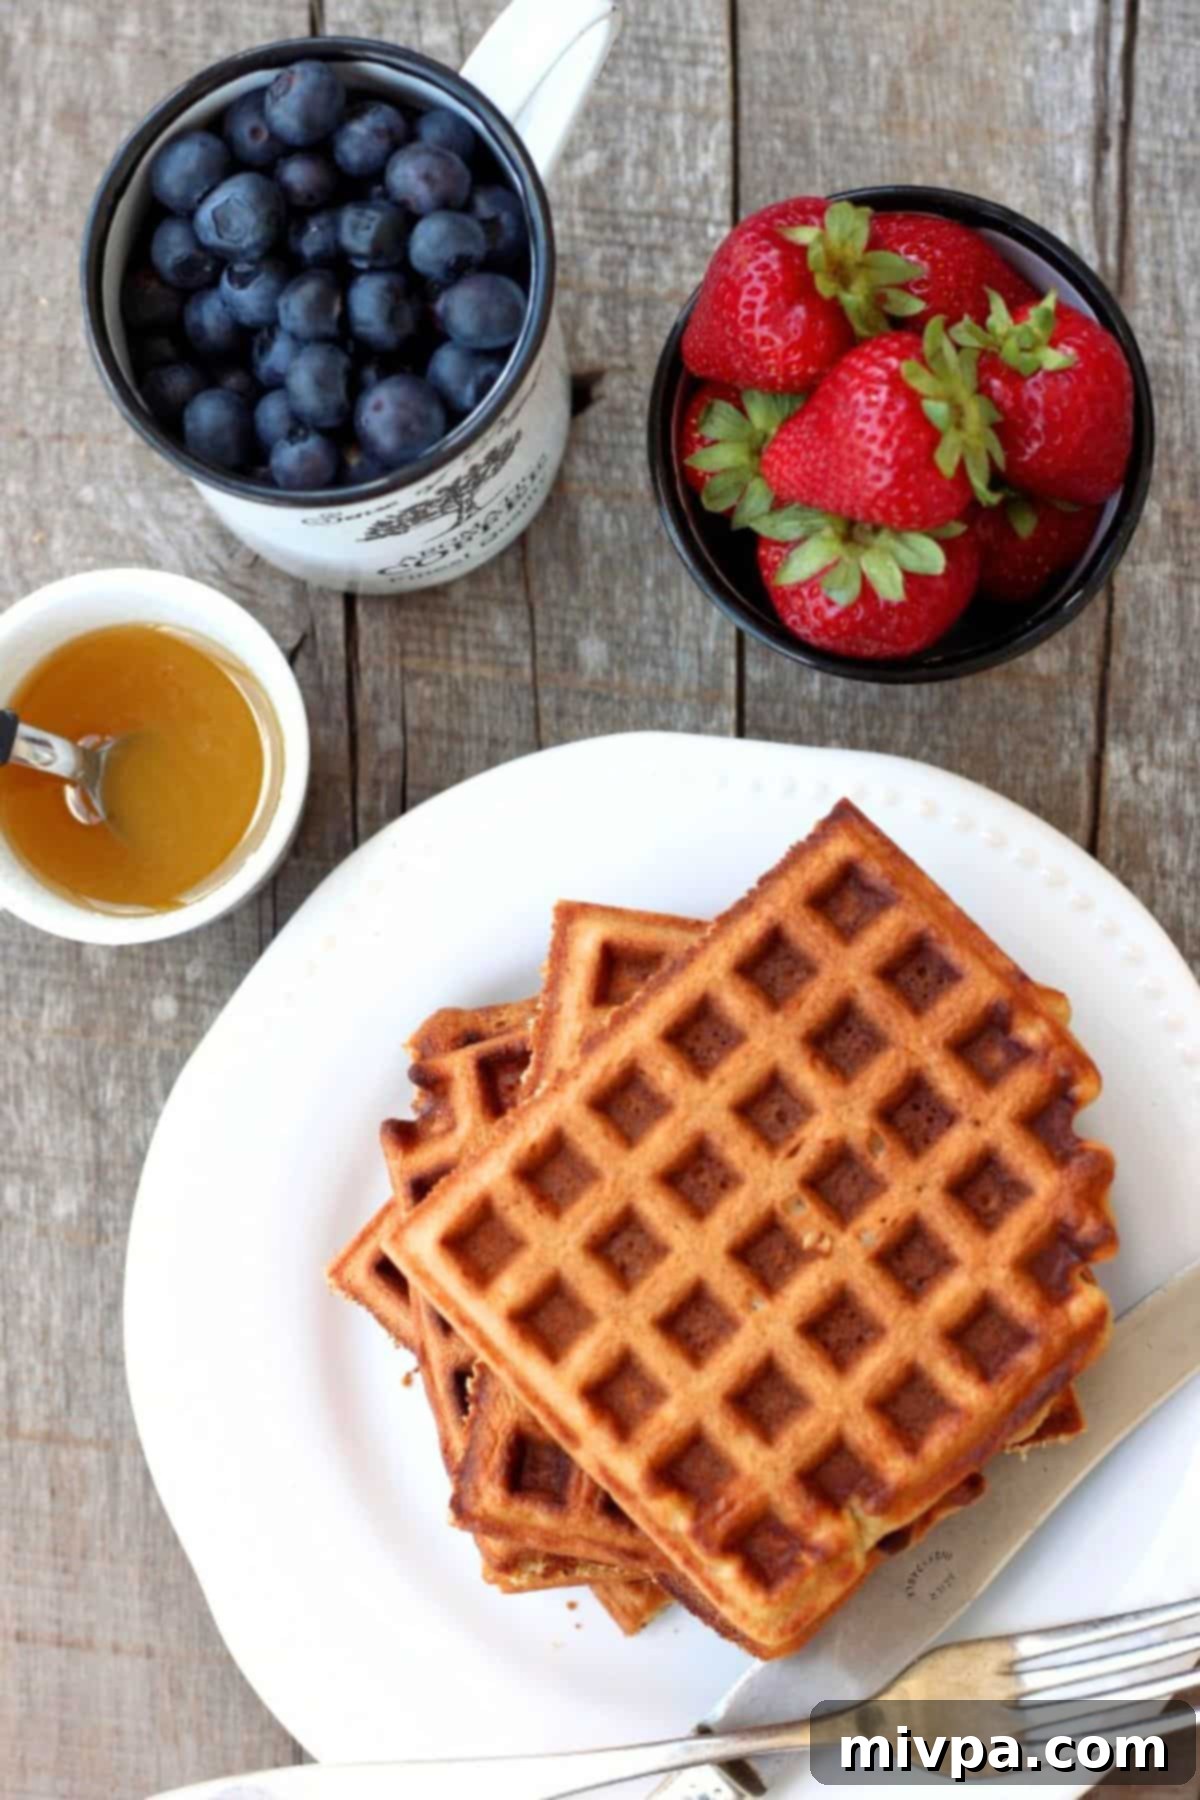
- Fresh Berries: I typically enjoy these waffles with a colorful medley of fresh strawberries and blueberries. However, the beauty of waffles is their versatility! Feel free to use your favorite fresh fruits or berries, such as raspberries, blackberries, sliced bananas, or peaches. Frozen berries can also be used; simply thaw them slightly before serving.
Step-by-Step Guide: How to Make Perfect Oat Flour Waffles
Creating these delightful oat flour waffles is a straightforward process. Follow these simple steps for crispy, delicious results every time:
1. Whisk Dry Ingredients
In a spacious mixing bowl, combine your oat flour, baking powder, a pinch of salt, and the ground cinnamon. Whisk these dry ingredients thoroughly to ensure they are well combined and evenly distributed. This step is crucial for consistent leavening.
2. Whisk Wet Ingredients
In a separate, medium-sized bowl, whisk together the almond milk (or your chosen dairy-free milk), melted vegan butter (or coconut oil), eggs, maple syrup, and vanilla extract. Whisk until all these wet ingredients are fully incorporated and smooth.
3. Combine Wet and Dry Ingredients
Gently pour the wet ingredient mixture into the large bowl containing your dry mixture. Mix everything together well, using a spatula or whisk, until a homogeneous waffle batter forms. A slight lumpiness in the batter is perfectly normal and acceptable; avoid overmixing, as this can lead to tougher waffles.
4. Allow the Batter to Rest
This is a crucial step for oat flour waffles! Let your prepared batter rest at room temperature for at least 10 minutes. This resting period allows the oat flour ample time to absorb the liquid, resulting in a thicker, more consistent batter and ultimately, more tender waffles.
5. Preheat Your Waffle Iron
While the batter rests, plug in your waffle maker and allow it to pre-heat. Most waffle irons have an indicator light that signals when it has reached the optimal cooking temperature. Ensure it’s fully preheated before proceeding.
6. Prepare and Pour Batter Onto Waffle Iron
After the 10-minute resting period, give the batter one final gentle stir with your spoon. Lightly brush the grids of your heated waffle iron with a little melted vegan butter or nonstick cooking spray to prevent sticking. Pour the batter onto the waffle iron, using just enough to cover most of the surface area without overflowing. Close the lid promptly.
7. Cook Waffles Until Steam Subsides
Resist the urge to open the waffle maker too soon! The secret to truly crispy waffles that won’t stick is patience. Only lift the lid once you observe that virtually no more steam is being emitted from the waffle iron. This indicates that the waffles are thoroughly cooked and beautifully golden and crisp. Carefully remove the cooked waffle.
8. Preheat Oven to Keep Waffles Warm
As you cook your waffles, preheat your oven to a low temperature of 200°F (95°C). This will be used to keep your freshly cooked waffles warm and crispy while you finish the rest of the batch.
9. Transfer Cooked Waffles to a Wire Rack in Oven
Once cooked, transfer each oat flour waffle to a wire rack placed on a baking sheet. It’s crucial NOT to stack the waffles directly on top of each other, as this will trap steam and cause them to become soggy. Place the baking sheet with waffles in the preheated 200°F oven to keep them warm and maintain their crispness until you’re ready to serve.
10. Repeat Until All Batter is Used
Continue this process, brushing the waffle iron between batches as needed, until all of your delicious batter has been transformed into golden, crispy oat flour waffles.
11. Serve and Enjoy Your Waffle Creation!
Arrange your warm, crispy oat flour waffles on plates. Top them generously with your chosen fresh berries and a final delectable drizzle of maple syrup. Serve immediately and savor every glorious bite!
Dish by Dish Pro Tips for the Best Oat Flour Waffles
- Master Your Own Oat Flour: While store-bought oat flour is convenient, making your own can be cost-effective and ensures freshness. For 1 1/2 cups of oat flour, simply grind 1 1/2 cups of certified gluten-free rolled oats in a food processor or high-speed blender until you achieve a superfine, powdery consistency. For the silkiest batter, pass this flour through a fine-mesh sieve to remove any coarser bits.
- The Ultimate Secret to Crispy Waffles: This is the game-changer! Do NOT solely rely on the green indicator light on your waffle maker; it can often be misleading. The most reliable indicator that your waffles are perfectly cooked, crispy, and will release cleanly from the iron is when the waffle maker stops emitting steam. Once the steam production significantly diminishes or ceases, then – and only then – is it time to open the lid and reveal your golden masterpiece.
- Prevent Soggy Waffles: As mentioned in the steps, never stack freshly cooked waffles directly on top of each other. The trapped steam will quickly turn them soft and unappealing. Always transfer them to a wire rack in a warm oven (200°F / 95°C) to maintain their crispness until serving.
- Don’t Overmix the Batter: Just like with pancakes, overmixing waffle batter can develop the gluten (even in gluten-free flours like oats, though less so than wheat) and lead to a tougher texture. Mix only until the ingredients are just combined. A few small lumps are perfectly fine!
- Experiment with Toppings: While maple syrup and berries are classic, don’t shy away from other delicious toppings. Think dairy-free whipped cream, chocolate chips (dairy-free if needed), a dollop of yogurt, fruit compotes, nuts, or even a savory spread like avocado or a fried egg for a unique brunch.
Common Questions About Oat Flour Waffles
The most common reason for soggy instead of crispy waffles is opening the waffle maker too soon. If you lift the lid before the waffles are fully cooked, they won’t have had enough time to develop that coveted crispy exterior. To guarantee maximum crispness, make sure you only open the waffle maker when there is no more steam being emitted. Patience is key for that perfect crunch!
To store any leftover oat flour waffles, first ensure they have completely cooled to room temperature. Then, place them in an airtight container and store them in the refrigerator for up to 5 days. For reheating, simply pop them into the oven or a toaster oven until warmed through and re-crisped.
Absolutely! Oat flour waffles freeze beautifully. After they have cooled completely, arrange the gluten-free oat waffles in a single layer on a baking sheet and freeze for about 30 minutes until solid. Then, transfer them to a freezer-safe container or a freezer bag, separated by parchment paper to prevent sticking. They can be frozen for up to 2 months. To reheat, simply place the frozen waffles directly into a toaster or oven until hot and crispy.
Yes, oats are naturally gluten-free! However, the concern arises from cross-contamination during processing. Many oats are processed in facilities that also handle wheat, barley, or rye, leading to potential gluten exposure. If you are celiac or highly gluten-intolerant, it is essential to use certified gluten-free oats or oat flour. These products are specifically processed and tested to ensure they meet strict gluten-free standards. Additionally, a small percentage of celiacs may experience a reaction to avenin, a protein in oats, similar to gluten. If you have celiac disease and are new to oats, consult with your doctor or a dietitian.
While it’s best to cook waffles with freshly made batter for the crispiest results, you can prepare the batter a few hours ahead of time and store it in an airtight container in the refrigerator. You might need to add a splash more milk and give it a good whisk before cooking, as oat flour can thicken considerably upon standing.
Explore More Delicious Waffle Recipes!
If you’re a fan of waffles, you’ll love these other fantastic recipes from our collection:
- Basic Gluten-Free Waffle Recipe (Dairy-Free)
- 5-Ingredient Banana Flaxseed Waffles
- Savory Mashed Potato Waffles (Gluten-Free, Dairy-Free)
- Pumpkin Waffles (Gluten-Free, Dairy-Free)
More Gluten-Free Breakfast Delights to Enjoy
- Gluten-Free Chocolate Chip Pumpkin Bread (Dairy-Free)
- 25 Easy Gluten-Free Muffin Recipes for Anytime
- Gluten-Free Pumpkin Chocolate Chip Muffins (Dairy-Free)
- Savory Sweet Potato Toast (Gluten-Free, Dairy-Free)
P.S. If you try this incredible oat flour waffle recipe, I would absolutely love for you to leave a star rating below and/or share your feedback in the comment section further down the page. Your insights are always cherished! Don’t forget to explore my entire Recipe Index for a treasure trove of delicious recipes on the blog. You can also connect with me on Pinterest, Facebook, or Instagram! Be sure to sign up for my Email List to receive fresh recipes directly in your inbox each week!

Easy Oat Flour Waffles (Gluten-Free, Dairy-Free)
★ 5 Stars
★ 4 Stars
★ 3 Stars
★ 2 Stars
★ 1 Star
5 from 2 reviews
- Author: felicia | Dish by Dish
- Total Time: 40 mins
- Yield: 6 waffles
Description
Crispy and golden, these delicious oat flour waffles come together so easily! Using ground oats instead of normal wheat flour, these oat waffles are perfect for a luxury weekend breakfast or any special day. Totally gluten-free and dairy-free too.
Ingredients
- 1 1/2 cups gluten-free oat flour
- 2 teaspoons baking powder
- Pinch of ground cinnamon (optional)
- 3/4 cup unsweetened almond milk
- 5 tablespoons vegan butter, melted + more for brushing
- 2 large eggs
- 1 teaspoon pure vanilla extract
- 2 tablespoons maple syrup + more for drizzling
- 2 cups fresh berries of choice
Instructions
- Whisk Dry Ingredients: In a large mixing bowl, combine the oat flour, baking powder, salt, ground cinnamon, and whisk well.
- Whisk Wet Ingredients: In another bowl, whisk together the milk, melted vegan butter, eggs, maple syrup, and vanilla extract until combined.
- Combine Wet and Dry Ingredients: Pour the wet ingredients into the large bowl with the dry ingredients, and mix well until you get a homogeneous waffle batter (it is ok if the batter is a bit lumpy).
- Let Batter Rest: Let batter rest for 10 minutes to give the oat flour time to soak up some of the moisture.
- Preheat Waffle Iron: Plug in your waffle maker to pre-heat it. Once the indicator light comes on, it means that waffle iron is hot enough to be used.
- Pour Batter Into Waffle Iron: Once batter has rested for 10 minutes, mix batter with your spoon for one last time. Brush melted vegan butter or nonstick cooking spray over the waffle iron, and pour batter onto the heated waffle iron (enough to cover almost all of the surface area) then close the lid.
- Cook Waffles Until No More Steam: Raise the lid only after there is no more steam being emitted by the waffle iron (this is important to ensure that waffles are cooked through and will not stick to the iron), and only then remove the waffles when they are golden and crisp.
- Preheat Oven: As the waffles cook, preheat the oven to 200F.
- Transfer Cooked Waffles to Tray: Transfer the cooked oat flour waffles to a baking tray, making sure NOT to stack them (or they will become soggy), and place in a 200F until you are ready to serve (this helps keep the waffles crispy).
- Repeat Until Batter is Finished: Repeat with remaining batter until all batter is used up.
- Serve and Enjoy: Top the waffle with fresh berries and a drizzle of maple syrup before eating.
Notes
Oat Flour: You can either use store-bought gluten-free oat flour. Alternatively, you can make your own oat flour by grinding 1 1/2 cups gluten-free oats in a food processor or high-speed blender until super fine, and then passing the flour through a fine-mesh sieve.
Baking Powder: Baking powder is the leavening agent that will help make the waffles be light and airy. I recommend using aluminum-free baking powder. If you are Celiac or gluten-intolerant, make sure to use certified gluten-free baking powder.
Cinnamon: I like adding a pinch of ground cinnamon for extra flavor, but feel free to leave it out if you’re not a fan of cinnamon.
Almond Milk: I like using an unsweetened version of my 5-minute homemade almond milk, but you may also use other non-dairy milks (such as cashew milk, tigernut milk, rice milk, macadamia, coconut milk, etc.). Alternatively, if you are not lactose-intolerant, feel free to use normal milk instead.
Vegan Butter: I used vegan butter to keep this recipe dairy-free. You can also use melted coconut oil instead (if using coconut oil, I recommend refined coconut oil which has a more neutral flavor, instead of extra virgin coconut oil which has a stronger coconut smell and taste). Alternatively, if you are not lactose-intolerant, feel free to use normal butter or ghee instead.
Eggs: Eggs help to bind the ingredients together. I have not tried this recipe without eggs, so I don’t know how that would work. If you are allergic to eggs, you may try using acquafaba or an egg-replacer (if you do make this oat waffles recipe without eggs, please let me know how it goes in the comments below, I’d love to know!).
Vanilla Extract: I like adding vanilla extract for extra flavor, but if you don’t have it on hand, or aren’t a fan of vanilla, feel free to leave it out.
Maple Syrup: In this recipe, maple syrup works as a natural sweetener, but you can also use agave nectar or honey if you prefer. If you are diabetic or insulin-resistant, I highly recommend that you use maple-flavored monkfruit syrup sweetener (a maple syrup substitute that is low glycemic-index and will not raise your blood sugar that much).
Berries: I used a mix of fresh strawberries and blueberries, but go ahead and use other berries of choice (such as raspberries or blackberries). Alternatively, you can also use frozen berries if you prefer.
Storing/Freezing: To store, place the cooled oat flour waffles in an airtight container and store in the refrigerator for up to 5 days. Reheat the waffles in the oven or a toaster before eating. To freeze, place the cooled oat waffles in a freezer-safe container or freezer bag and freeze for up to 2 months. Reheat the waffles in the toaster or oven before eating.
This recipe was originally posted in 2014, but has since been republished to include clearer step-by-step instructions, as well as recipe notes and substitutions.
Barely adapted from: Cookie + Kate
- Prep Time: 20 mins
- Cook Time: 20 mins
- Category: Breakfast
- Cuisine: Gluten-free
