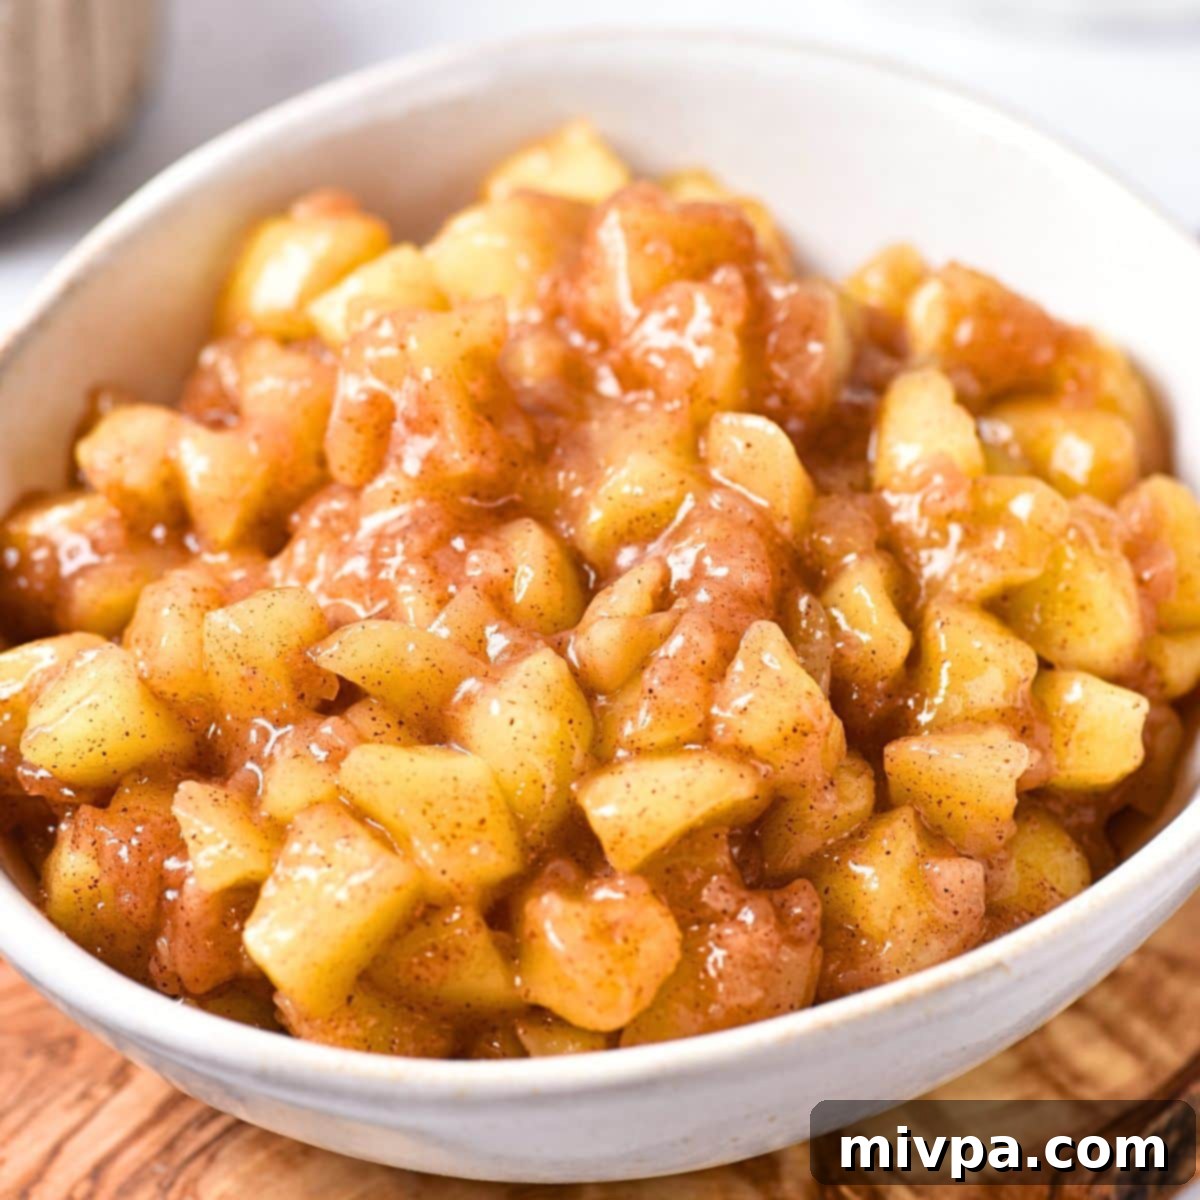
Easy Homemade Gluten-Free Apple Pie Filling (Vegan & Dairy-Free)
Discover the simple joy of crafting your very own gluten-free apple pie filling from scratch. This delightful recipe delivers a perfect balance of sweet and tart flavors, generously spiced with warm cinnamon – a true taste of autumn! Fully dairy-free and vegan, it’s suitable for almost everyone. Embrace the bounty of apple season by preparing a few batches to enjoy throughout the fall, whether in a classic pie or as a versatile topping.
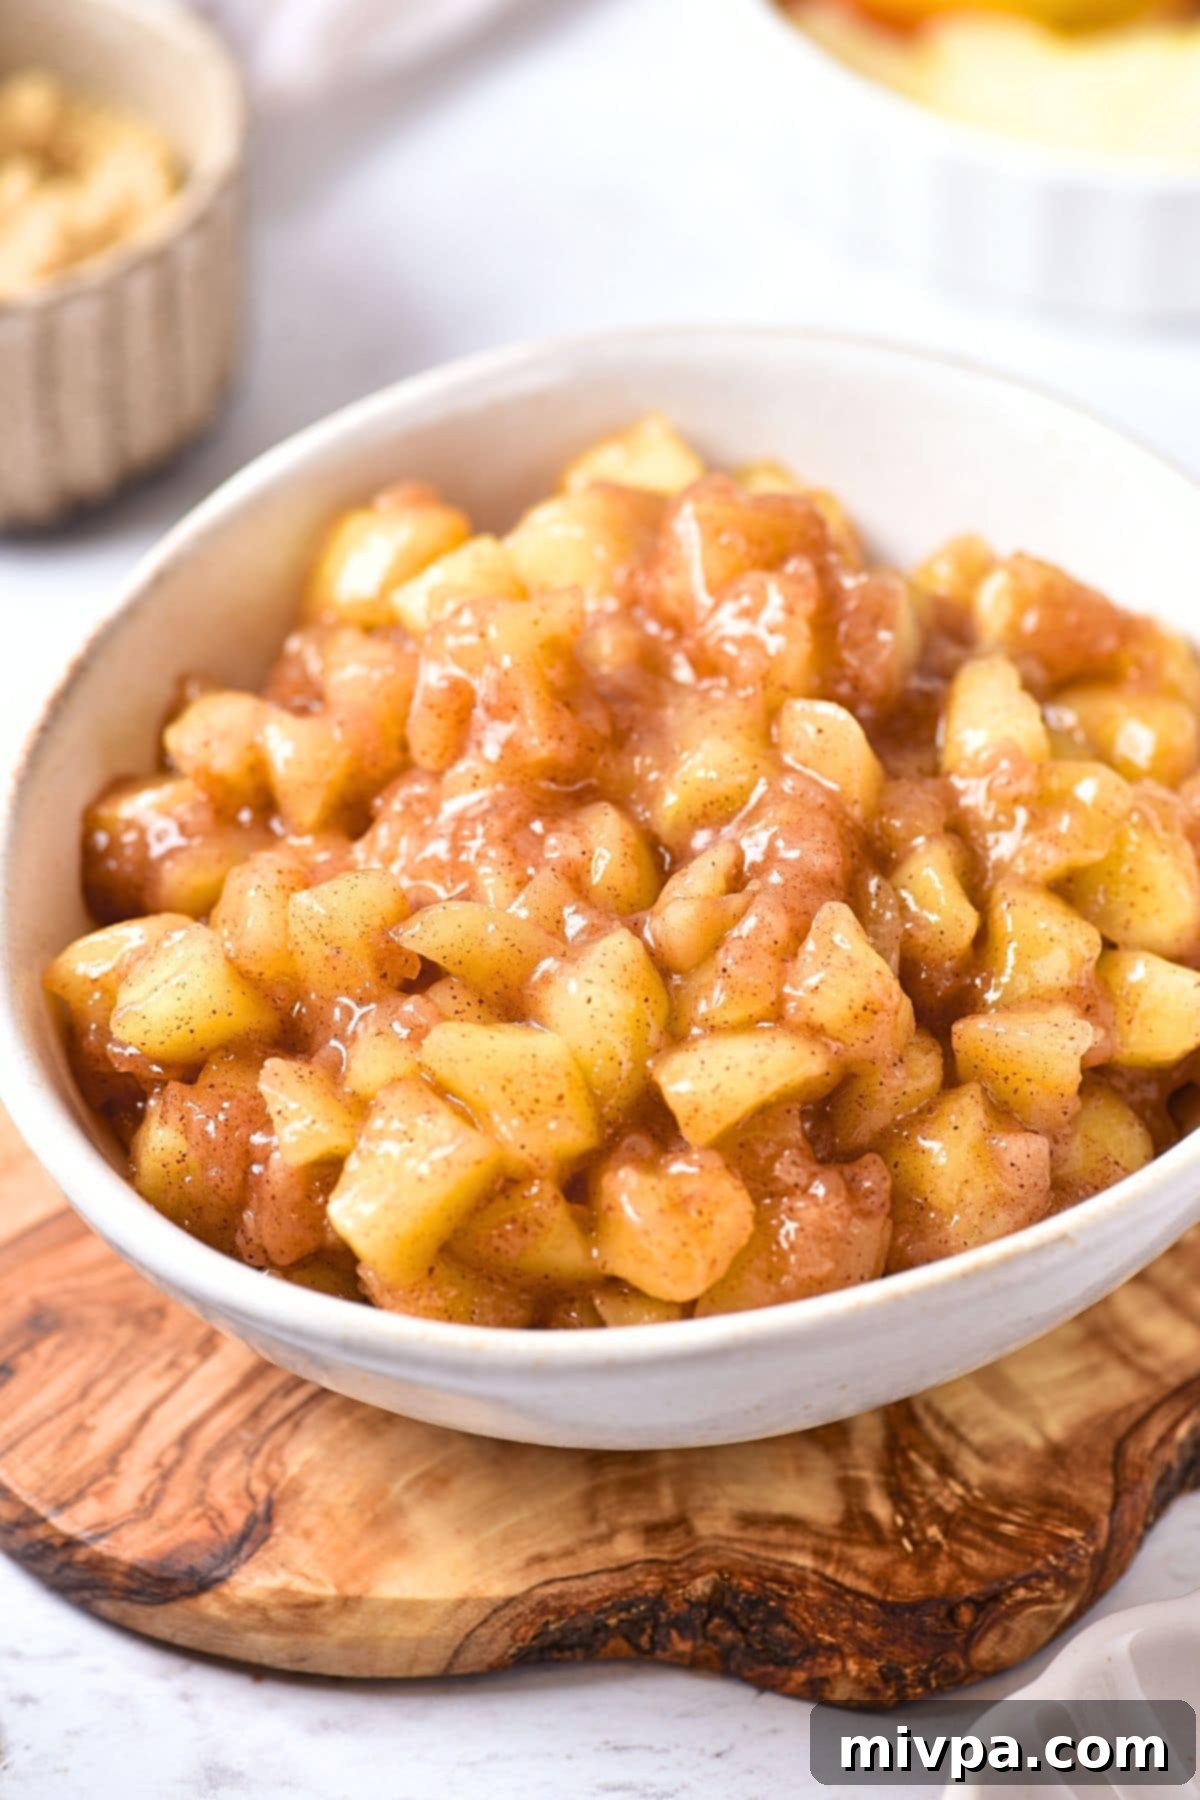
Embrace the Abundance of Apple Season! 🍎
There’s an undeniable magic that sweeps in with the arrival of fall, and for many of us, it revolves around one beloved fruit: the apple! As trees burst with ripe, juicy apples, it’s the perfect time to get into the kitchen and celebrate this seasonal abundance. We’re on an apple roll here at Dish by Dish, constantly finding new and exciting ways to incorporate apples into our cooking and baking. From breakfast to dessert, the versatility of apples knows no bounds, making them a staple in our autumn culinary adventures.
Whether you’re craving the comforting smoothness of homemade applesauce, the rich intensity of apple butter, the satisfying crunch of apple crumble, or the delicate crispness of apple chips, there’s an apple recipe for every mood and occasion. We also love a good apple crisp or an elegant apple galette. The beauty of apples is that they truly shine in countless preparations, each bringing a unique twist to their naturally sweet and sometimes tart profile.
And, of course, what would autumn be without the iconic apple pie? That’s why it was high time to share our go-to recipe for homemade apple pie filling. This rich, aromatic filling is the heart of any good apple pie, especially when paired with a flaky, buttery (yet gluten-free homemade pie crust, of course 😉). Forget the bland, overly sweet canned versions; once you make your own, you’ll never look back!
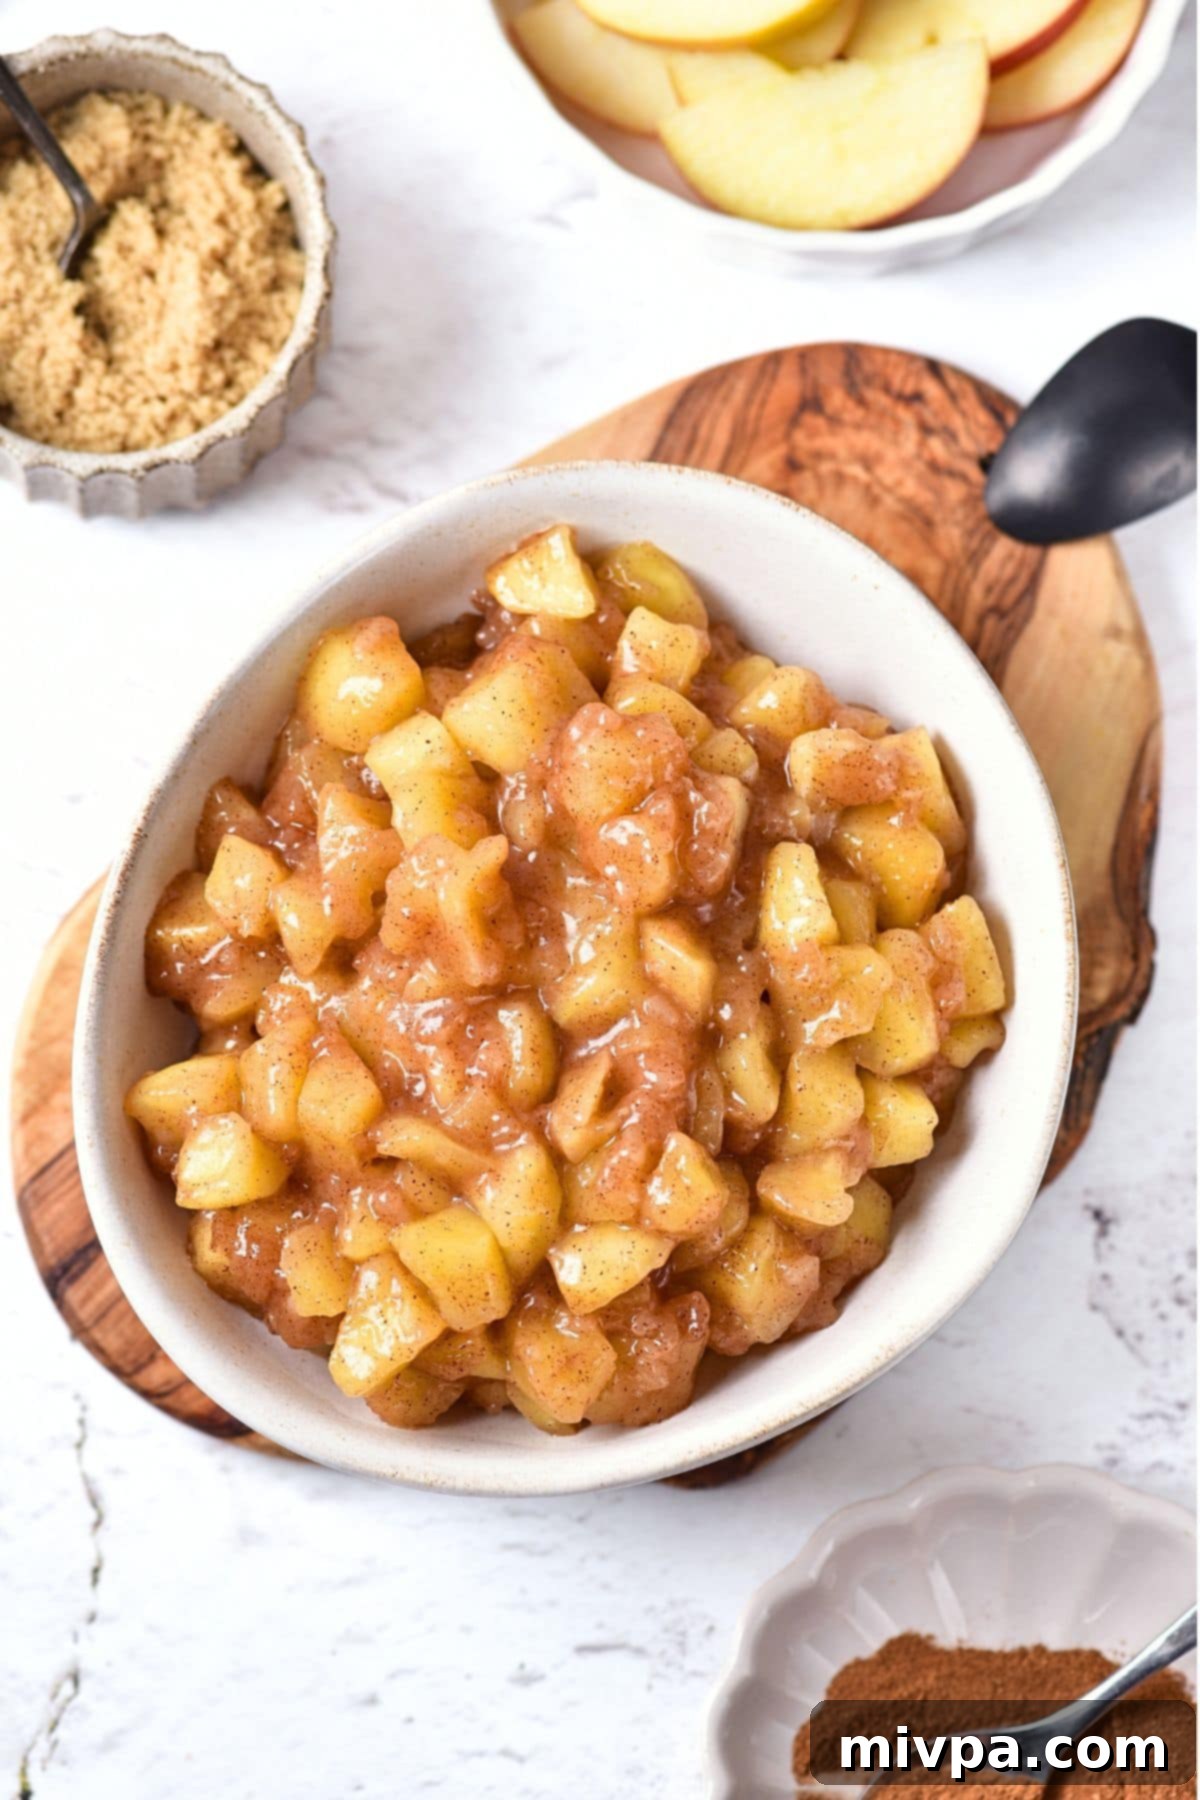
Why This Homemade Apple Pie Filling Recipe Works So Well:
There are countless reasons why this particular gluten-free apple pie filling recipe will become your new favorite. It’s not just about what it lacks (gluten, dairy) but about everything it offers in terms of flavor, ease, and versatility:
- Simple, Accessible Ingredients: You won’t need to hunt for exotic items or specialty products to make this filling. The core ingredients – fresh apples, sugar, cinnamon, lemon juice, a little butter (dairy-free, in our case), and cornstarch – are readily available at any local grocery store. This ensures that you can whip up a batch whenever the craving strikes, without any fuss. The beauty of simple ingredients is that they allow the natural, vibrant flavors of the apples to truly shine through.
- Effortlessly Easy to Make & Incredibly Delicious! This recipe is designed for simplicity and speed. In less than 30 minutes, you’ll have a rich, aromatic apple filling that tastes infinitely better than any store-bought canned version. The active cooking time is minimal, making it perfect for busy weeknights or when you need a quick dessert component. The fresh flavors and customizable sweetness truly elevate your finished dish, offering a taste experience that no pre-made filling can match.
- 100% Gluten-Free, Dairy-Free & Vegan: This is truly the best part for many of our readers! Our homemade pie filling is thoughtfully crafted to be entirely gluten-free, dairy-free, and vegan. This means that individuals with Celiac disease, gluten sensitivities, lactose intolerance, or those following a plant-based diet can indulge in this classic fall treat without any concerns or compromises on flavor or texture. We believe everyone deserves to enjoy delicious, homemade desserts, and this recipe delivers on that promise.
- Perfectly Balanced Flavor Profile: We’ve carefully balanced the sweetness from two types of sugar with the tartness of fresh lemon juice, complemented by the warm, inviting spice of cinnamon. This creates a filling that is neither too sweet nor too bland, hitting all the right notes for a truly satisfying apple pie experience.
- Versatile & Customizable: While perfect for pies, this filling is incredibly versatile. Use it in crumbles, crisps, galettes, or even as a topping for pancakes, oatmeal, or yogurt. Plus, with our ingredient notes, you can easily customize the type of apples or sweeteners to suit your personal preferences or dietary needs.
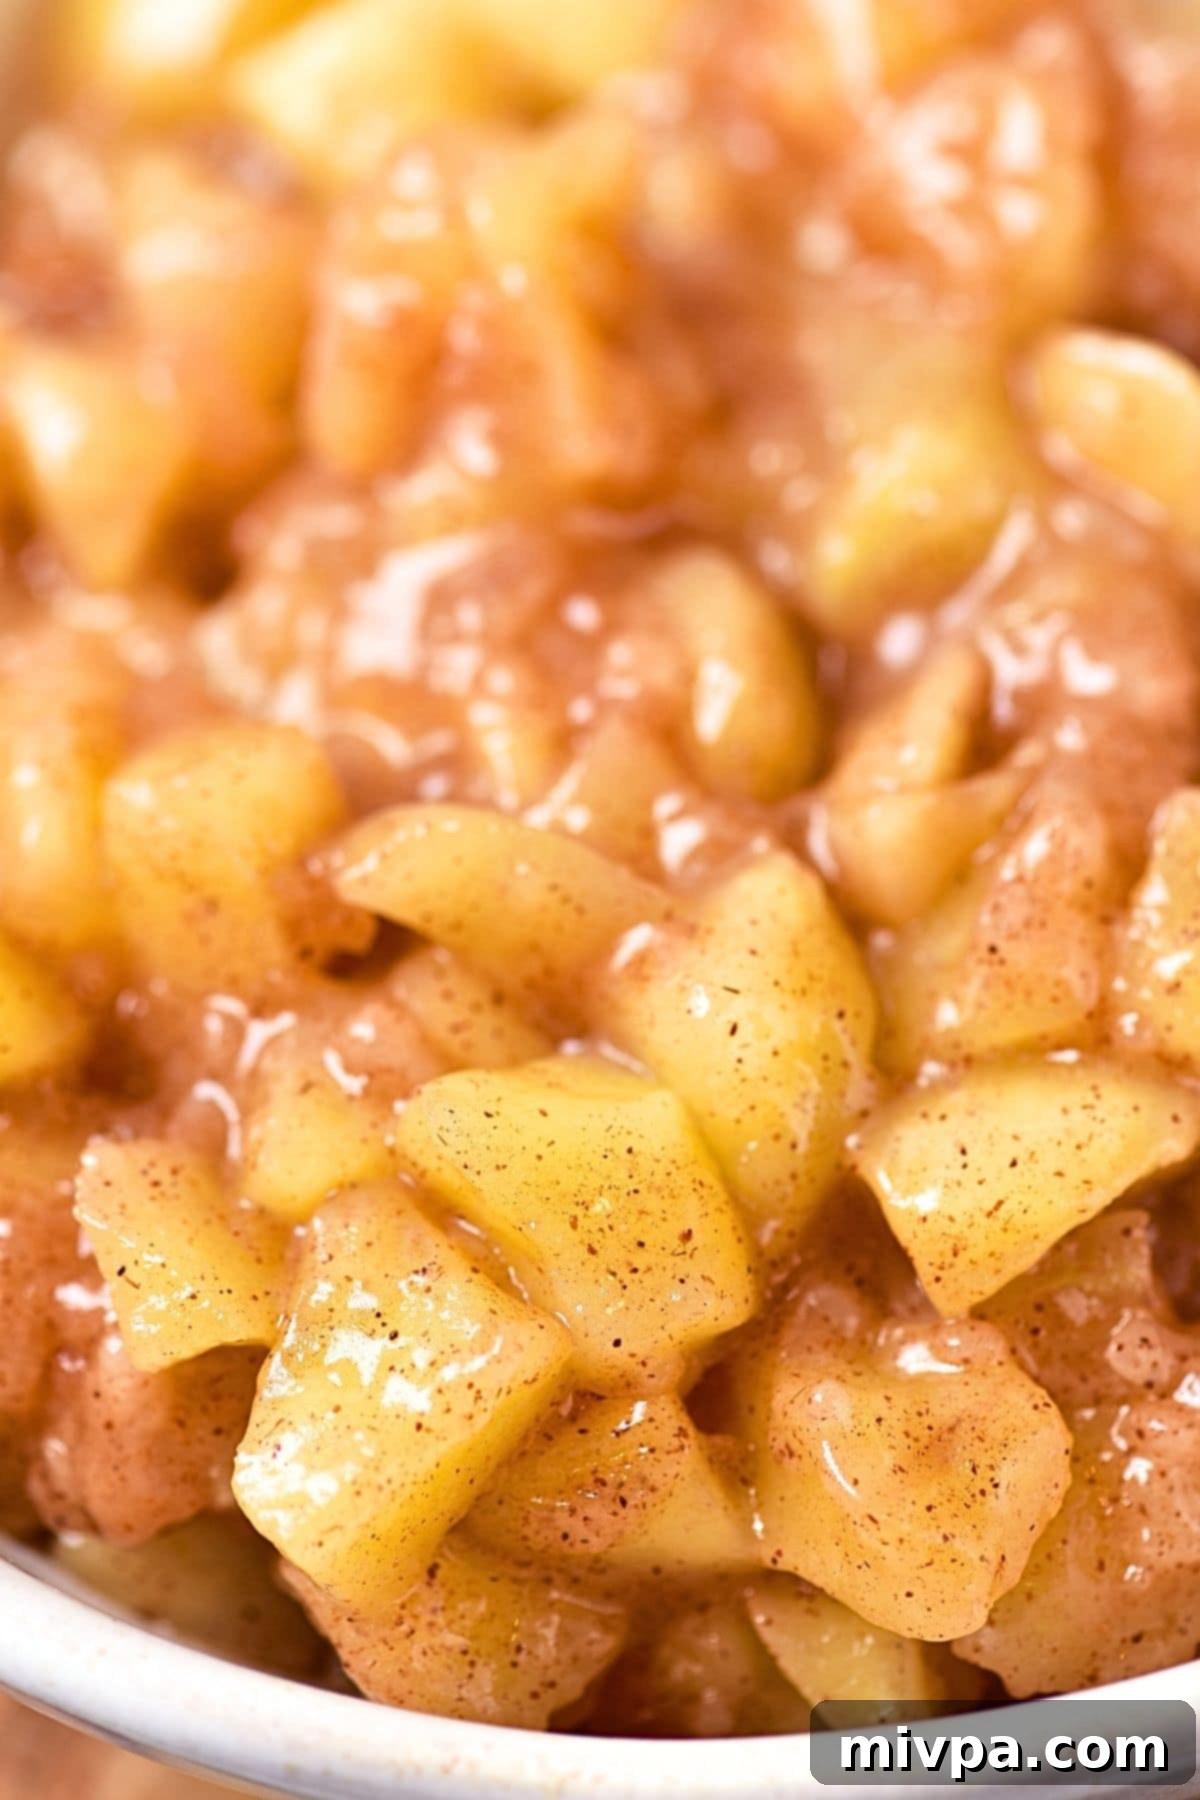
Essential Ingredients for Your Homemade Apple Pie Filling:
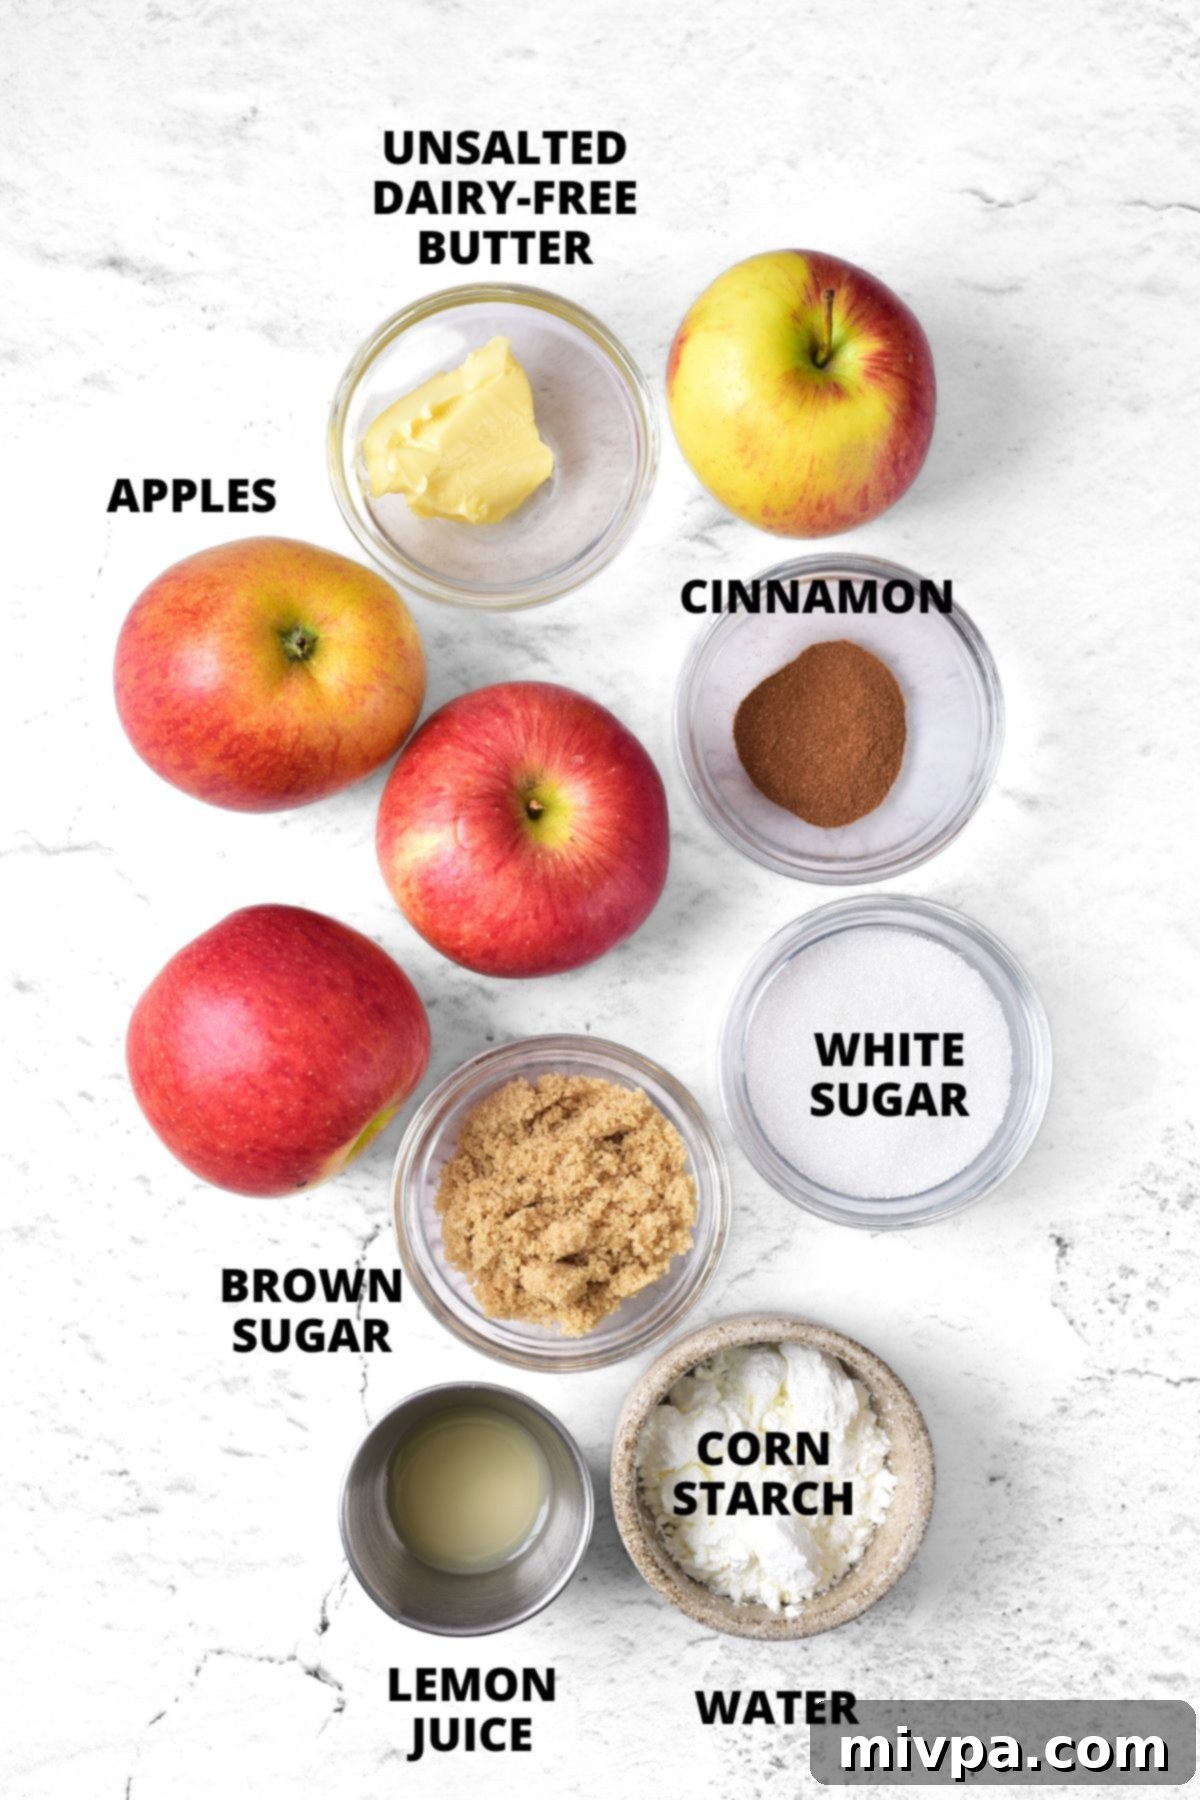
Creating this irresistible gluten-free apple pie filling requires just a handful of simple ingredients. Here’s a visual overview to help you gather everything you need before you begin. Each component plays a crucial role in achieving the perfect flavor and texture:
(For the precise measurements of each ingredient, please remember to scroll down to the detailed printable recipe card located at the very bottom of this post.)
- Apples: The star of the show! We’ll use 5 medium apples, peeled, cored, and cubed.
- Ground Cinnamon: Essential for that classic warm, inviting apple pie spice.
- White Sugar: Provides sweetness and helps create a rich syrup.
- Brown Sugar: Adds a deeper, caramelized flavor note that complements the apples beautifully.
- Lemon Juice: A splash of fresh lemon juice brightens the flavors and prevents the apples from browning.
- Unsalted Dairy-Free Butter: Crucial for sautéing the apples and adding a rich mouthfeel while keeping the recipe vegan.
- Cornstarch: Our secret weapon for thickening the apple juices into a perfect, glossy sauce.
- Water: Used to create a cornstarch slurry for lump-free thickening.
Recipe Notes & Smart Substitutions:
Flexibility is key in the kitchen, and this recipe offers plenty of room for customization. Here are some detailed notes and easy substitutions to help you tailor this gluten-free apple pie filling to your taste and dietary needs:
- Apples: The type of apple you choose will significantly impact the final taste and texture of your filling. Feel free to use your favorite apples or a mix!
- For a sweeter filling, opt for varieties like Pink Lady, Fuji, Honeycrisp, or Gala.
- If you prefer a tarter filling, Granny Smith apples are an excellent choice, as their firm texture also holds up well during cooking.
- Mixing sweet and tart apples (e.g., Honeycrisp and Granny Smith) often yields the most balanced and complex flavor profile.
- Cinnamon: Ground cinnamon is a classic choice, infusing a beautiful, warm flavor into this apple pie filling. For an extra layer of spice and complexity, you may also use a pre-mixed apple pie spice blend instead, which typically includes nutmeg, allspice, and sometimes cloves.
- White Sugar: Granulated white sugar contributes to the sweetness and helps create a lovely syrup. If you are managing blood sugar levels or are diabetic, I highly recommend using a 1:1 substitute like granulated monk fruit sweetener. It has a zero glycemic index and will not impact blood sugar levels.
- Brown Sugar: We’ve used light brown sugar for its subtle molasses notes. You can easily substitute with dark brown sugar for a richer, more intense caramel flavor, or coconut sugar for a less refined sugar option with a slight caramel taste. For diabetic-friendly alternatives, golden granulated monk fruit sweetener is an excellent 1:1 brown sugar substitute that is also zero glycemic.
- Lemon Juice: A squeeze of freshly squeezed lemon juice is crucial. It not only brightens the overall flavor and adds a pleasant tartness but also helps prevent the apples from browning too quickly, maintaining their appealing color.
- Butter: To ensure this recipe remains dairy-free and vegan, we use an unsalted dairy-free butter (often labeled as vegan butter). This adds richness and a creamy mouthfeel without any dairy. Coconut oil is another fantastic dairy-free alternative that works well here. If you don’t have dairy sensitivities, feel free to use regular unsalted butter.
- Cornstarch: This acts as our primary thickening agent, creating that perfect glossy, saucy consistency for the apple juices. If you have a corn allergy or prefer an alternative, tapioca starch or arrowroot starch are excellent 1:1 substitutes that will achieve similar thickening results.
How to Prepare This Delicious Gluten-Free Apple Pie Filling (Step-by-Step Guide):
Making your own apple pie filling is surprisingly simple and incredibly rewarding. Follow these easy steps to create a rich, perfectly spiced filling that will elevate any dessert.
1. Prepare Your Apples: Peel, Core & Cube
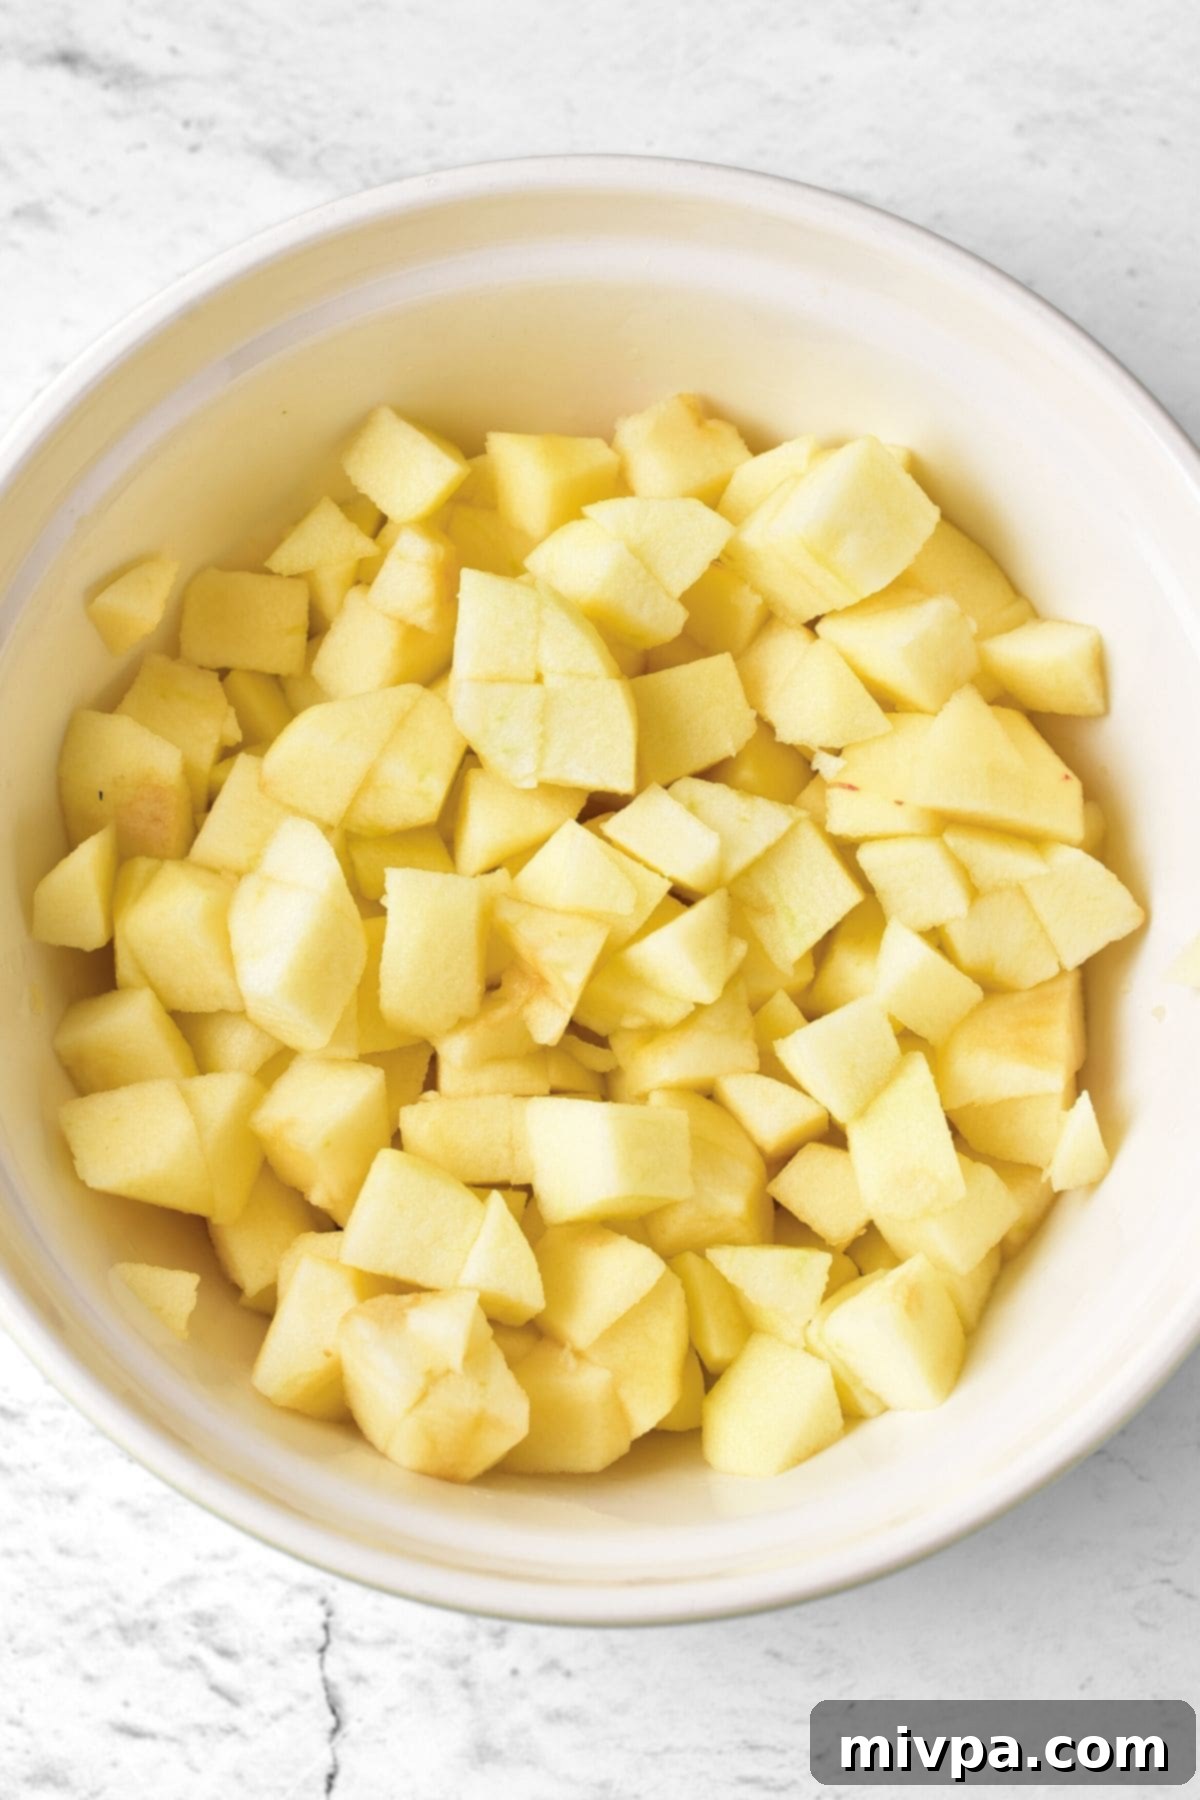
Start by thoroughly washing your apples. Then, peel them using a vegetable peeler or a sharp knife. Once peeled, carefully core each apple to remove the seeds and tough center. Finally, cut the apples into uniformly sized small cubes. Aim for pieces that are about 1/2 to 3/4 inch (1.25 to 1.9 cm) – this ensures even cooking and a pleasant texture in the final filling. Place the cubed apples in a large bowl, ready for the next step.
2. Season the Apples: Add Sugar, Cinnamon & Lemon Juice
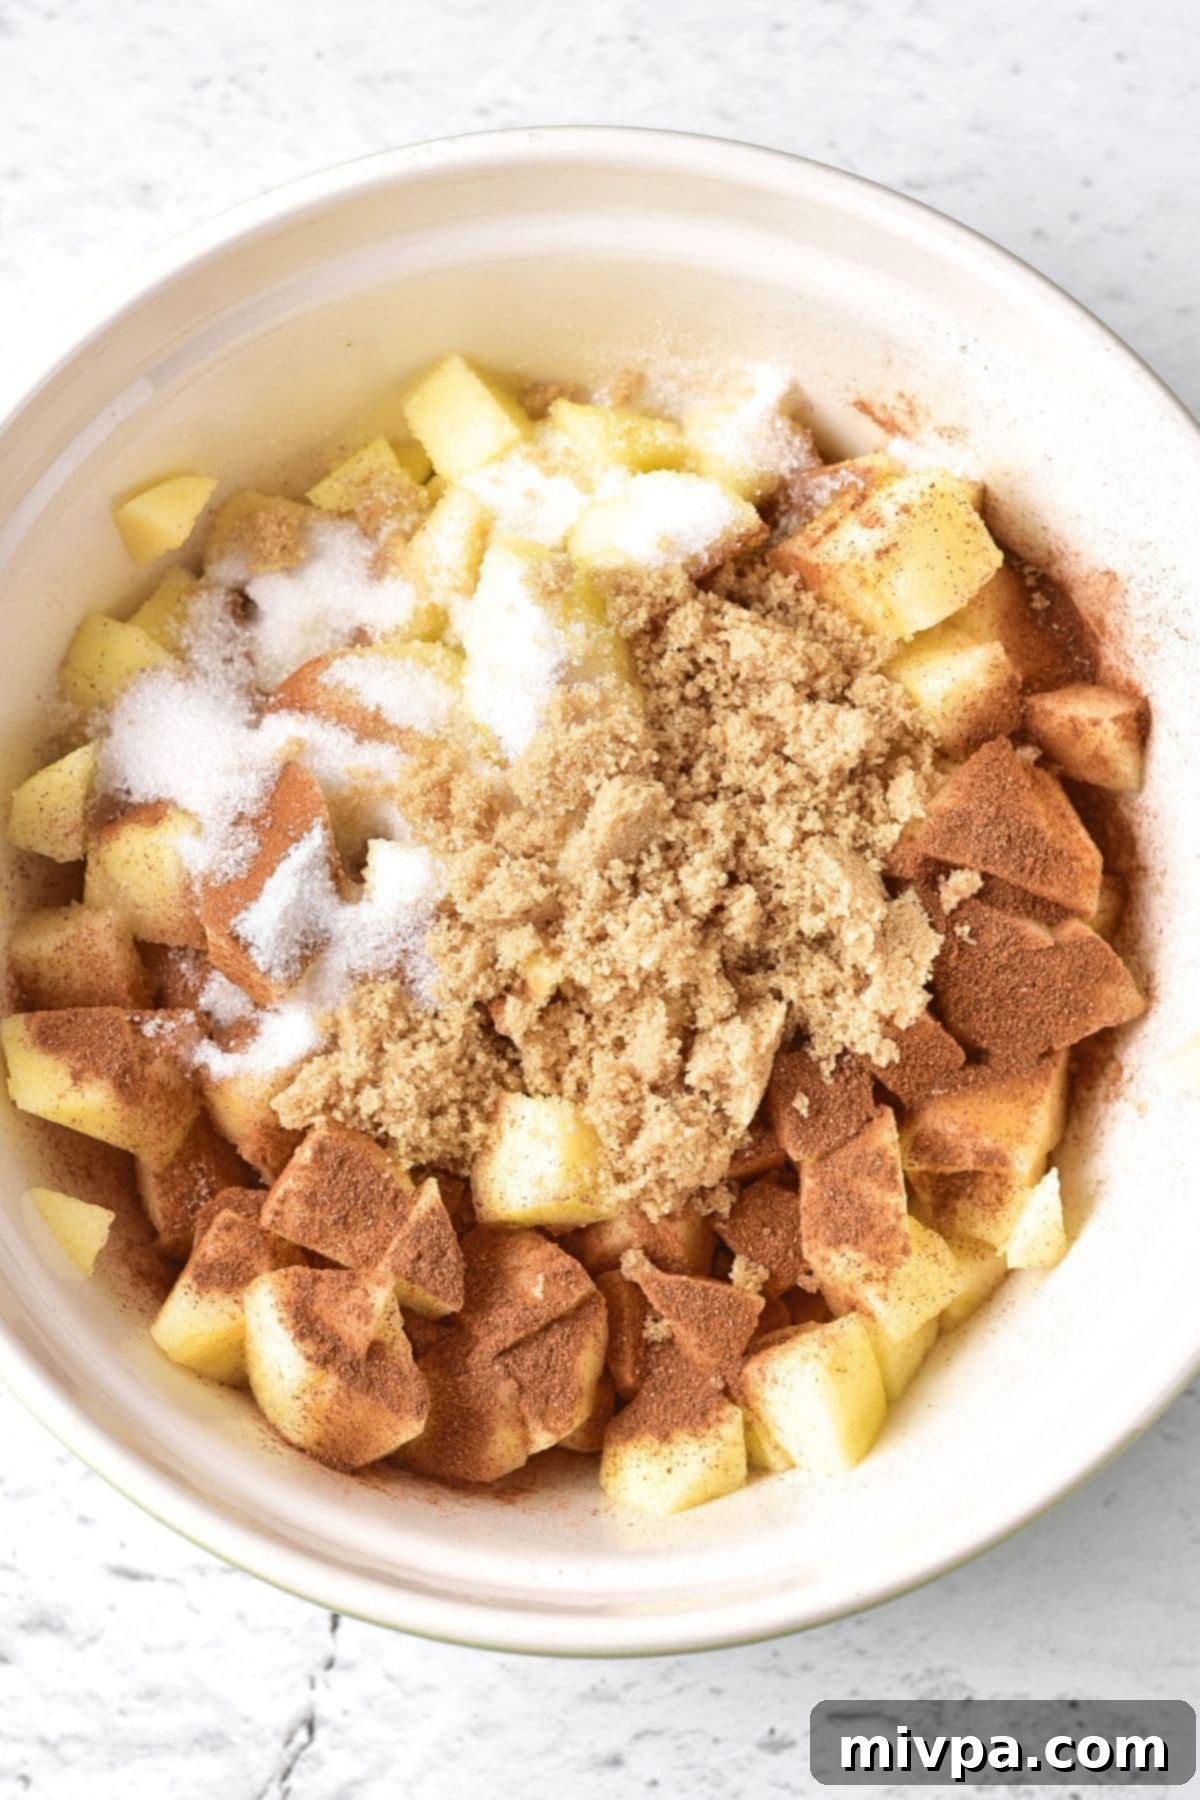
To the bowl of cubed apples, add both the white sugar and brown sugar. Sprinkle in the ground cinnamon for that quintessential fall spice, and then drizzle with the fresh lemon juice. Use a large spoon or your hands to gently toss and stir the mixture until all the apple pieces are evenly coated with the sugars, spice, and lemon juice. This step allows the flavors to begin mingling and the sugars to start drawing out some of the apples’ natural juices.
3. Sauté the Apples: Melt Butter and Add Apples
Place a large nonstick skillet over medium-low heat. Add the dairy-free butter and allow it to melt completely, coating the bottom of the pan. Once the butter is melted and slightly shimmering, carefully transfer the seasoned apple cubes from the bowl into the skillet. Spread them out evenly in a single layer as much as possible to ensure consistent cooking.
4. Cook Until Tender: Soften the Apples
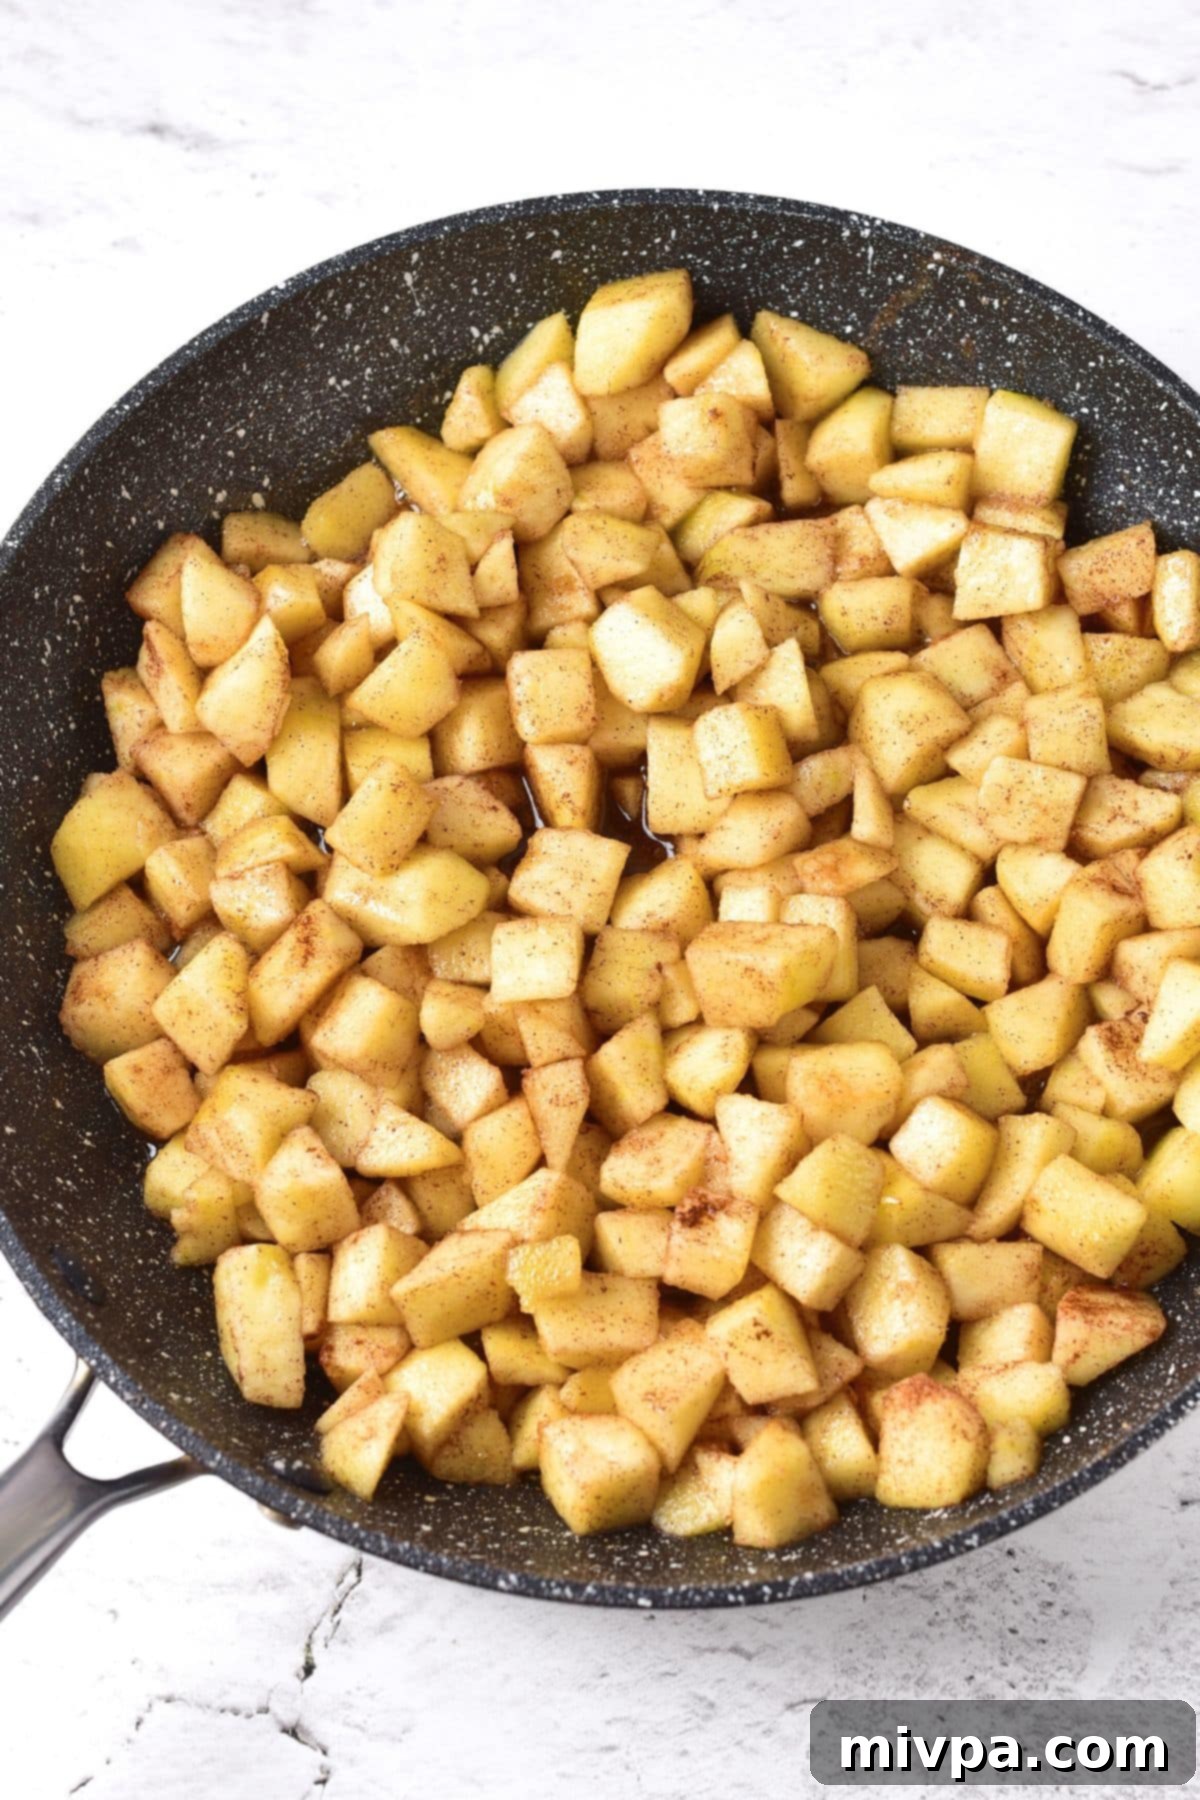
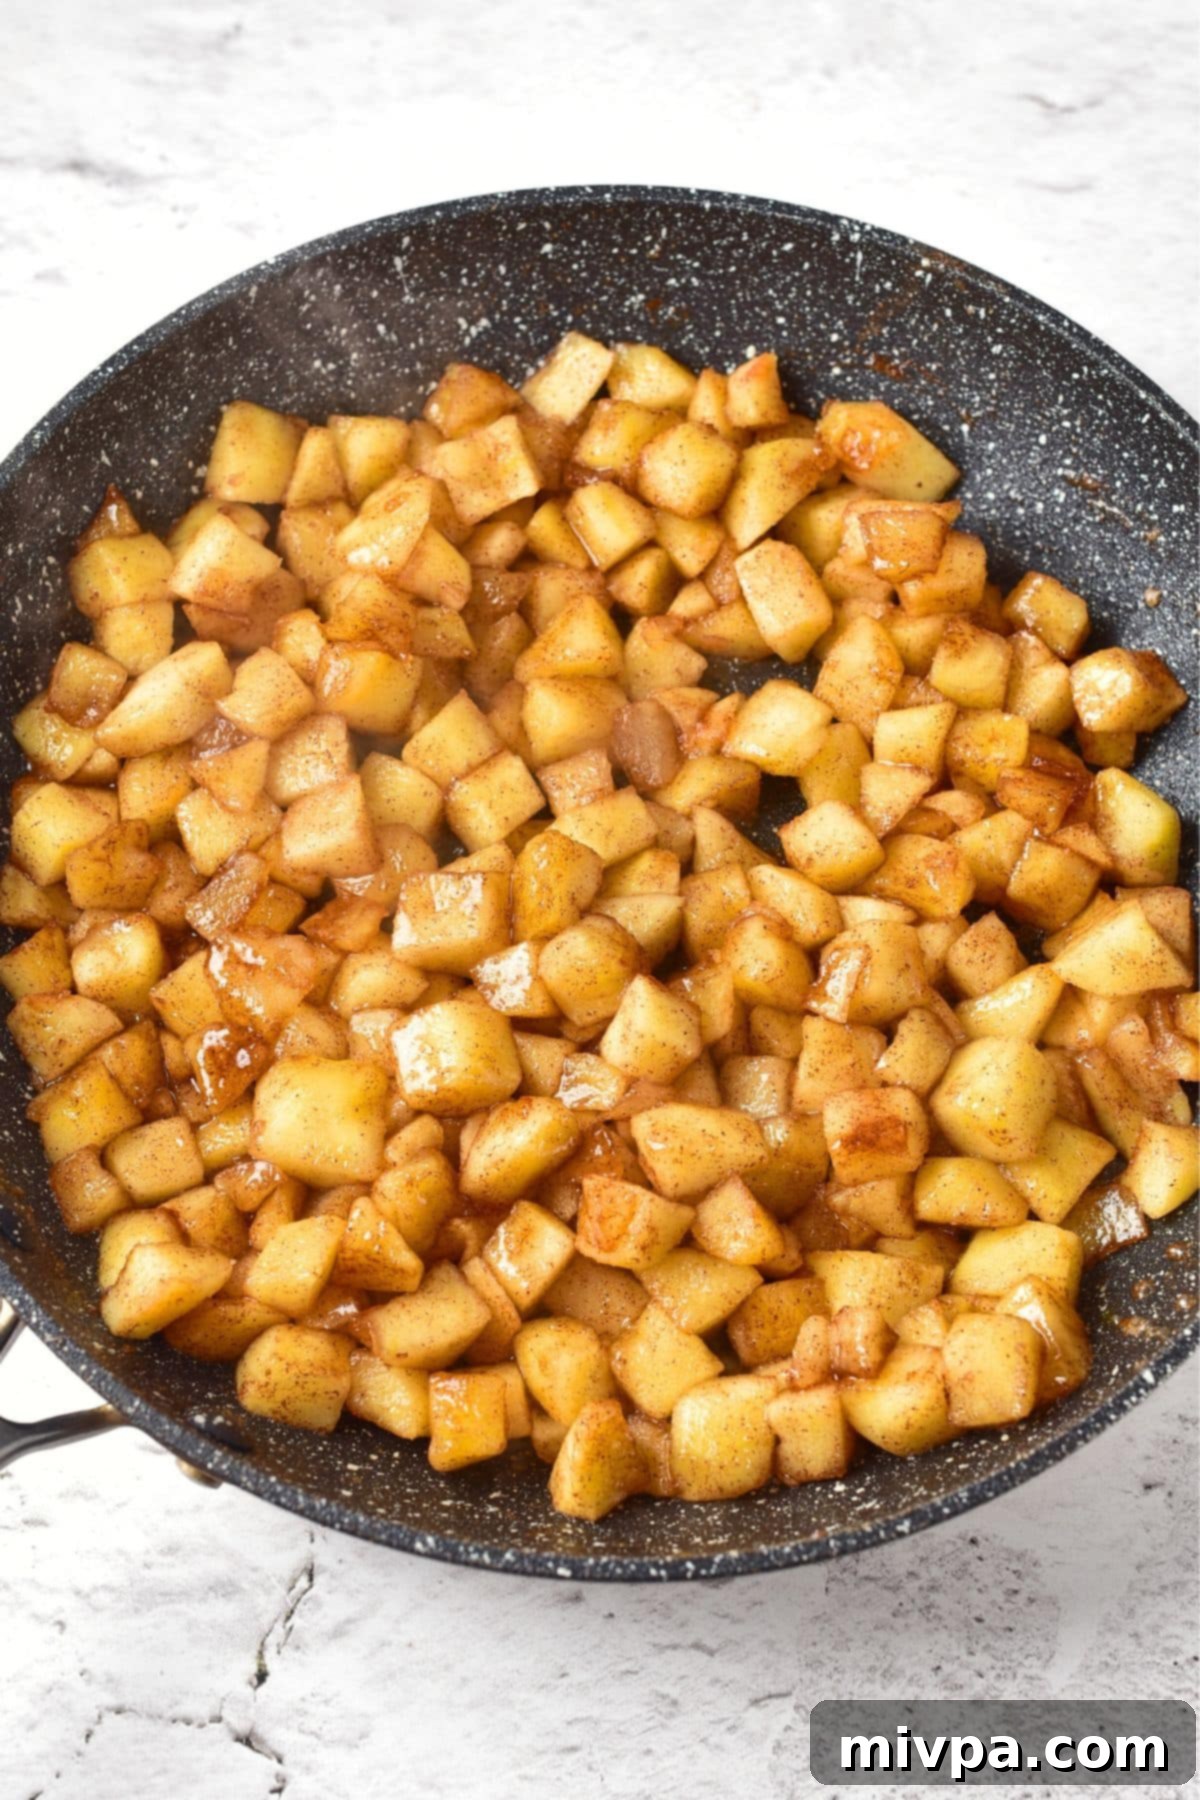
Allow the apples to cook gently on low heat for approximately 15 minutes. It’s important to stir them occasionally to prevent sticking and ensure even cooking. During this time, the apples will soften, releasing their natural juices which will combine with the sugars and butter to create a fragrant syrup. You’re looking for the apples to become soft and tender when pierced with a fork, but still retain their shape and a slight bite – avoiding mushiness is key for good pie filling texture.
5. Thicken the Filling: Add Cornstarch Slurry
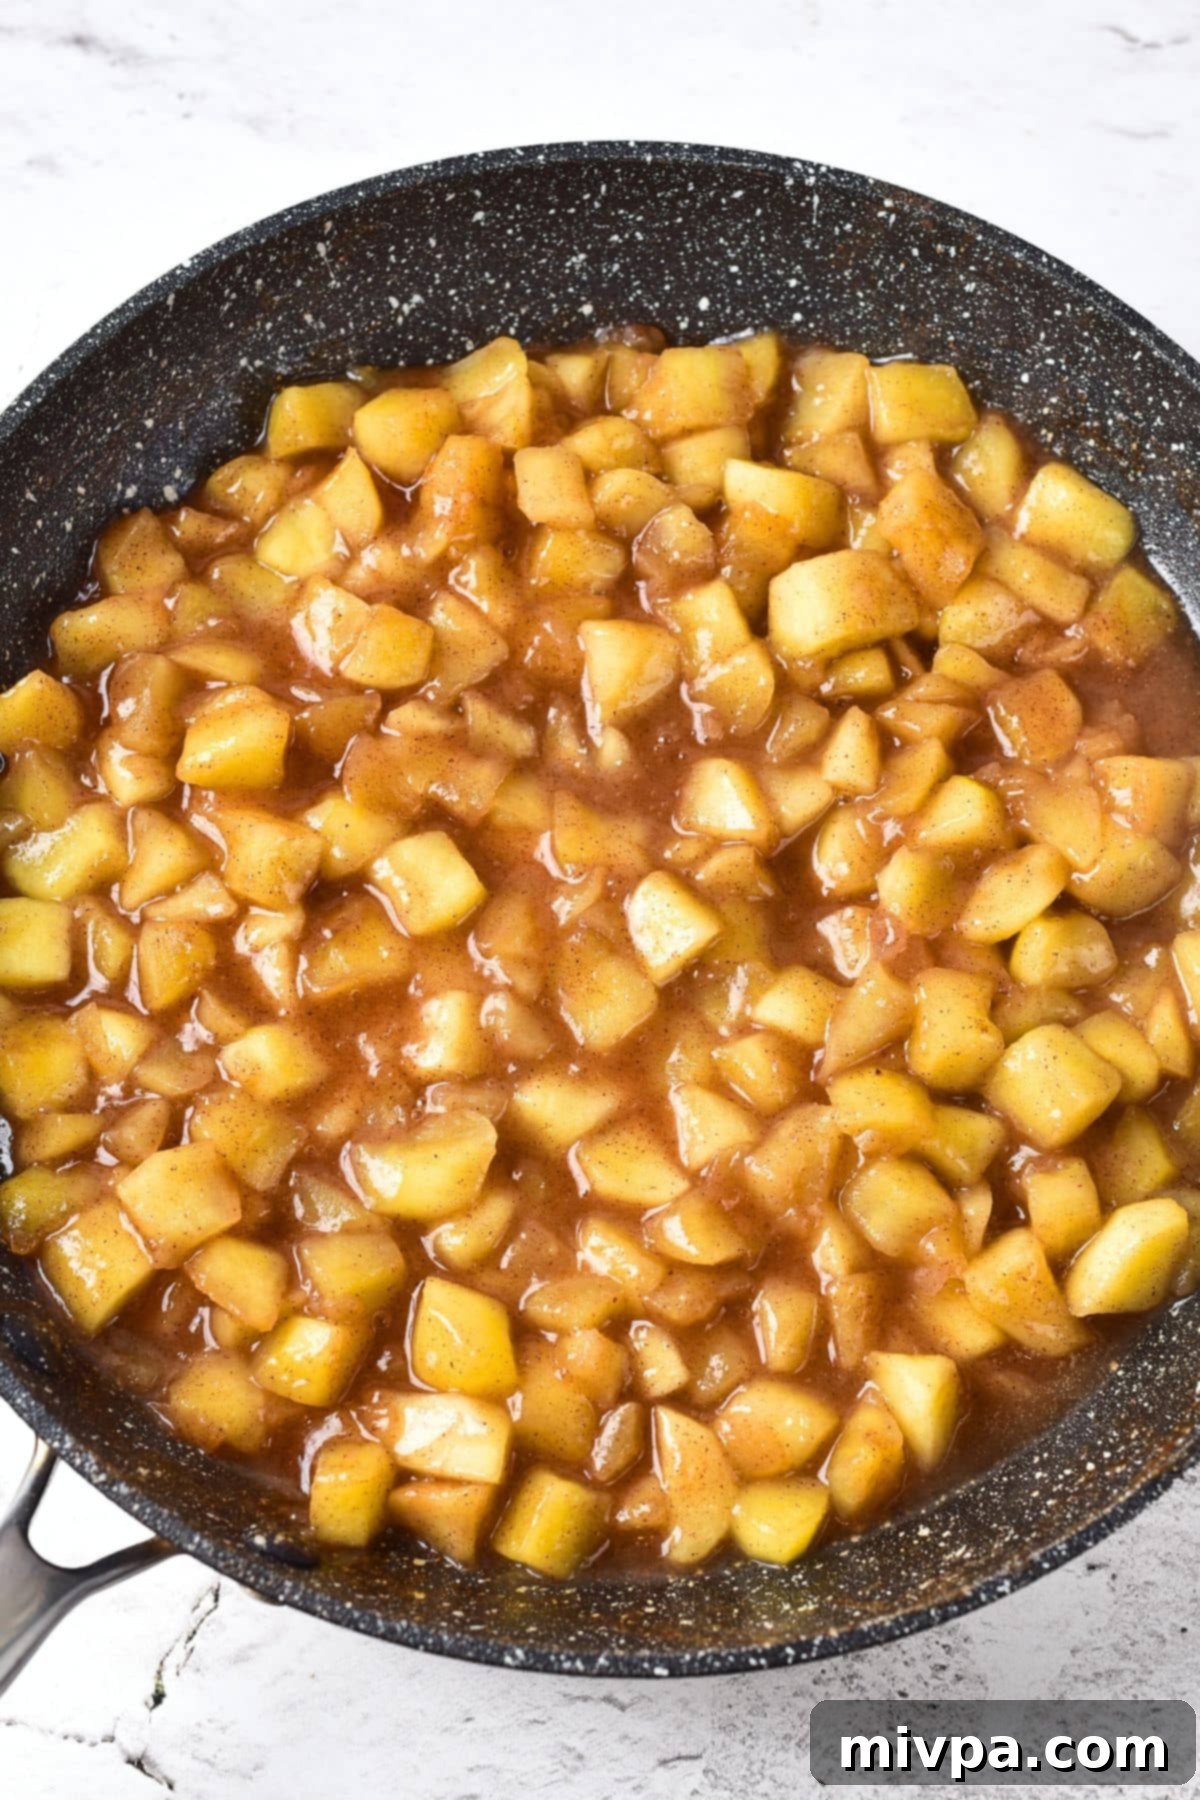
While the apples are cooking, prepare your cornstarch slurry. In a small bowl, whisk together the cornstarch with the water until it forms a smooth, lump-free paste. Once your apples are tender, pour this cornstarch slurry directly into the skillet with the apple mixture. Stir continuously and thoroughly to evenly distribute the thickener. Continue heating the apple mixture over low heat for another 3-4 minutes, or until the sauce has noticeably thickened to a beautiful, glossy consistency. The sauce should coat the back of a spoon.
6. Immediate Use or Storage:
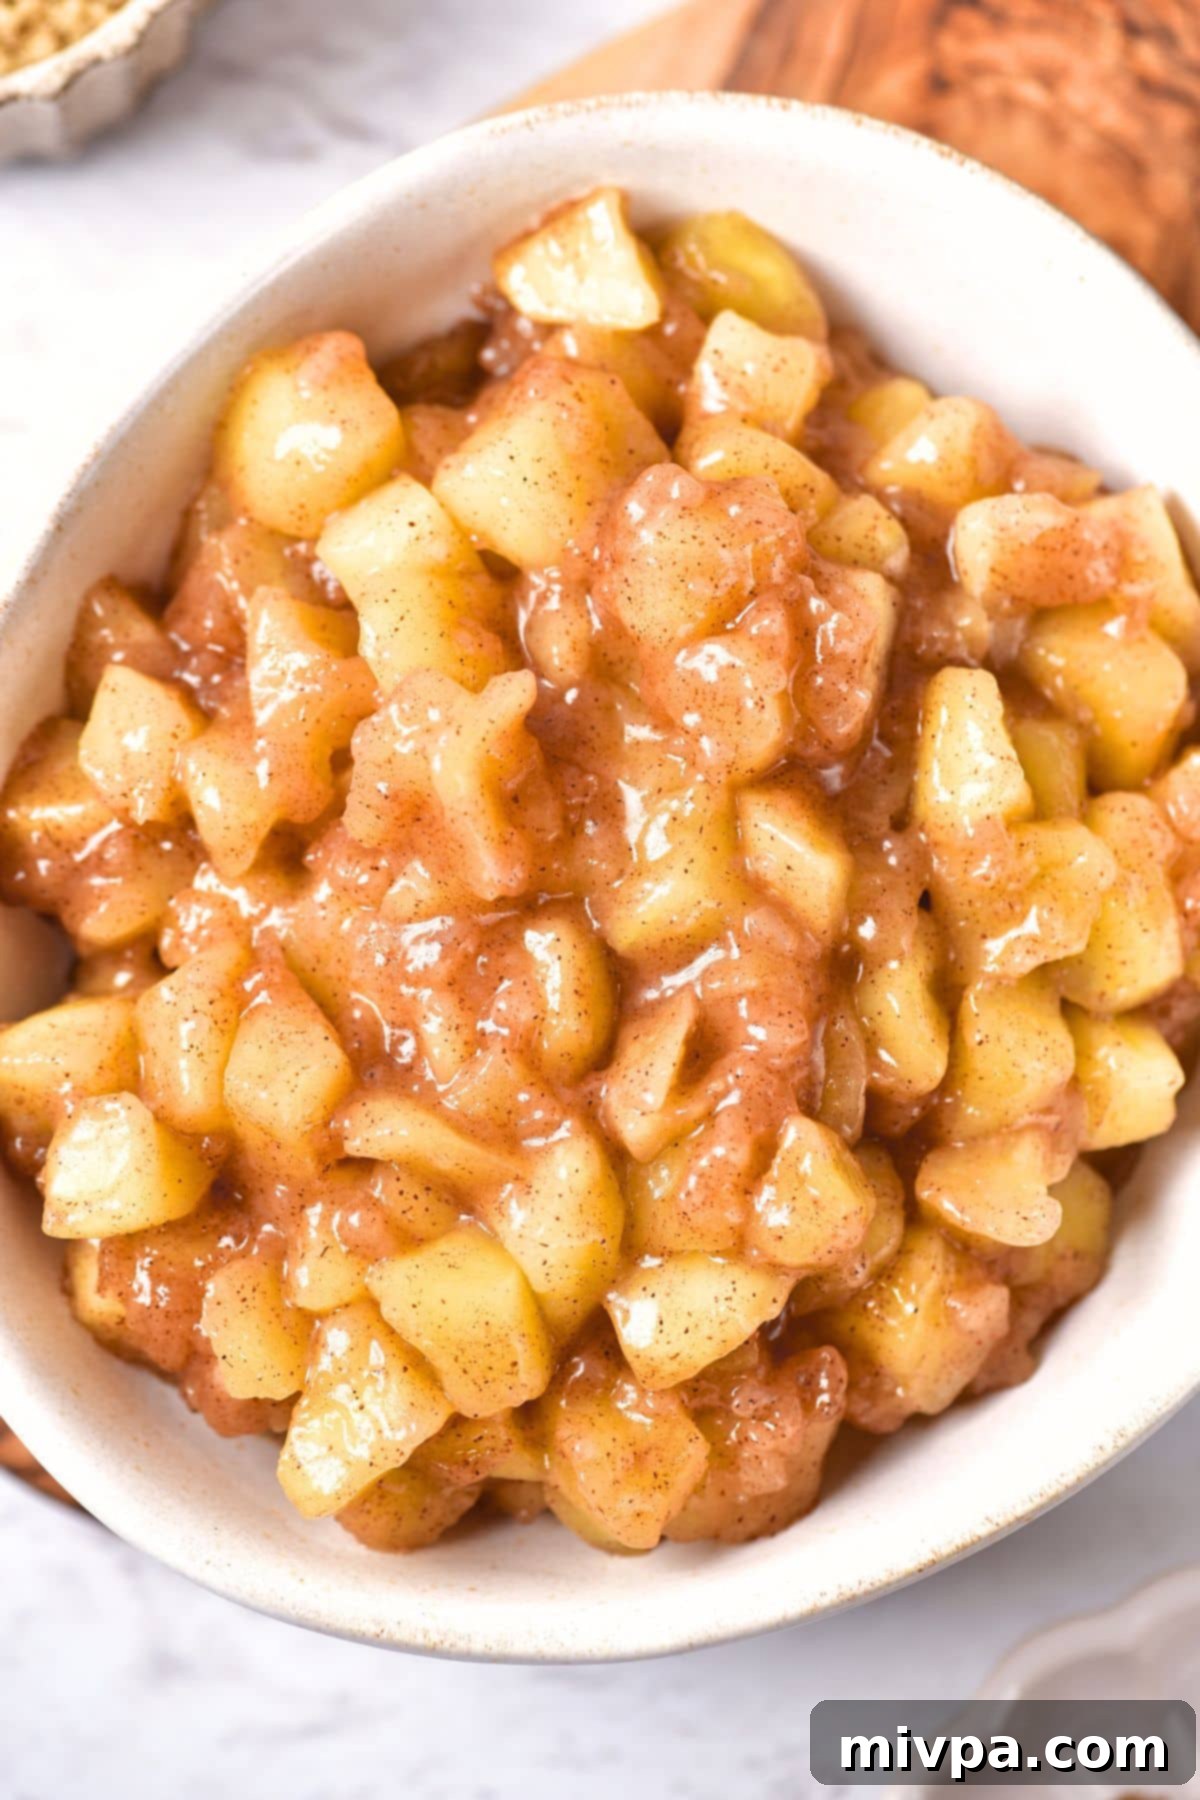
Your homemade gluten-free apple pie filling is now complete! You can either use it immediately in your favorite pie crust, crumble, or other dessert. If you’re not using it right away, allow the filling to cool completely before transferring it to an airtight container or a clean mason jar. Store it in the refrigerator, where it will stay fresh and delicious for up to 4 days. This makes it a fantastic make-ahead option for meal prep or future baking projects!
Dish by Dish Tips & Tricks for Perfect Apple Pie Filling:
Maximize your apple pie filling experience with these helpful tips and creative ideas:
- Slices vs. Cubes: While we opted for cubes in this recipe for ease and texture, you can absolutely cut the apples into evenly thin slices if that’s your preferred aesthetic for a traditional apple pie. Just ensure they are uniform for even cooking.
- Proper Storing for Freshness: Once your homemade apple pie filling has cooled to room temperature, transfer it to an airtight container. Stored this way in the refrigerator, it will remain fresh and delicious for up to 4 days. This makes it an excellent make-ahead component for holiday baking or weekly meal prep.
- Freezing for Longer Shelf Life: To enjoy this filling even longer, it freezes beautifully! Once cooled, transfer the filling into a freezer-safe bag (or an airtight freezer container). Press out as much air as possible from the bag, seal it tightly, and then lay it flat in your freezer. It can be frozen for up to 3 months. When ready to use, simply thaw in the refrigerator overnight and gently reheat on the stovetop if desired.
- Beyond the Pie: Creative Uses for Your Filling! Of course, making a classic apple pie with our favorite flaky gluten-free pie crust recipe (and serving it with a generous scoop of vanilla ice cream!) is a must. But don’t stop there! This versatile filling can be used in many other delicious ways:
- Breakfast Topper: Spoon it over oatmeal, yogurt, or pancakes for a gourmet start to your day.
- Dessert Enhancement: Serve it warm over ice cream, pound cake, or a simple vanilla pudding.
- Baked Goods: Incorporate it into muffins, turnovers, hand pies, or even crepes.
- Eat it On Its Own: Honestly, it’s so good, you might just want to enjoy it warm from the pan with a spoon!
More Delicious Gluten-Free Apple Recipes You’ll Love:
If you’ve enjoyed this apple pie filling, you’ll adore these other apple-centric gluten-free treats from our kitchen:
- Homemade Applesauce (Gluten-Free, Vegan): Simple, pure, and comforting.
- Tender Apple Muffins (Gluten-Free, Dairy-Free): Perfect for a quick breakfast or snack.
- Moist Apple Cake (Gluten-Free, Dairy-Free): A wonderfully moist and spiced cake that’s a crowd-pleaser.
- Crispy Apple Fritters (Gluten-Free, Dairy-Free): A fried delight, crispy on the outside, tender inside.
- Easy Apple Bread (Gluten-Free, Vegan): A wholesome loaf bursting with apple flavor.
- Apple Tart (Gluten-Free, Dairy-Free): An elegant dessert for any occasion.
Essential Gluten-Free Fall Recipes to Make:
Beyond apples, the fall season brings a bounty of other delicious flavors. Explore these other gluten-free fall favorites:
- Mini Pumpkin Cheesecakes (Gluten-Free, Dairy-Free Option)
- Gluten-Free Chocolate Chip Pumpkin Bread (Dairy-Free)
- Gluten-Free Pecan Pie Bars (Dairy-Free)
- Gluten-Free Pumpkin Chocolate Chip Muffins (Dairy-Free)
P.S. If you try this incredible gluten-free apple pie filling recipe, we’d absolutely love for you to share your experience! Please leave a star rating below and/or a detailed review in the comment section further down the page. Your feedback is invaluable to us and helps other home bakers. Don’t forget to check out our entire Recipe Index for more delightful creations. You can also follow us on Pinterest, Facebook, or Instagram to stay updated with our latest recipes and kitchen adventures! And for fresh recipes delivered straight to your inbox each week, make sure to sign up for our Email List!
Print

Gluten-Free Apple Pie Filling (Vegan)
5 Stars 4 Stars 3 Stars 2 Stars 1 Star
5 from 1 review
Author: Felicia Lim
Total Time: 30 minutes
Yield: 5 servings
Diet: Gluten Free
Description
Learn how easy it is to make your own gluten-free apple pie filling, and just how tasty it is – sweet, tart and flavored with cinnamon! Take advantage of apple season and make a few batches to enjoy this fall! Totally dairy-free and vegan too.
Ingredients
Units
Scale
- 5 apples
- 2 teaspoons ground cinnamon
- 4 tablespoons white sugar
- 4 tablespoons brown sugar
- 1 tablespoon lemon juice
- 2 tablespoons unsalted dairy-free butter
- 2 tablespoons cornstarch
- 1/4 cup water
Instructions
- Peel, Core & Cube Apples: Peel and core the apples before cutting them into small cubes.
- Add Sugar, Cinnamon & Lemon Juice: Add both types of sugar, cinnamon and lemon juice to the apples, and stir.
- Melt Butter and Add Apples: Melt the dairy-free butter in a large nonstick skillet and put the apples in.
- Cook Apples Until Tender: Cook the apples for 15 minutes on low heat, stirring. The apples should become soft, but still hold their shape.
- Add Cornstarch to Thicken: Mix the cornstarch with the water to get a cornstarch slurry. Pour the slurry into the pan and stir well, heating the apple mixture until thickened – 3-4 minutes.
- Use or Store: Use the apple filling immediately or transfer it to a jar and store in the refrigerator in an airtight container for up to 4 days.
Notes
Apples: Feel free to use whichever apples you have on hand, or a combination of sweet and tart varieties for a more complex flavor.
Cinnamon: Ground cinnamon adds a beautiful warm flavor. Alternatively, you may also use apple pie spice for a richer blend of fall spices.
White Sugar: For a diabetic-friendly option, I highly recommend using granulated monkfruit sweetener. It’s a 1:1 white sugar substitute that has a zero glycemic index and won’t raise your blood sugar.
Brown Sugar: I used light brown sugar for its subtle molasses notes, but you may also use dark brown sugar for a deeper caramel flavor or coconut sugar if you prefer. For a diabetic alternative, golden granulated monkfruit sweetener is an excellent 1:1 brown sugar substitute that is also zero glycemic.
Lemon Juice: Freshly squeezed lemon juice not only adds a nice tart flavor to this homemade apple pie filling but also helps prevent the apples from browning.
Butter: To keep this recipe dairy-free and vegan, I used an unsalted dairy-free butter. You may also use coconut oil instead. If dairy is not a concern, feel free to use regular unsalted butter.
Cornstarch: Cornstarch acts as a thickening agent for the apple juices. If you have a corn allergy, you may substitute with tapioca starch or arrowroot starch (use in the same 1:1 ratio).
Storing: To store, allow the homemade apple pie filling to cool completely. Then, place it in an airtight container and keep it in the refrigerator for up to 4 days.
Freezing: For longer storage, transfer the cooled apple pie filling into a freezer-safe bag. Seal the bag, ensuring as much air as possible is removed, then freeze it flat. It can be stored for up to 3 months.
Adapted from: Spend with Pennies
- Prep Time: 5 mins
- Cook Time: 25 mins
- Category: Desserts
- Method: Stovetop
- Cuisine: American
