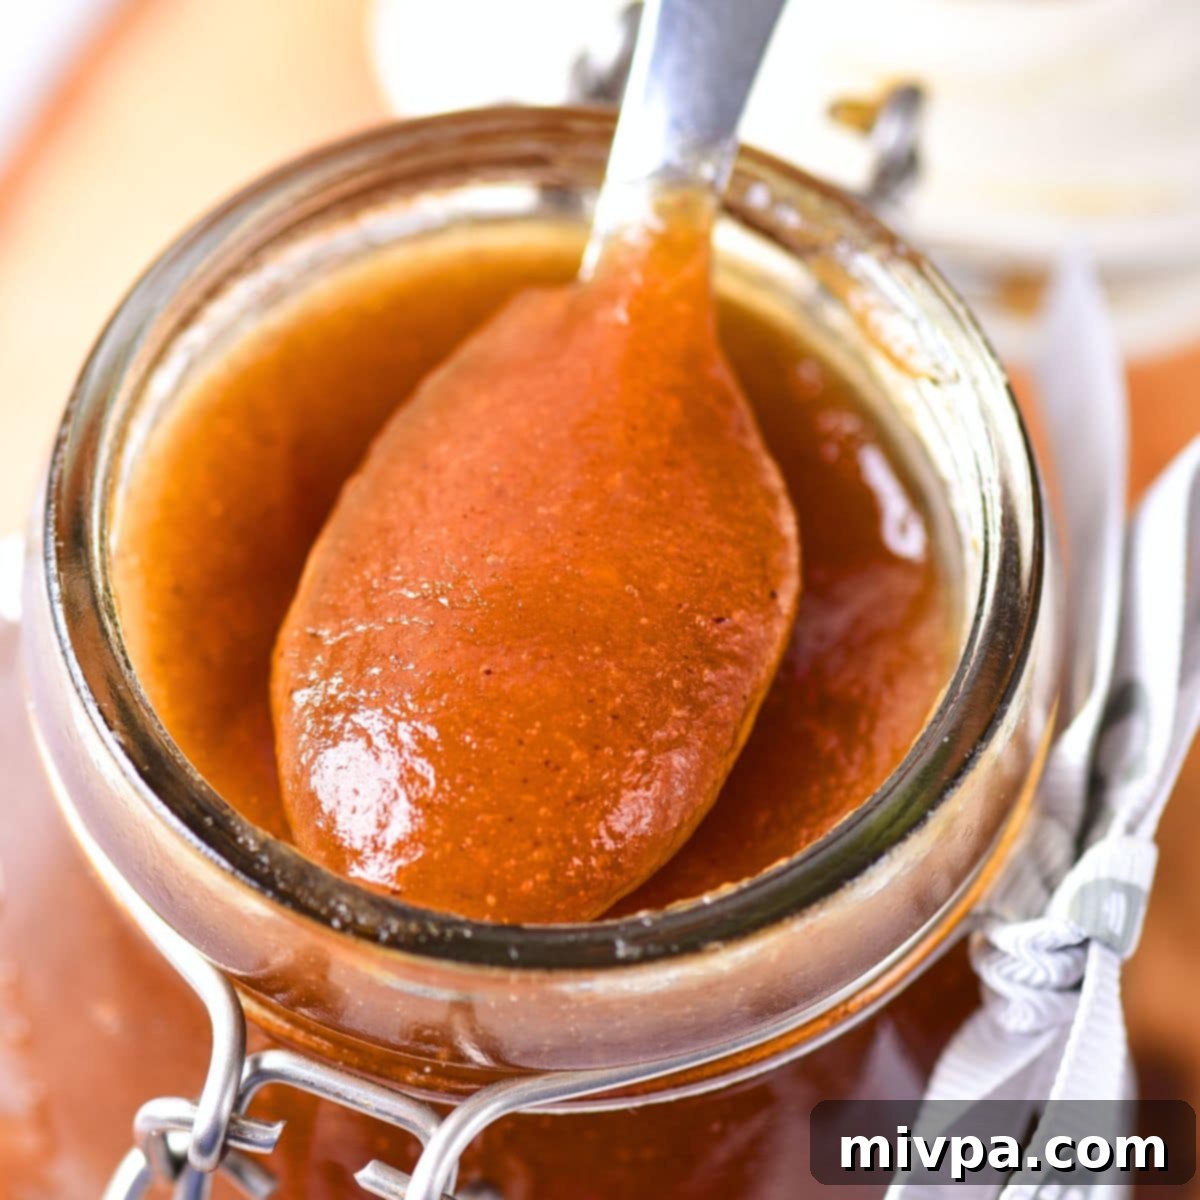
Homemade Apple Butter: Easy Slow Cooker & Stovetop Recipes (Gluten-Free, Vegan)
Embrace the comforting flavors of autumn with this incredibly easy homemade apple butter recipe. Rich, velvety smooth, and infused with warm spices, this apple butter is slow-cooked to perfection until the natural sugars caramelize, creating a deep, appealing color and an intense, sweet-tart flavor that’s truly irresistible. The best part? This delightful spread is naturally gluten-free, dairy-free, and vegan, making it a perfect treat for everyone to enjoy.
What Exactly is Apple Butter?
As fall descends with its breathtaking auburn and yellow hues, crisp mornings, and cool evenings, it brings with it an abundance of fresh, juicy apples. And what better way to celebrate apple season than by transforming these glorious fruits into a batch of luscious homemade apple butter?
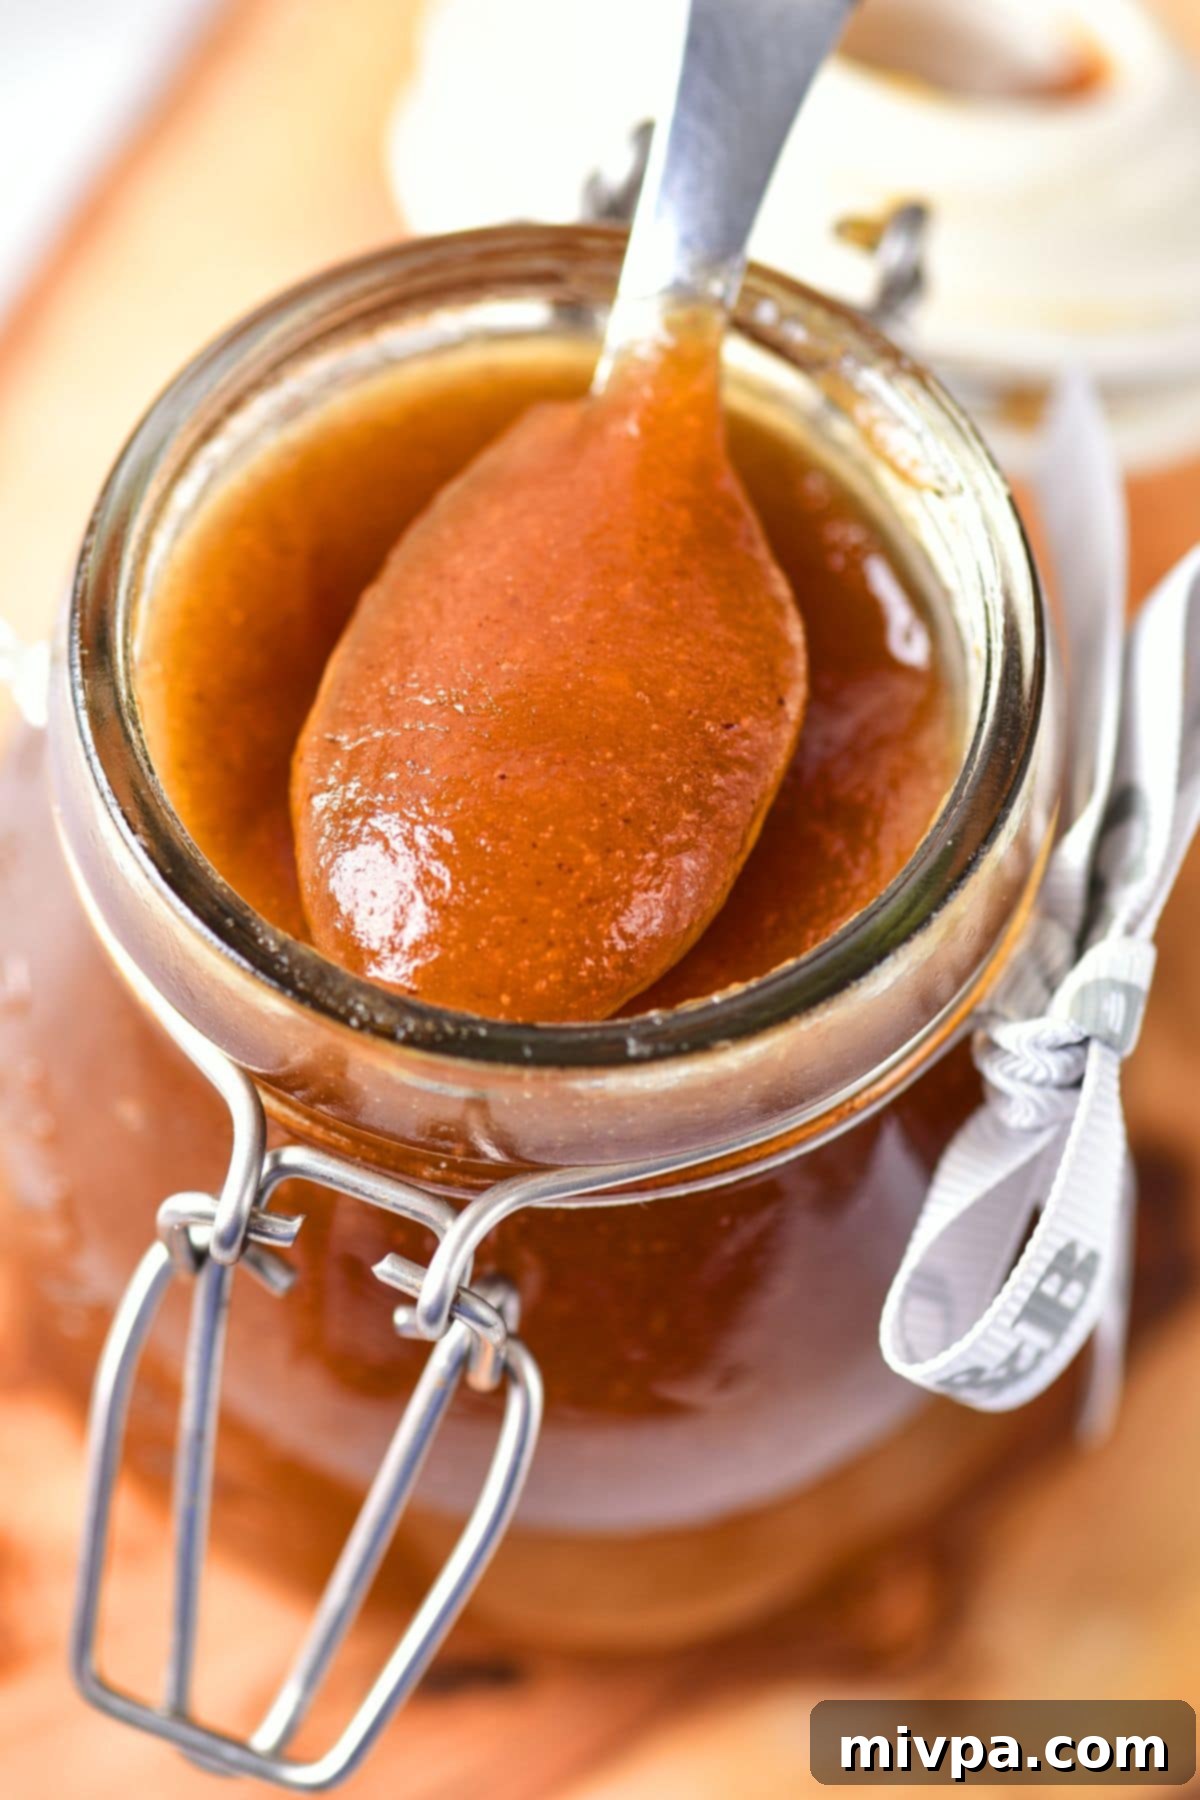
Despite its misleading name, apple butter contains no actual dairy butter. It’s a highly concentrated form of applesauce, beloved as a spread or preserve. The magic happens during a slow cooking process where apples, sugar, and a medley of spices are gently simmered. This extended heat allows the natural sugars within the apples to caramelize, resulting in a rich, dark brown color and an incredibly deep, intense flavor profile that far surpasses regular applesauce.
The slow reduction of moisture creates a thick, smooth consistency, making apple butter a wonderfully versatile condiment. It’s a centuries-old tradition, originating as a method for preserving apples for the winter months, and has been cherished for its unique taste and texture ever since.
Why You’ll Love This Homemade Apple Butter Recipe:
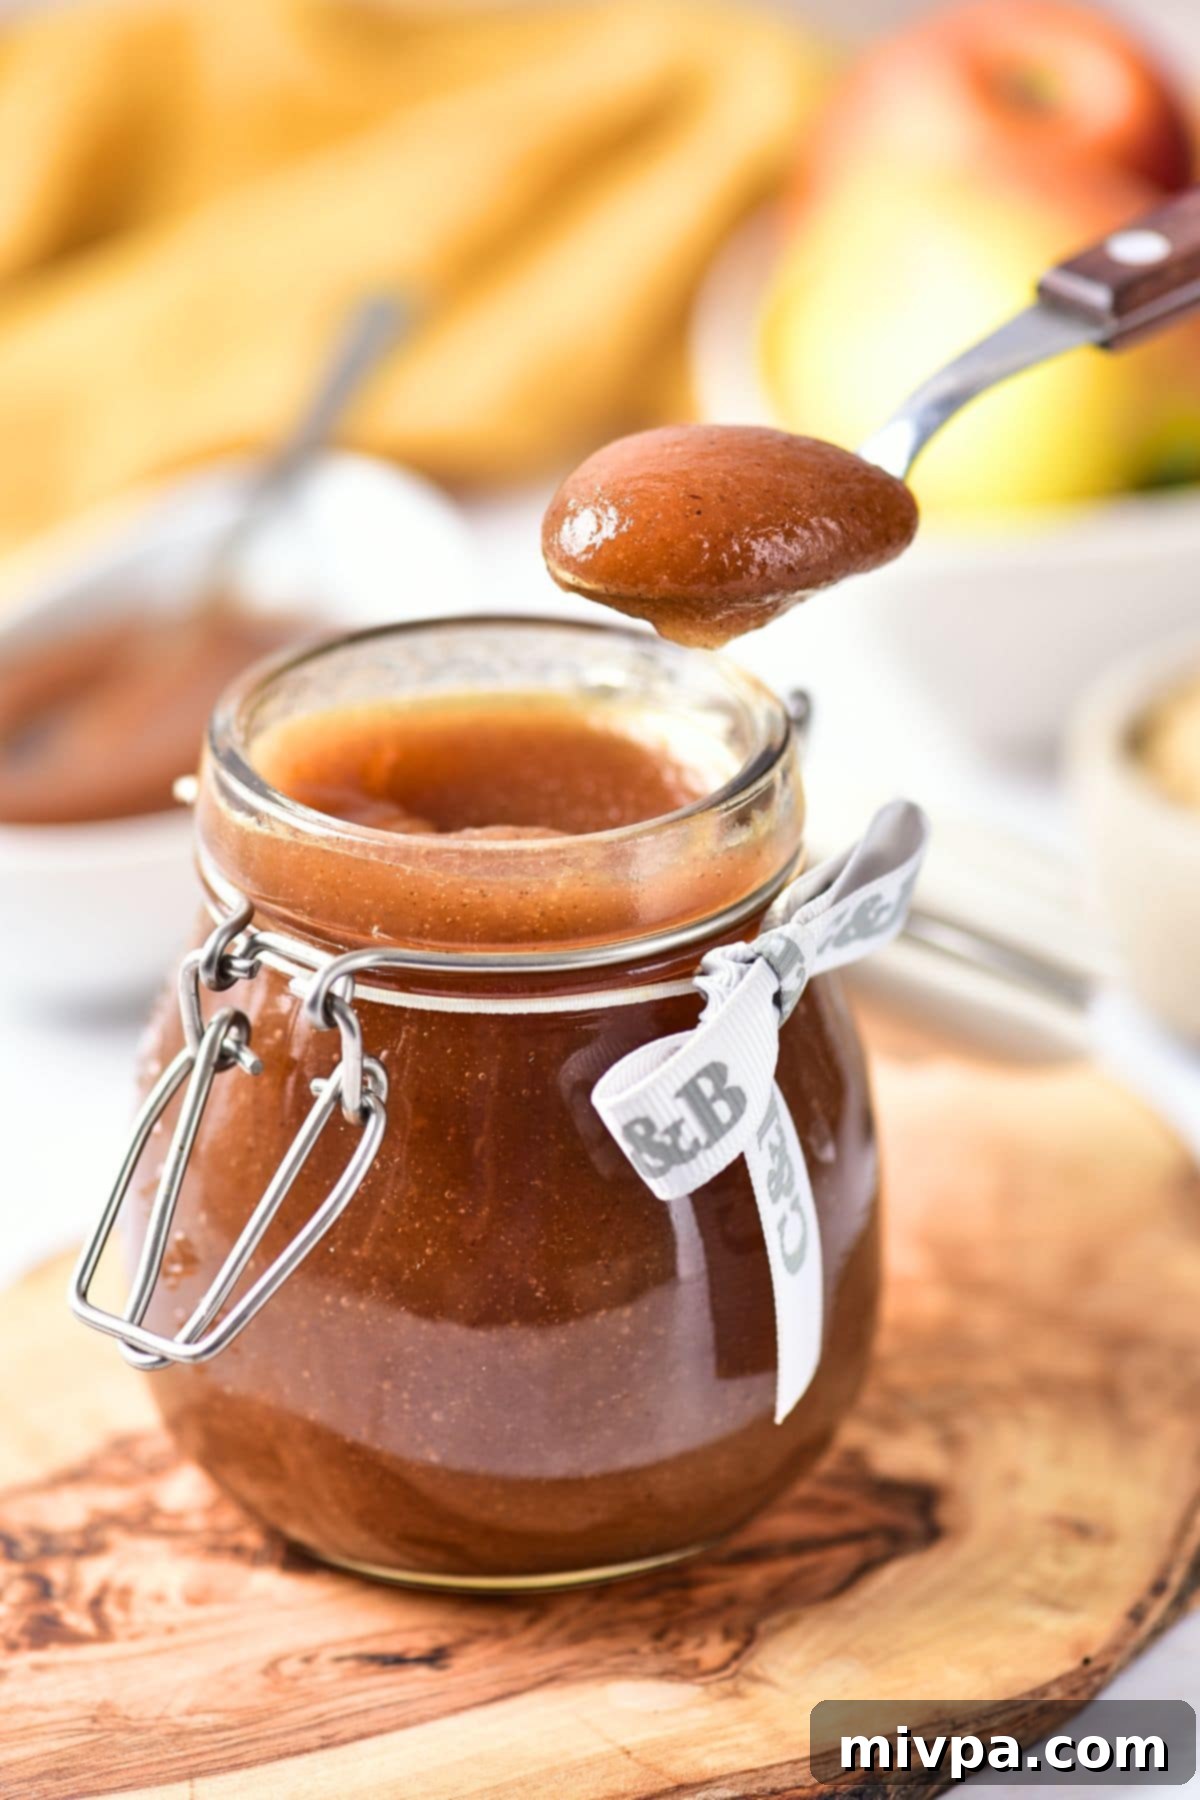
There are countless reasons to make your own apple butter, and this particular recipe stands out for its simplicity and fantastic results:
- Uses Simple & Accessible Ingredients: You won’t need to hunt for obscure items. All the main ingredients for this homemade apple butter are readily available at your local grocery store. We focus on fresh apples, a touch of sugar, and classic fall spices – nothing fancy, just pure, wholesome goodness.
- Incredibly Easy to Prepare: Whether you prefer the set-it-and-forget-it convenience of a slow cooker or the hands-on approach of a stovetop, this recipe has you covered. With minimal active preparation time, a slow cooker does most of the work, and an electric blender makes achieving that silky-smooth texture a breeze. Detailed instructions for both methods are included.
- Dietary-Friendly for Everyone: This apple butter recipe is thoughtfully crafted to be 100% gluten-free, dairy-free, and vegan. This means individuals with Celiac disease, gluten or lactose intolerances, or those following a plant-based diet can savor this autumnal delight without any concerns.
- Superior Flavor & Texture: Homemade apple butter offers a depth of flavor and a smooth, concentrated texture that simply can’t be matched by store-bought versions. The slow cooking process allows the spices to meld beautifully and the apples to caramelize, creating an unparalleled taste experience.
- Perfect for Gifting: Jarred homemade apple butter makes a thoughtful and delicious gift for friends, family, or holiday hostesses.
Essential Ingredients for Your Homemade Apple Butter:
Crafting delicious apple butter requires just a handful of straightforward ingredients. Here’s a visual overview, followed by important notes and substitution ideas to tailor this recipe to your preferences:
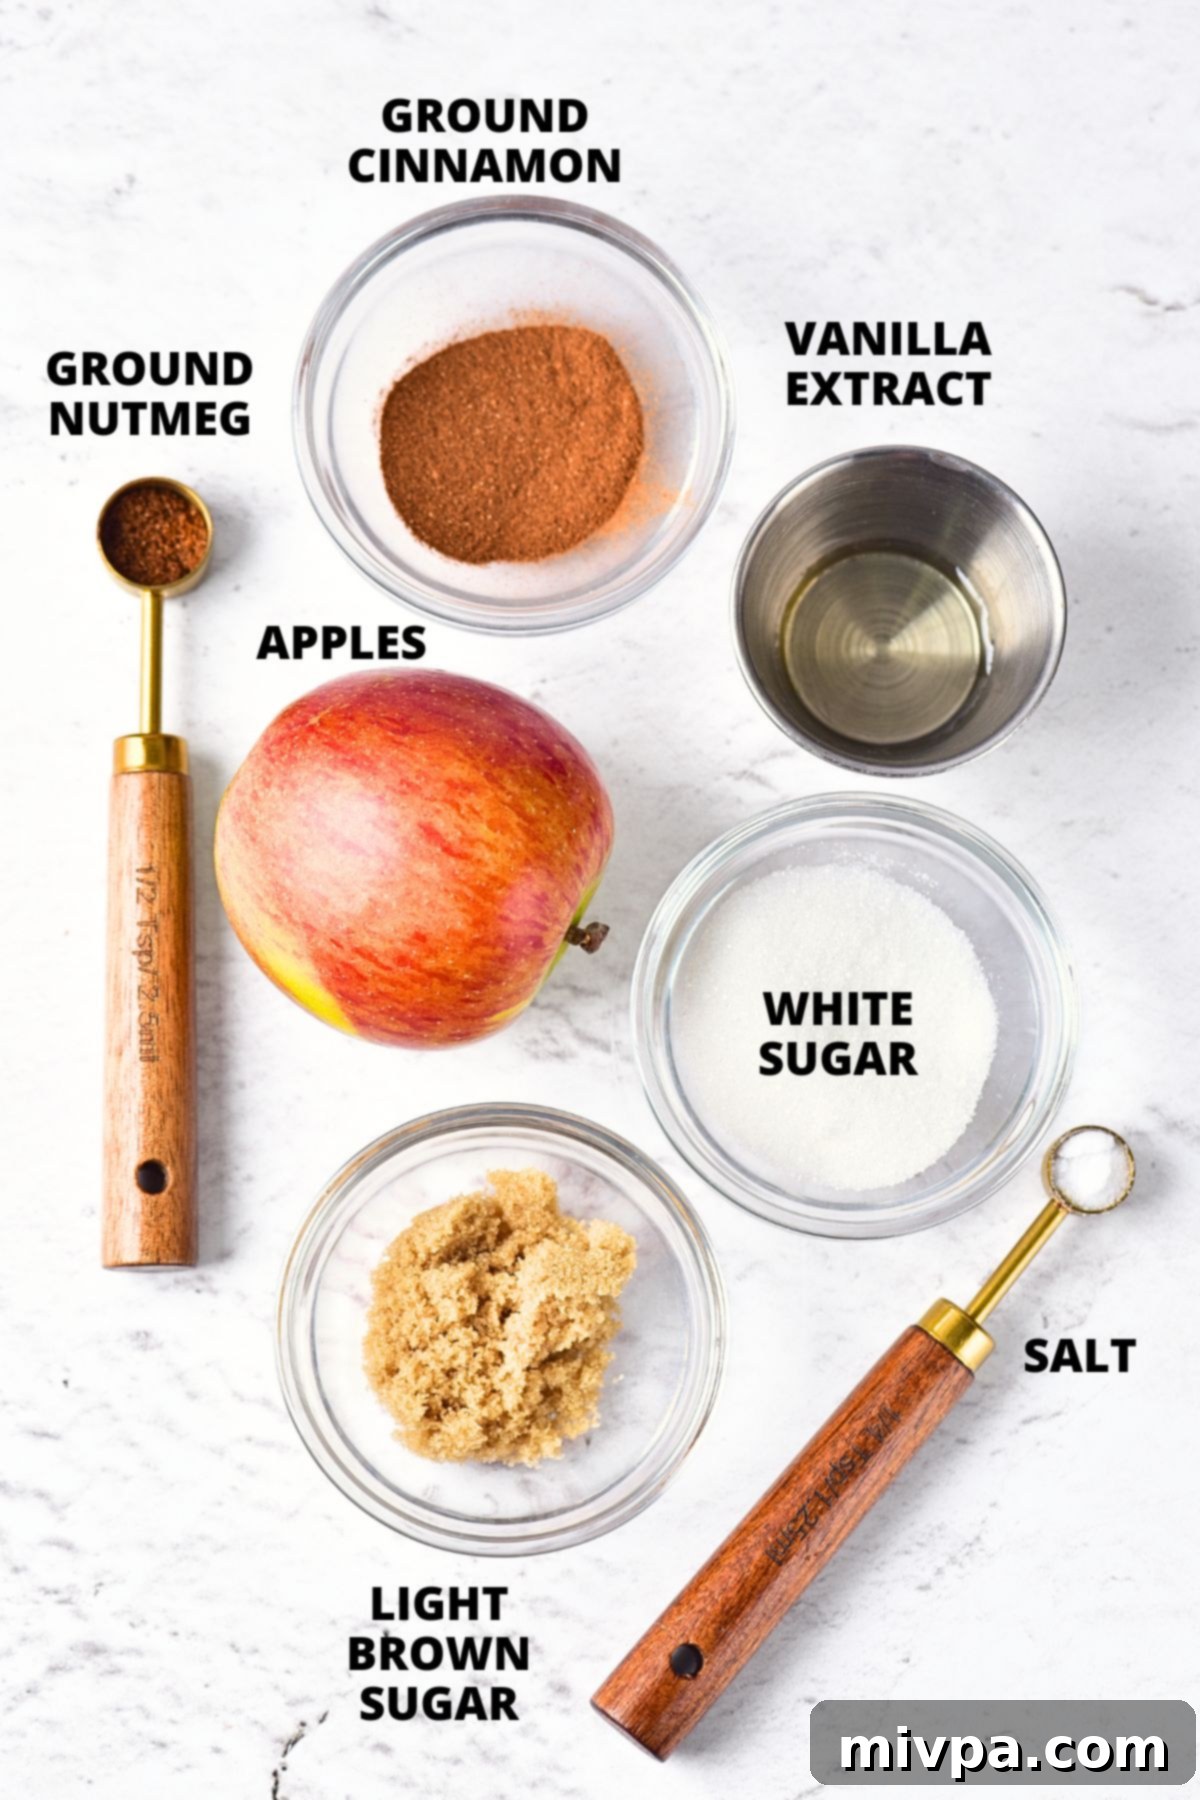
Recipe Notes & Expert Substitutions:
Customizing your apple butter is part of the fun! Here are some tips to get the perfect flavor and cater to specific dietary needs:
- Choosing the Best Apples: The type of apples you use significantly impacts the final flavor. While I used Gala apples for their balanced sweetness, feel free to experiment with your favorites!
- Sweet Apples: Gala, Fuji, Honeycrisp, Golden Delicious, Pink Lady. These are great if you prefer a sweeter apple butter and can reduce the added sugar slightly.
- Tart Apples: Granny Smith, Braeburn. Adding a few tart apples can provide a lovely tangy contrast to the sweetness, creating a more complex flavor. A mix of sweet and tart is often ideal.
- Soft Apples: Cortland, McIntosh. These break down more quickly, reducing cooking time.
Ultimately, any apple works, but a blend often yields the most nuanced flavor. Aim for about 4 pounds of apples, which typically yields a good batch of apple butter.
- Brown Sugar for Depth: I prefer to use brown sugar in this recipe because its molasses content adds a rich, deep, caramel-like flavor that enhances the apple butter’s overall profile and color.
- White Sugar for Sweetness: Regular white granulated sugar provides straightforward sweetness. If you’re looking for an unrefined option, cane sugar is a great alternative.
- Diabetic/Insulin-Resistant Options: For those managing blood sugar, I highly recommend using a 1:1 sugar substitute. For brown sugar, brown granulated monk fruit sweetener is excellent. For white sugar, granulated monk fruit sweetener works perfectly. Both have a zero glycemic index and won’t spike blood sugar levels.
- Aromatic Fall Spices: My go-to combination for that quintessential fall flavor is a generous mix of ground cinnamon and ground nutmeg. These spices are the heart of apple butter’s aroma.
- Spice Blend Alternatives: If you prefer, you can easily substitute the individual spices with 2/3 teaspoon of apple pie spice or pumpkin pie spice for a convenient, pre-blended option.
- Enhancing Flavor with Vanilla Extract: A splash of vanilla extract truly elevates the flavor of the apple butter, adding a subtle warmth and complexity. While optional, I highly recommend including it for the best results.
Step-by-Step Guide to Making Homemade Apple Butter:
Making apple butter is a rewarding process, especially when you follow these simple steps. For precise measurements, always refer to the printable recipe card at the bottom of this post.
1. Prepare Your Apples: Peel, Core, and Cube
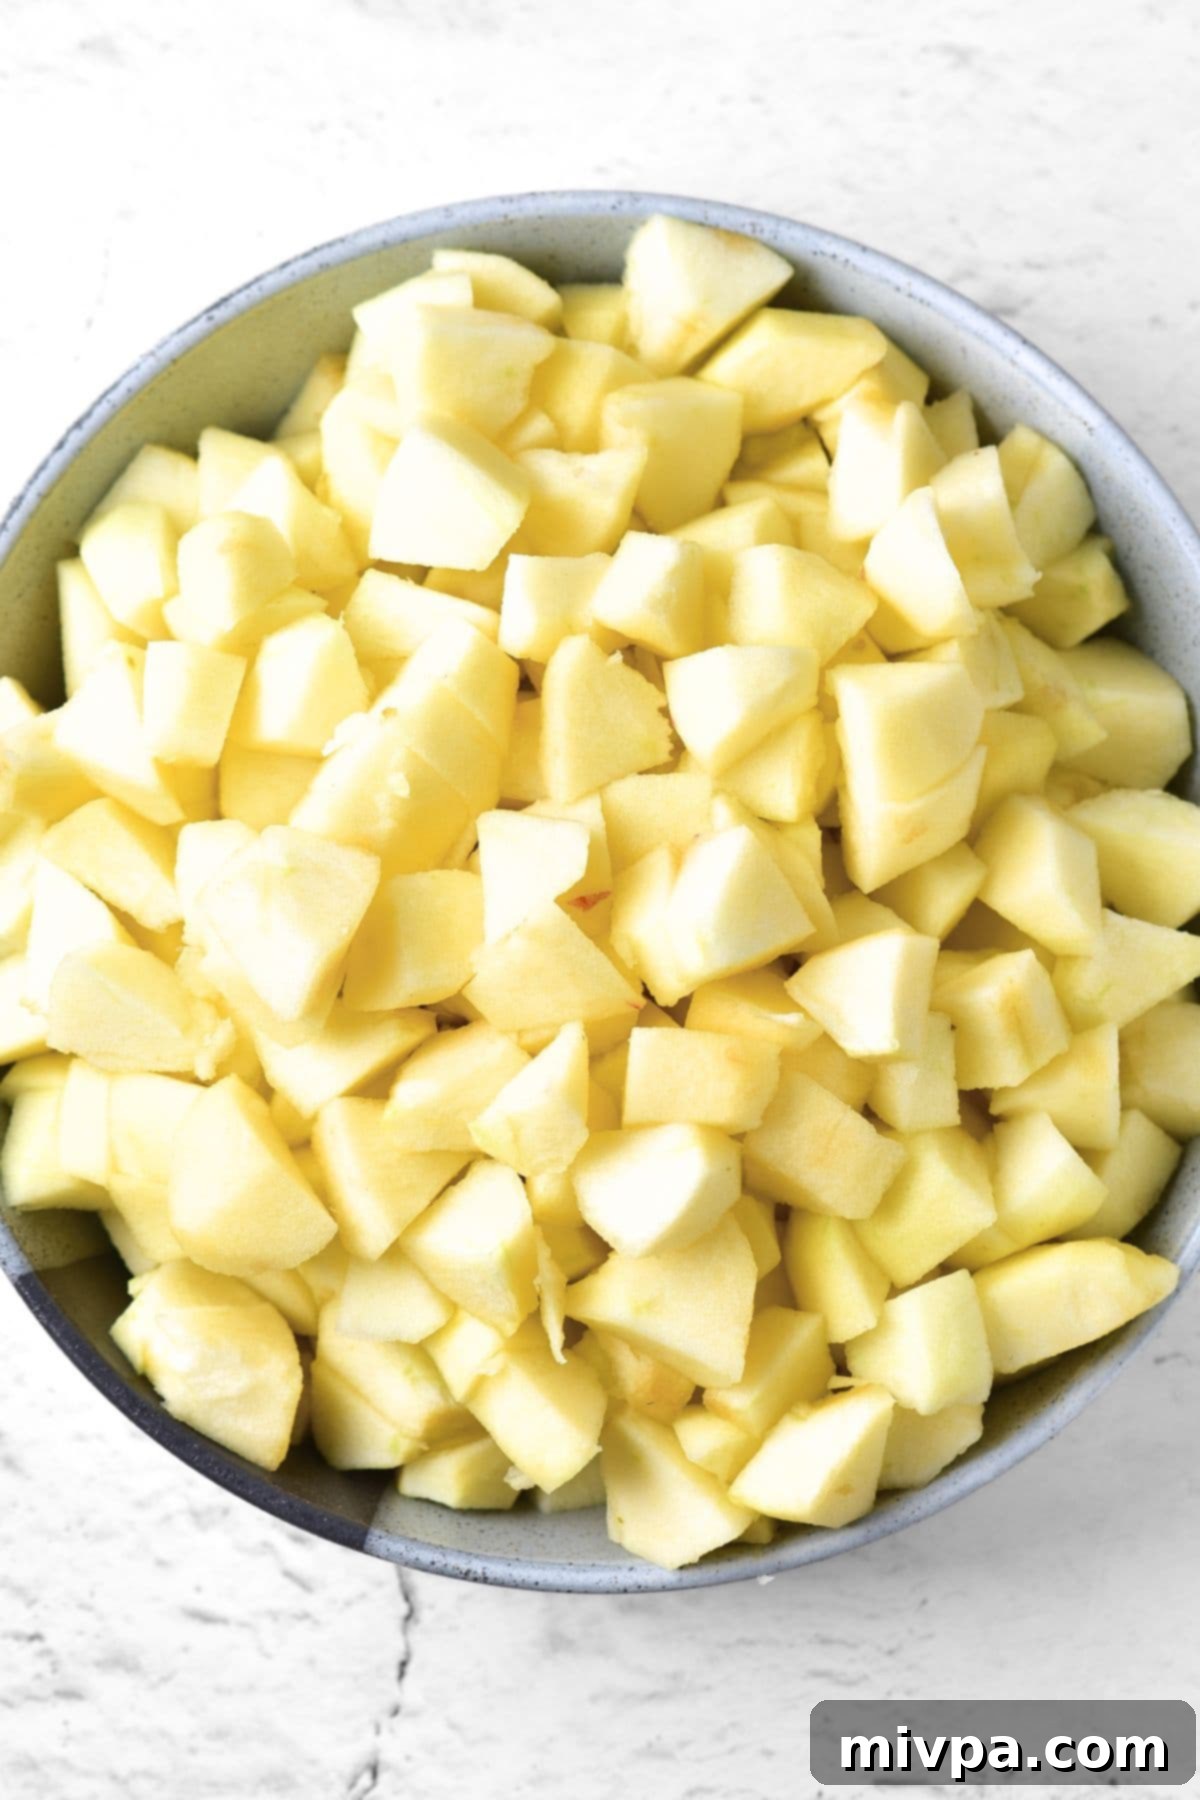
Start by peeling and coring your fresh apples. This ensures a smooth apple butter free from unwanted textures. Once prepped, cut the apples into small, uniform cubes. Smaller cubes will cook down more quickly and evenly.
2. Combine Ingredients in Your Slow Cooker
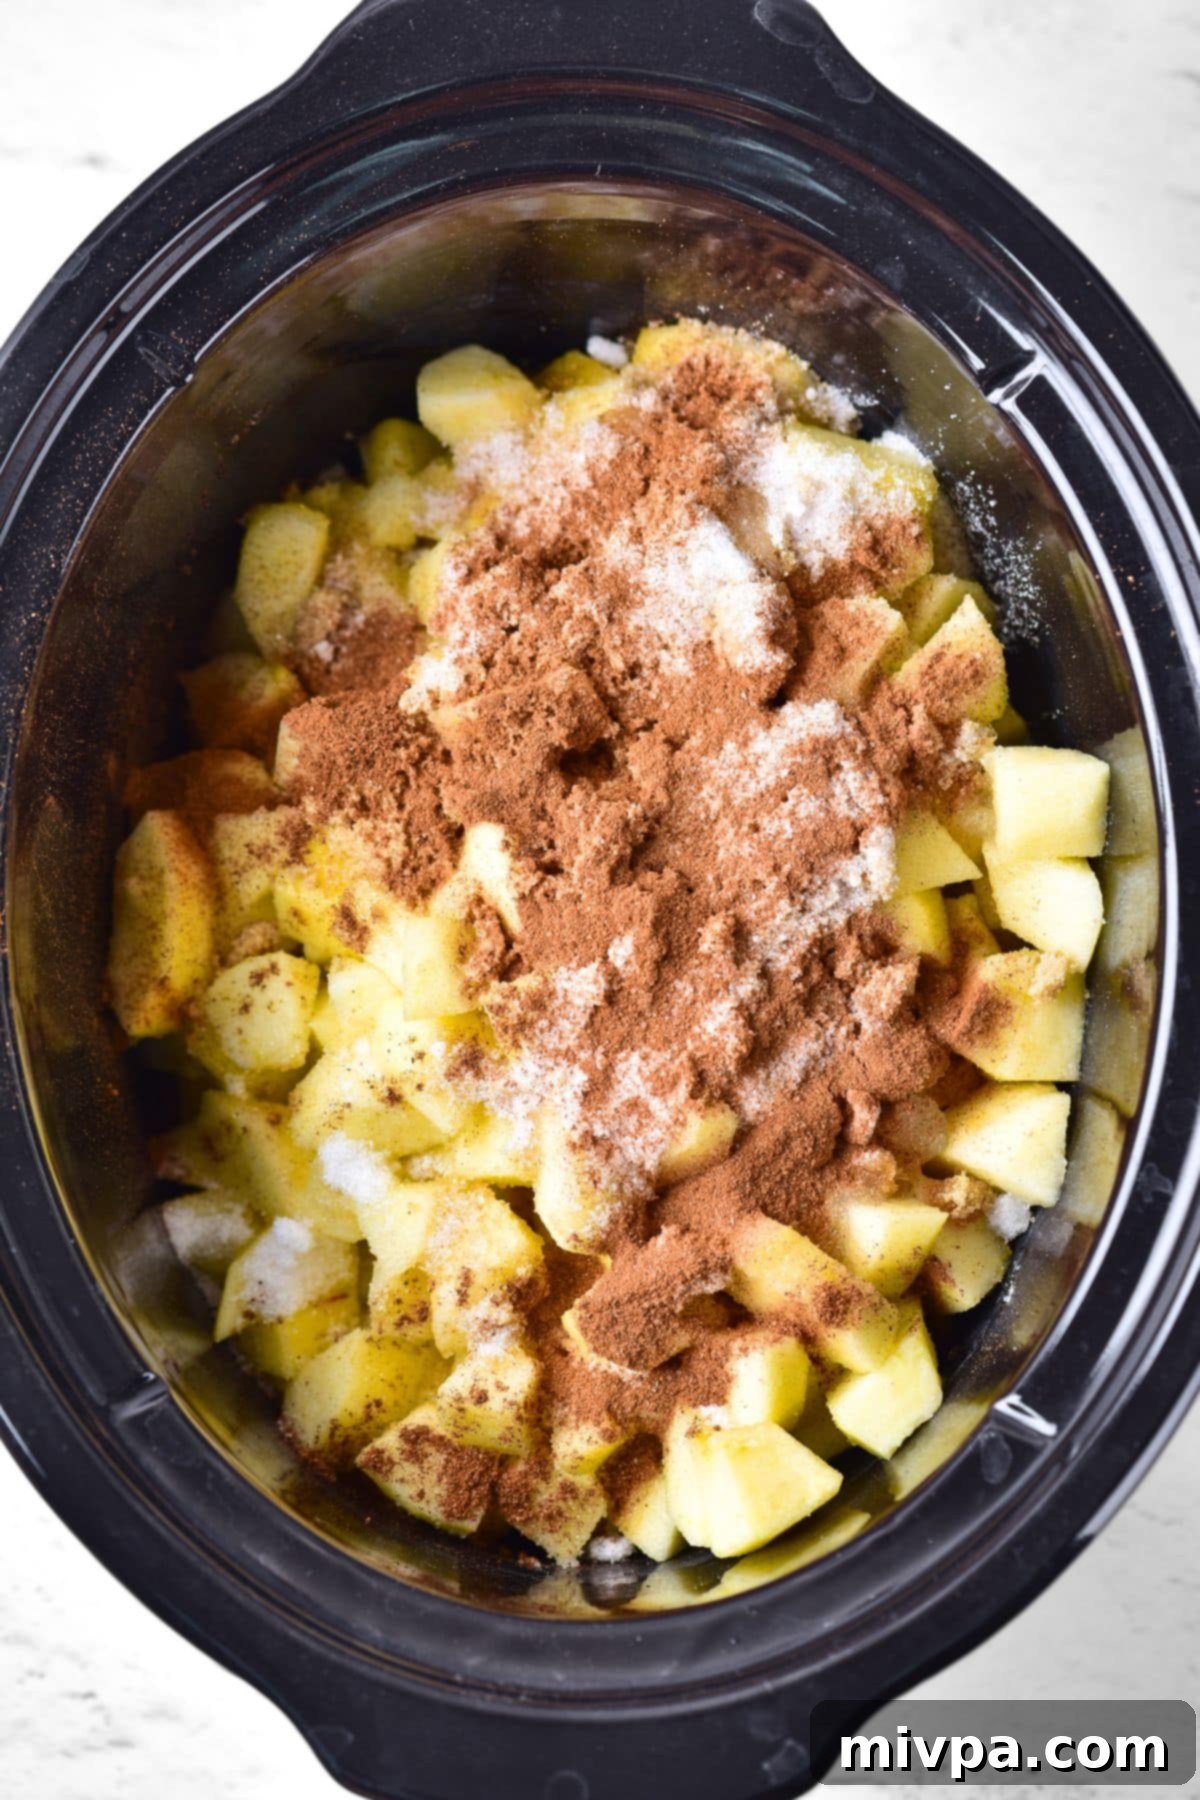
Transfer the cubed apples into your slow cooker. Add the brown sugar, white sugar, ground cinnamon, salt, ground nutmeg, and vanilla extract. Stir all the ingredients together thoroughly to ensure the apples are evenly coated with the sugars and spices.
3. Slow Cook Until Tender and Fragrant
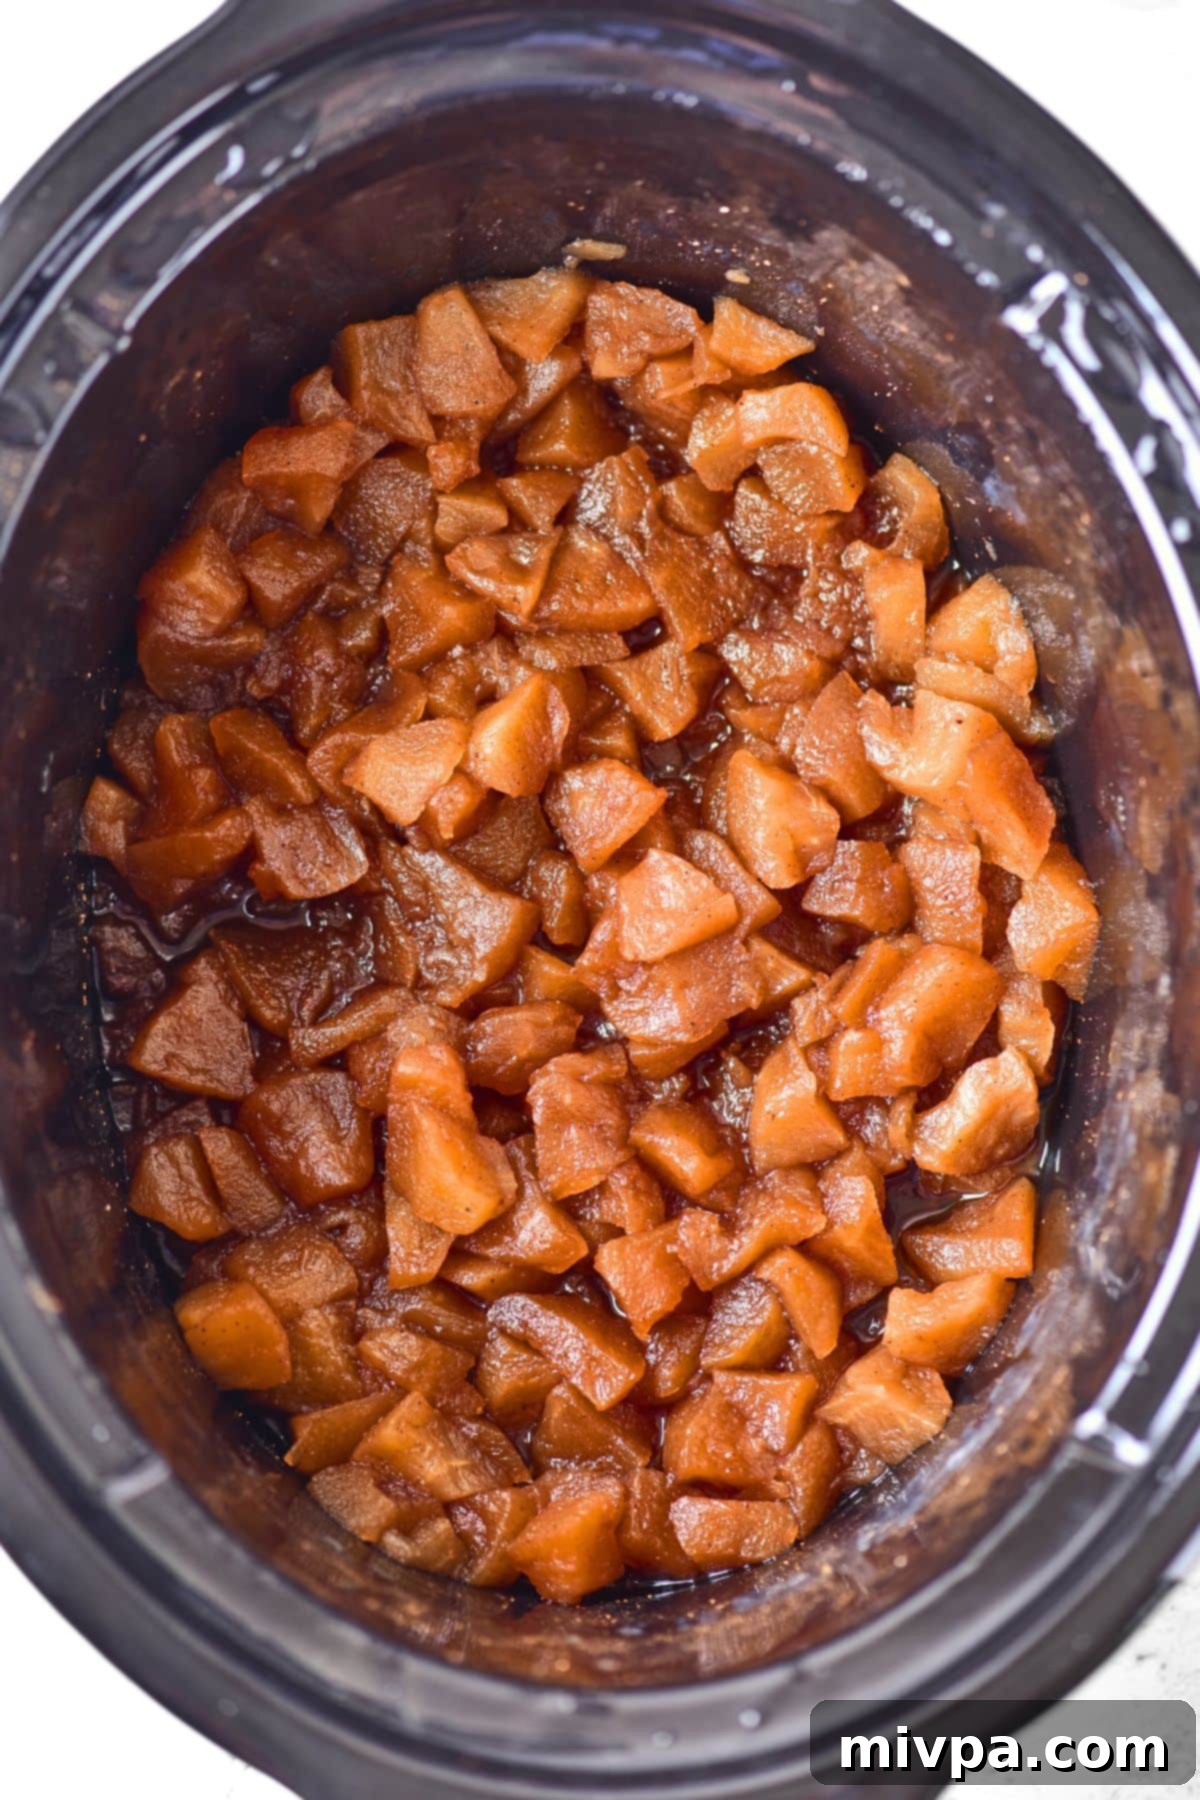
Cover the slow cooker and cook the apple mixture on the high setting for 4 hours, or on the low setting for 8 hours. During this time, the apples will soften considerably, and your kitchen will fill with an incredible aroma. Remember to stir the ingredients a couple of times throughout the cooking process to prevent sticking and ensure even cooking.
4. Puree to Silky Smoothness
Once the apples are thoroughly cooked and tender, allow them to cool down slightly before proceeding. Carefully transfer the cooked apples to a high-powered blender. Blend until the mixture is completely smooth and creamy. If you prefer a chunkier apple butter, you can blend for a shorter period or use an immersion blender directly in the slow cooker to control the texture.
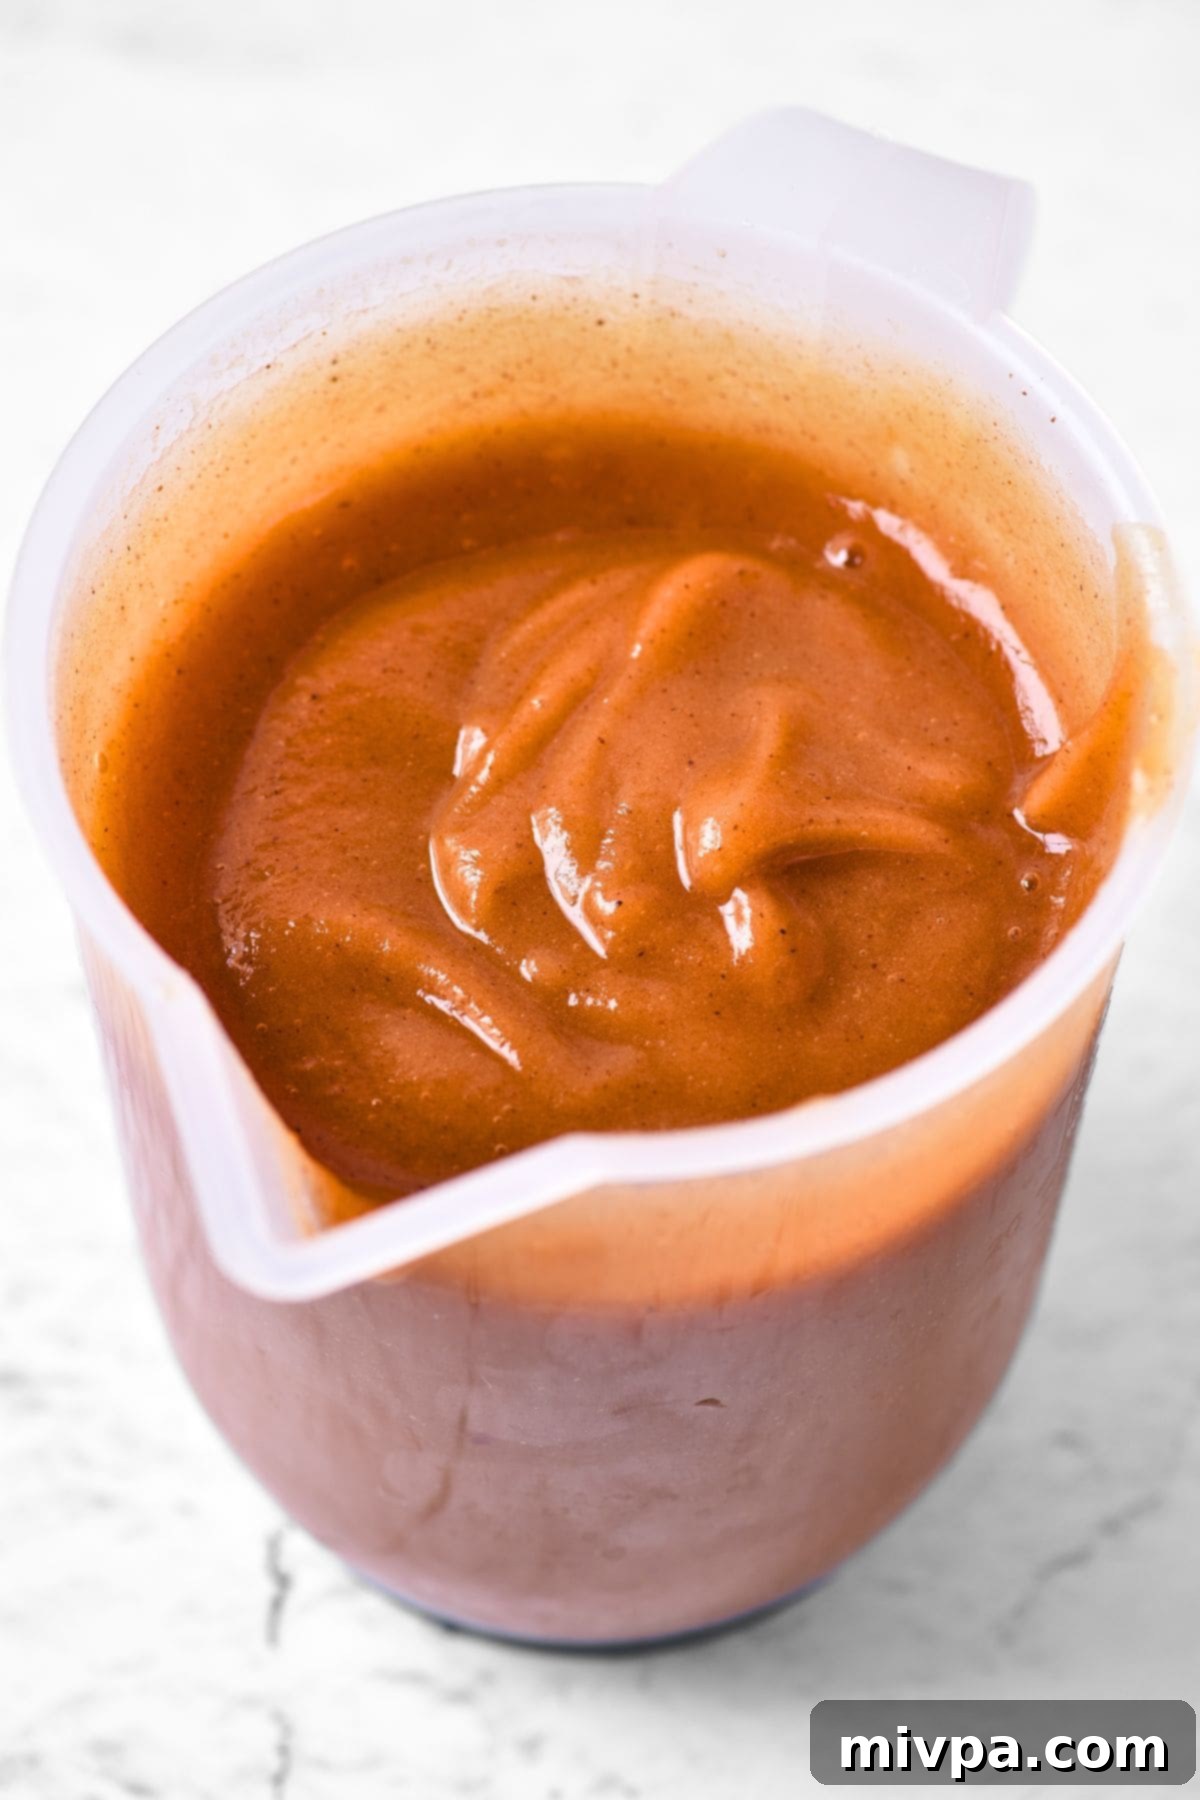
5. Return and Thicken for the Final Touch
Pour the pureed apple butter back into the slow cooker. Cook on high for an additional 1 hour, uncovered. This final cooking stage allows excess moisture to evaporate, further thickening the apple butter and intensifying its caramelized flavor and dark color. Stir occasionally during this last hour.
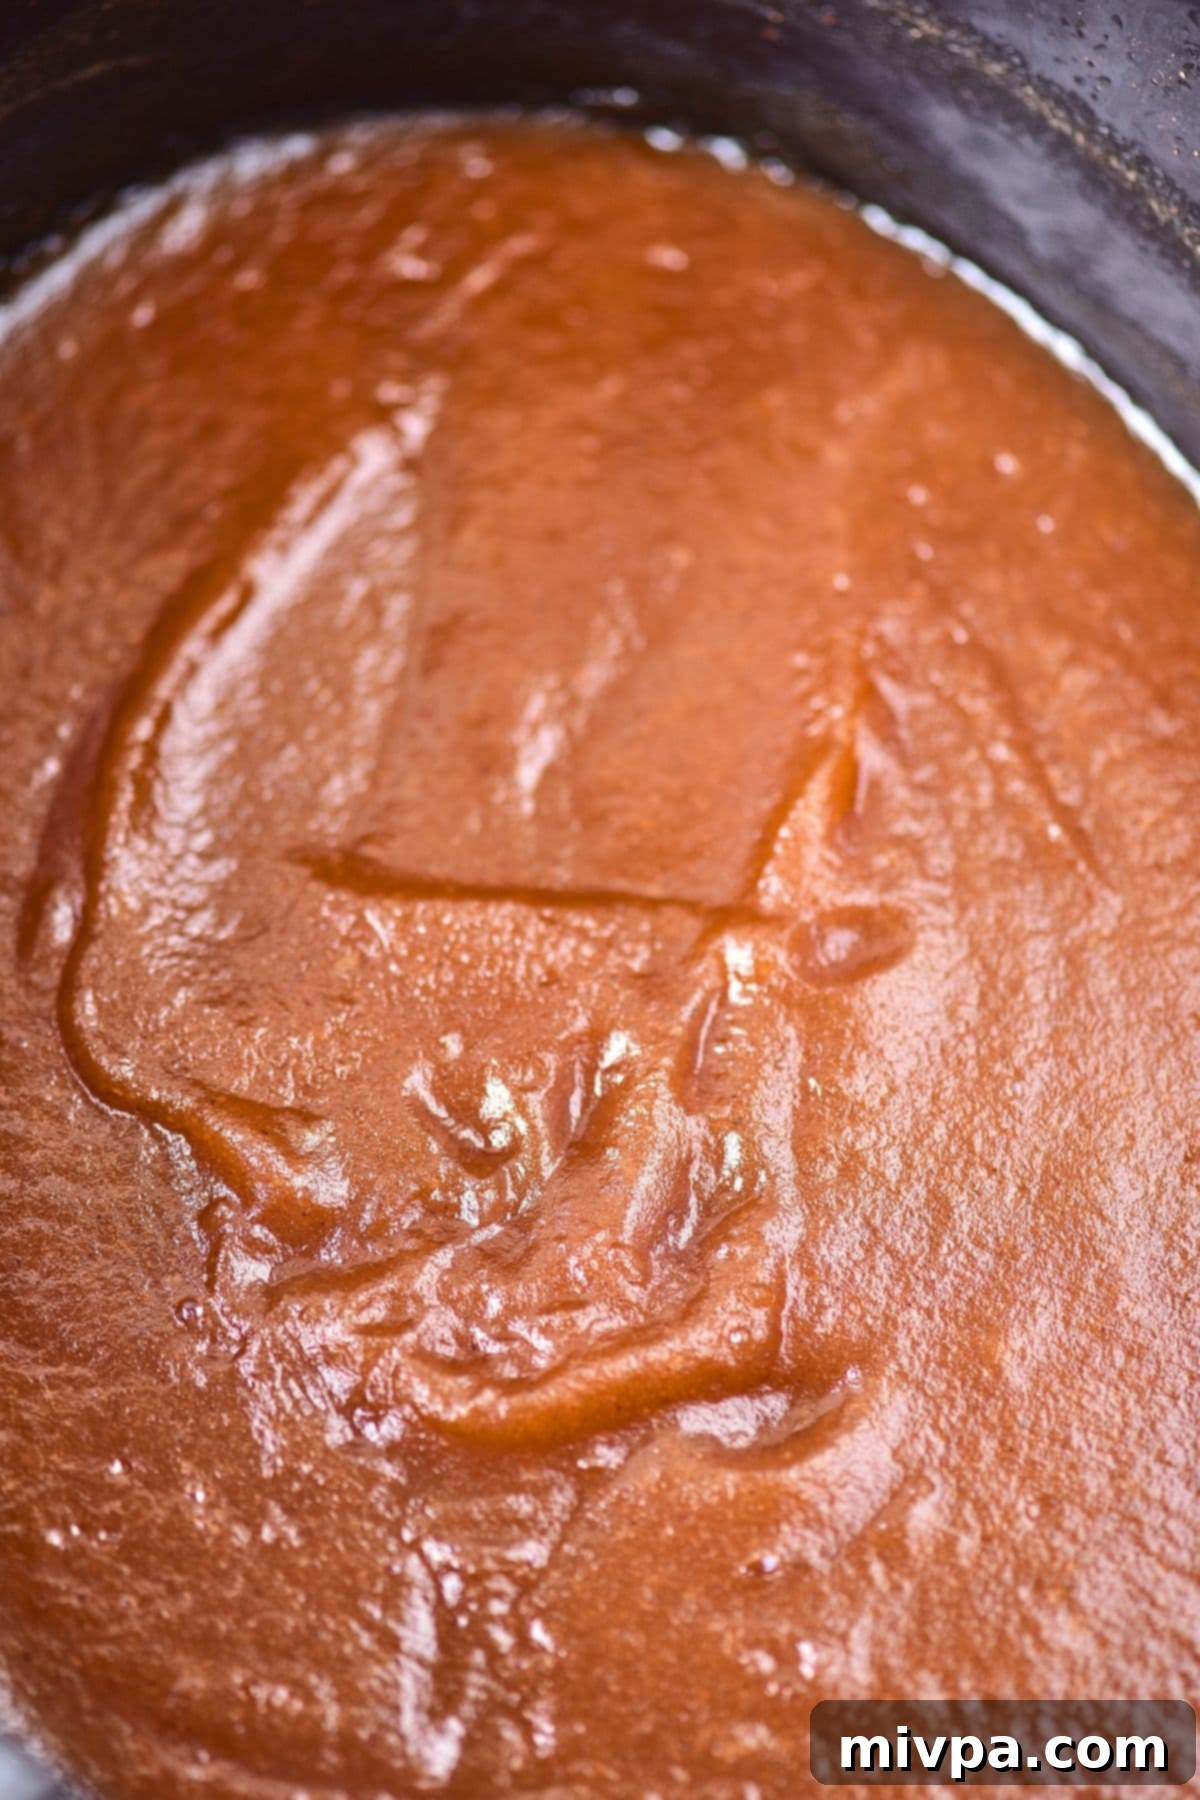
6. Serve Fresh or Store for Later
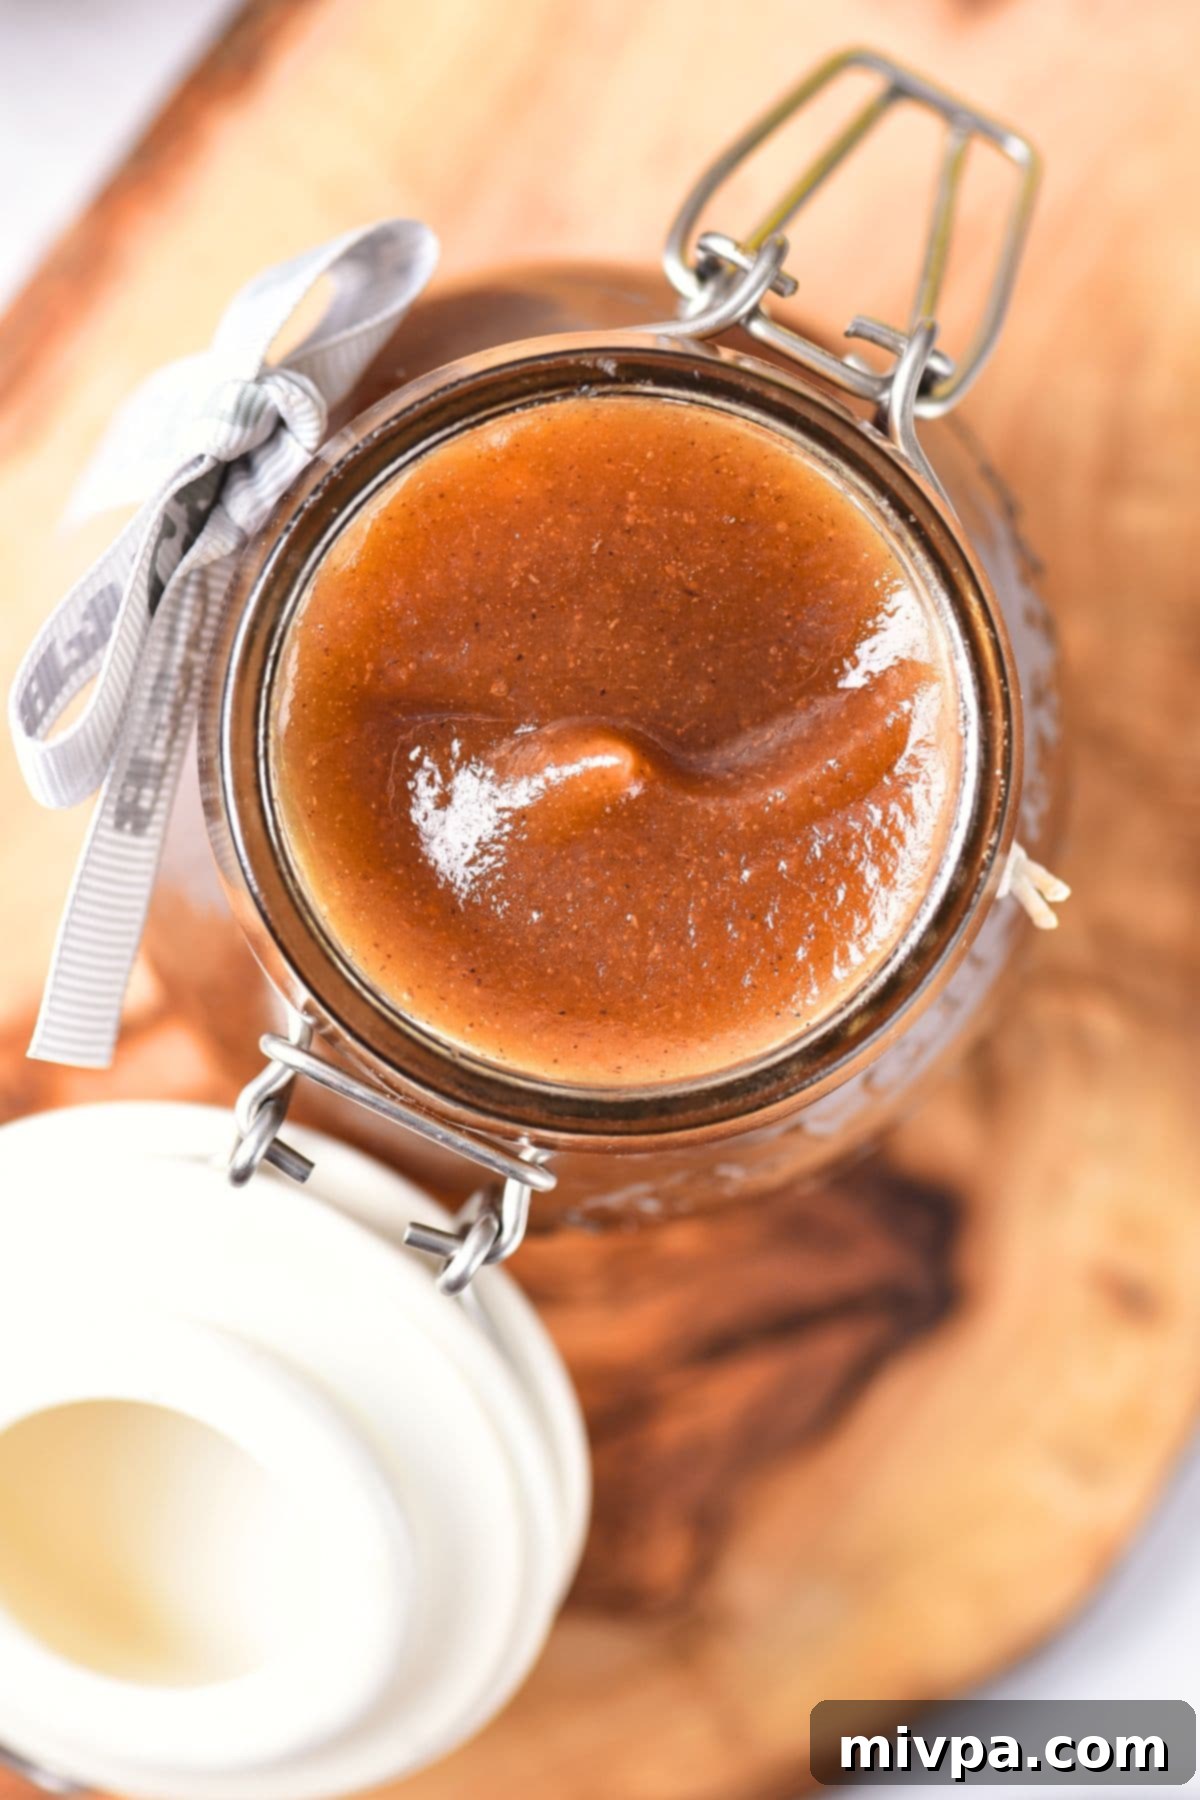
Your homemade apple butter is now ready! You can enjoy it warm straight from the slow cooker, or let it cool completely before transferring it to an airtight container. Store it in the refrigerator for up to 1 week.
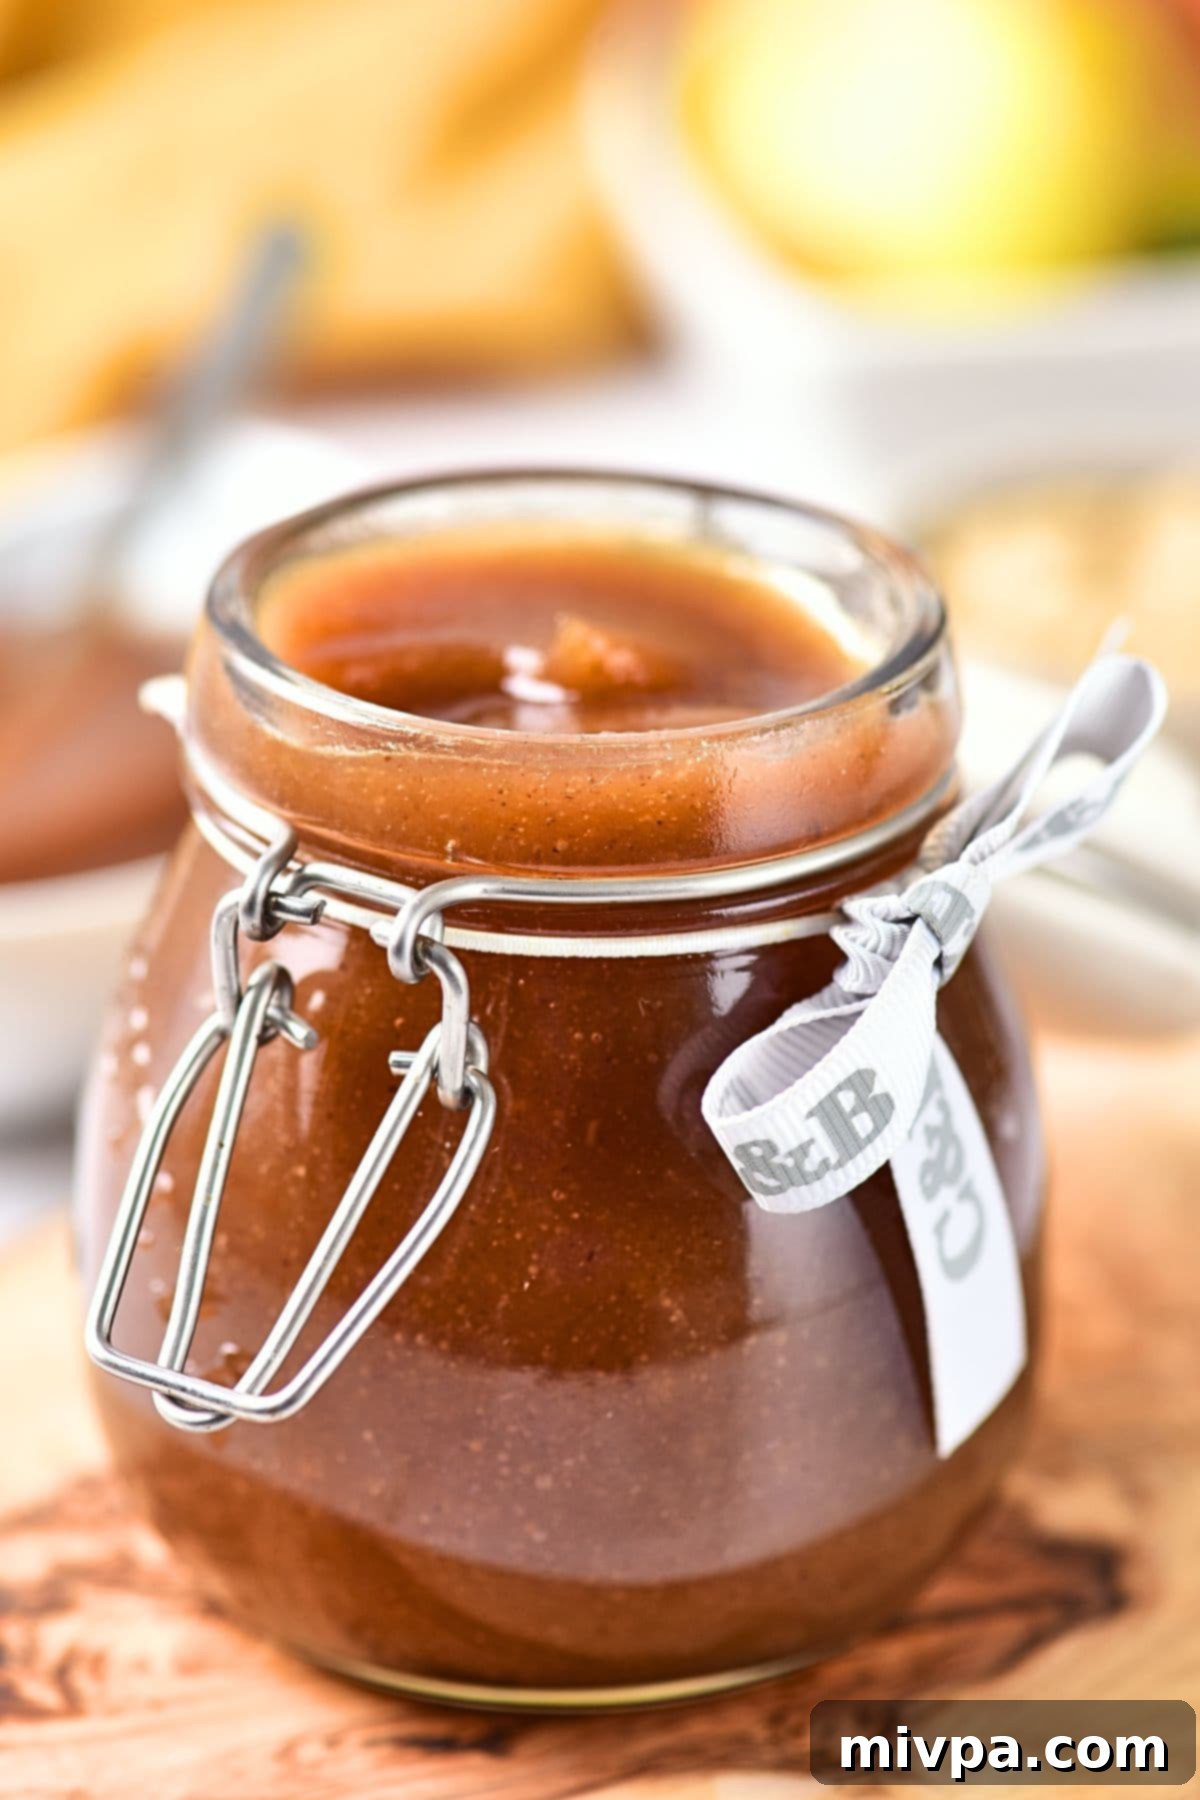
Slow Cooker vs. Stovetop: Two Easy Methods
While the slow cooker offers unparalleled convenience, you can still achieve fantastic homemade apple butter on the stovetop. Choose the method that best suits your time and equipment:
- Slow Cooker Method (Recommended for Ease): As detailed in the steps above, the slow cooker is ideal for hands-off cooking. It gently simmers the apples for hours, developing deep flavors without much tending. You simply combine the ingredients, turn it on, and stir a few times. This method is great for busy days or preparing a large batch.
- Stovetop Method (Faster & More Hands-On): If you don’t own a slow cooker or prefer a quicker process, the stovetop is a great alternative.
- Combine all ingredients (peeled, cored, and cubed apples, sugars, spices, vanilla) in a large, heavy-bottomed saucepan or Dutch oven.
- Cook over medium-high heat, stirring frequently, until the mixture comes to a boil. Reduce the heat to medium-low, cover partially (to allow steam to escape), and simmer for about 2 hours, or until the apples are very tender and easily mashed. Stir occasionally to prevent scorching at the bottom.
- Remove from heat and allow to cool slightly. Puree the cooked apples using an electric blender or an immersion blender directly in the saucepan until it reaches your desired silky-smooth consistency.
- Return the pureed apple butter to the saucepan, uncover, and simmer on low heat for another 15 to 20 minutes, stirring frequently, until the apple butter thickens to a deep brown color. This final reduction step is crucial for achieving that concentrated “butter” texture and flavor.
The stovetop method requires more active stirring but significantly cuts down on the overall cooking time.
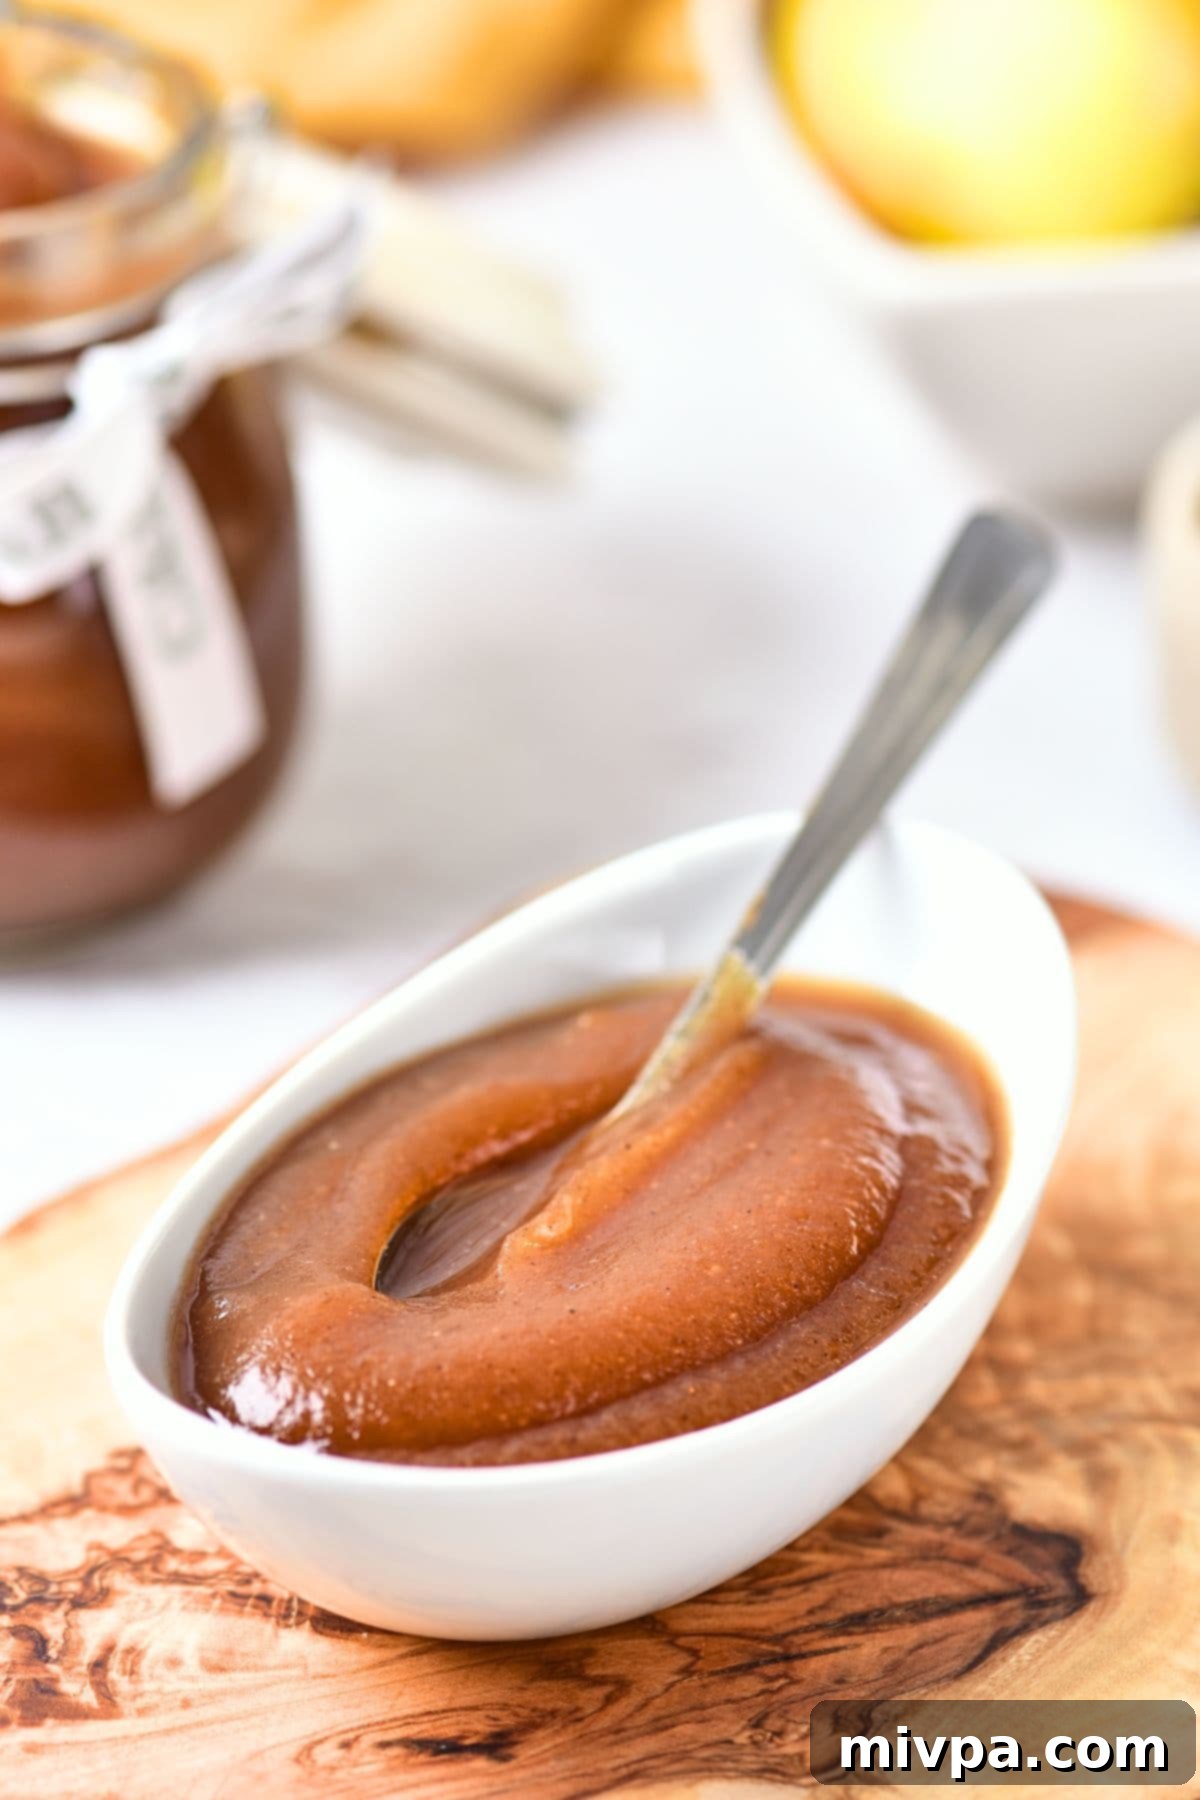
Storing & Freezing Your Homemade Apple Butter:
Proper storage ensures your delicious apple butter lasts as long as possible:
- Refrigerator Storage: Once cooled completely, transfer your apple butter to an airtight container or sterilized jars. It will keep beautifully in the refrigerator for up to 1 week.
- Freezing for Longer Preservation: For longer storage, apple butter freezes exceptionally well. If you don’t plan on consuming the entire batch within a week, freeze portions in freezer-safe jars or containers. Remember to leave about 1 inch of headspace at the top, as the apple butter will expand slightly when frozen. It can be stored in the freezer for up to 3 months. To enjoy, simply thaw the frozen apple butter completely overnight in the refrigerator before serving.
- Canning (Advanced Option): For shelf-stable apple butter, water bath canning is an option, but it requires specific procedures and equipment to ensure safety. Always follow tested canning recipes and guidelines from reputable sources (like the National Center for Home Food Preservation) if you choose this method.
Delicious Ways to Enjoy Your Homemade Apple Butter:
The versatility of apple butter means it pairs wonderfully with a wide array of dishes. Here are some of our favorite ways to enjoy this fall delicacy:
- Classic Bread & Toast: There’s nothing quite like slathering a generous layer of apple butter over your favorite toasted gluten-free bread, bagels, or English muffins for a simple yet satisfying breakfast or snack.
- Warm Scones: Elevate your tea time! Bake a fresh batch of tender gluten-free scones, slice them lengthwise while still warm, and spread liberally with your homemade apple butter.
- Pancakes & Waffles: Transform your breakfast or brunch into a luxurious affair. Serve a tall stack of fluffy gluten-free pancakes or crispy gluten-free waffles with a dollop (or three!) of smooth apple butter instead of syrup.
- Hearty Oatmeal: Start a crisp fall morning on a cozy note. A warm bowl of oatmeal topped with a swirl of apple butter is incredibly comforting and flavorful.
- Yogurt & Ice Cream: For a decadent treat, spoon some apple butter over a bowl of plain or vanilla yogurt, or swirl it into your favorite ice cream. It adds a burst of fall flavor and a delightful texture.
- Savory Pairings with Pork: Don’t limit apple butter to sweet dishes! Its sweet-tart profile makes it an excellent accompaniment to savory meats. Serve a side of this apple butter with roasted pork chops or tenderloin for a delicious contrast that will impress your dinner guests.
- Baking: Incorporate apple butter into your baking! Use it as a filling for tarts, a swirl in muffins, or as a moistening agent in cakes and quick breads.
Frequently Asked Questions (FAQs):
- What’s the difference between apple butter and applesauce?
Apple butter is a much more concentrated and intensely flavored version of applesauce. It’s cooked for a longer period at a lower temperature, allowing more moisture to evaporate and the natural sugars to caramelize, resulting in a darker color, thicker consistency, and richer flavor. Applesauce is generally lighter in color and flavor, and has a thinner consistency. - Can I make apple butter without added sugar?
Yes, you can! If your apples are naturally very sweet, or you prefer a less sweet spread, you can reduce or omit the added sugars. However, the sugar aids in the caramelization process, which contributes to the characteristic dark color and deep flavor of apple butter. If omitting, the result will be more like a very concentrated applesauce. - Do I need to peel the apples?
While some recipes allow you to leave the peels on for added fiber, peeling the apples results in a much smoother, silkier apple butter texture, which is generally preferred. If you don’t peel, you’ll likely need to strain the puree for a smooth result. - My apple butter isn’t thickening. What should I do?
If your apple butter isn’t as thick as you’d like, continue cooking it in the slow cooker on high (uncovered) or on the stovetop over low heat, stirring frequently. The goal is to evaporate more liquid. It may take longer than the recipe specifies depending on your apples and cooker. - How long does homemade apple butter last?
When stored in an airtight container in the refrigerator, homemade apple butter typically lasts for up to 1 week. If frozen in freezer-safe containers, it can last for up to 3 months.
Other Gluten-Free Apple Recipes You’ll Love:
- Homemade Applesauce (Gluten-Free, Vegan)
- Easy Apple Crumble (Gluten-Free, Vegan)
- Crispy Apple Chips (Gluten-Free, Vegan)
- Moist Apple Muffins (Gluten-Free, Dairy-Free)
- Tender Apple Bread (Gluten-Free, Dairy-Free)
- Apple Tart (Gluten-Free, Dairy-Free)
- Delicious Apple Crisp (Gluten-Free, Vegan)
Gluten-Free Fall Recipes to Make This Season:
- Mini Pumpkin Cheesecakes (Gluten-Free, Dairy-Free Option)
- Gluten-Free Chocolate Chip Pumpkin Bread (Dairy-Free)
- Gluten-Free Pecan Pie Bars (Dairy-Free)
- Gluten-Free Pumpkin Chocolate Chip Muffins (Dairy-Free)
P.S. If you try this recipe, I’d love for you to leave a star rating below, and/or a review in the comment section further down the page. I always appreciate your feedback. Be sure to check out my entire Recipe Index for all the recipes on the blog. You can also follow me on Pinterest, Facebook or Instagram! Sign up for my Email List to get fresh recipes in your inbox each week!
Print
Easy Homemade Apple Butter (Gluten-Free, Vegan)
5 Stars 4 Stars 3 Stars 2 Stars 1 Star
No reviews
Author: Felicia Lim
Total Time: 5 hours 10 minutes
Yield: 16 servings
Diet: Gluten Free
Description
Rich, creamy and silky smooth, this easy homemade apple butter is slow cooked until caramelized, and has a beautiful fall flavor from the spices used. Naturally gluten-free, dairy-free and vegan too.
Ingredients
Units
Scale
- 4 pounds apples
- 1/2 cup brown sugar
- 1/3 cup white sugar
- 2 teaspoon ground cinnamon
- 1/3 teaspoon ground nutmeg
- 1/3 teaspoon salt
- 1 tablespoon vanilla extract
Instructions
- Peel, Core and Cube Apples: Peel and core the apples, before cutting them into into small cubes.
- Place Ingredients in Slow Cooker: Place apples in the slow cooker, add sugar, cinnamon, salt, nutmeg, and vanilla, stir to combine.
- Cook Until Tender: Cook the apples and the other ingredients on the high setting for 4 hours (or on the low setting for 8 hours). Make sure to stir the ingredients a couple times during this time.
- Puree Until Smooth: Once the apples are done cooking, puree the apples in a blender until smooth.
- Return to Slow Cooker: Return the apple butter to the slow cooker and cook on high for another 1 hour.
- Enjoy or Store: You can either enjoy the apple butter or cool it before transferring it to an airtight container and store it in the refrigerator for up to 1 week.
Notes
Apples: Feel free to use the type of apples you like (I used gala apples, but you can also use pink lady apples, golden delicious, honey crisp apples, etc.)
Brown Sugar: I used brown sugar to give it a deeper flavor. If you are diabetic or insulin-resistant, I highly recommend using brown granulated monkfruit sweetener (a 1:1 brown sugar substitute that is zero glycemic index and will not raise your blood sugar).
White Sugar: I used white sugar, but cane sugar will work too. If you are diabetic or insulin-resistant, I highly recommend using granulated monkfruit sweetener (a 1:1 white sugar substitute that is zero glycemic index and will not raise your blood sugar).
Spices: I used a mix of ground cinnamon and ground nutmeg to give this apple butter fall flavors. Alternatively, you may also replace them with 2/3 teaspoon of pumpkin pie spice instead.
Vanilla Extract: I like adding a bit of vanilla extract for flavor, and highly recommend that you add it too.
Storing/Freezing: You can either enjoy the apple butter or cool it before transferring it to an airtight container and store it in the refrigerator for up to 1 week.If you don’t plan on using the apple butter within a week, freeze whatever amount you are not using in freezer-safe jars (leaving 1 inch of space empty as the apple butter will expand once frozen). Store in the freezer for up to 3 months. Thaw the frozen apple butter completely overnight in the refrigerator before enjoying.
- Prep Time: 10 mins
- Cook Time: 5 hours
- Category: Snacks
- Method: Slow Cooker
- Cuisine: American
