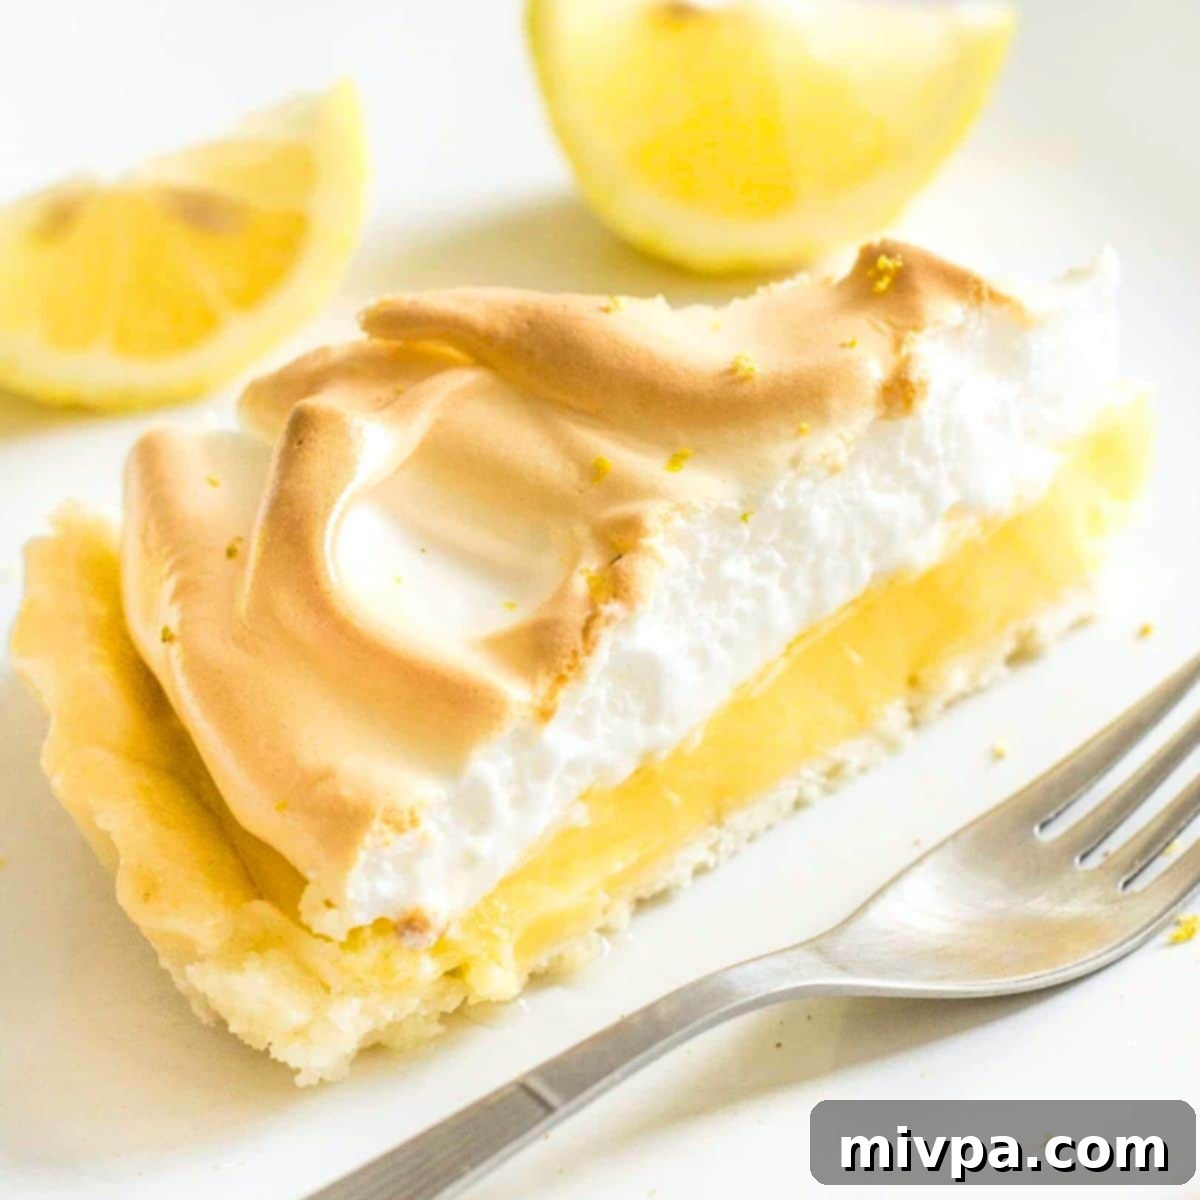
The Ultimate Gluten-Free & Dairy-Free Lemon Meringue Pie Recipe
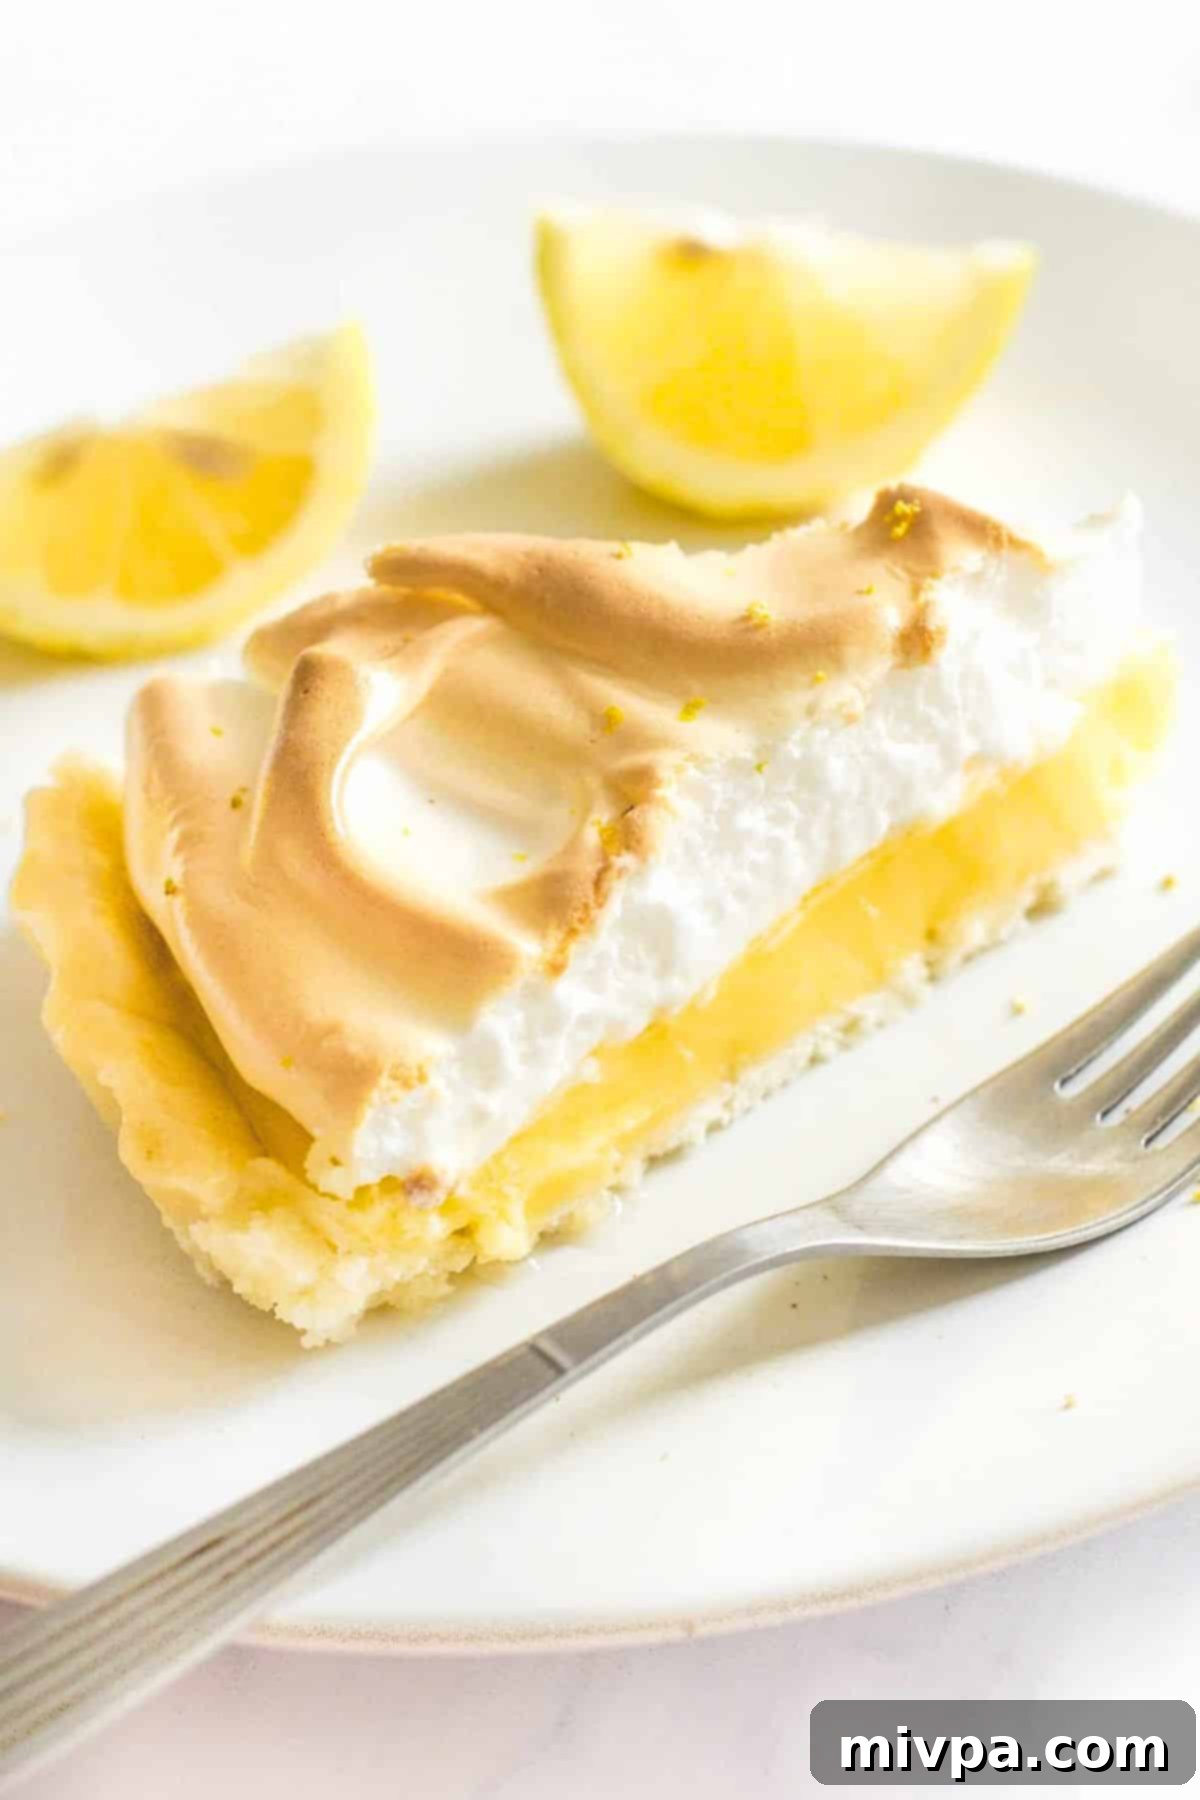
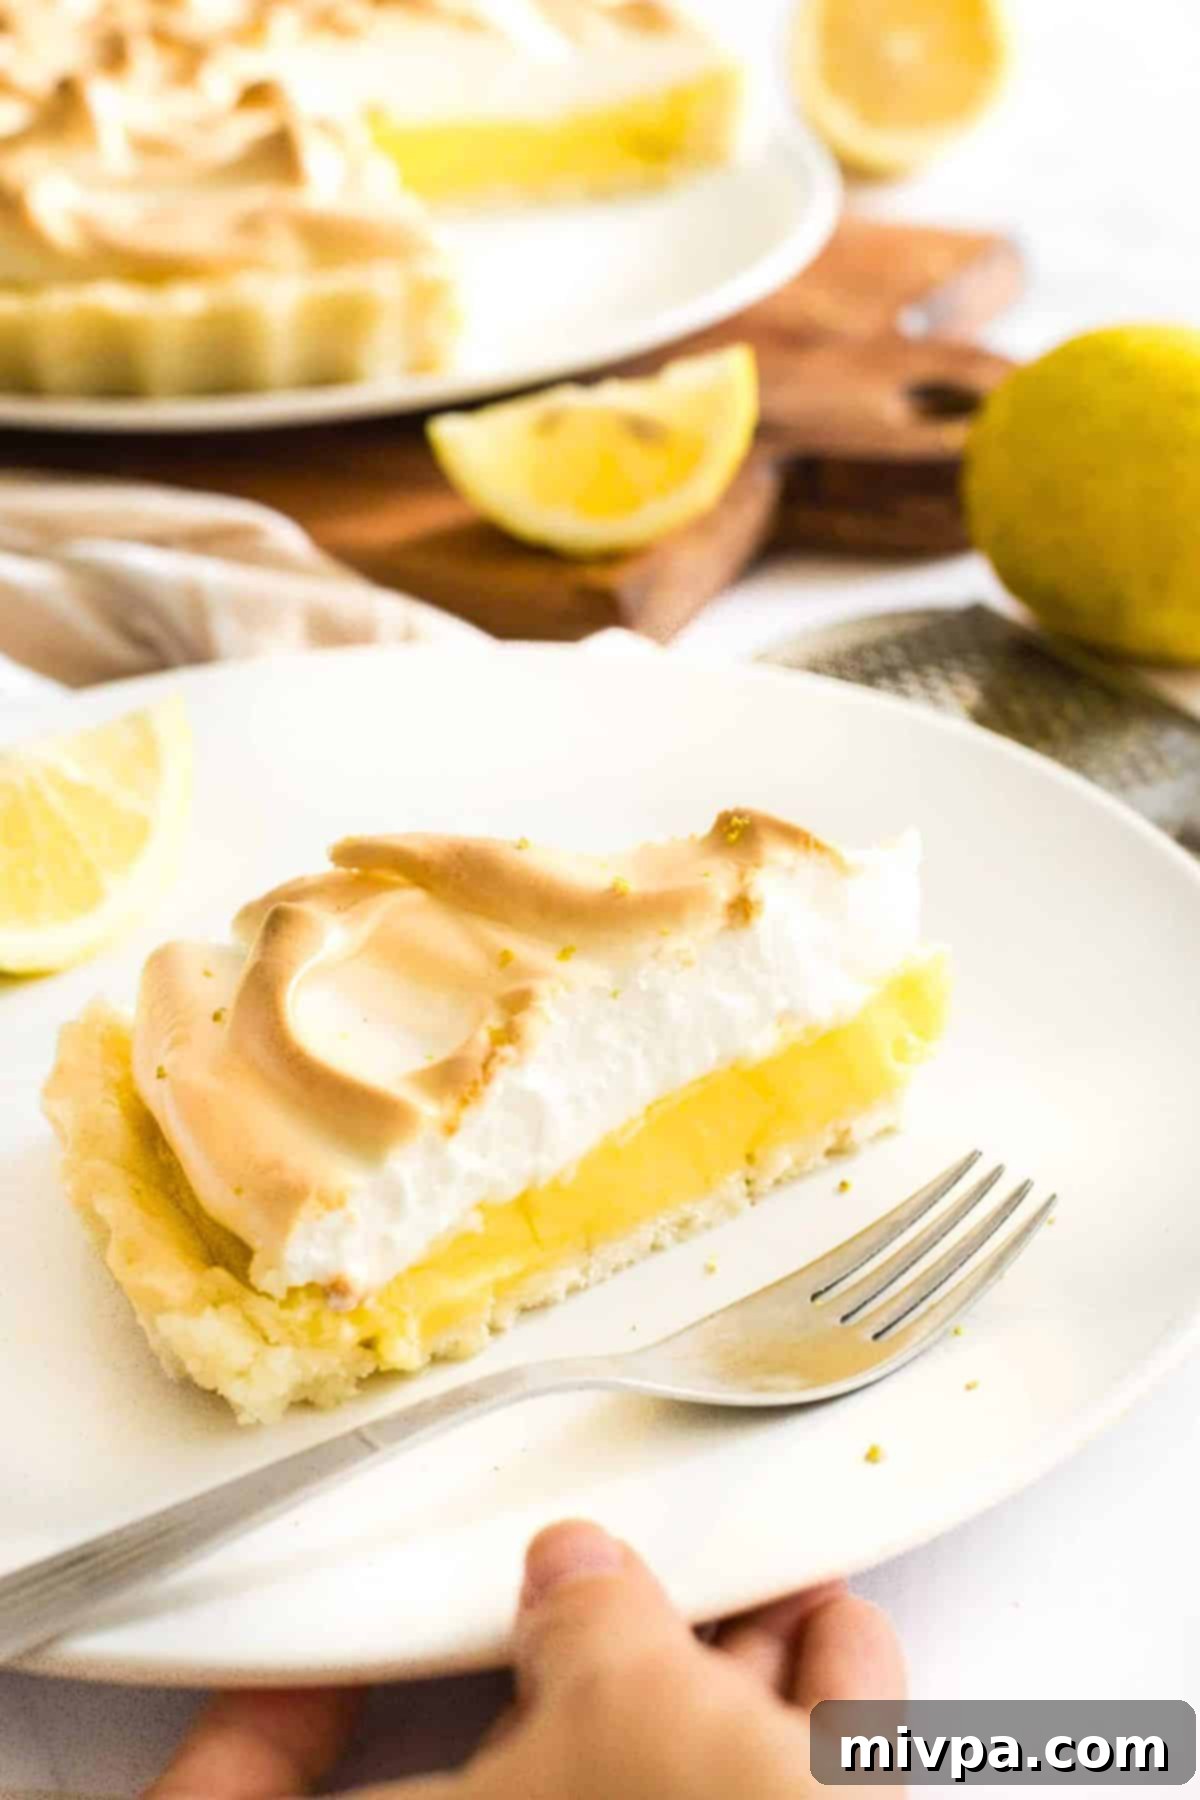
Indulge in a slice of pure sunshine with this incredible gluten-free lemon meringue pie. It’s the perfect dessert to brighten any celebration, from Mother’s Day and Easter to Christmas or simply a regular Tuesday that needs a touch of extraordinary. This pie boasts a delicately light and wonderfully flaky crust, generously filled with a velvety, bright, and citrus-infused lemon curd. Crowned with a sweet and impressively stable Italian meringue that holds its beautiful peaks without weeping, even after several days, this recipe is a true marvel. What’s more, it’s completely dairy-free, yet so remarkably delicious, you’d never guess! Prepare to impress with this show-stopping dessert that caters to all.
[feast_advanced_jump_to]
When Life Gives You Lemons, Make (the Best) Lemon Meringue Pie!
The timeless adage suggests that when life throws lemons your way, the best response is to make lemonade. And while I wholeheartedly agree that a refreshing glass of lemonade – perhaps with a hint of ginger and mint, as I enjoy it – is a delightful treat, my culinary inclinations often lead me down a more adventurous path.
For those of us who spend considerable time in the kitchen, experimenting with flavors and techniques, lemons offer a universe of possibilities far beyond a simple beverage. When a bounty of these vibrant citrus fruits lands in my kitchen, my first thought isn’t just lemonade, but an array of incredible lemon desserts. From a silky creamy lemon curd to a moist easy lemon yogurt cake, or fluffy citrusy lemon muffins, and even a refreshing no-bake lemon cheesecake – the options are endless.
However, when it comes to truly crowning a special occasion or simply treating yourself to something truly spectacular, there’s one dessert that stands above the rest: a rich, decadent, and utterly irresistible gluten-free lemon meringue pie. It’s the ultimate expression of lemon’s zesty charm, elevated to a show-stopping masterpiece that’s worthy of any celebration.
What is Lemon Meringue Pie? A Classic Dessert Reimagined
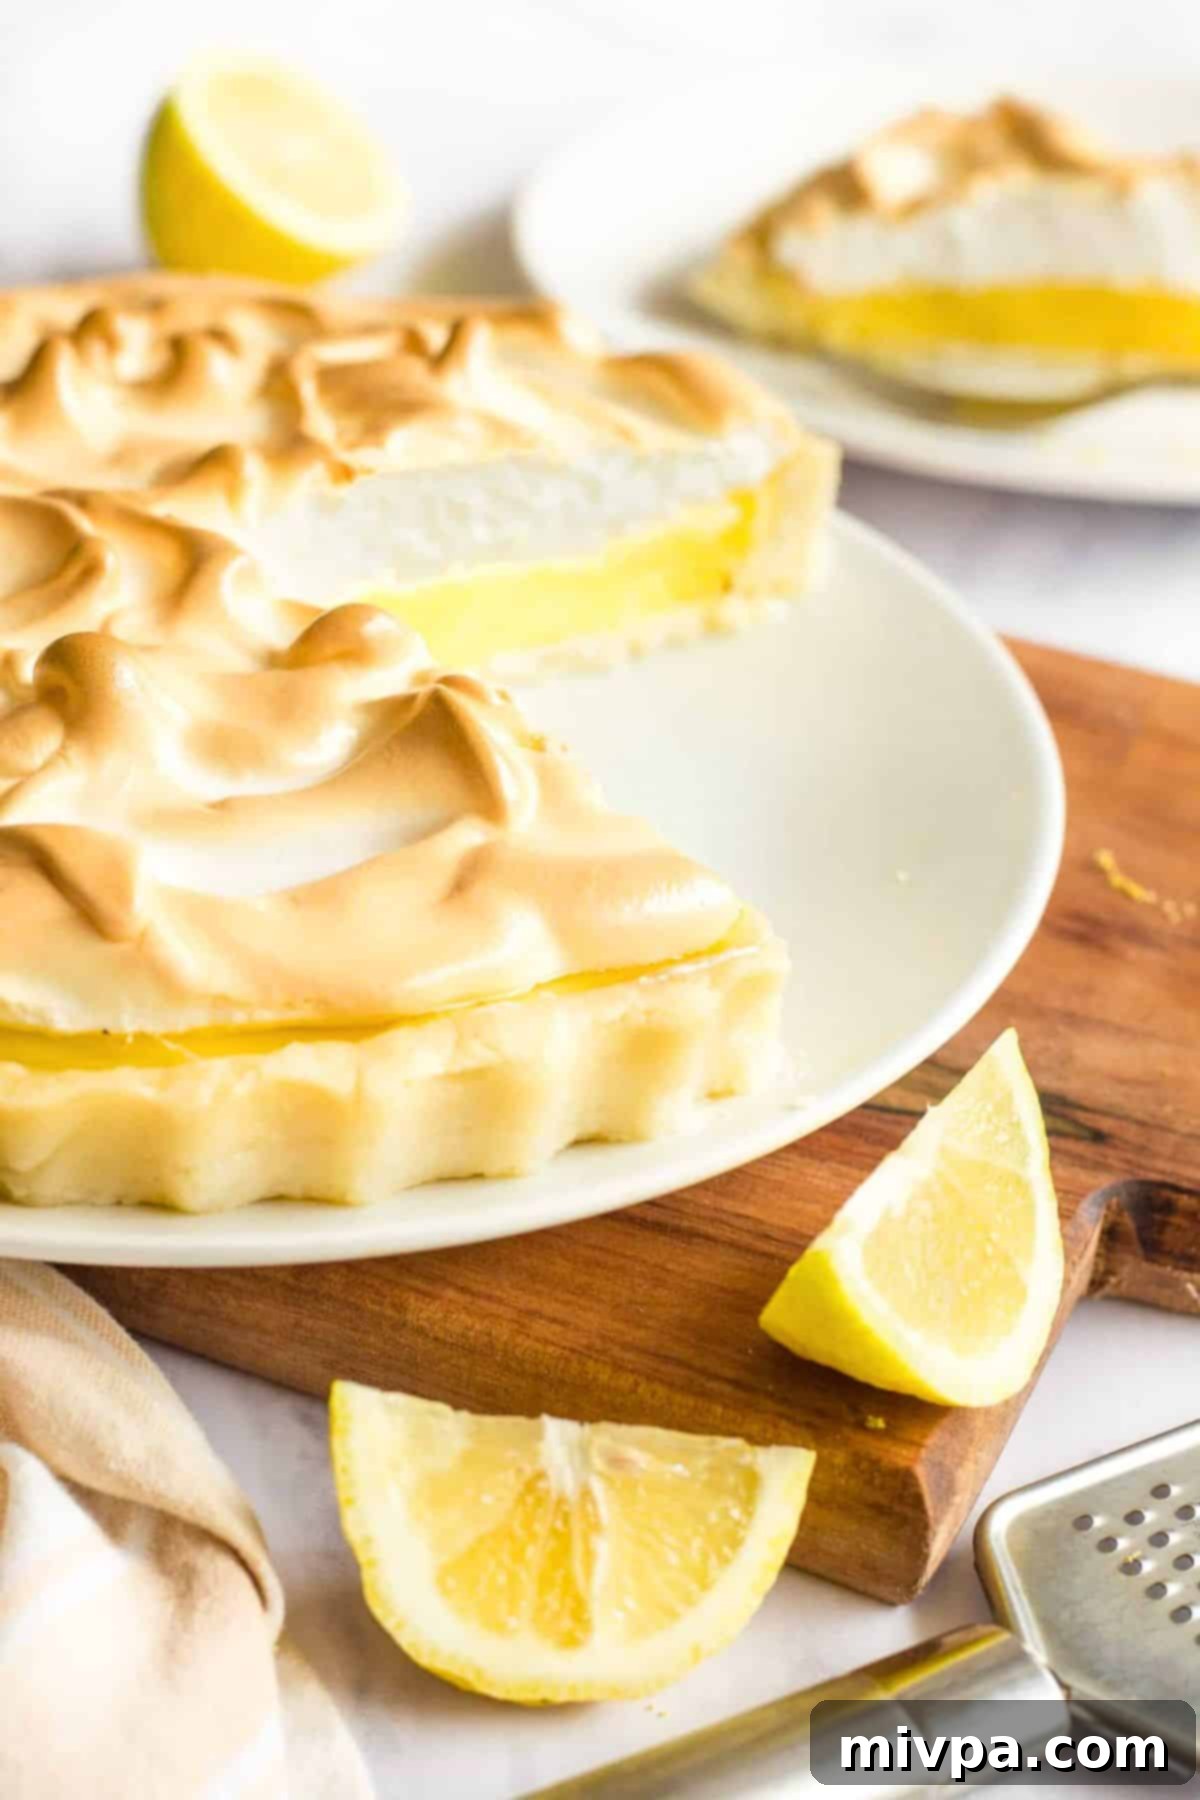
At its heart, a classic lemon meringue pie is a symphony of textures and flavors. It traditionally consists of three distinct layers: a sturdy, buttery shortcrust pastry base, a vibrant and tangy lemon curd filling, and a crowning cloud of sweet, fluffy meringue. Each component plays a crucial role, contributing to a harmonious dessert experience.
The origins of this beloved pie can be traced back to Philadelphia during the Victorian era. It was reportedly invented by Elizabeth Goodfellow, a pioneering pastry shop owner and the founder of America’s first cooking school for young ladies. Since its inception, lemon meringue pie has captured hearts worldwide, evolving into a universally cherished dessert, particularly popular during the spring and summer months due to its bright, refreshing flavor profile. However, its comforting tartness and sweet indulgence make it a perfect treat to enjoy all year round.
While preparing a homemade lemon meringue pie might seem like a multi-step endeavor, requiring a little kitchen organization and patience, the reward is truly immense. This labor of love yields one of the most satisfying and impressive lemon desserts you could ever create, making it ideal for celebrating special occasions, honoring loved ones, or simply elevating an ordinary day into something memorable.
This Gluten-Free Lemon Meringue Pie is Perfect for Any Occasion
The beauty of this homemade gluten-free and dairy-free lemon meringue pie lies in its versatility and universal appeal. It’s a dessert that transcends seasons and holidays, always bringing a burst of joy to the table. Think about it:
- Mother’s Day? Imagine presenting your mom with a beautifully crafted lemon meringue pie, a heartfelt gesture to show her just how much she means to you. Its bright flavor perfectly symbolizes new beginnings and appreciation.
- Easter? As spring blooms, this pie becomes the ideal centerpiece for your Easter feast, a light and refreshing counterpoint to richer holiday dishes, easily shared with family and friends.
- Summer Gatherings or 4th of July? While not traditionally patriotic, the sunny disposition of this lemon pie will be a welcome sight at any summer BBQ or Independence Day celebration. It’s a refreshing alternative that’s sure to be devoured.
- Thanksgiving? You might think of pumpkin and pecan, but this gluten-free, dairy-free lemon meringue pie offers a delightful citrusy contrast. I assure you, it will shine as brightly as our favorite crustless pumpkin pie, comforting sweet potato pie, or decadent pecan pie.
- Christmas? Even in the midst of winter festivities, a large slice of this vibrant lemon pie, perhaps alongside a festive cranberry pie, will bring a delightful zesty cheer that Santa himself would surely appreciate.
You truly get the picture. This stunningly delicious lemon dessert is an extraordinary recipe that everyone will adore, regardless of the season or the occasion you’re celebrating. In my humble opinion, it’s so good that it could be the sole reason to throw a party – a gathering dedicated entirely to the pure pleasure of eating this amazing pie!
Why This Gluten-Free Lemon Meringue Pie Recipe Is a Must-Try:
This particular gluten-free and dairy-free lemon meringue pie recipe stands out for several compelling reasons, making it a fantastic choice for both seasoned bakers and those new to the world of allergy-friendly desserts.
- Accessible Ingredients for Everyone: Forget exotic, hard-to-find items! The ingredients required for this lemon meringue pie are simple, wholesome, and readily available at your local grocery store. We focus on common pantry staples, ensuring that you can embark on this baking adventure without a special shopping trip. This recipe proves that exceptional desserts don’t require fancy, expensive components.
- Incredible Flexibility to Suit Your Schedule: We understand that life can be busy. That’s why this recipe offers fantastic flexibility. While we provide detailed instructions for crafting our beloved homemade gluten-free and dairy-free pie crust from scratch, you also have the convenient option of using a high-quality store-bought gluten-free pie crust. This simple swap can significantly reduce prep time, making the entire process quicker and more manageable, especially when you’re short on time but still crave that homemade taste.
- Truly Gluten-Free & Dairy-Free Without Compromise: This isn’t just a regular lemon meringue pie with a few minor tweaks; it’s a meticulously developed 100% dairy-free and gluten-free version of the traditional classic. This means individuals with Celiac disease, gluten intolerance, or lactose intolerance can wholeheartedly enjoy every single, delicious bite without any concerns or digestive discomfort. We’ve ensured that the texture, flavor, and overall experience are every bit as rich and satisfying as the conventional version, proving that dietary restrictions don’t have to mean sacrificing deliciousness.
How to Make this Gluten-Free Lemon Meringue Pie (Step-by-Step Guide)
Crafting this exquisite gluten-free and dairy-free lemon meringue pie involves three distinct yet harmonious components, each built to perfection. We’ll guide you through making each element, ensuring a flawless and delectable final dessert:
- The Light & Flaky Gluten-Free Pie Crust: The foundational layer that holds all the goodness.
- The Smooth & Tangy Lemon Curd Filling: The heart of the pie, bursting with citrus flavor.
- The Sweet & Stable Italian Meringue: The airy, impressive topping that completes the masterpiece.
Essential Ingredients for Your Gluten-Free Pie Crust
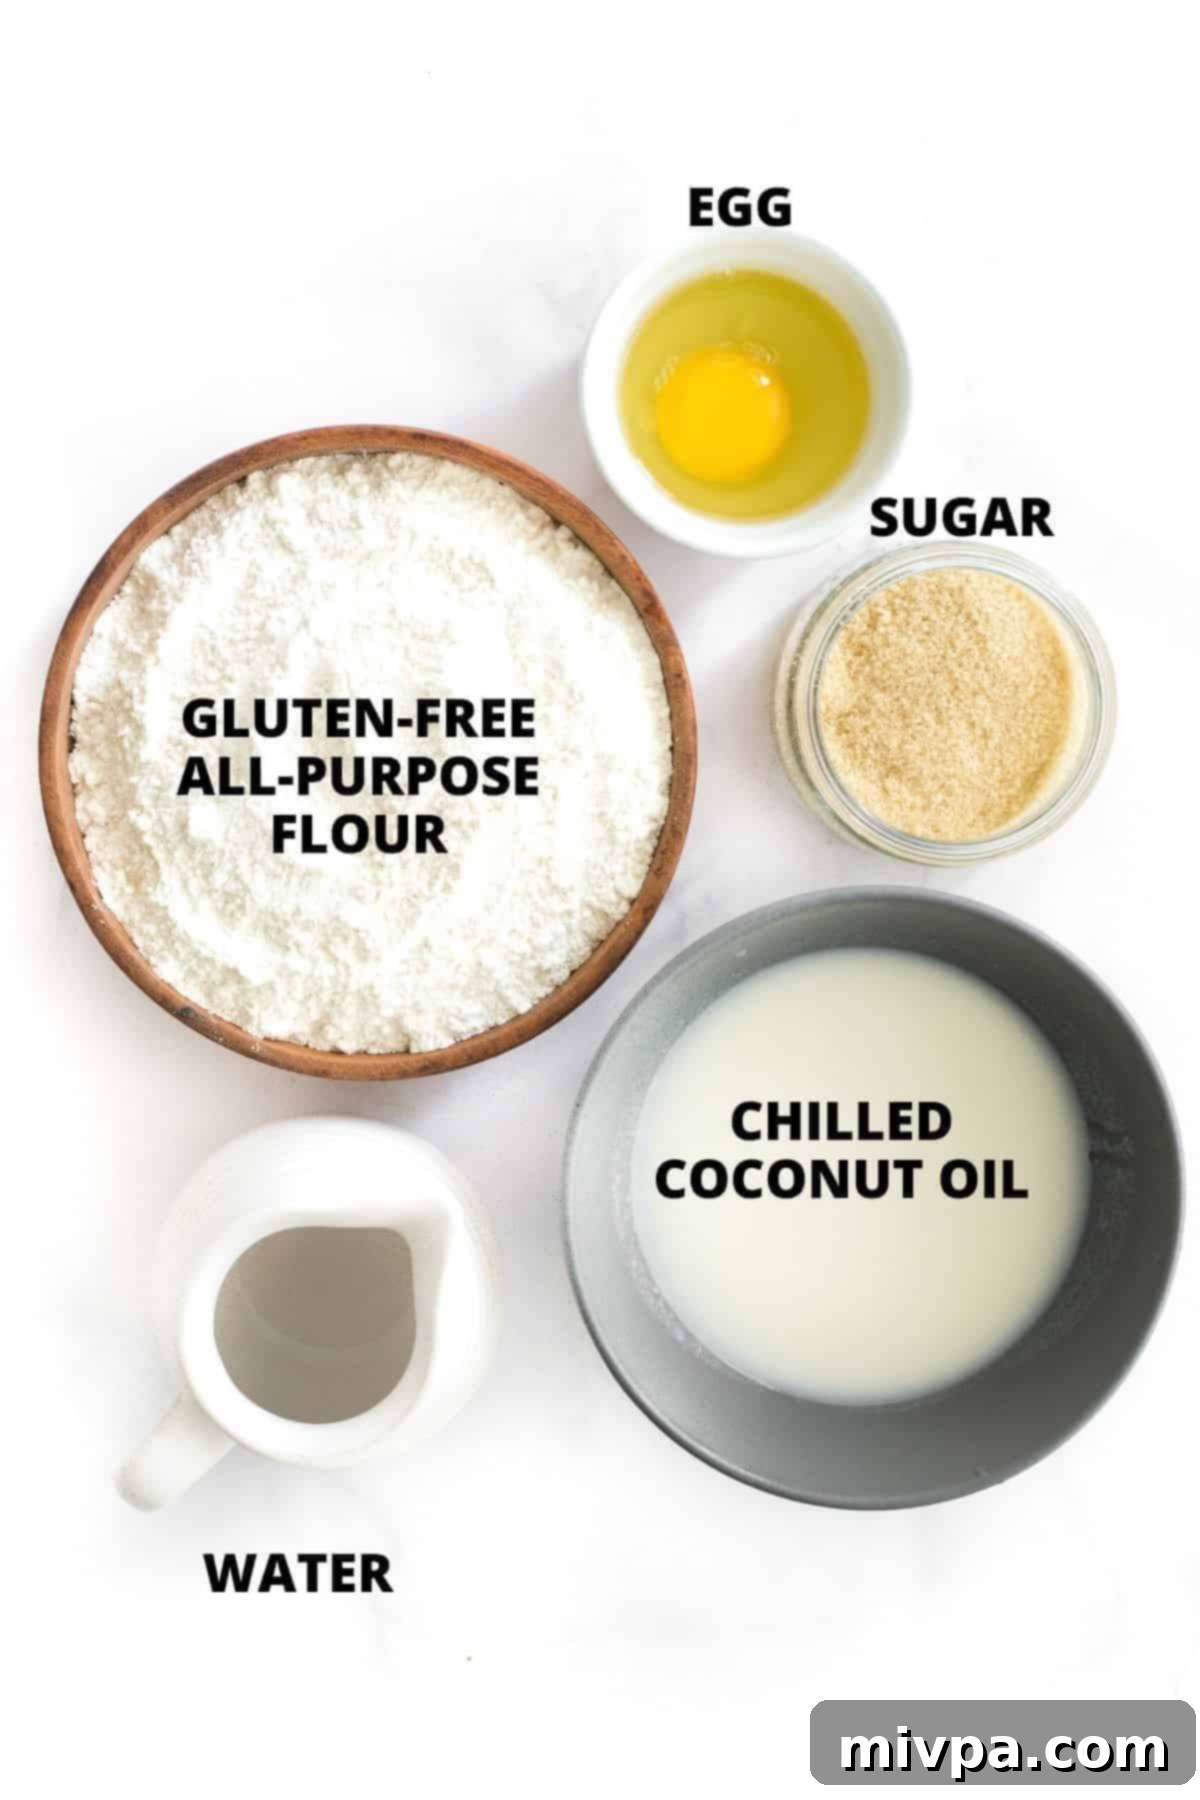
Before we dive into the baking process, let’s take a visual look at the simple yet crucial ingredients you’ll need to create our perfectly light and flaky gluten-free pie crust. Quality ingredients are key to a superior crust that complements the vibrant filling.
(For precise measurements and detailed quantities, please scroll down to the comprehensive printable recipe card located at the very bottom of this post.)
Important Tips and Ingredient Notes for Your Pie Crust:
- Pie Crust Options: While this recipe provides detailed instructions for our incredibly easy gluten-free and dairy-free pie crust – a fan favorite for its tender texture – you are absolutely welcome to use any pie crust recipe you prefer. For ultimate convenience, especially on busy days, a store-bought gluten-free pie crust can be a fantastic shortcut, significantly streamlining the overall process. Just ensure it’s certified gluten-free if that’s a dietary requirement.
- All-Purpose Gluten-Free Flour Blend: The quality of your gluten-free flour blend makes a significant difference. I highly recommend opting for a good quality all-purpose gluten-free flour blend that features a thoughtful mix of lighter flours and starches, such as rice flour, corn starch, and tapioca starch. Crucially, look for a blend that already includes xanthan gum. Xanthan gum is vital in gluten-free baking as it mimics the binding properties of gluten, providing structure and elasticity to your crust. Avoid blends that rely heavily on denser, more potent flours like garbanzo bean flour, as these can result in a heavier, tougher, and less palatable crust.
- Sweetener Choice: I typically use light brown sugar for its subtle caramel notes and moist texture, which adds a lovely depth to the crust. However, feel free to substitute with regular white granulated sugar, dark brown sugar for a richer flavor, or even coconut sugar if you prefer a less refined option. For those managing blood sugar levels, granulated monk fruit sweetener is an excellent 1:1 sugar substitute that has a zero glycemic index and won’t affect blood sugar levels.
- Dairy-Free Fat – Coconut Oil: To keep this pie completely dairy-free, refined coconut oil is my go-to choice. It’s crucial to use *refined* coconut oil as it has a neutral taste and aroma, ensuring your pie tastes like lemon, not coconut. Extra virgin coconut oil, on the other hand, retains a distinct coconut flavor and smell, which might not be desirable here. If dairy is not a concern for you, unsalted butter can be used in equal quantities, ensuring it’s well-chilled and solid.
- The Role of the Egg: The single egg in this crust recipe is essential. It acts as a vital binding agent, helping to hold the gluten-free flours and other ingredients together, providing structure and preventing the crust from becoming too crumbly. Do not omit it, as it contributes significantly to the pie crust’s integrity and texture.
Step-by-Step Guide to Making the Perfect Pie Crust:
1. Preheat Your Oven and Prepare the Pan
Begin by preheating your oven to a precise 425°F (220°C). While the oven is warming up, take a moment to generously grease a pie pan with a removable bottom. This type of pan is highly recommended as it makes serving and removing your beautiful pie incredibly easy once it’s baked and cooled.
2. Craft the Gluten-Free Pie Crust Dough
In a spacious mixing bowl, combine your chosen gluten-free flour blend with the sugar. Whisk these dry ingredients thoroughly until they are uniformly mixed. Next, introduce the chilled, solid coconut oil. Using a pastry cutter, two knives, or even the back of a fork, work the coconut oil into the flour mixture. The goal is to break down the coconut oil into small, pea-sized pieces, coating them with flour. Continue this process until you achieve an off-white, crumbly mixture that resembles coarse sand. This texture is crucial for a flaky crust. Now, add the beaten egg and mix well. The mixture will still be crumbly, but you’ll notice it becoming slightly pale yellow. Finally, add cold water, one tablespoon at a time, mixing gently with a spoon after each addition. Be cautious not to add too much water; you want a dough that just barely comes together and holds its shape when pressed. It’s always better to have a dough that’s slightly too moist than too dry, as a dry dough will be prone to cracking.
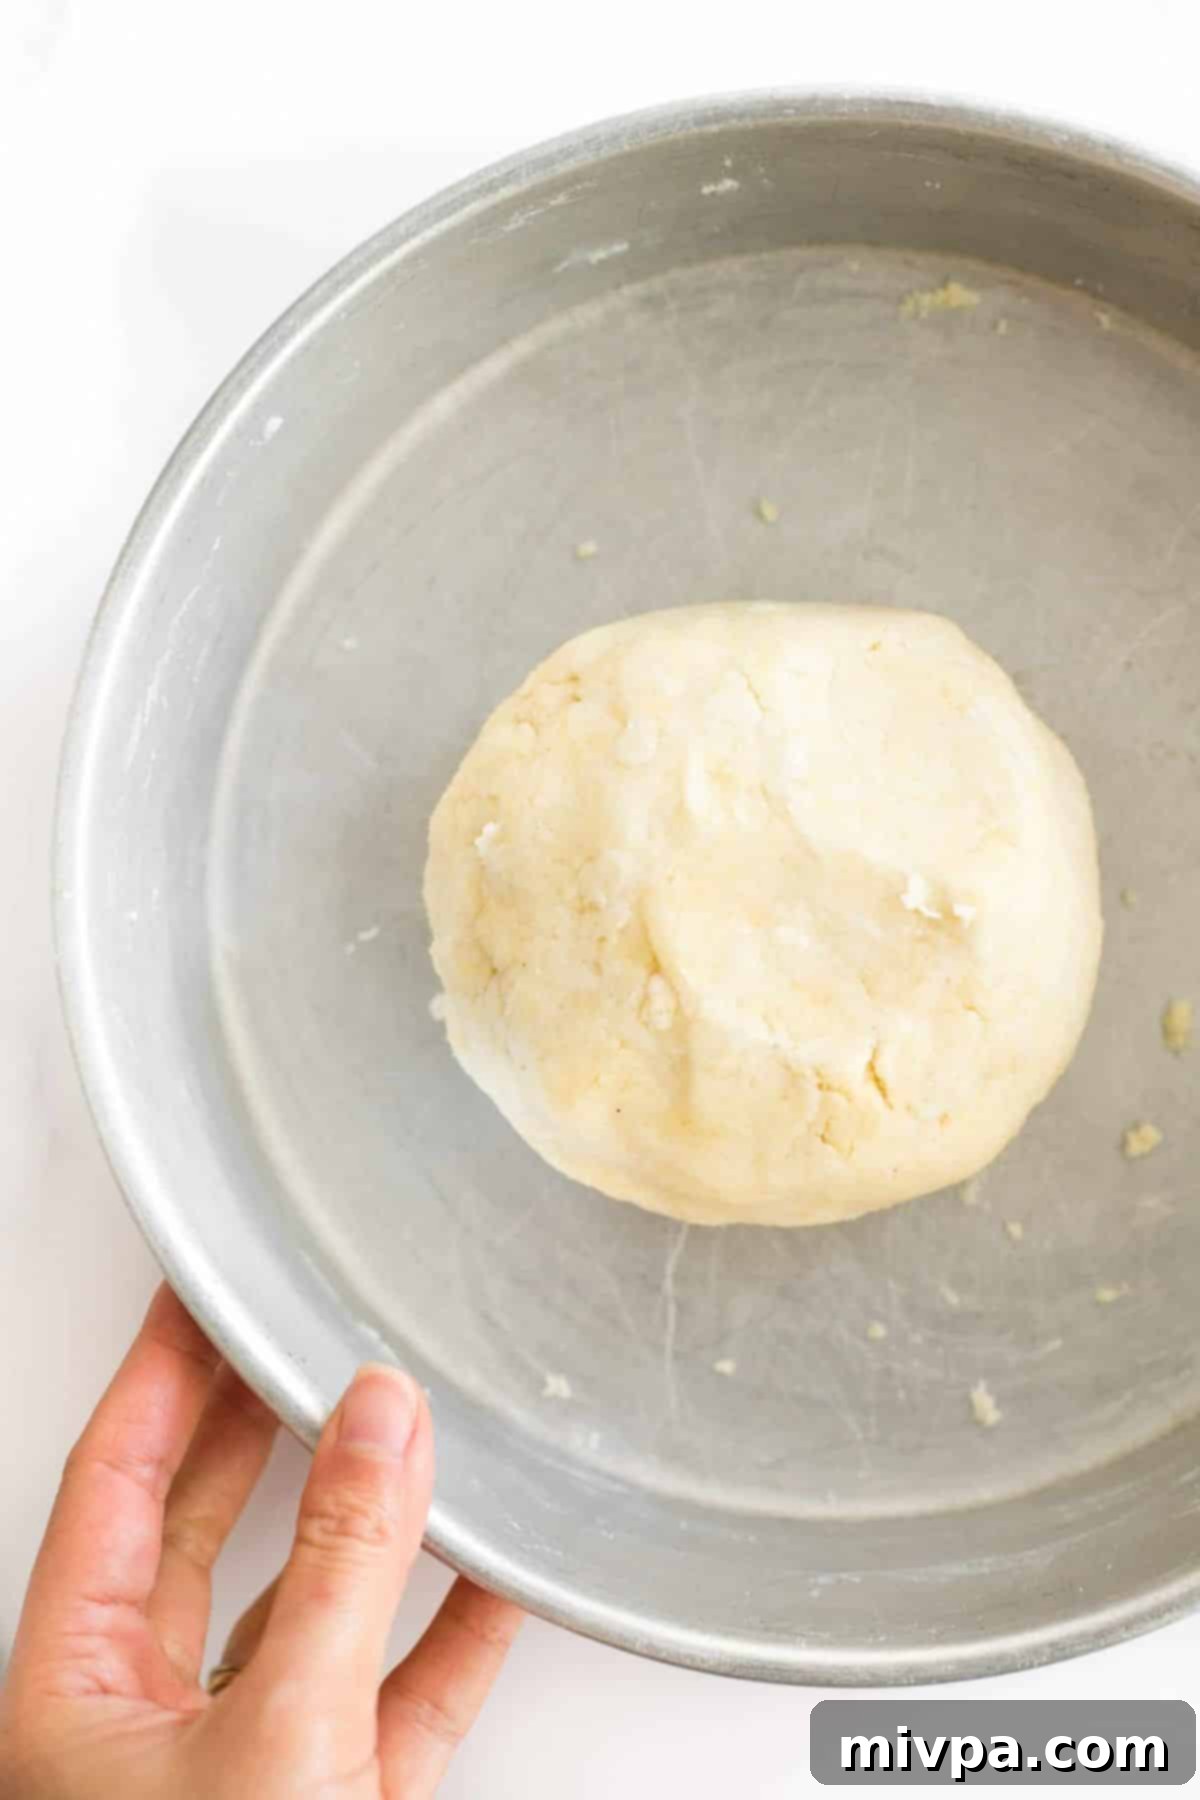
3. Roll Out the Dough with Ease
Gently gather the dough and shape it into a flat disc. To make rolling easier and prevent sticking, place the dough between two sheets of parchment paper. Using a rolling pin, carefully roll out the dough. Aim for a thickness that is even and a diameter slightly larger than your pie tin. This extra margin will ensure you have enough dough to cover the sides and create a nice edge.
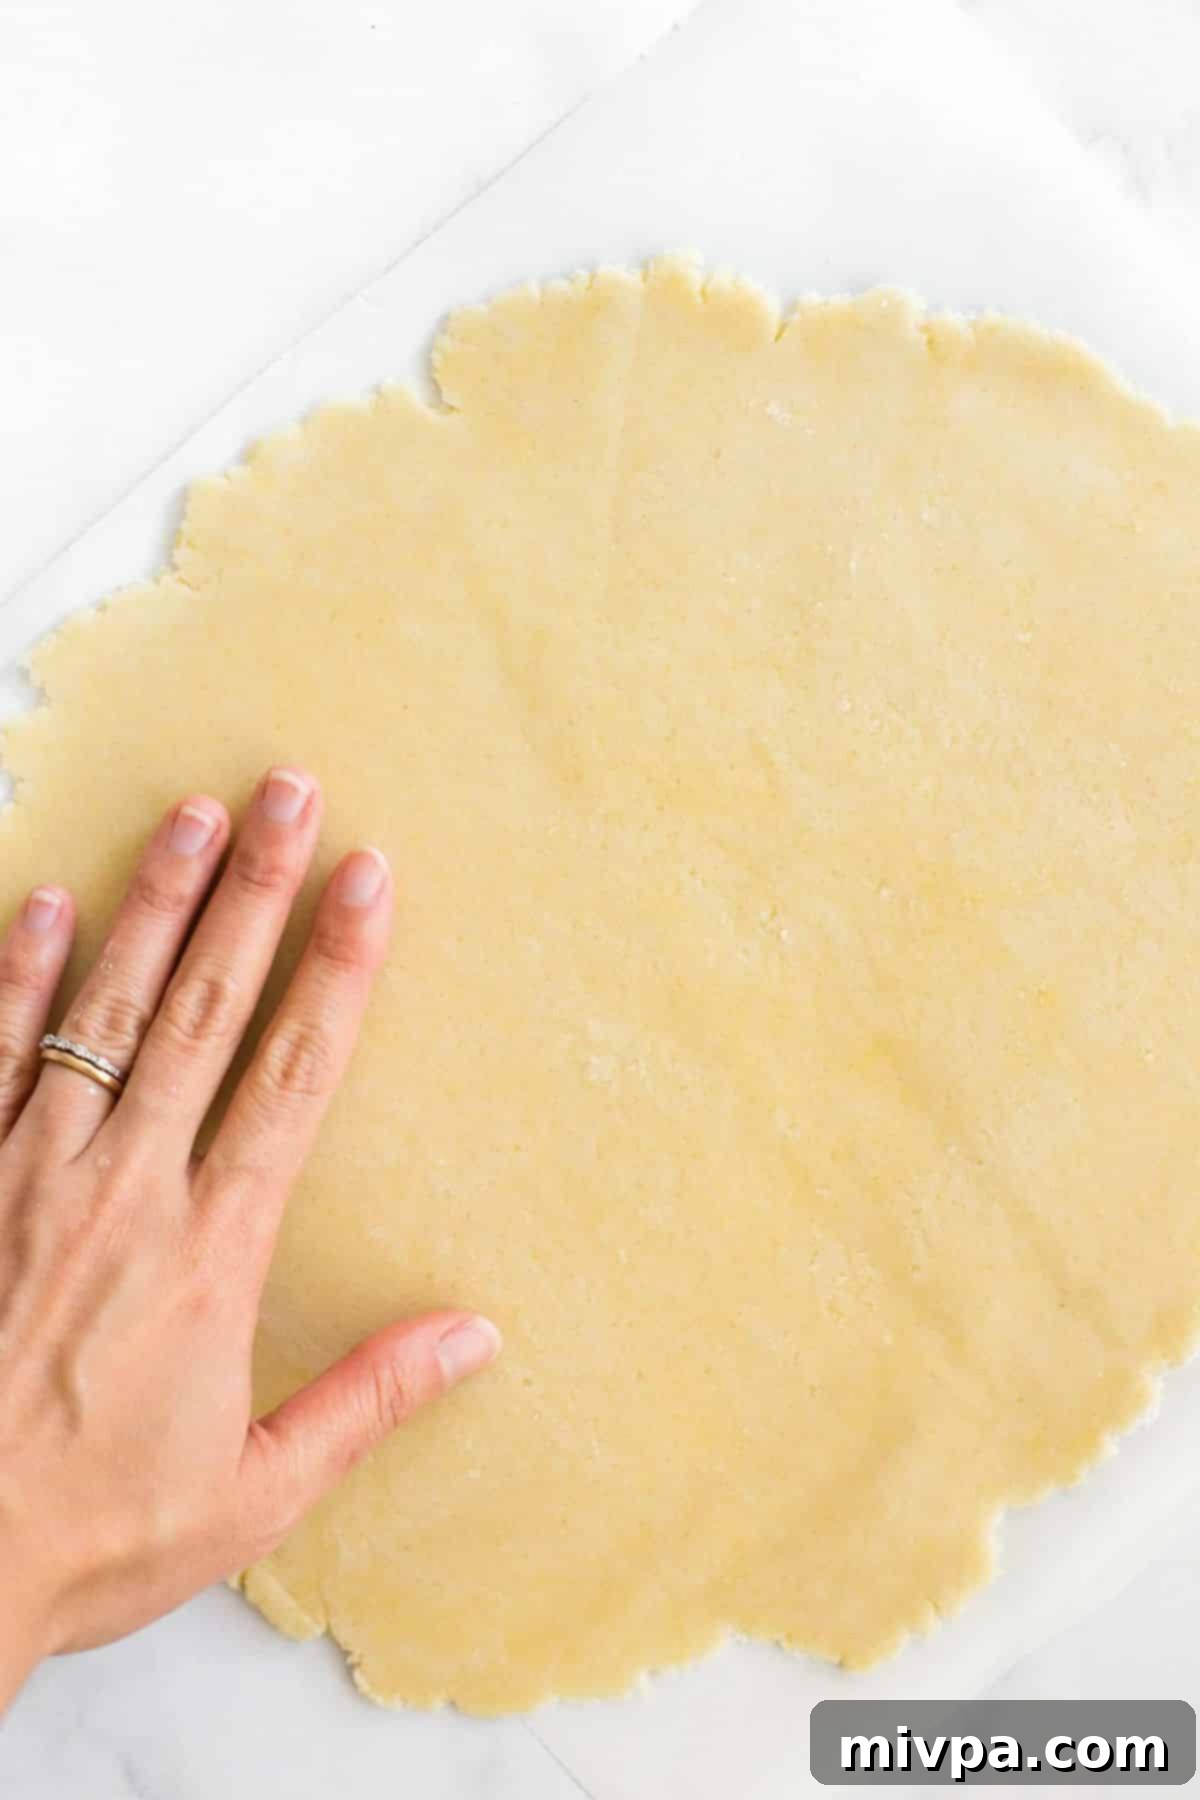
4. Gently Press Dough into Your Pie Pan
Carefully remove the top sheet of parchment paper from your rolled-out dough. Now, slide your hand underneath the bottom piece of parchment paper to assist in flipping the dough over onto your prepared tart pan, pie tin, or pie plate. Once positioned, slowly and meticulously peel off the remaining parchment paper. Gently press the dough into the contours of the tin, making sure it adheres evenly to the bottom and sides. Don’t be alarmed if the gluten-free dough appears to break or crack; this is common and easily remedied. Simply use your fingers to press the dough back into place, patching any imperfections. Once baked, your crust will still look wonderfully rustic and beautiful.
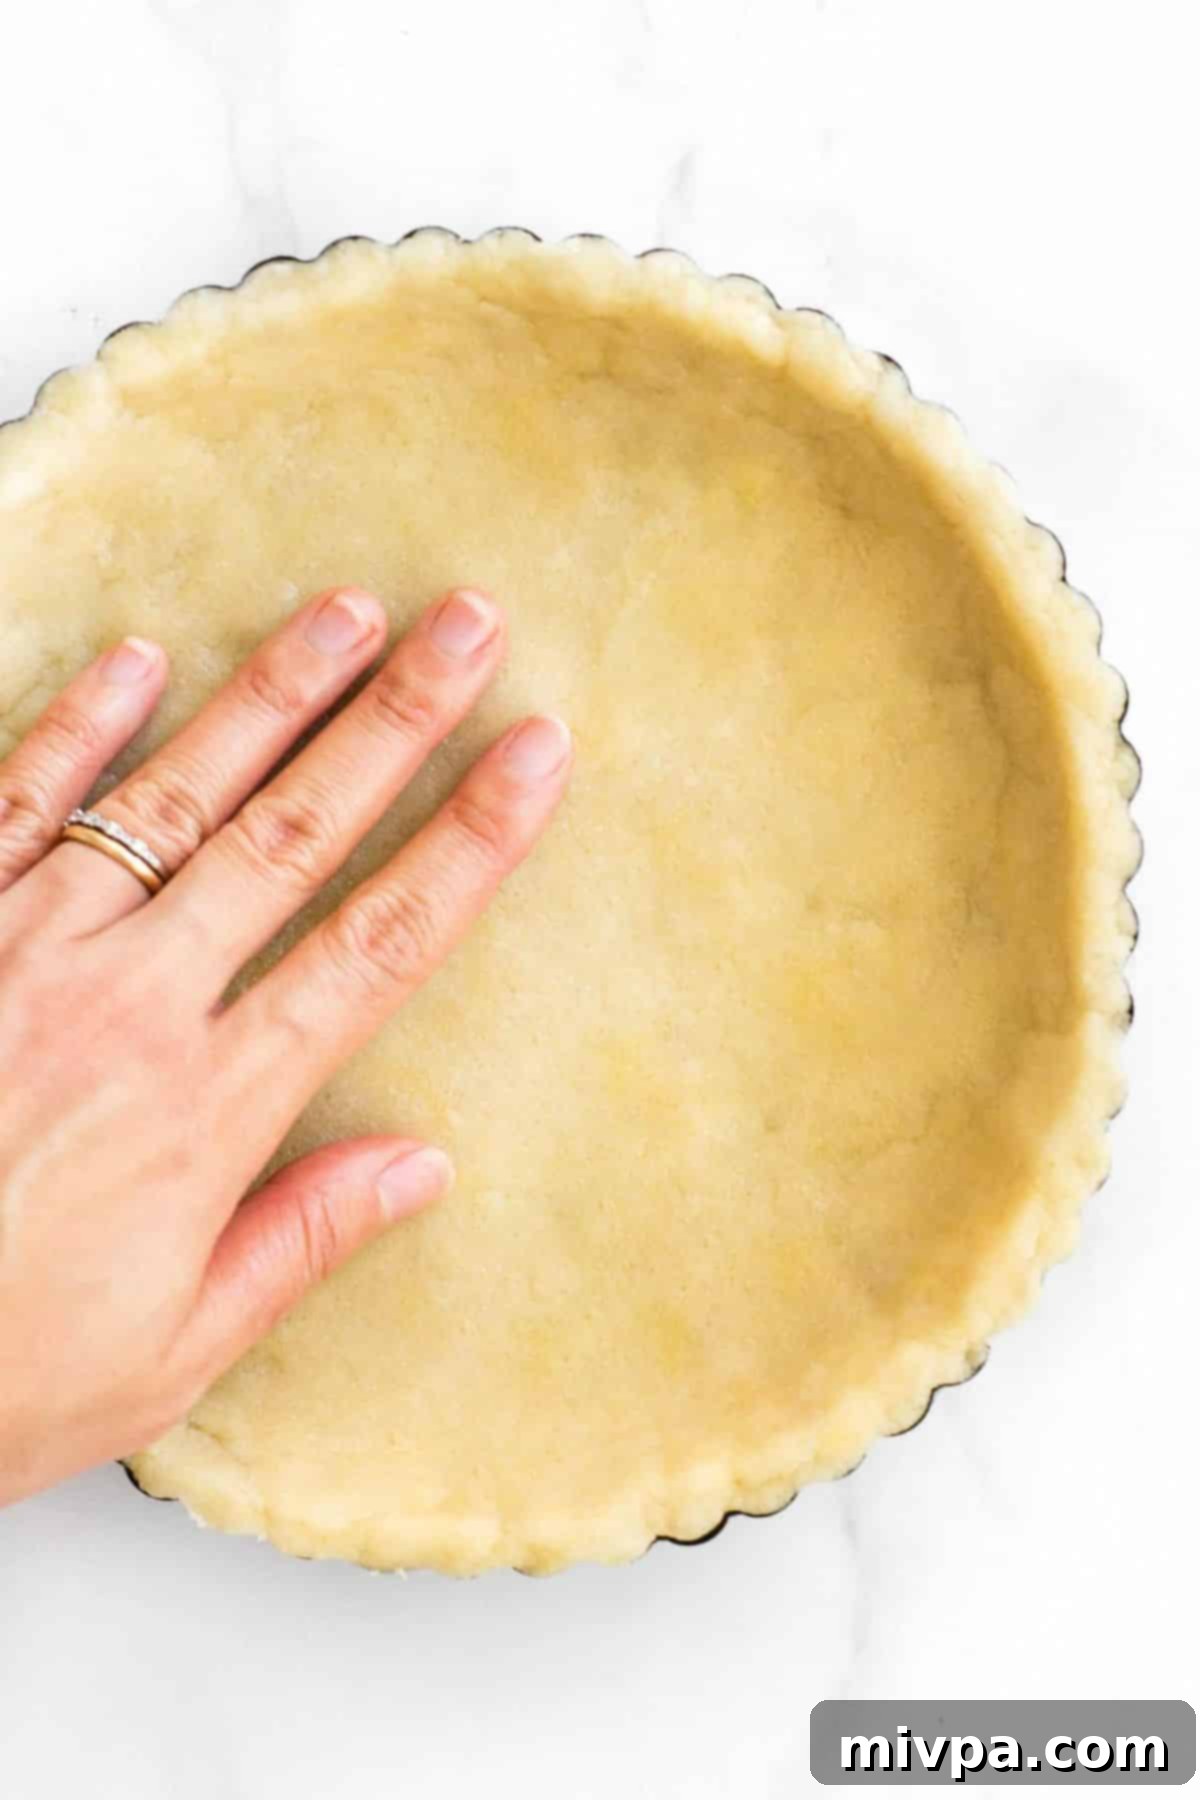
5. Par-Bake for a Golden, Flaky Crust
To achieve a perfectly crisp and golden crust that won’t become soggy when filled, we’ll par-bake it. Brush the exposed edges of the pie crust with a little beaten egg wash – this helps them turn a beautiful golden brown and provides a slight sheen. Carefully transfer the pie crust to the preheated oven and bake for approximately 20 minutes at 425°F (220°C). You’ll know it’s ready when the crust is firm to the touch and the edges have turned a lovely golden hue. Once done, remove it from the oven and allow it to cool completely on a wire rack. Cooling is essential before adding the filling to prevent a soggy bottom. (Pro Tip: To prevent the crust from puffing up excessively during baking, you can line it with parchment paper and fill it with pie weights, dried beans, or rice before par-baking.)
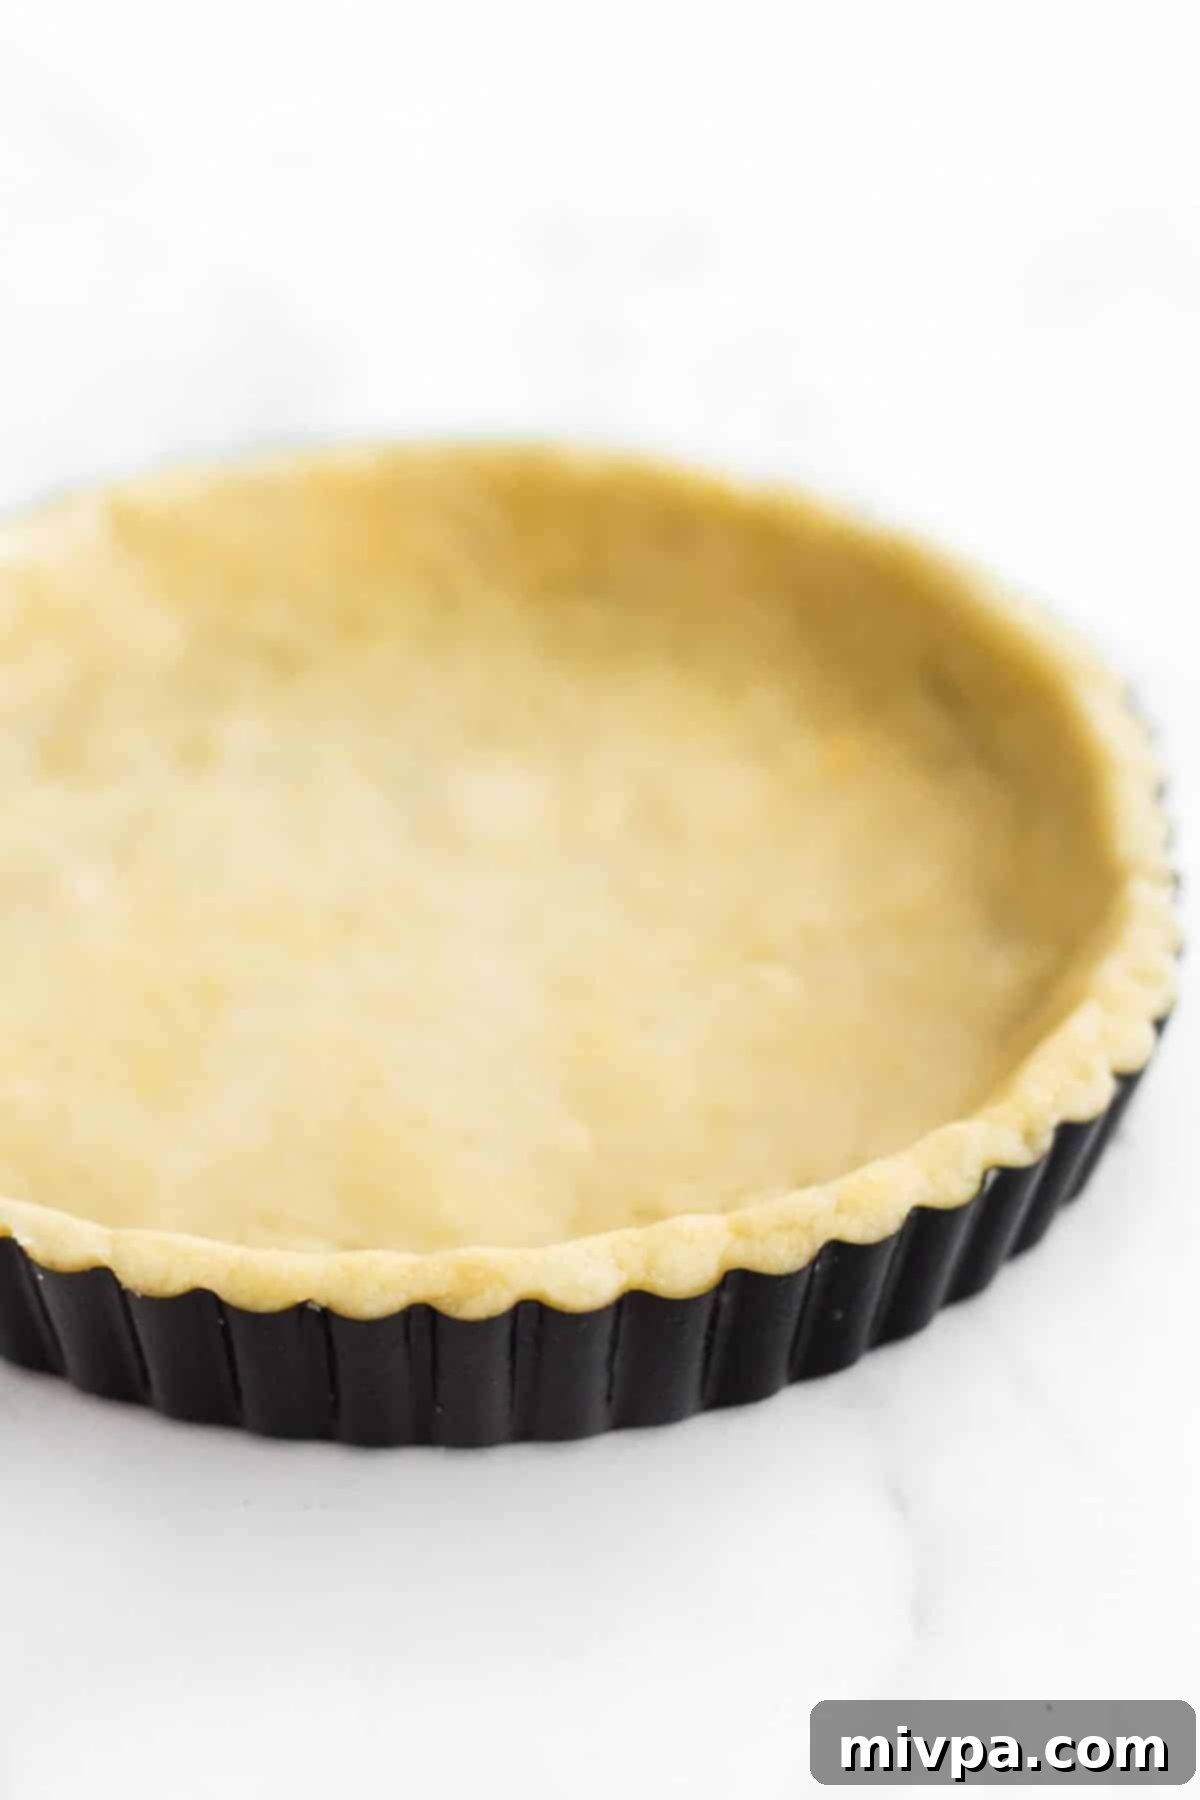
Ingredients for Your Tangy Lemon Curd Filling
Now, let’s gather the vibrant ingredients that will form the luscious, tangy heart of our gluten-free lemon meringue pie. A good lemon curd is the soul of this dessert, balancing sweetness with a refreshing citrus kick.
(As always, for precise measurements and detailed quantities, please refer to the comprehensive printable recipe card at the bottom of this post.)
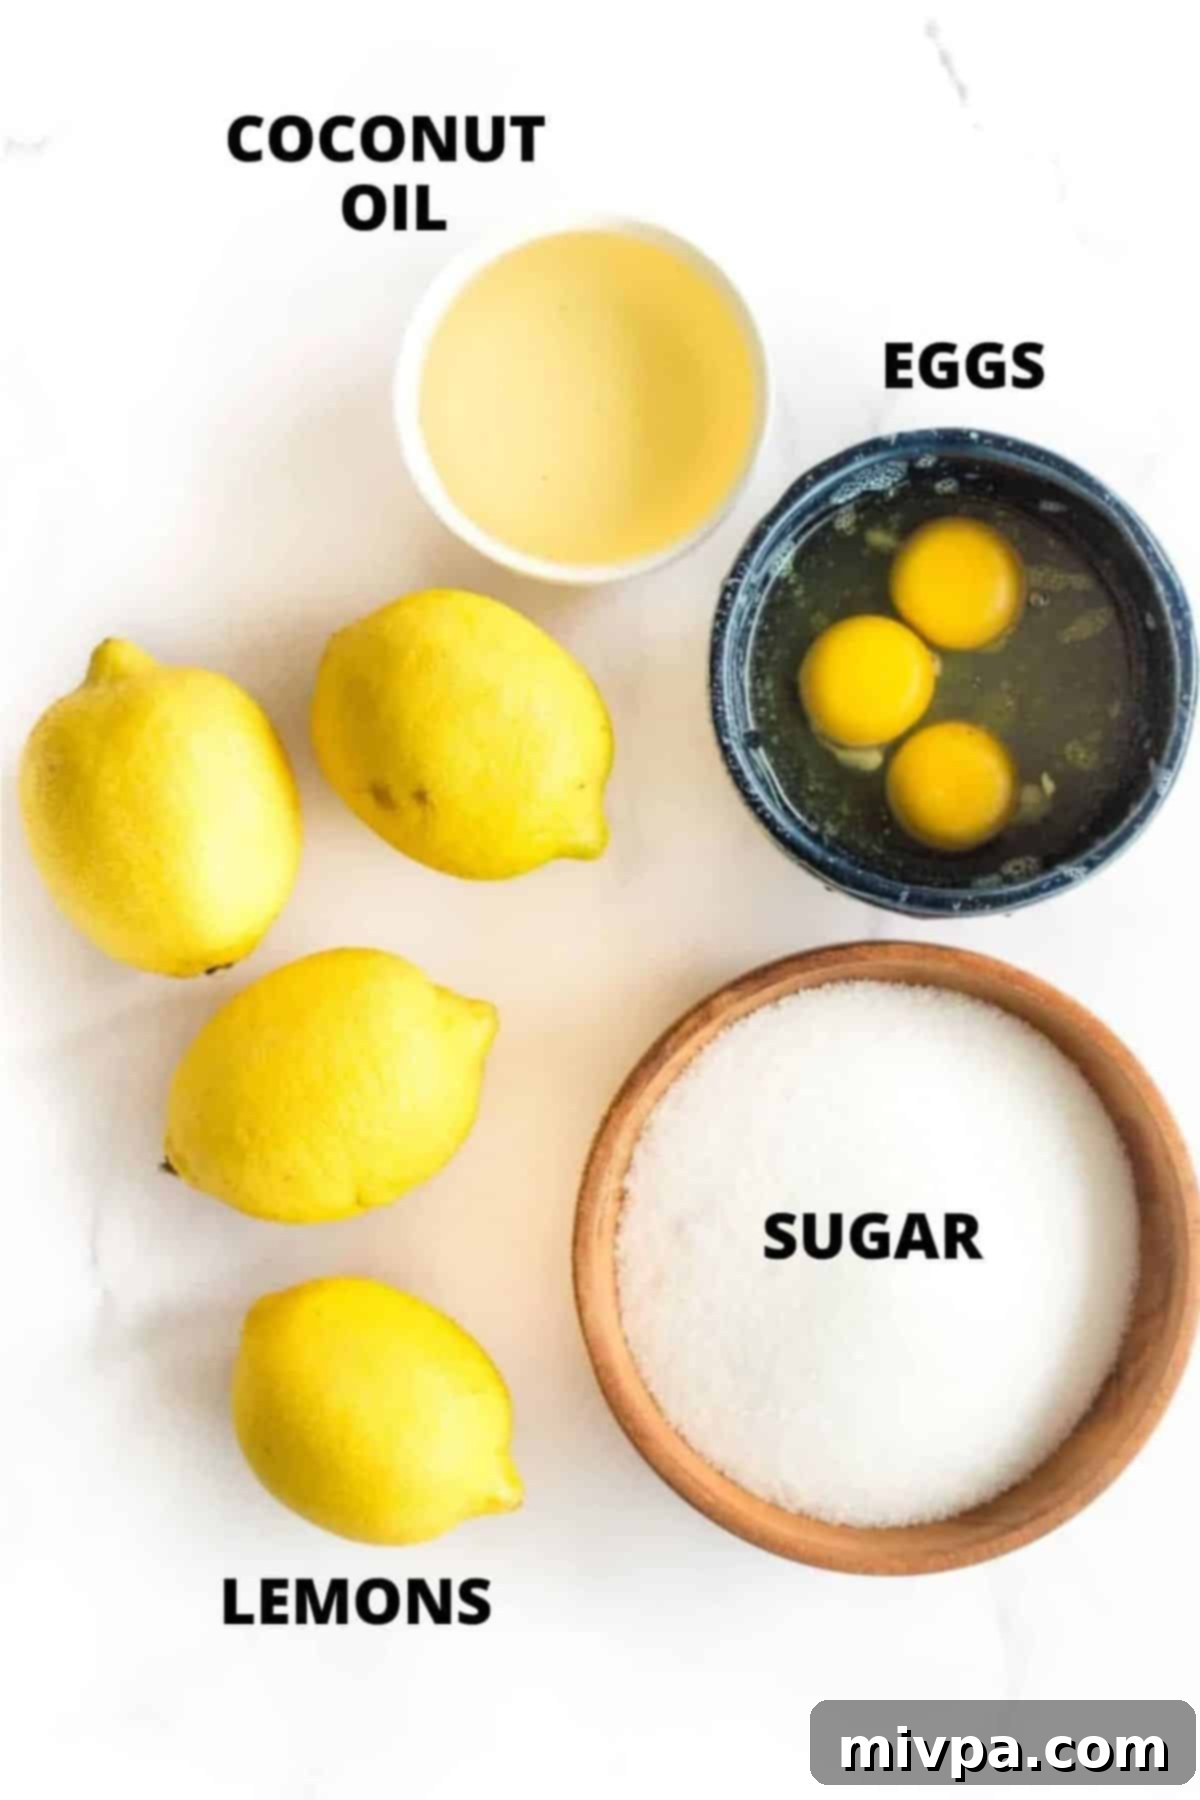
Important Notes for Crafting the Perfect Lemon Curd:
- Sweetener Options for Lemon Curd: For the filling, regular white granulated sugar works beautifully to create that classic sweet-tart balance in the lemon curd. If you prefer a slightly different flavor profile, light brown sugar can also be used, lending a subtle molasses note. For those managing diabetes or insulin resistance, granulated monk fruit sweetener is an excellent, zero-glycemic index alternative that measures 1:1 with sugar and will not raise blood sugar levels.
- Whole Eggs for Simplicity: Many traditional lemon curd recipes call for egg yolks only, often leaving you with leftover egg whites. To simplify this recipe and avoid waste, we use whole eggs for our lemon curd. This method still results in an incredibly rich and creamy curd, eliminating the need for tedious separation of whites and yolks – saving you time and effort in the kitchen.
- Refined Coconut Oil for Dairy-Free Smoothness: Just like with the crust, refined coconut oil is key to achieving a silky, dairy-free lemon curd. Its neutral flavor ensures the bright lemon notes are the star of the show. Be sure to use refined coconut oil, as extra virgin coconut oil will impart a distinct coconut flavor. If you are not avoiding dairy, an equal quantity of melted unsalted butter can be used, which will also yield a wonderfully rich curd.
- The Importance of Straining: This might seem like an extra step, but straining the cooked lemon curd through a fine-mesh strainer is absolutely essential for achieving a perfectly smooth, velvety, and lump-free filling. This crucial step removes any tiny bits of cooked egg, lemon zest, or other impurities, ensuring your lemon curd is impeccably silky. Don’t skip it for the best possible texture!
How to Prepare Delicious Homemade Lemon Curd:
1. Cook the Lemon Curd to Perfection
- Microwave Method (Quick & Easy): While your pie crust is par-baking and cooling, you can efficiently prepare the lemon curd. In a large, microwave-safe bowl, whisk together the sugar and whole eggs until thoroughly combined and smooth. Then, stir in the fresh lemon juice, lemon zest, and melted refined coconut oil, mixing everything well. Cook this mixture in the microwave on high power, stirring vigorously after each 1-minute interval. This process typically takes between 3 to 7 minutes, depending on your microwave’s wattage. The lemon curd is ready when it has visibly thickened and consistently coats the back of a spoon without running off.
- Stovetop Method (Classic & Controlled): If you prefer the stovetop, begin by stirring the eggs, sugar, and lemon zest together in a small pot or medium saucepan. Heat this mixture over a low heat, stirring constantly until the sugar is dissolved and the ingredients are well-combined. Then, add the fresh lemon juice and coconut oil, mixing thoroughly. The key to a perfect stovetop curd is continuous whisking. Keep stirring the mixture constantly over low heat until it gradually thickens – this usually takes about 5 to 10 minutes. It’s vital to stay focused and not get distracted, as leaving it unattended can quickly turn a smooth curd into an eggy, scrambled mess. You’ll know the lemon curd has reached the perfect consistency when it’s thick enough to coat the back of a spoon and leaves a clear path when a finger is drawn across it.
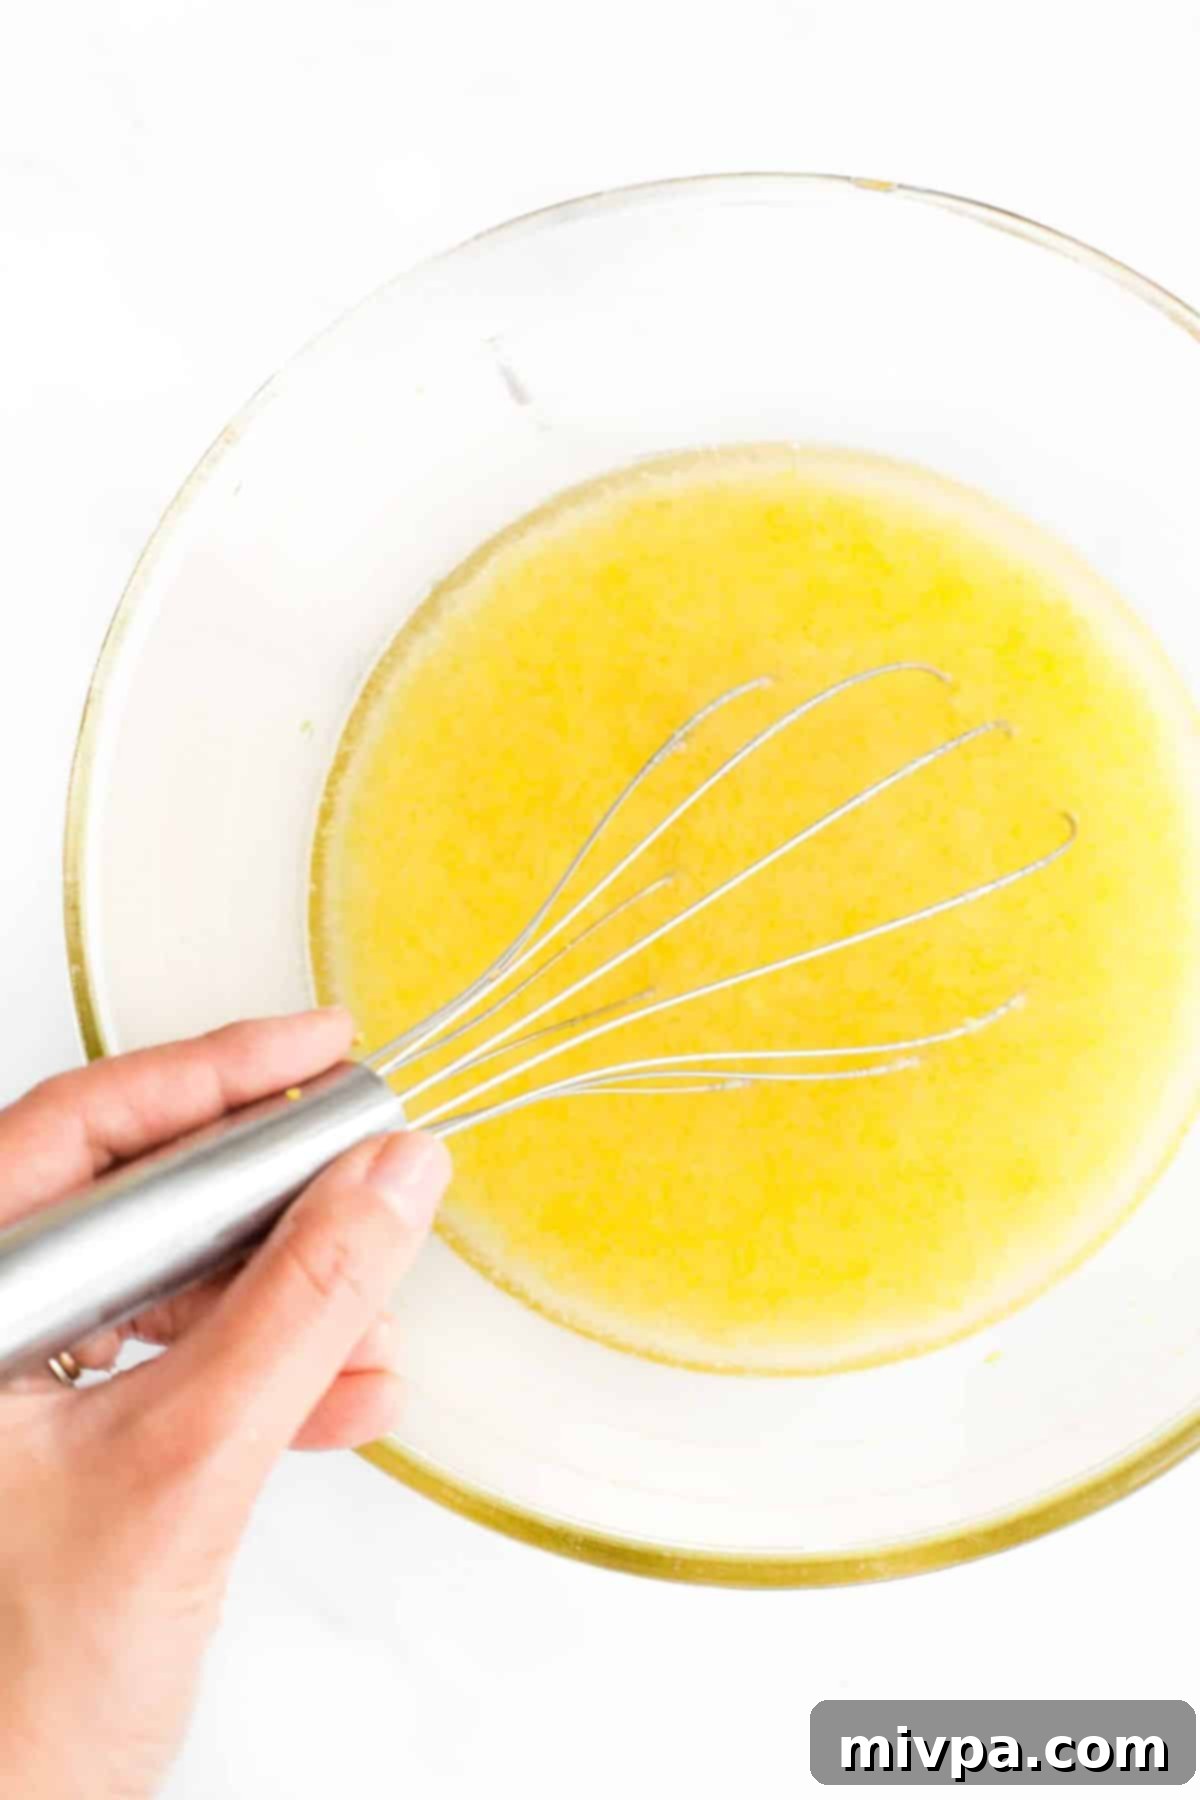
2. Strain the Curd for Ultimate Smoothness
Once your tangy lemon curd has finished cooking, immediately pour it through a fine-mesh strainer set over a clean bowl. This crucial step filters out any tiny bits of cooked egg or lemon rind, guaranteeing an incredibly smooth, silky, and luxuriously creamy curd. Do not skip this! After straining, allow the curd to cool for at least 10 minutes before proceeding, or even longer if you have the time, to ensure it sets properly.
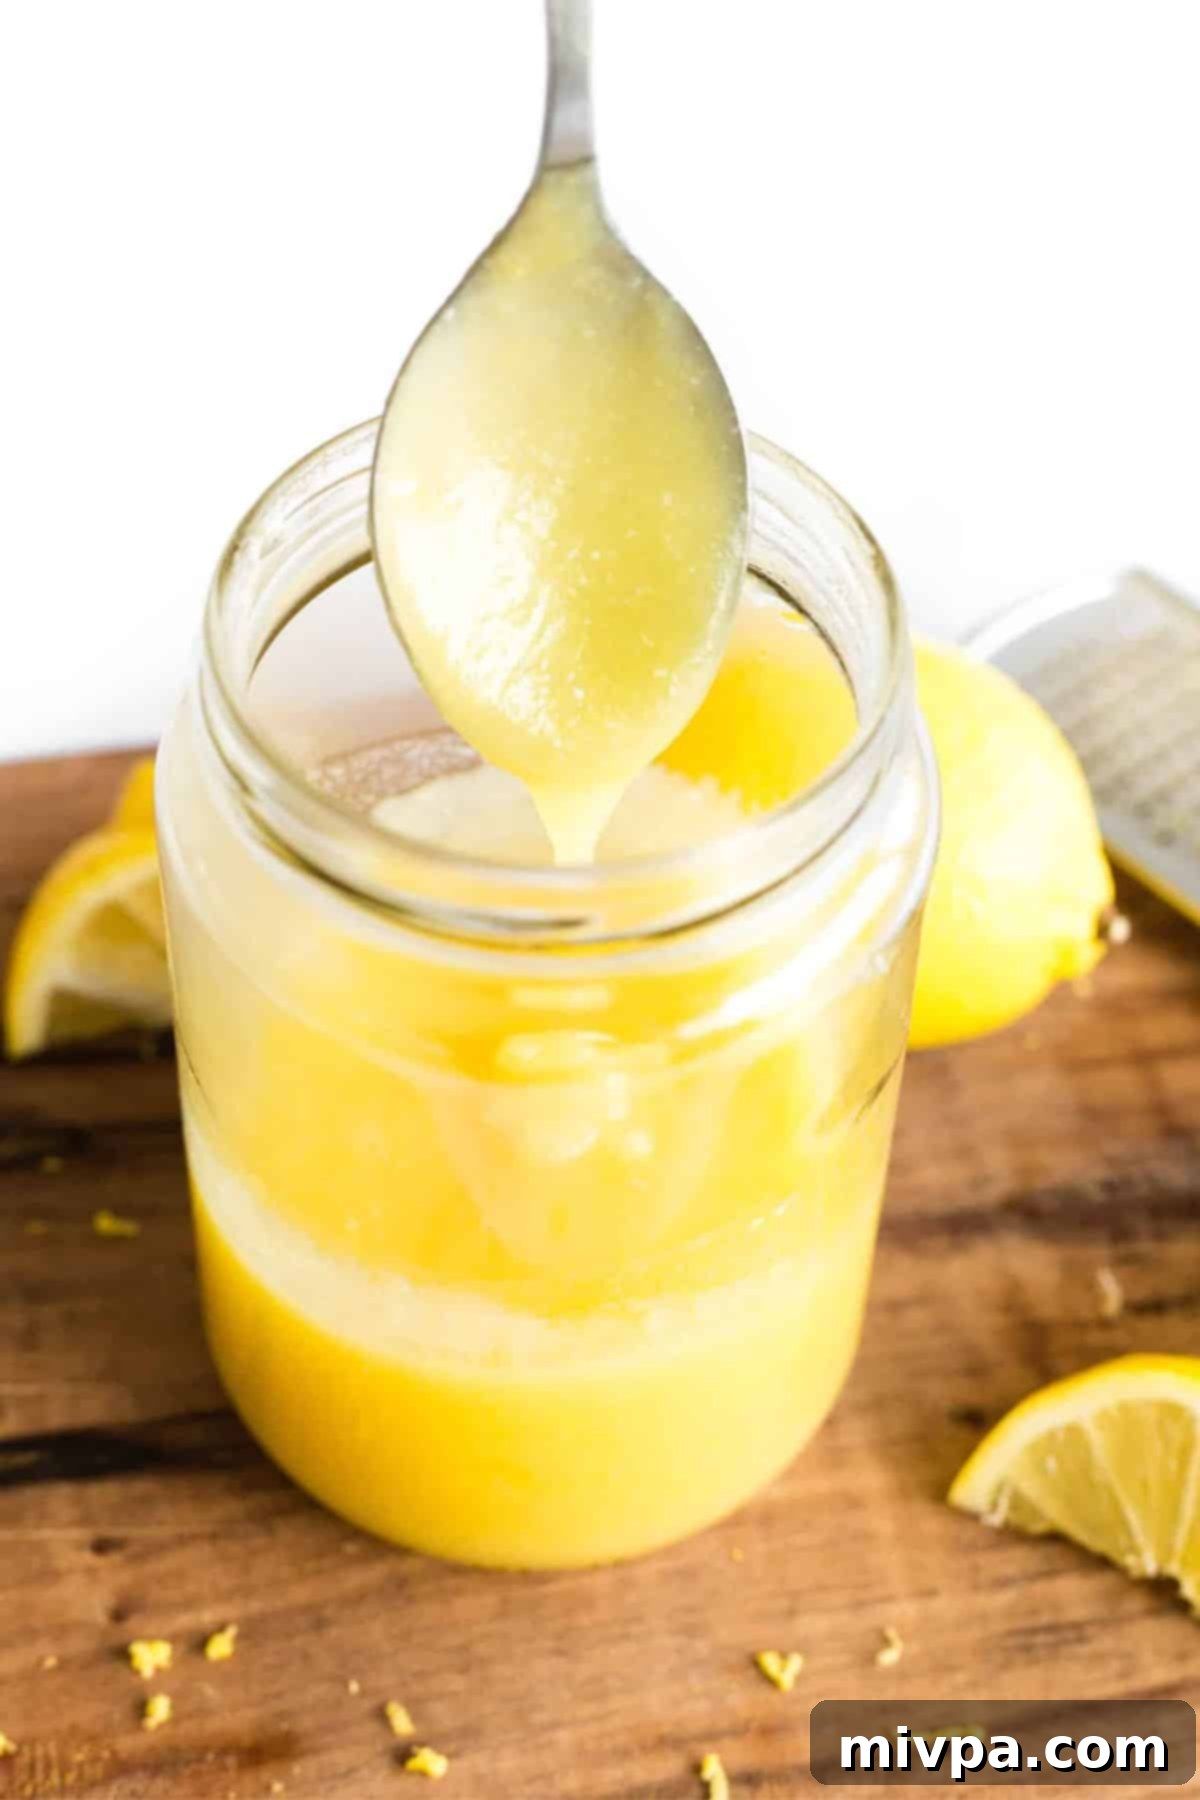
Ingredients & Important Notes for the Italian Meringue:
- For the beautiful, cloud-like meringue topping, you’ll need just three essential ingredients: granulated sugar, water, and fresh egg whites.
- The recipe detailed here specifically uses the Italian meringue method. While it involves a few more steps than the more common French meringue (which simply requires beating egg whites with sugar until stiff peaks form), the extra effort is well worth it. Italian meringue is made by slowly pouring a hot sugar syrup into whipping egg whites, essentially cooking the egg whites as they whip. This process results in a significantly more stable, durable, and glossy meringue that won’t weep or lose its shape, even after several days in the refrigerator. This stability is key for a picture-perfect lemon meringue pie that holds up beautifully. You can learn more about different types of meringue here.
Mastering the Italian Meringue: Step-by-Step
1. Prepare the Hot Sugar Syrup
In a medium-sized pot, combine the granulated sugar and water. Stir the mixture gently over low heat until all the sugar crystals have completely dissolved. Once dissolved, increase the heat to high and bring the syrup to a rolling boil. Do not stir once it boils, as this can cause crystallization.
2. Whisk Egg Whites and Incorporate Syrup
While the syrup is heating, place your egg whites in a clean, heat-proof mixing bowl. Using a hand mixer or stand mixer with a whisk attachment, begin whipping the egg whites until they reach firm, glossy peaks – they should hold their shape well. Meanwhile, continue to boil your sugar syrup until it reaches a temperature of 240°F (115°C) on a candy thermometer. This is the “soft ball” stage, crucial for a stable meringue. Once the syrup reaches temperature, carefully and slowly pour the hot syrup in a thin, steady stream into the whipping egg whites. Continue mixing continuously at high speed during this process to ensure the syrup is fully incorporated and the egg whites are tempered. Keep mixing until the bottom of the bowl feels cool to the touch and the meringue has reached room temperature. This will result in a thick, shiny, and incredibly stable Italian meringue.
Assembling Your Beautiful Lemon Meringue Pie
1. Final Oven Preheat
Preheat your oven to 350°F (175°C). Ensure the oven rack is positioned in the lower-third of the oven. This placement helps ensure the meringue cooks evenly without burning the peaks too quickly.
2. Fill the Par-Baked Crust
Carefully pour the completely cooled lemon curd filling into your par-baked and cooled pie crust. Gently spread the curd evenly across the bottom of the crust using a spatula, ensuring a smooth, uniform layer.
3. Crown with Meringue
Now for the grand finale! Generously scoop the prepared Italian meringue over the lemon curd filling. Using a rubber spatula, gently spread the meringue evenly across the entire surface of the pie, ensuring it touches the edges of the crust to seal the filling. For that iconic, decorative look, use the back of a large spoon to create beautiful, swirling peaks and swirls on the meringue surface. These peaks will brown exquisitely in the oven, adding to the visual appeal.
4. Bake to Golden Perfection
Carefully place your assembled gluten-free lemon meringue pie into the preheated oven. Bake for approximately 25 to 30 minutes, or until the meringue peaks achieve a beautiful golden-brown color. Keep a close eye on the pie during the last few minutes. If you notice the meringue browning too quickly, gently tent the pie with aluminum foil to prevent scorching while the rest of the pie finishes baking.
5. Cool and Chill for the Best Slice
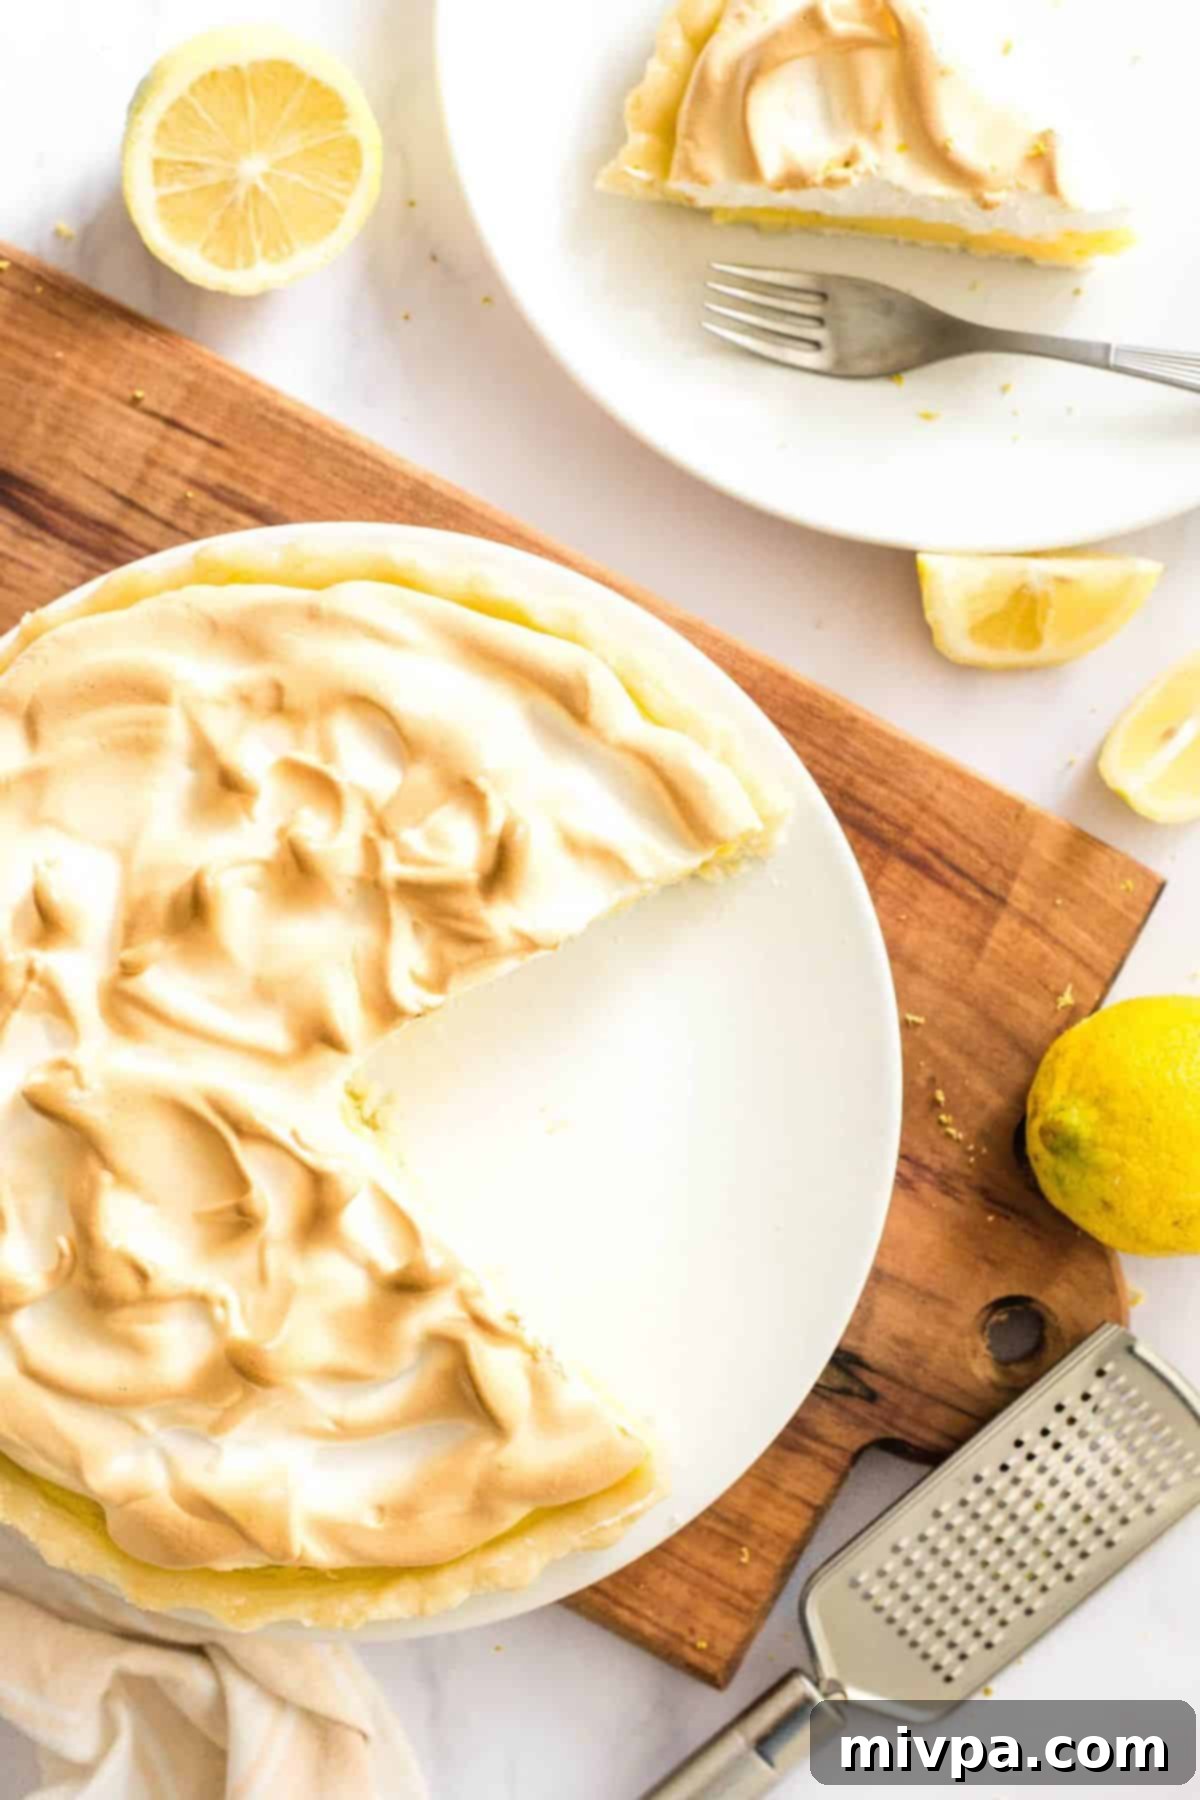
Once your stunning gluten-free dairy-free lemon meringue pie is baked to perfection, remove it from the oven. Resist the urge to cut into it immediately! Allow the pie to cool completely on a wire rack at room temperature for at least 1 hour. This initial cooling helps the filling and meringue set. For the best possible texture and to ensure clean, beautiful slices, transfer the cooled pie to the refrigerator and chill it for a minimum of 4 hours, or ideally, overnight. This chilling period is crucial for the curd to fully set and for the flavors to meld, resulting in a firm, sliceable, and utterly delicious pie.
Dish by Dish Pro Tips & Tricks for Success:
- Embrace Pre-Made Crust for Ultimate Convenience: If time is of the essence or if you’re looking to simplify the baking process, don’t hesitate to use a store-bought gluten-free pie crust. Many excellent options are available that can save you a significant amount of preparation time while still providing a delicious base for your pie. Ensure it’s par-baked as per the package instructions if required, then proceed with the recipe.
- Strategic Advance Preparation: To break down the workload and make baking this impressive pie less daunting, consider preparing the pie crust and the lemon curd filling ahead of time. Both components can be made a day or two in advance and stored separately in the refrigerator. When you’re ready to assemble and bake, simply prepare the Italian meringue, then combine the cooled crust and curd, top with meringue, and bake. This staggered approach makes the entire process much more relaxed and enjoyable.
Frequently Asked Questions About Lemon Meringue Pie:
To maintain its freshness and beautiful texture, any leftover lemon meringue pie should be stored in the refrigerator. Place it in an airtight container or carefully wrap it tightly with plastic wrap to prevent it from drying out or absorbing other odors. Stored correctly, the pie will remain delicious for up to 4 days, though it’s often best enjoyed within the first 2-3 days for optimal meringue stability.
Yes, you absolutely can freeze lemon meringue pie! To do so, ensure the pie is completely cooled. Then, place it in an airtight, freezer-safe container. For best results, consider flash-freezing the pie uncovered for an hour or two until the meringue is firm, then wrap it tightly in plastic wrap and then foil before placing it back in the container. This helps protect the meringue. It can be frozen for up to 2 weeks. When you’re ready to enjoy it, simply let the frozen gluten-free lemon pie thaw in the refrigerator for at least 1 hour (or longer for a whole pie) before slicing and serving. The texture of the meringue might change slightly upon thawing, but the flavor will remain wonderful.
Absolutely! Making this dairy-free lemon meringue pie ahead of time is a fantastic strategy, especially when entertaining. You can fully bake the pie and allow it to cool completely, then chill it in the refrigerator for up to a full day before you plan to serve it. This allows the flavors to deepen and the curd to set perfectly, ensuring beautiful slices. As mentioned in our tips, you can also prepare the crust and curd separately a few days in advance, storing them in the fridge, and then only make the meringue and assemble/bake on the day you plan to serve.
No, traditionally, lemon meringue pie is generally not dairy-free. This is because both the pie crust and the lemon curd filling often incorporate butter, which is a dairy product. Our recipe, however, has been specifically developed and carefully adapted to be completely dairy-free by substituting butter with refined coconut oil in both the crust and the curd. This ensures that everyone, including those with lactose intolerance or dairy allergies, can enjoy a delicious slice without compromise.
Other Zesty Lemon Recipes You’ll Adore:
- No-Bake Lemon Cheesecake (Gluten-Free, Vegan)
- Lemon Blueberry Cake (Gluten-Free, Dairy-Free)
- Easy Lemon Curd (Gluten-Free, Dairy-Free)
- Easy Lemon Yogurt Cake (Gluten-Free, Dairy-Free Option)
- Lemon Cornmeal Cake (Gluten-Free)
- Honey Lemon Shortbread (Gluten-Free, Dairy-Free)
- Lemon Crinkle Cookies (Gluten-Free, Dairy-Free)
- Lemon Muffins (Gluten-Free)
More Incredible Gluten-Free Holiday Pie Recipes:
- Crustless Pumpkin Pie (Gluten-Free, Dairy-Free)
- Sweet Potato Pie (Gluten-Free, Dairy-Free)
- Pecan Pie (Gluten-Free, Dairy-Free)
- Cranberry Pie (Gluten-Free, Dairy-Free)
- Pear Custard Pie (Gluten-Free, Dairy-Free)
Even More Irresistible Dessert Recipes to Indulge In:
- Gluten-Free Pumpkin Banana Muffins (Dairy-Free)
- 126 Gluten-Free Desserts and Sweet Treats for Labor Day
- Mini Pumpkin Cheesecakes (Gluten-Free, Dairy-Free Option)
- Gluten-Free Pecan Pie Bars (Dairy-Free)
P.S. If you try this recipe, I’d love for you to leave a star rating below, and/or a review in the comment section further down the page. I always appreciate your feedback. Be sure to check out my entire Recipe Index for all the recipes on the blog. You can also follow me on Pinterest, Facebook or Instagram! Sign up for my Email List to get fresh recipes in your inbox each week!
Print

Gluten-Free Lemon Meringue Pie (Dairy-Free)
5 Stars
4 Stars
3 Stars
2 Stars
1 Star
5 from 3 reviews
- Author: Felicia Lim
Total Time: 5 hours 10 minutes
Yield: 12 servings
Diet: Gluten Free
Description
This exquisite gluten-free lemon meringue pie is truly a dessert for the ages, perfect for any special occasion that calls for a touch of elegance and vibrant flavor. Imagine celebrating Mother’s Day, Easter, Christmas, or even just a beautiful spring day with this magnificent creation. It features a wonderfully light and incredibly flaky pie crust, handcrafted to perfection without any gluten. This delightful base cradles a luscious, silky smooth, and brightly citrusy lemon curd that bursts with refreshing tang. Crowning it all is a majestic, sweet, and remarkably stable Italian meringue, renowned for its ability to hold its beautiful peaks and resist weeping, even after several days in the refrigerator. The best part? This entire pie is completely dairy-free, yet so wonderfully rich and satisfying that you’d honestly never suspect it. It’s the perfect dessert for sharing with everyone, ensuring no one misses out on this classic indulgence.
Ingredients
Units
Scale
For the Flaky Gluten-Free Pie Crust:
- 2 cups gluten-free all-purpose flour blend (ensure it contains xanthan gum), plus extra for dusting
- 2 tablespoons light brown sugar (or granulated white sugar)
- 1/2 cup refined coconut oil, well chilled and solid (do not use melted)
- 1 large egg, beaten (plus a small amount extra for egg wash, if desired)
- 2/3 cup cold water (add gradually, as needed)
For the Creamy Lemon Curd Filling:
- 6 large whole eggs
- 1 1/3 cup granulated white sugar (or light brown sugar / monkfruit sweetener)
- 2 cups freshly squeezed lemon juice (this typically requires about 8 – 9 medium-sized lemons)
- Zest of 4 medium lemons (finely grated, avoid the white pith)
- 1 cup refined coconut oil, melted (ensure it’s refined for neutral taste)
For the Stable Italian Meringue Topping:
- 1 1/2 cups granulated white sugar
- 1/2 cup cold water
- 4 large egg whites (room temperature is ideal for whipping)
Instructions
(1) Prepare the Flaky Gluten-Free Pie Crust:
- Preheat Oven and Grease Pan: Preheat your oven to a precise 425°F (220°C). Prepare your pie pan with a removable bottom by lightly greasing it. This ensures easy removal of your finished pie.
- Craft the Pie Crust Dough: In a large mixing bowl, thoroughly whisk together the gluten-free flour blend and sugar until well combined. Add the chilled, solid coconut oil and cut it into the flour using a pastry cutter, two knives, or the back of a fork. Continue until the mixture resembles coarse, off-white sand. Next, stir in the beaten egg until just combined. The mixture will still be crumbly. Gradually add cold water, one tablespoon at a time, mixing with a spoon until a cohesive dough forms. The dough should just hold together when pressed, leaning slightly towards being moist rather than dry.
- Roll Out the Dough: Gently shape the dough into a disc. Place it between two sheets of parchment paper and use a rolling pin to roll it out evenly. Aim for a thickness that is consistent and a diameter slightly larger than your pie tin.
- Press Dough into Pie Tin: Remove the top piece of parchment paper. Carefully invert the dough (with the bottom parchment still attached) onto your prepared pie tin. Slowly peel off the remaining parchment as you gently press the dough into the tin’s base and sides. Don’t worry if the dough cracks; simply press it back together with your fingers – it will bake beautifully.
- Par-Bake the Crust: For a golden and firm crust, brush the exposed edges with a little extra beaten egg. Bake the crust for 20 minutes at 425°F (220°C) until it is firm and the edges are lightly golden brown. Remove from the oven and allow it to cool completely on a wire rack before proceeding. (Tip: You can place pie weights on the crust during par-baking to prevent it from puffing up.)
(2) Prepare the Smooth Lemon Curd Filling:
- Cook the Lemon Curd: While the pie crust cools, begin preparing the curd. In a large microwave-safe bowl (or a small pot for stovetop), whisk the sugar and eggs until well combined. Stir in the fresh lemon juice, lemon zest, and melted coconut oil.
- Microwave Method: Cook on high power in 1-minute intervals, whisking thoroughly after each minute. This typically takes 3 to 7 minutes. The curd is ready when it’s thick enough to coat the back of a spoon.
- Stovetop Method: Heat over low heat, whisking constantly (approximately 5 to 10 minutes) until the mixture thickens and coats the back of a spoon. Do not stop whisking to prevent scrambling.
- Strain and Cool the Curd: For an impeccably smooth and silky texture, immediately strain the cooked lemon curd through a fine-mesh strainer into a clean bowl. This removes any small bits of zest or cooked egg. Let the strained curd cool for at least 10 minutes, or longer, to allow it to begin setting.
(3) Make the Stable Italian Meringue:
- Prepare the Sugar Syrup: In a medium pot, combine the sugar and water. Stir over low heat until the sugar is completely dissolved. Once dissolved, increase the heat to high and bring the syrup to a boil.
- Whip Egg Whites and Combine: Meanwhile, place the egg whites in a clean, heat-proof mixing bowl. Using a hand mixer or stand mixer, whisk the egg whites until they form firm, glossy peaks (about a few minutes). Continue boiling the sugar syrup until it reaches 240°F (115°C) on a candy thermometer. With the mixer still running on high speed, carefully and slowly pour the hot sugar syrup in a thin, steady stream into the whipping egg whites. Continue to beat the meringue until it is thick, glossy, and the bowl has cooled to room temperature. This creates a beautifully stable Italian meringue.
(4) Assemble and Finish Baking Your Lemon Meringue Pie:
- Final Oven Preheat: Preheat your oven to 350°F (175°C) and adjust your oven rack to the lower-third position.
- Fill the Crust with Curd: Pour the completely cooled lemon curd filling into the par-baked and cooled pie crust, spreading it evenly.
- Top with Meringue: Generously scoop the stable Italian meringue over the lemon curd. Gently spread it to cover the entire surface, ensuring it touches the crust edges. Use the back of a large spoon to create decorative peaks and swirls.
- Bake for Golden Meringue: Carefully transfer the pie to the preheated oven. Bake for 25 to 30 minutes, or until the meringue peaks are beautifully golden brown. If the meringue starts to brown too quickly, loosely tent the pie with aluminum foil to prevent over-browning.
- Cool and Chill Completely: Once baked, remove the pie from the oven and let it cool completely on a wire rack for at least 1 hour until it reaches room temperature. For the best slicing and setting, chill the gluten-free lemon meringue pie in the refrigerator for at least 4 hours, or ideally, overnight, before serving.
Notes
Detailed Pie Crust Notes:
- Pie Crust Options: This recipe includes full instructions for our popular gluten-free and dairy-free pie crust, known for its fantastic texture. However, for added convenience, particularly when you’re short on time, a high-quality store-bought gluten-free pie crust can be an excellent substitute. Just ensure you follow any specific par-baking instructions that come with the ready-made crust.
- Choosing All-Purpose Gluten-Free Flour: The type of gluten-free flour blend you use is critical. I highly recommend a blend that combines lighter flours/starches such as rice flour, corn starch, or tapioca starch, and importantly, includes xanthan gum. Xanthan gum acts as a binder, replacing the gluten and providing elasticity to the dough, which is essential for a workable and flaky crust. Avoid blends that prominently feature heavier, denser flours like garbanzo bean flour, as these tend to result in a crumbly, heavy, and less desirable crust texture.
- Sugar Choices for the Crust: I typically use light brown sugar in the crust for a subtle depth of flavor. However, regular white granulated sugar, dark brown sugar, or even coconut sugar can be used as alternatives, depending on your preference. For those monitoring blood sugar, granulated monkfruit sweetener is an excellent 1:1, zero-glycemic index sugar substitute.
- Dairy-Free Fat – Refined Coconut Oil: To ensure a truly dairy-free pie, refined coconut oil is the preferred fat for its neutral flavor profile. This ensures the lemon shines through without any coconut undertones. Be sure to use refined, not extra virgin coconut oil, which has a stronger coconut taste. If dairy is acceptable, unsalted butter can be used in the same quantity, ensuring it is well-chilled and solid.
- The Essential Egg: The single egg in this pie crust recipe plays a crucial role in binding the gluten-free ingredients together, giving the dough structure and making it more pliable. Do not omit this ingredient, as it is key to achieving a cohesive and tender crust.
Detailed Lemon Curd Notes:
- Our Favorite Lemon Curd Recipe: The lemon curd recipe used here is a doubled version of our popular microwave lemon curd, making it convenient and quick.
- Stovetop Curd Option: If you don’t have a microwave or prefer the traditional method, you can easily make the lemon curd on the stovetop. Simply stir together the eggs, sugar, and lemon zest in a small pot or saucepan. Heat this mixture over low heat, stirring continuously, until everything is well-combined. Then, add the lemon juice and coconut oil, mixing well. It’s crucial to whisk the mixture constantly until it thickens sufficiently (this usually takes about 5 to 10 minutes). Distraction can lead to scrambled eggs, so stay focused! Once the curd coats the back of a spoon, remove it from the heat and proceed to strain it.
- Sweetener Options for Curd: For a balanced tart-sweet flavor, I use regular white granulated sugar. However, light brown sugar is also an option. For dietary needs, granulated monkfruit sweetener is an excellent 1:1, zero-glycemic substitute that won’t impact blood sugar levels.
- Whole Eggs for Efficiency: Unlike some recipes that use only yolks, this recipe utilizes whole eggs for the lemon curd. This simplifies the process by eliminating the need to separate whites from yolks, saving time and ensuring a rich, creamy texture.
- Refined Coconut Oil for Dairy-Free Smoothness: To keep the curd dairy-free, refined coconut oil is used. Its neutral taste ensures the lemon flavor is prominent. Avoid extra virgin coconut oil due to its strong coconut flavor. If dairy is not a concern, melted butter can be used in an equal amount.
- Crucial Straining Step: Do not skip straining the cooked lemon curd through a fine-mesh strainer. This step is vital for achieving a perfectly smooth, silky, and luxuriously creamy curd, free from any tiny bits of zest or cooked egg particles.
Meringue Notes:
- The meringue recipe provided creates an Italian meringue. This method, while involving an extra step of making a hot sugar syrup, is chosen for its superior stability. Unlike French meringue (where egg whites are simply beaten with sugar until stiff peaks form, making it less stable), Italian meringue is tempered with hot syrup, resulting in a much firmer, glossy, and more durable meringue that is far less likely to weep or collapse, even after several days. This makes it ideal for a show-stopping lemon meringue pie.
This recipe was originally published in April 2021, but has since been republished to include clearer instructions, comprehensive recipe notes, useful substitutions, and enhanced SEO optimization.
Meringue recipe adapted from: The Tough Cookie
- Prep Time: 35 mins
- Chilling Time: 4 hours
- Cook Time: 35 mins
- Category: Desserts
- Method: Baking
- Cuisine: American
